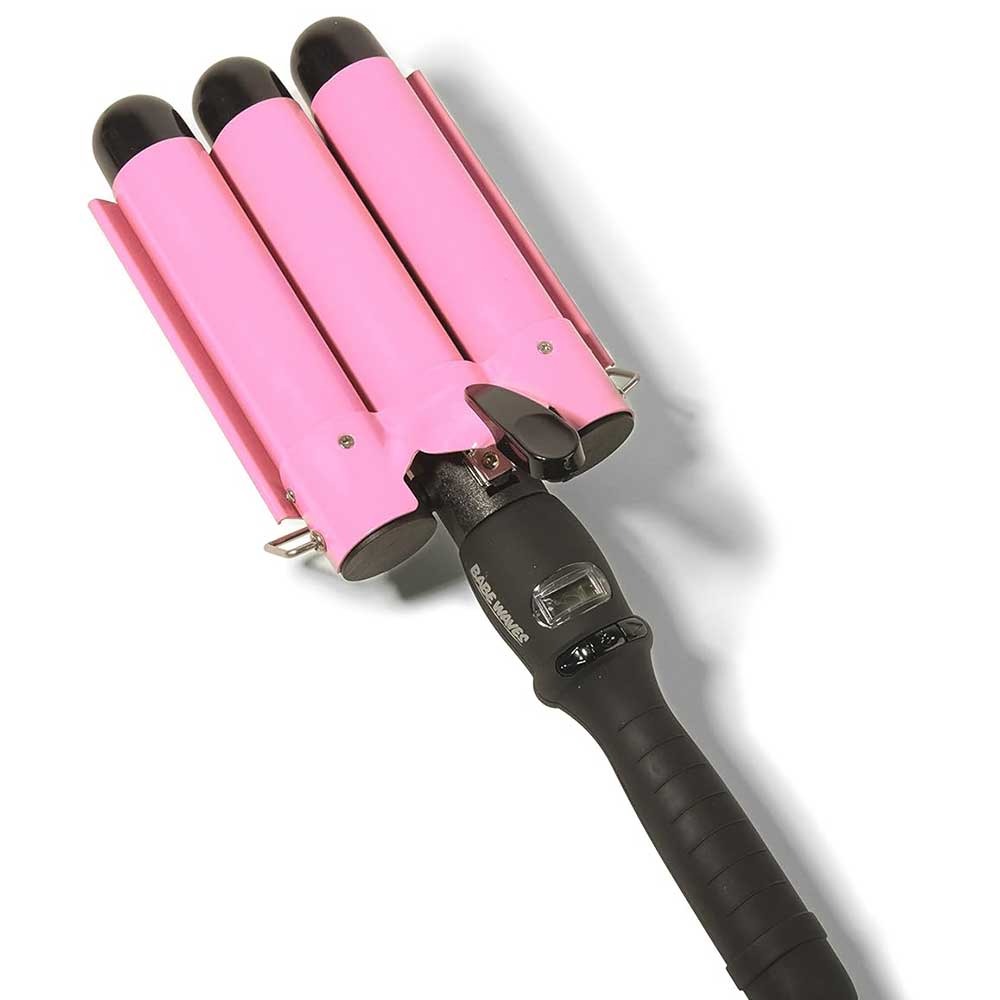
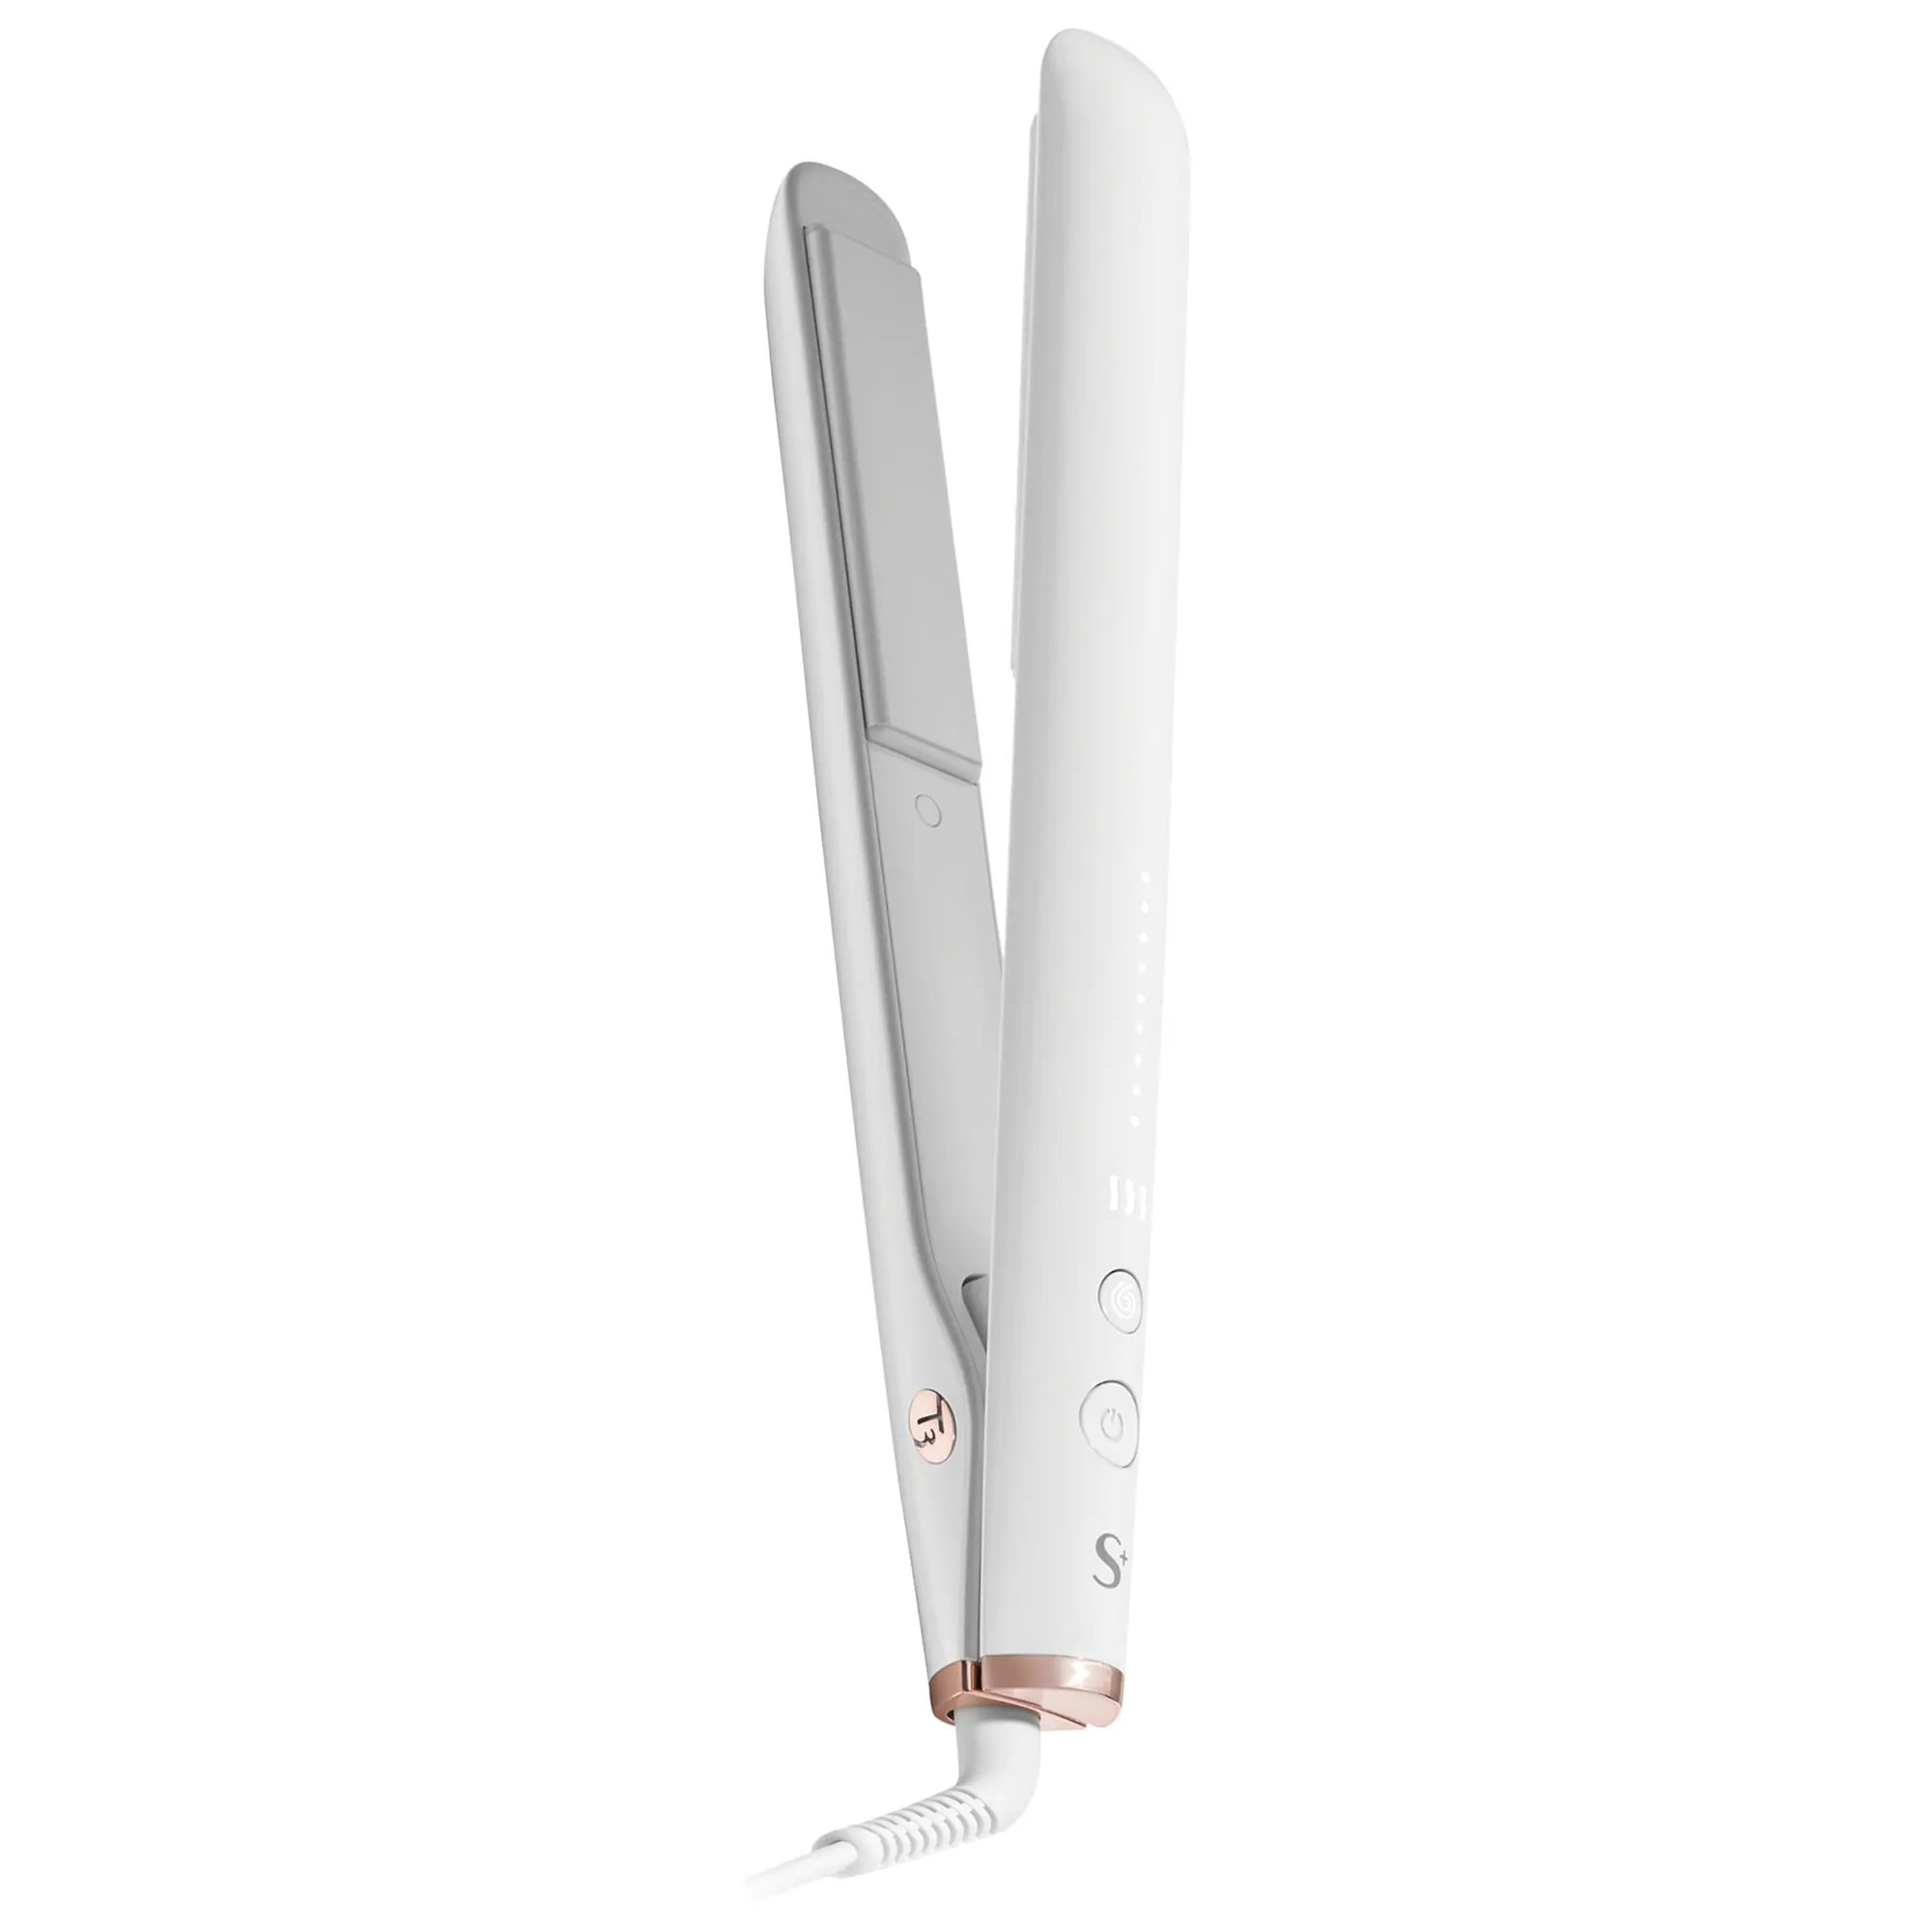
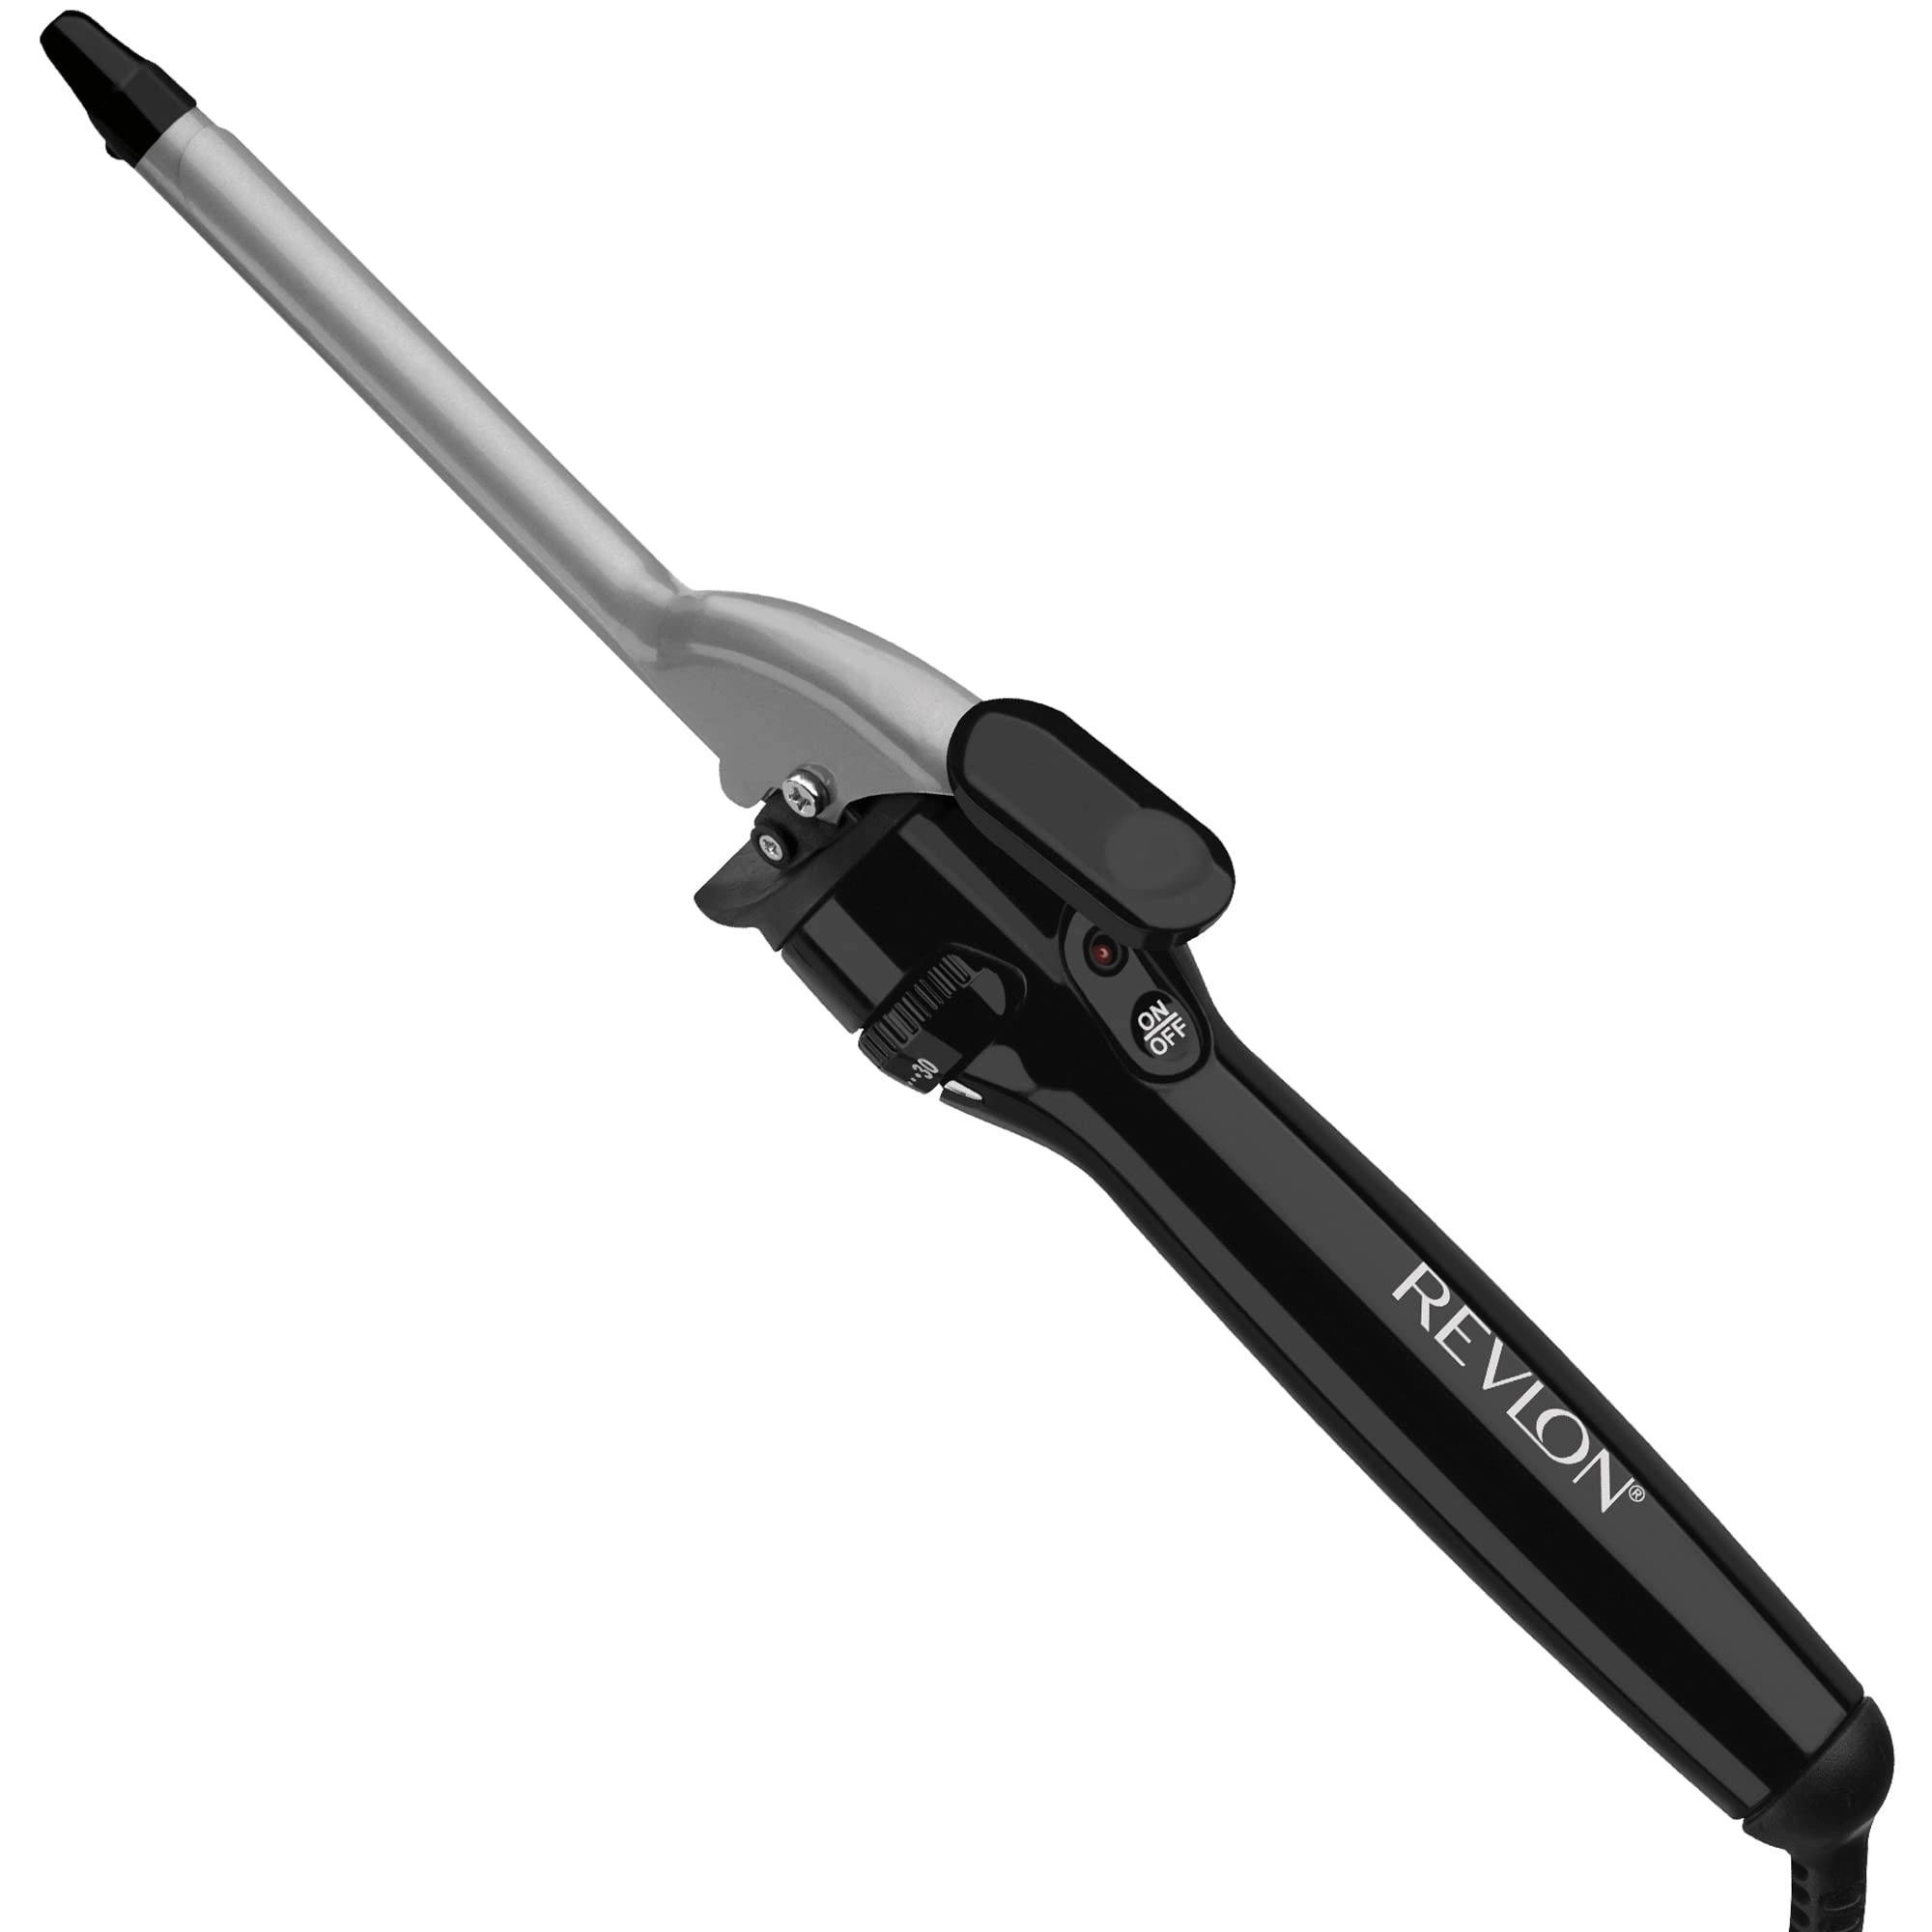
The Curling Iron That Spins – Effortless Styling For Hair
Introduction to Spinning Curling Irons
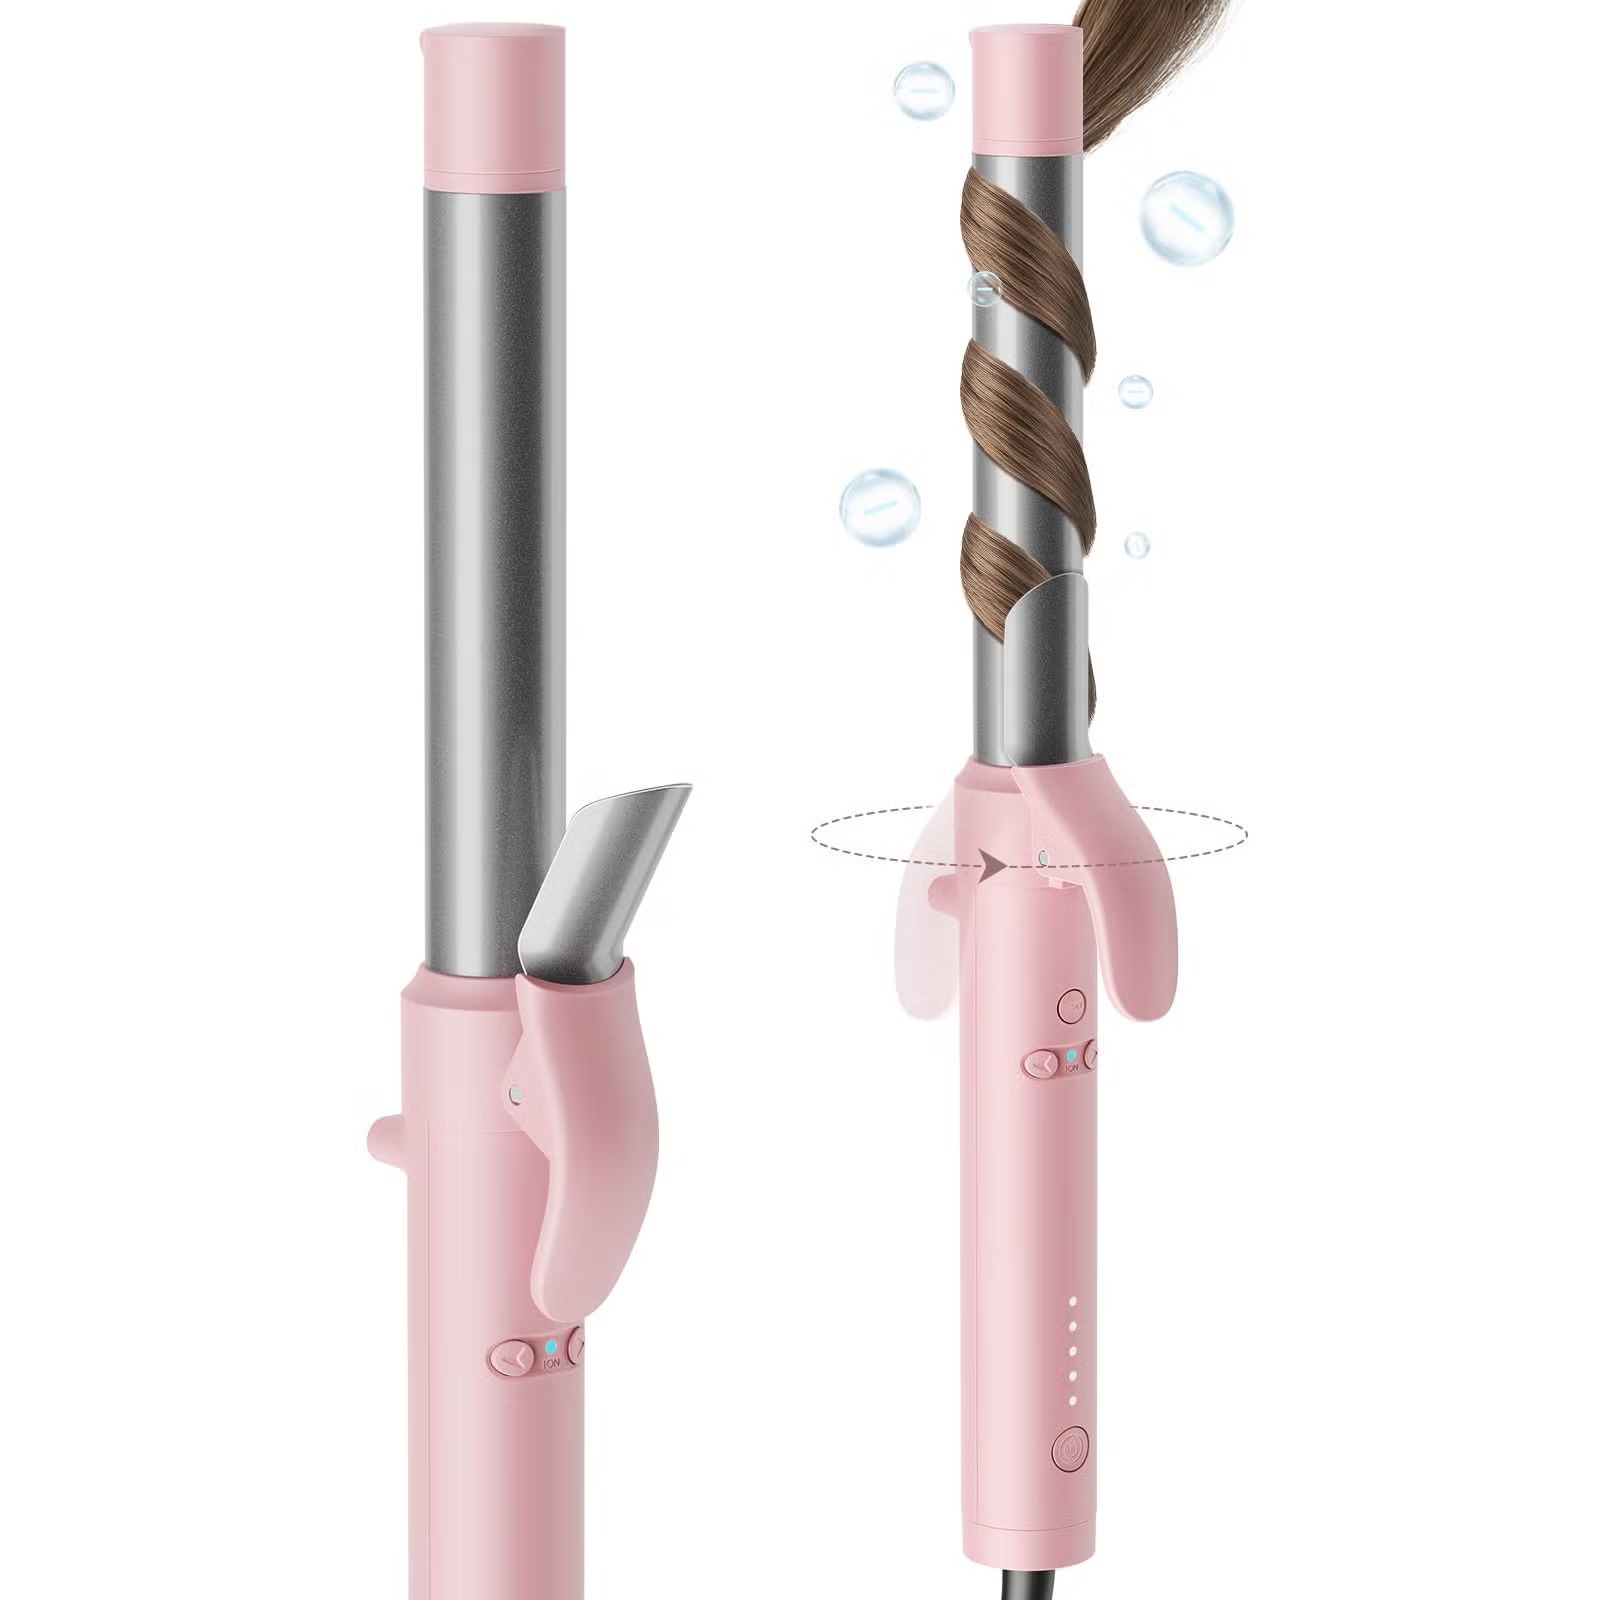
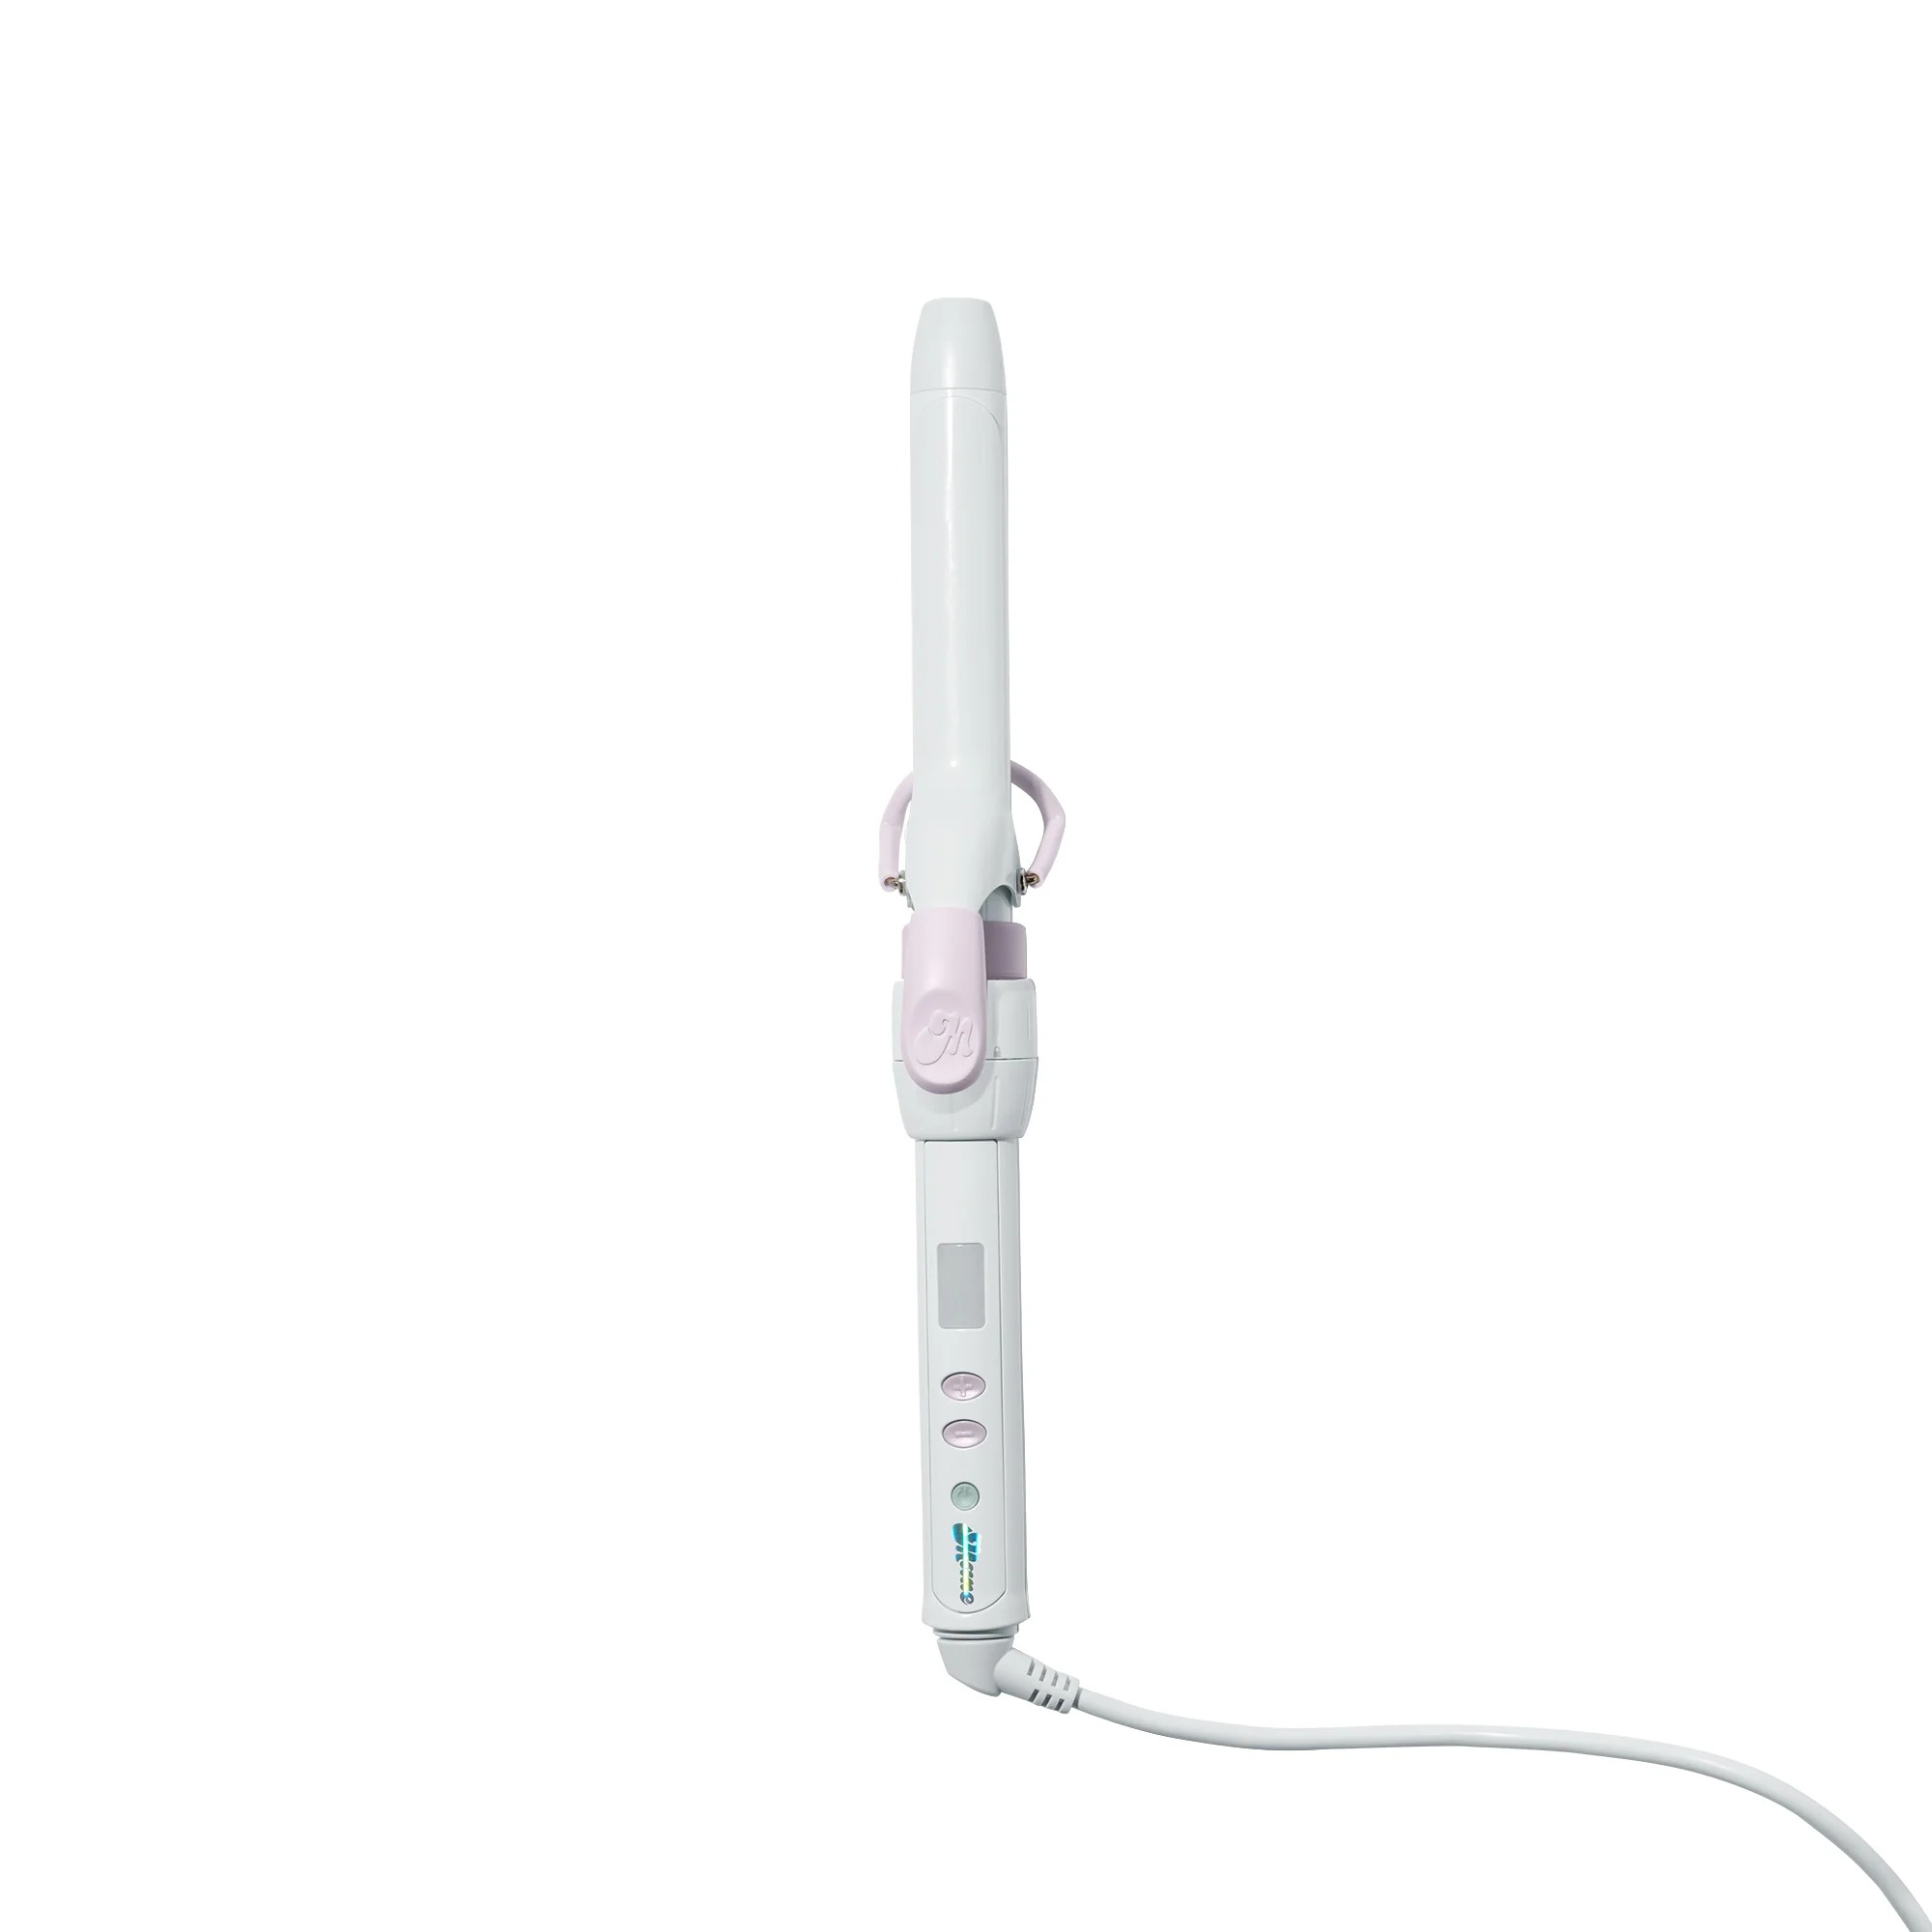
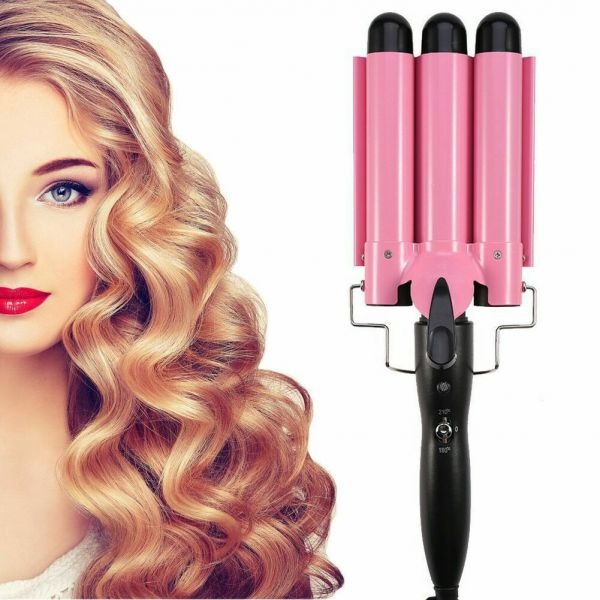
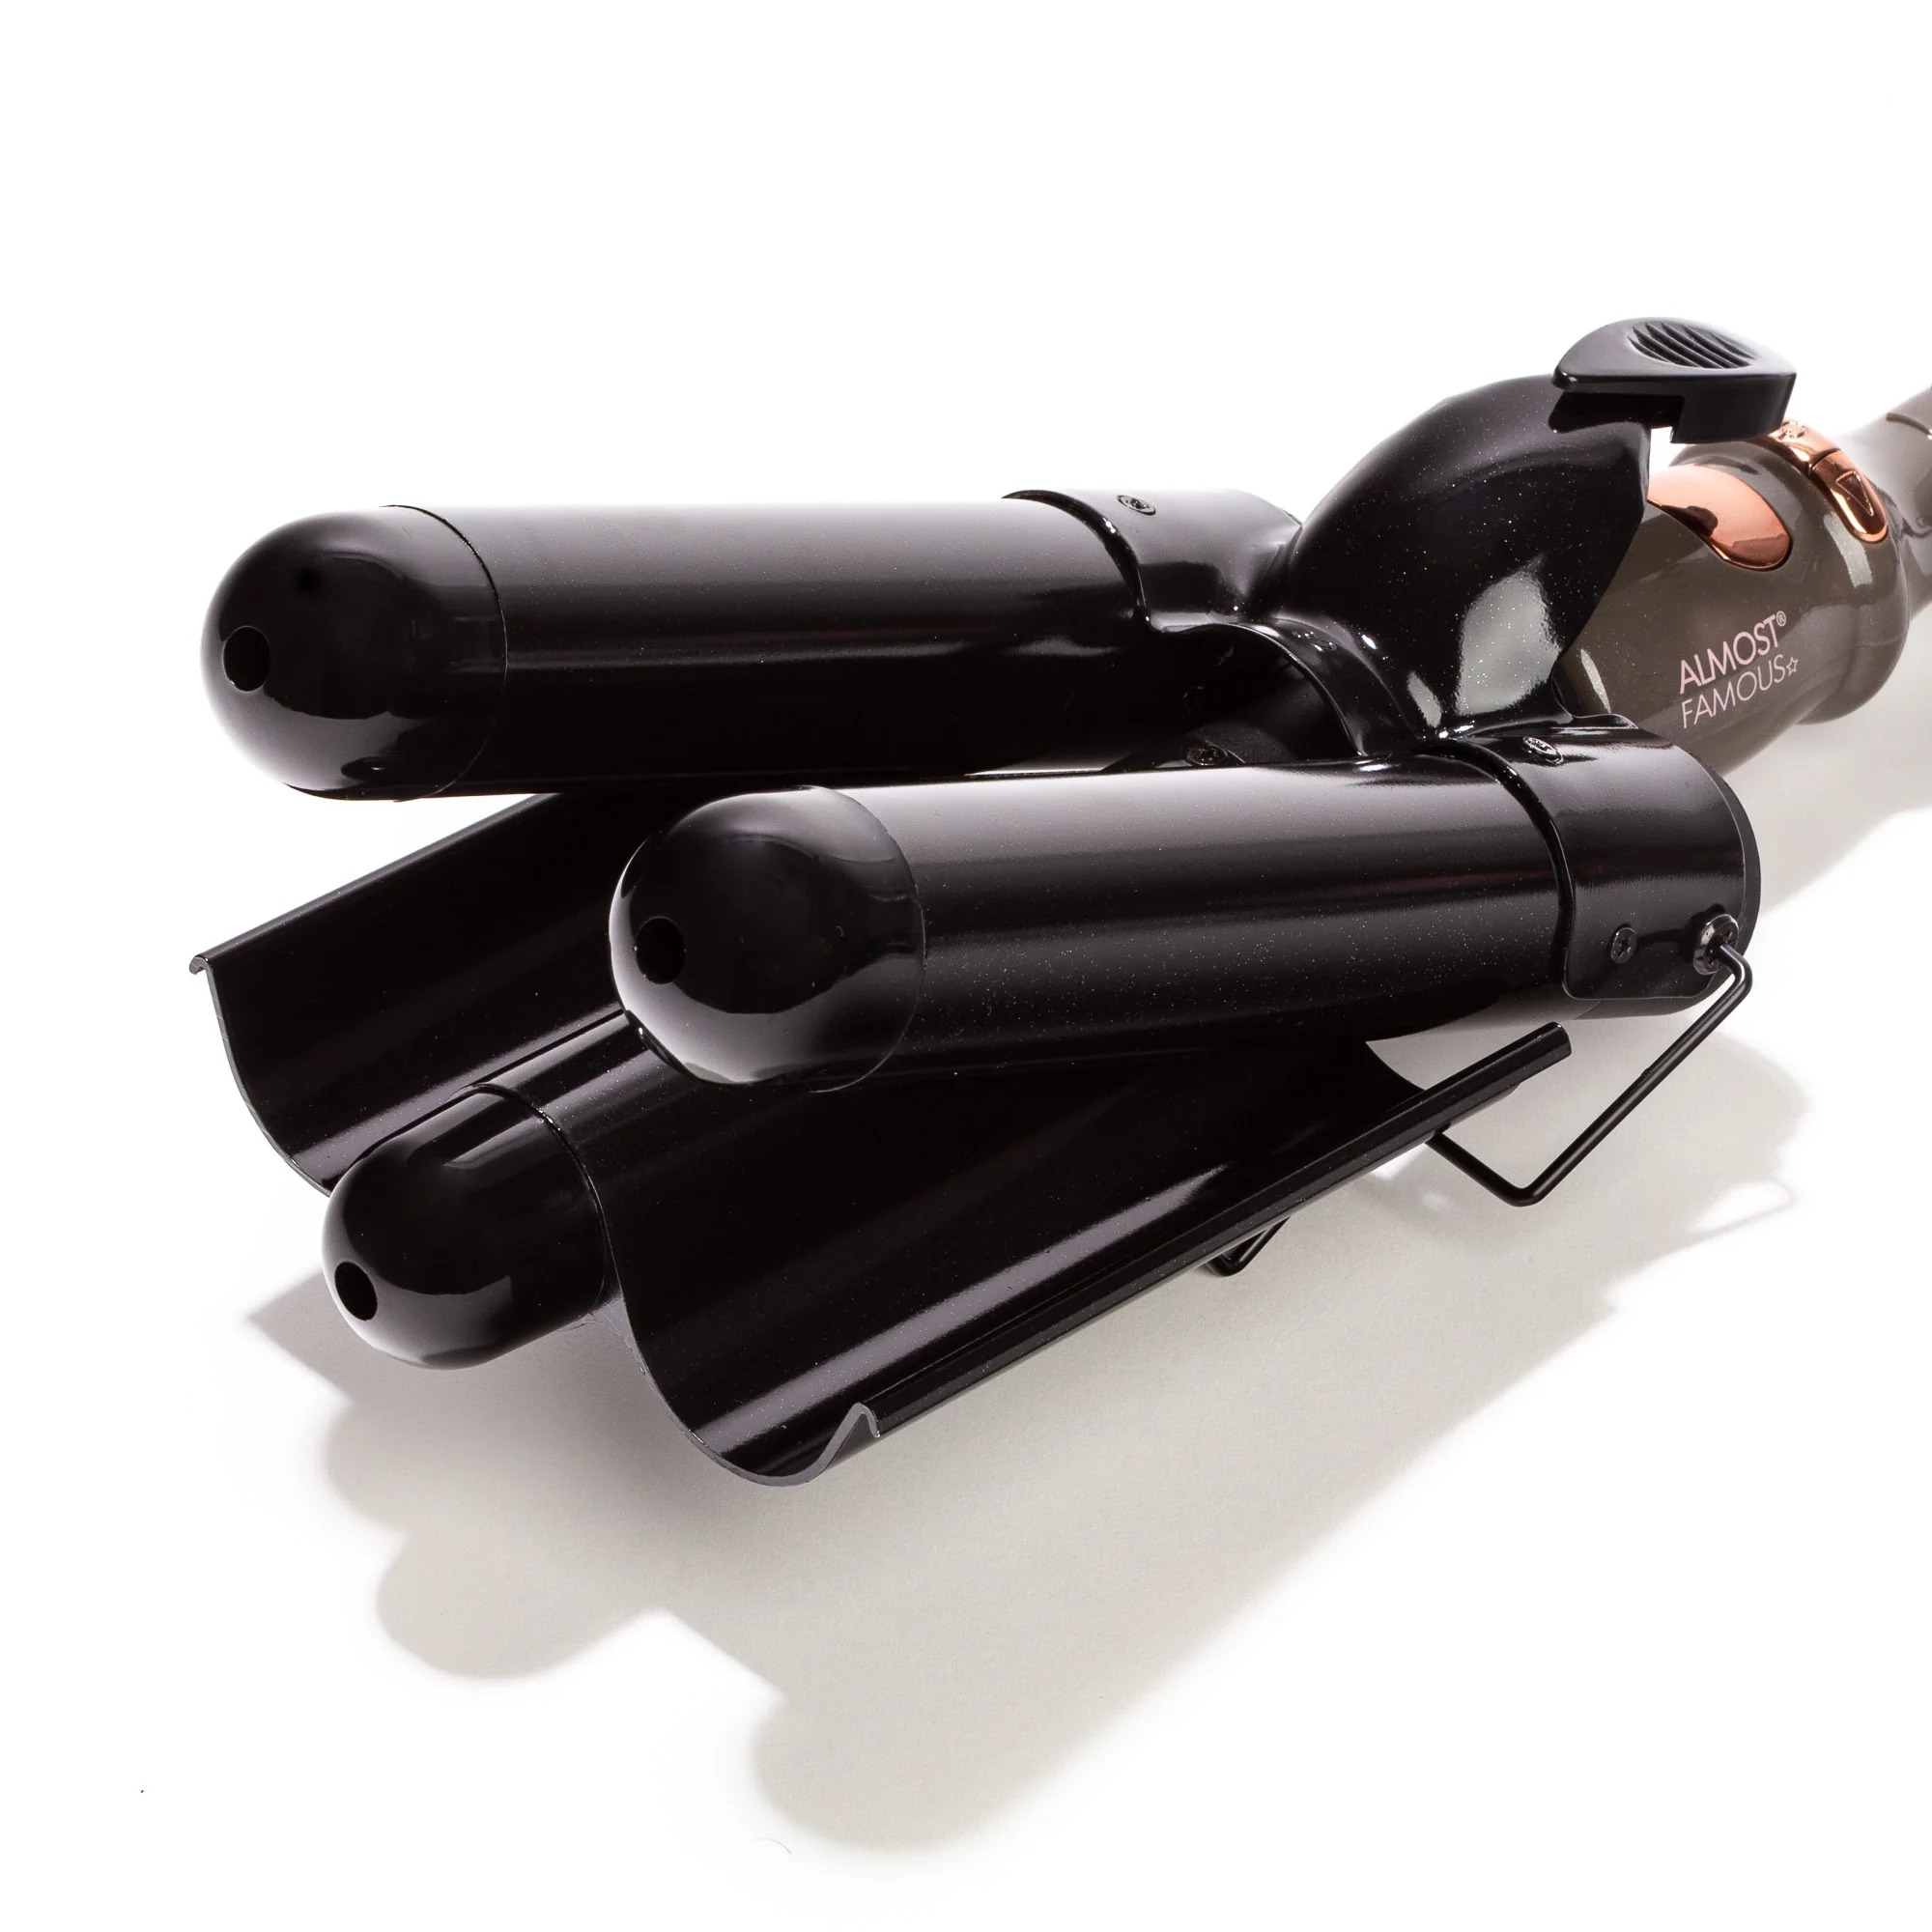
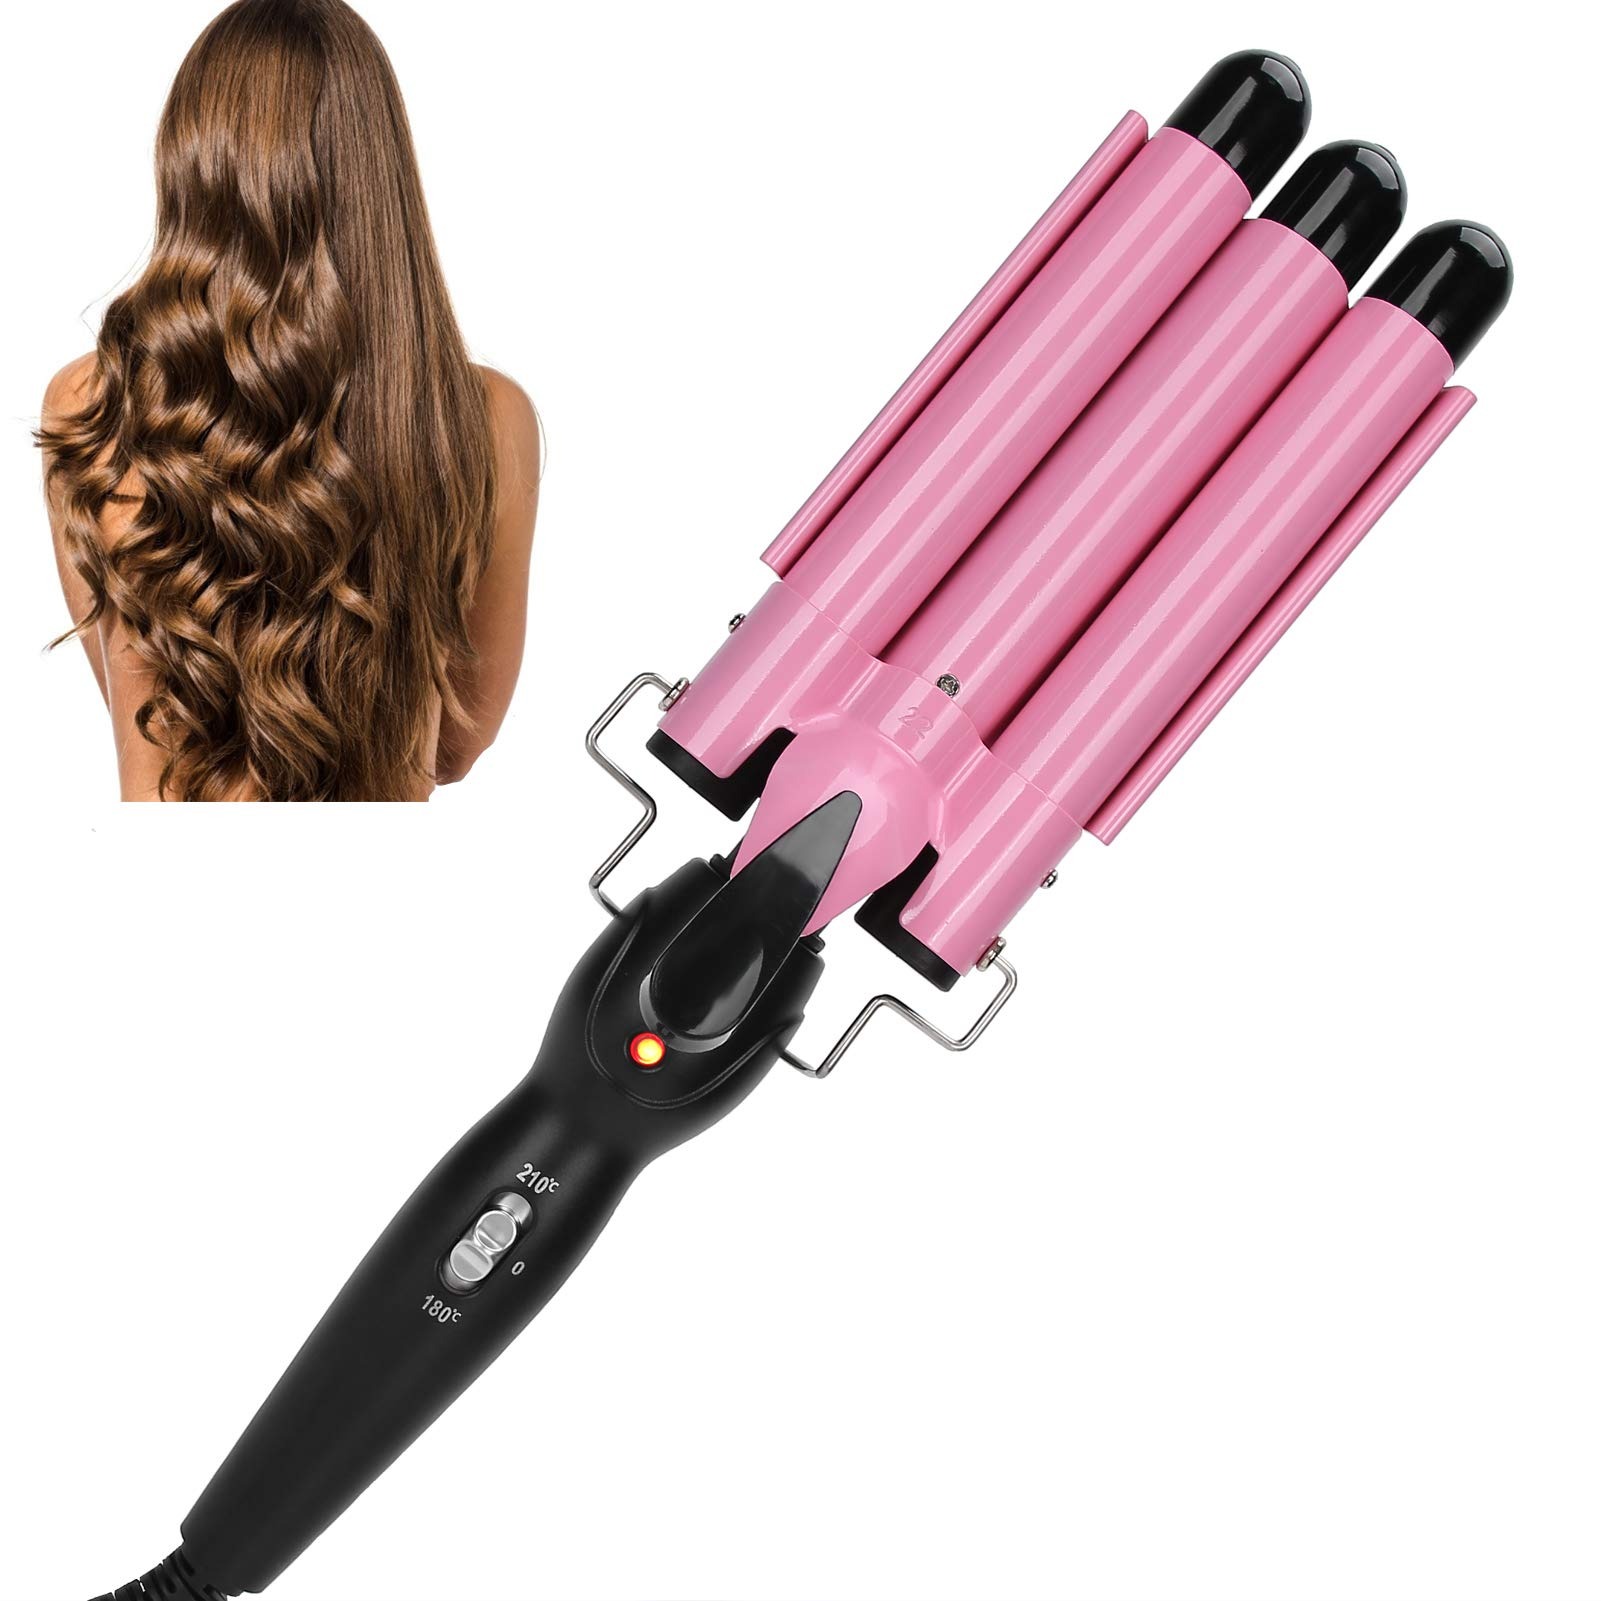
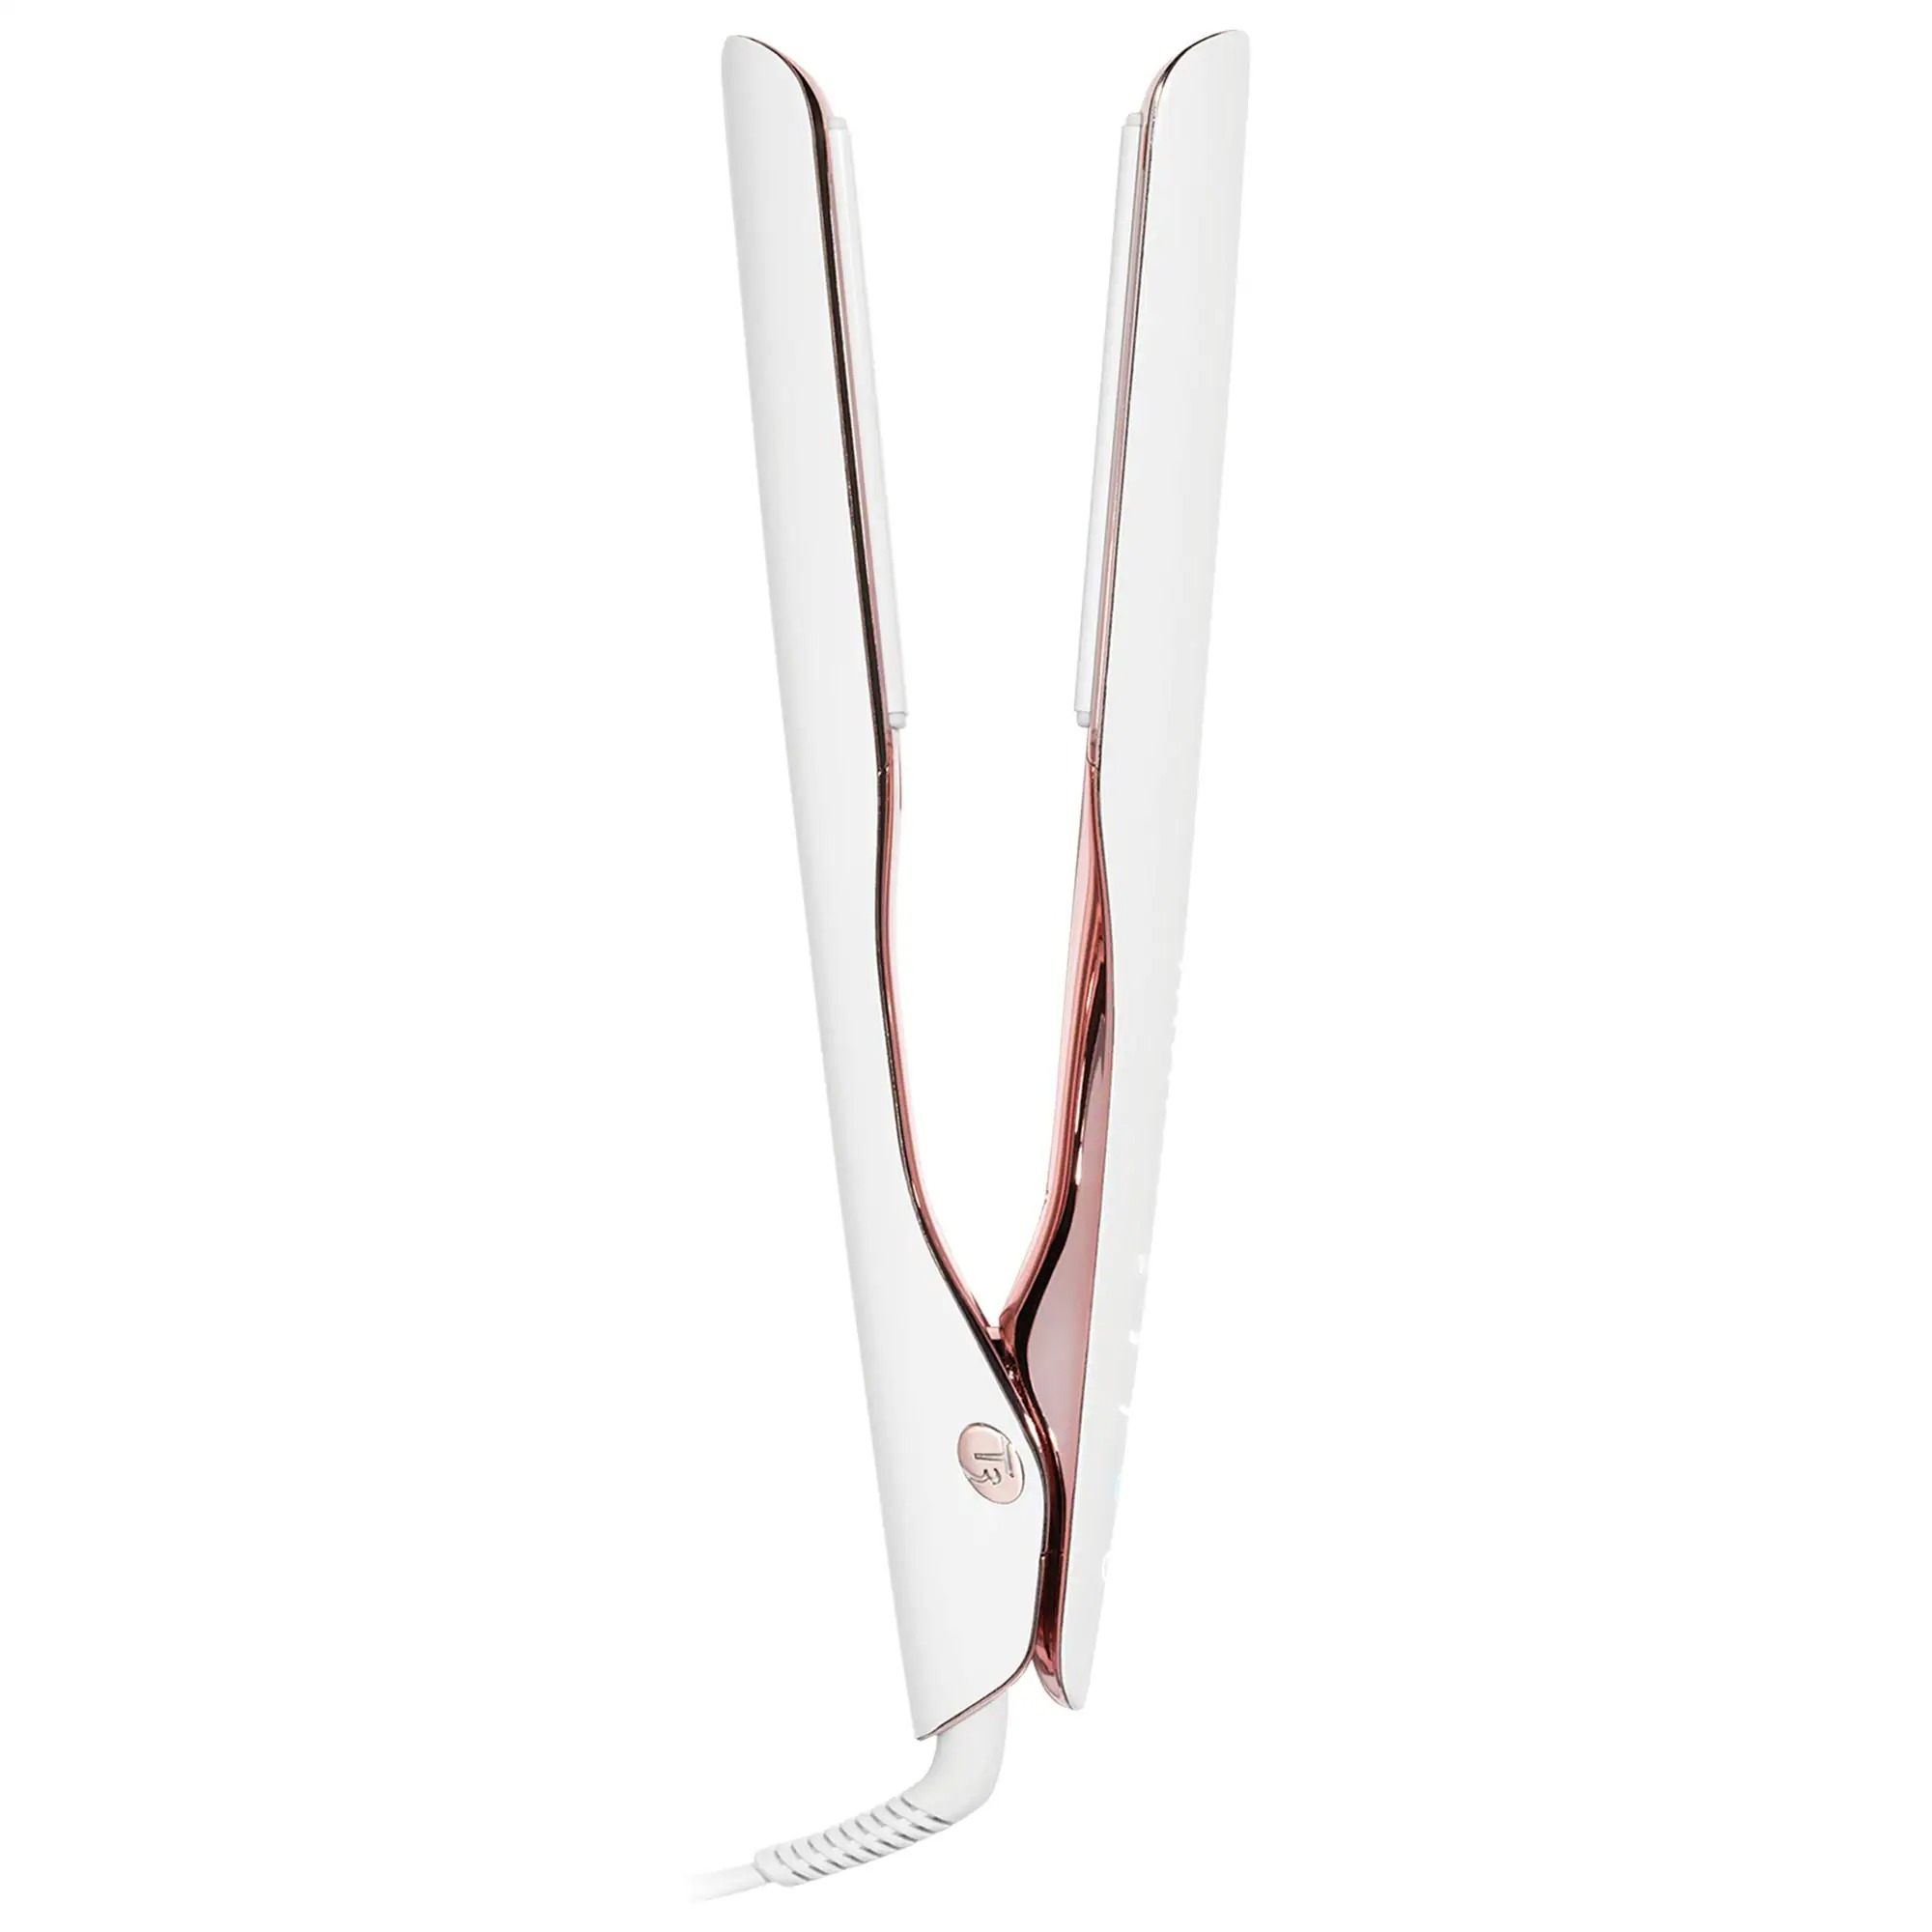
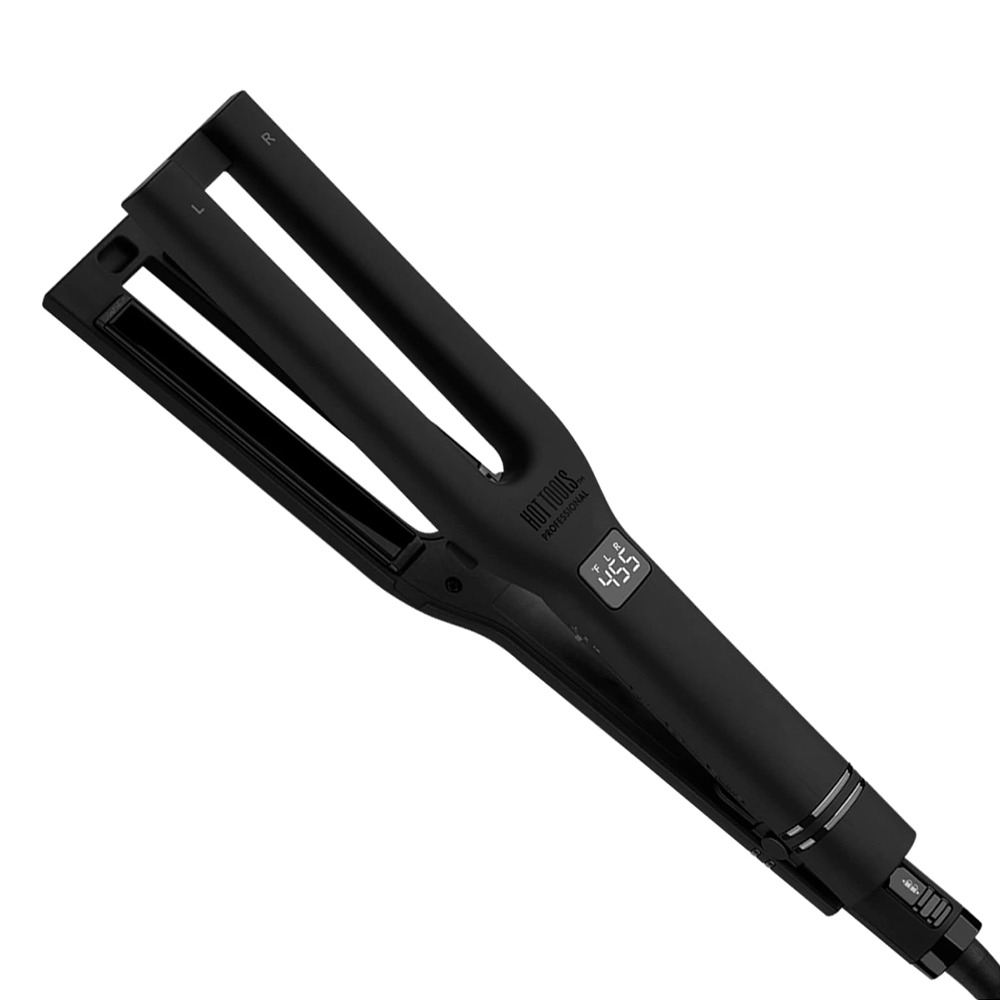
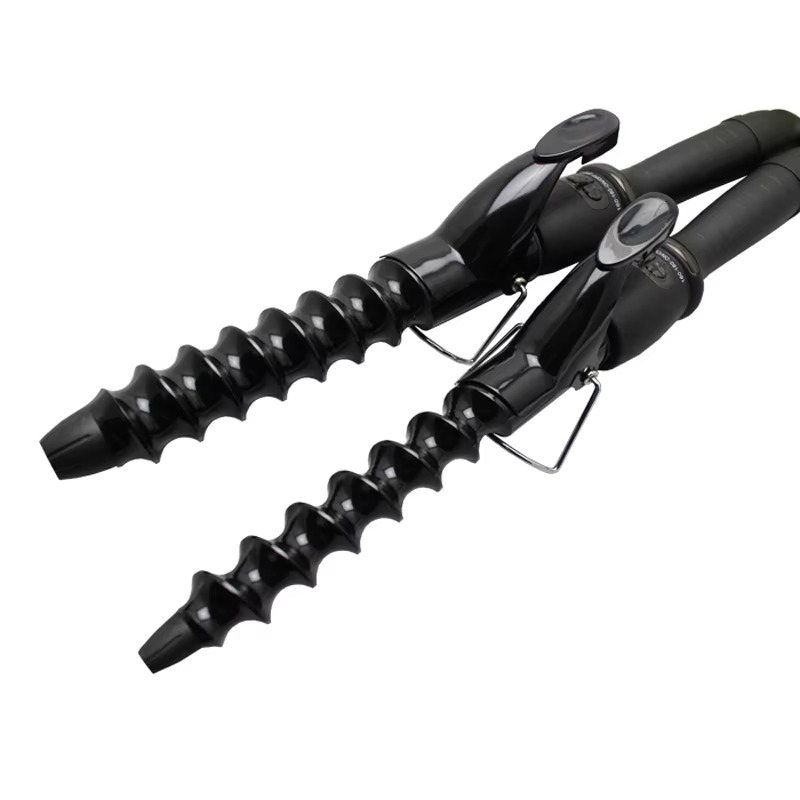
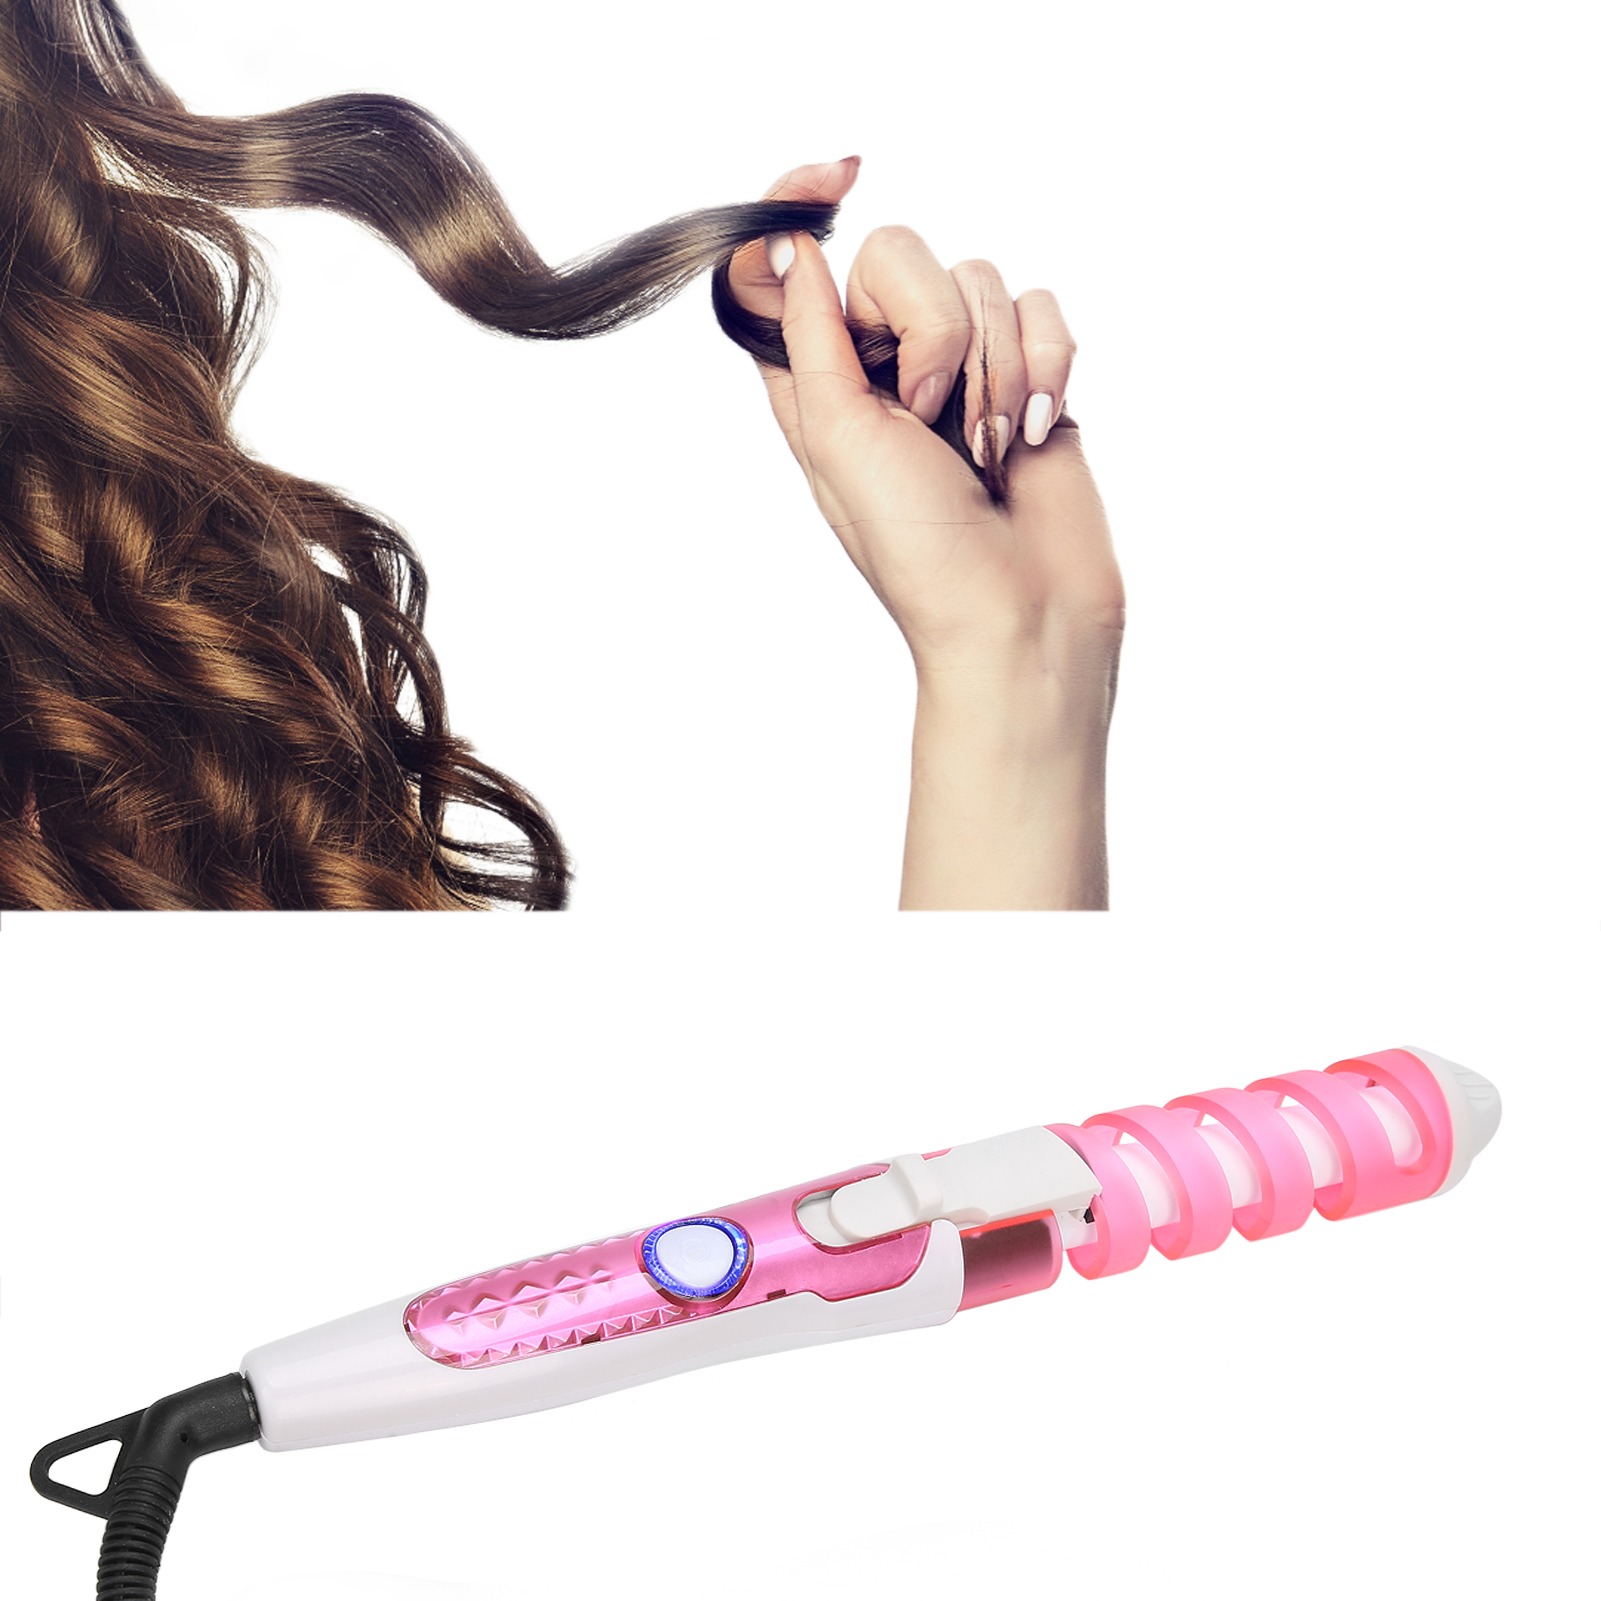
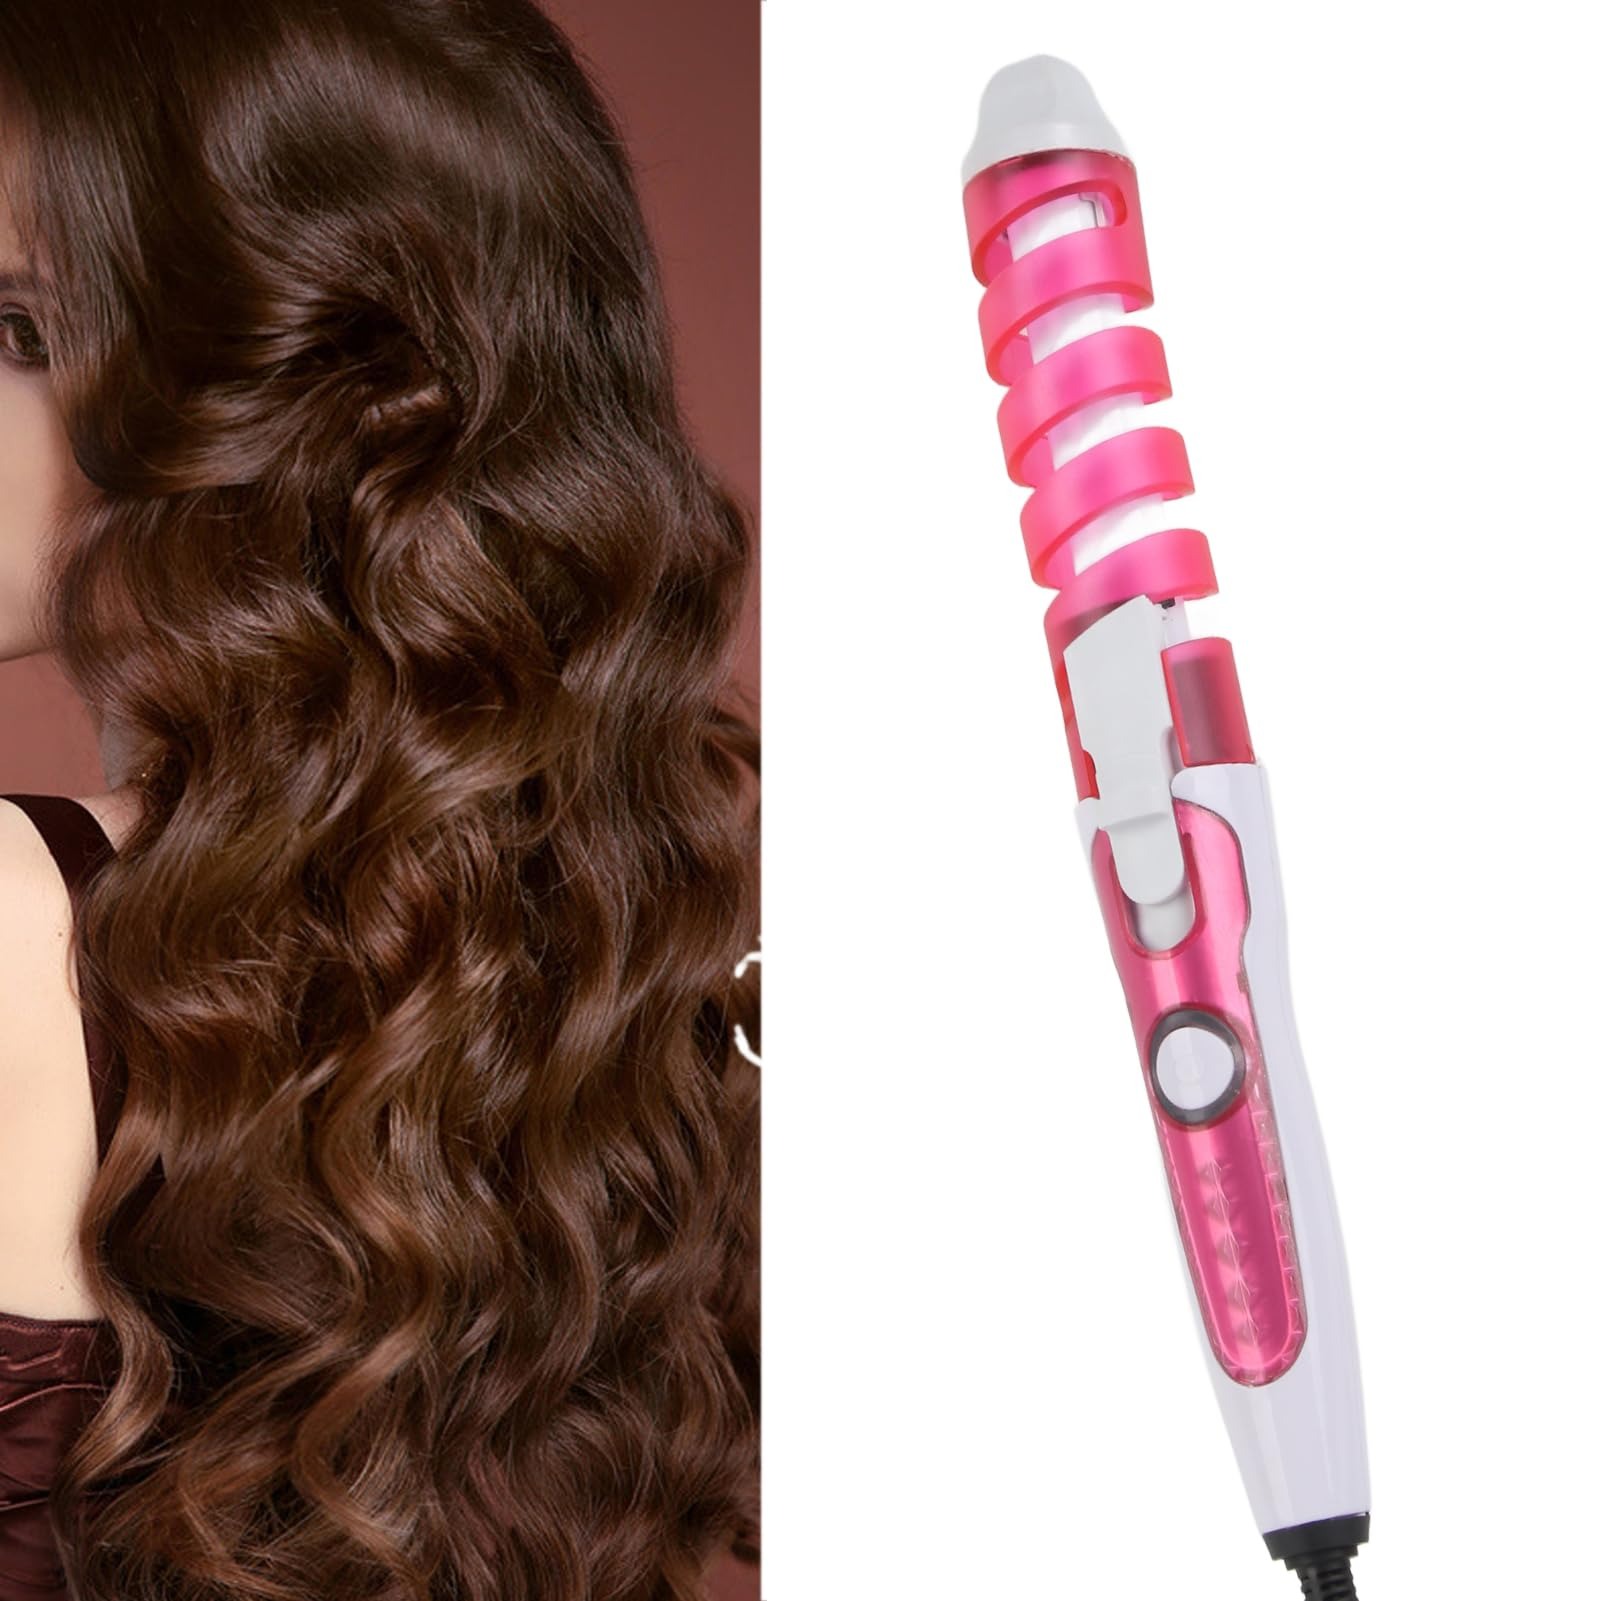
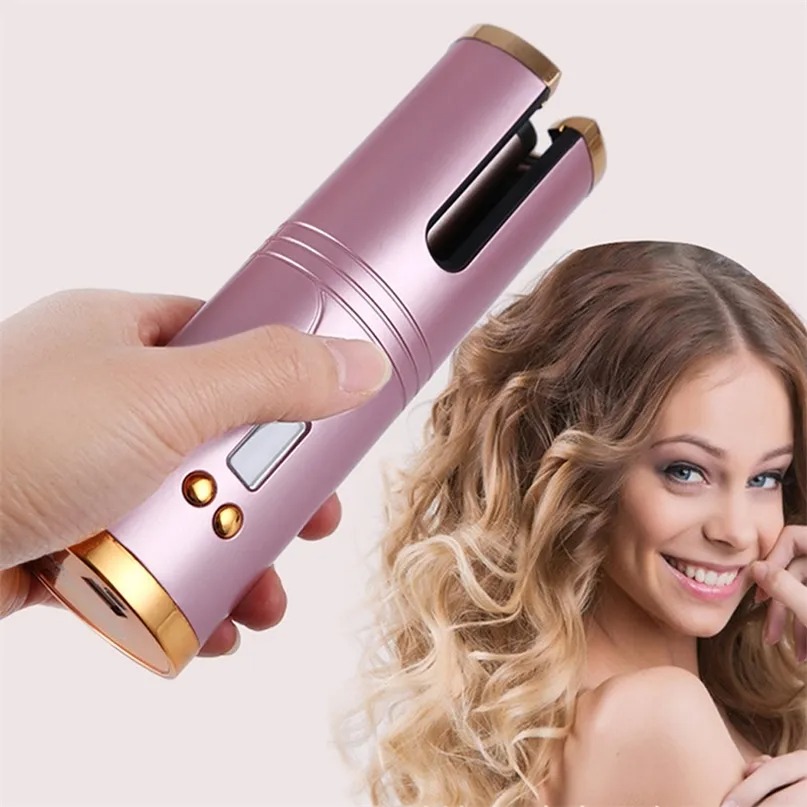
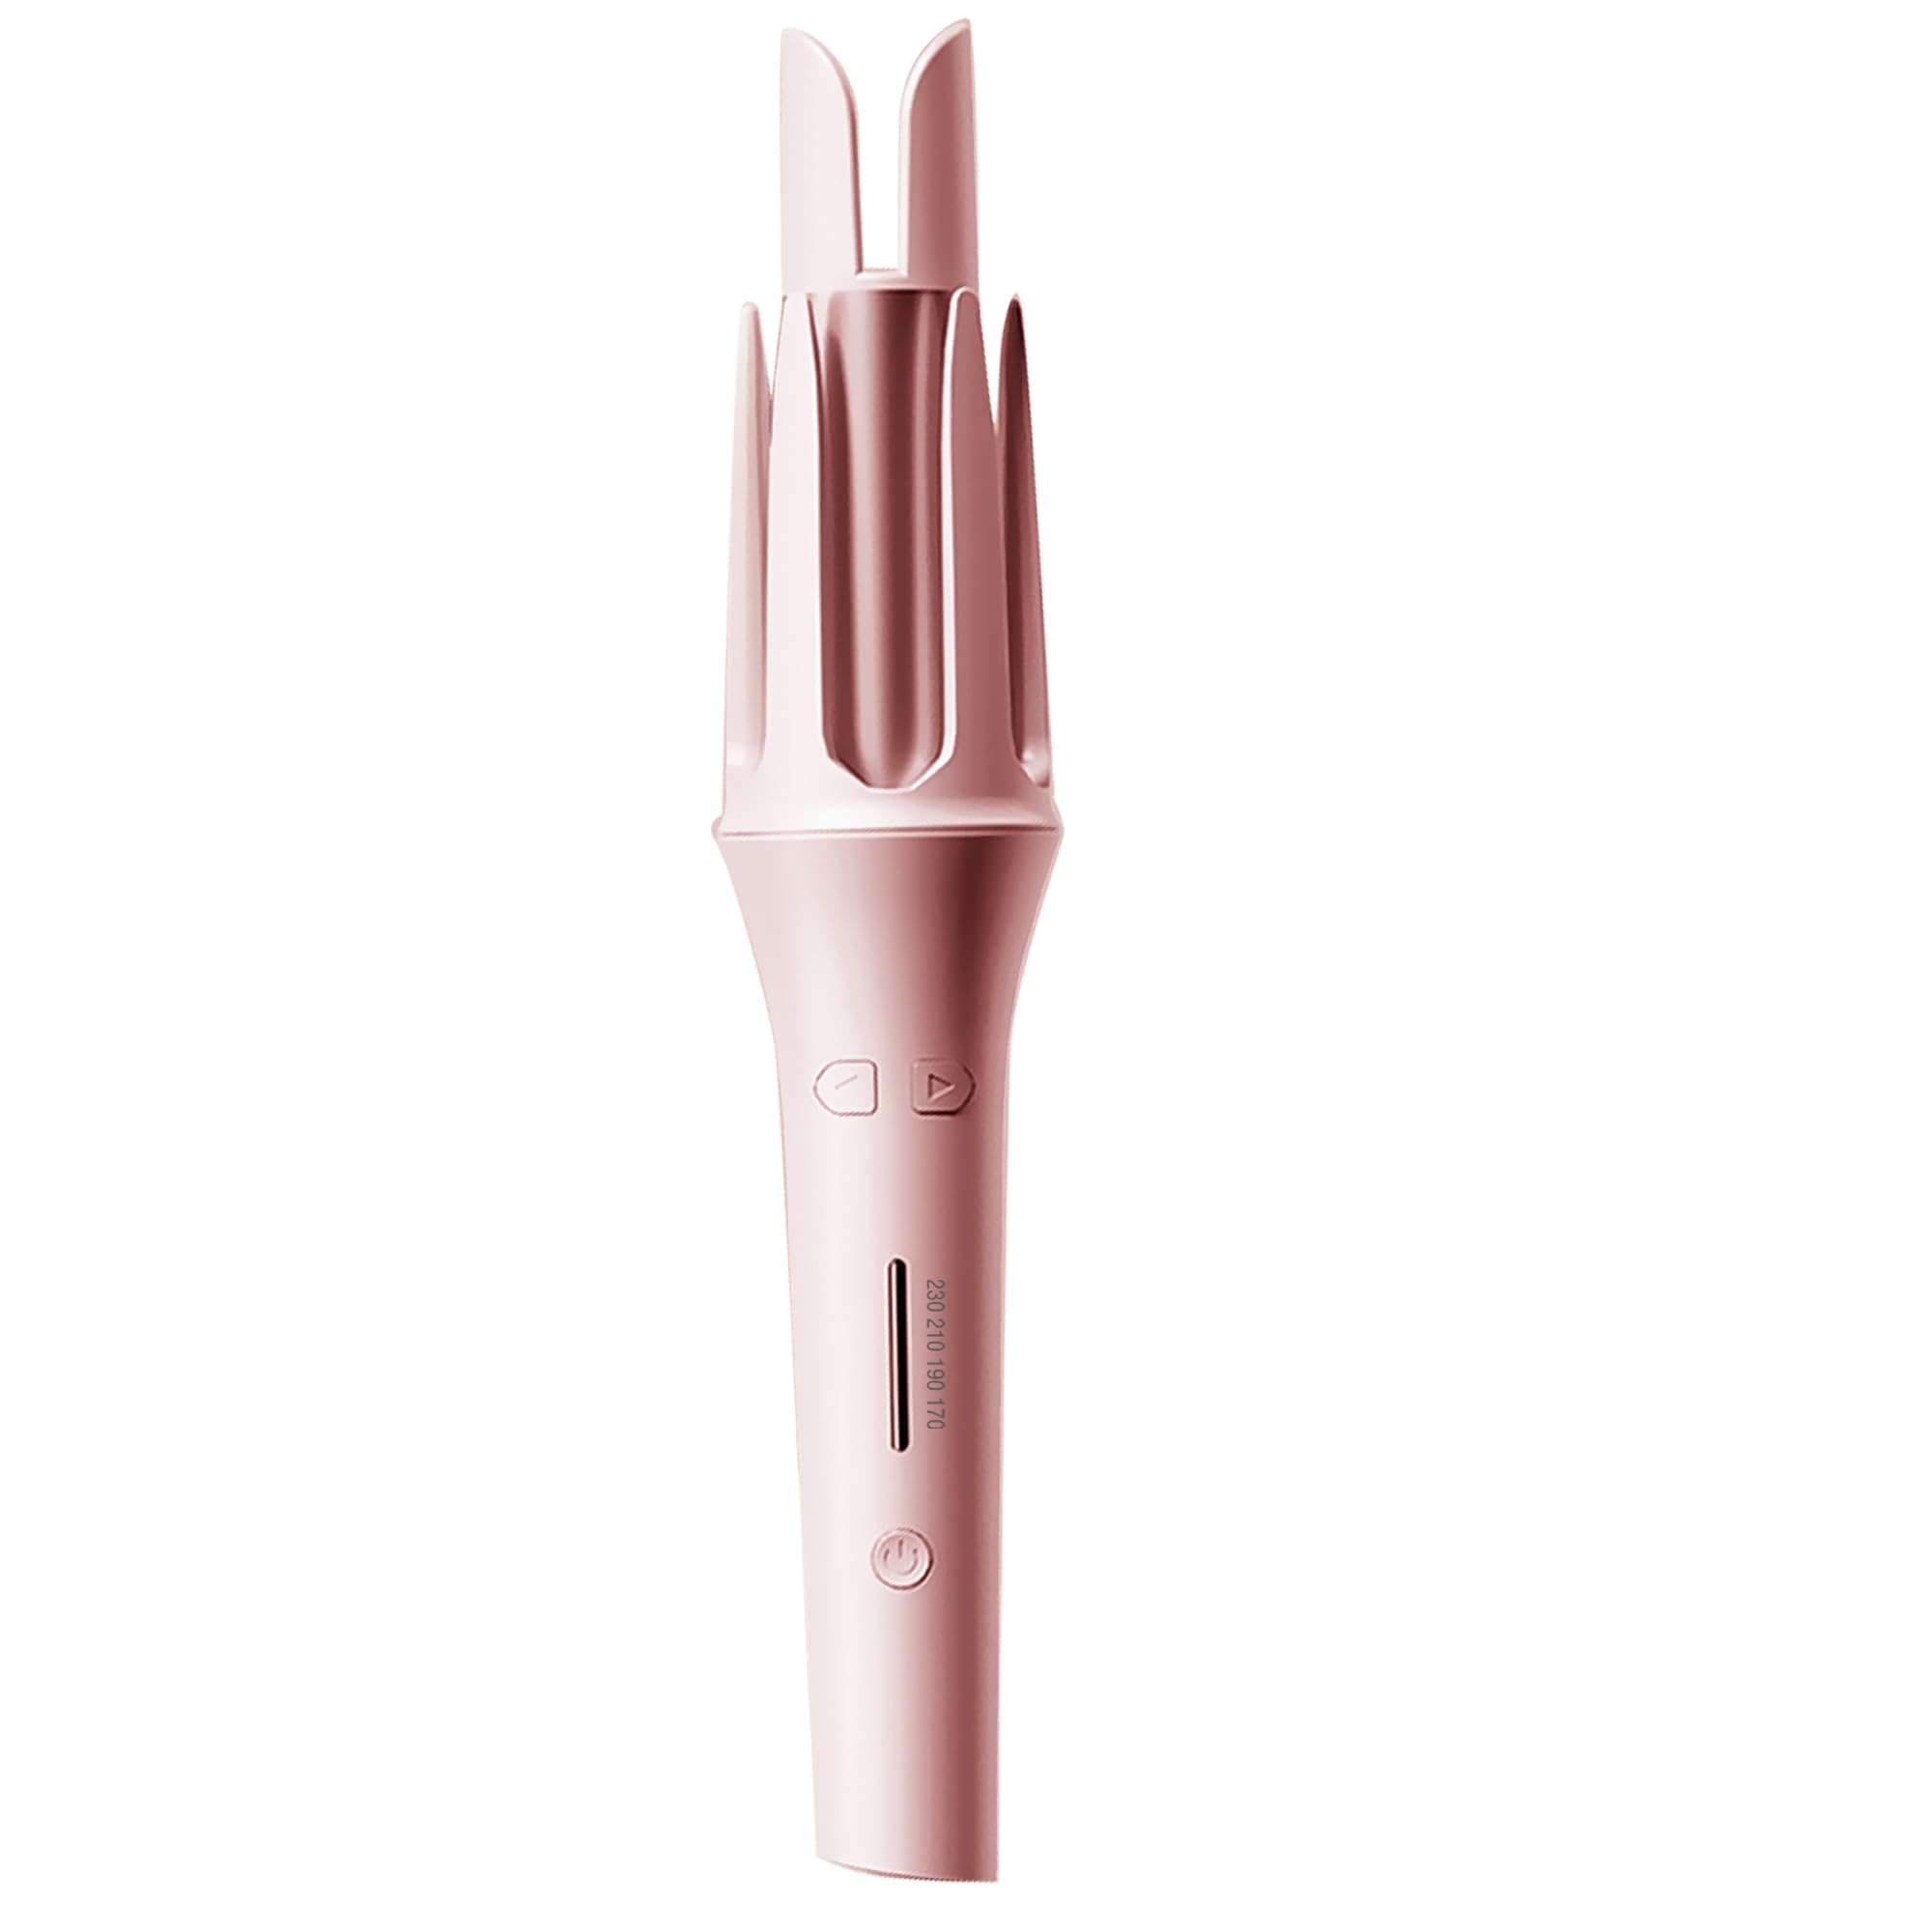
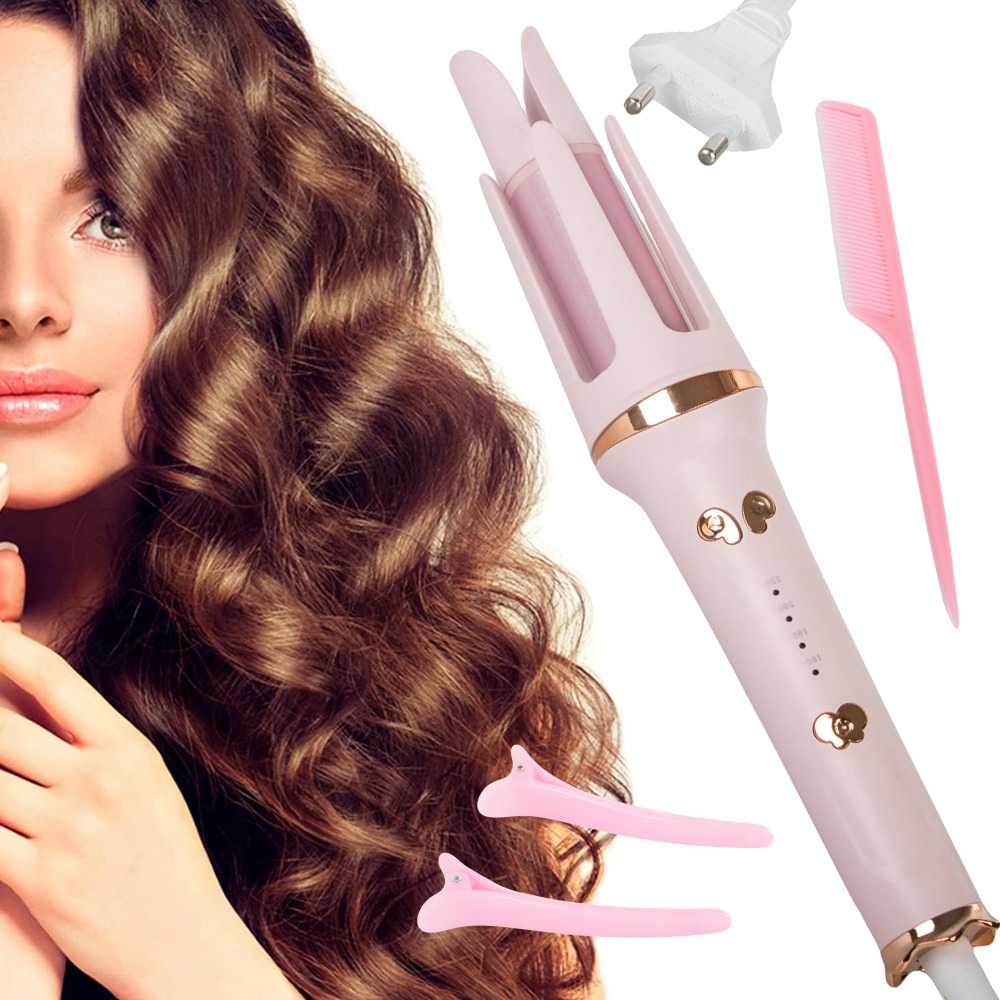
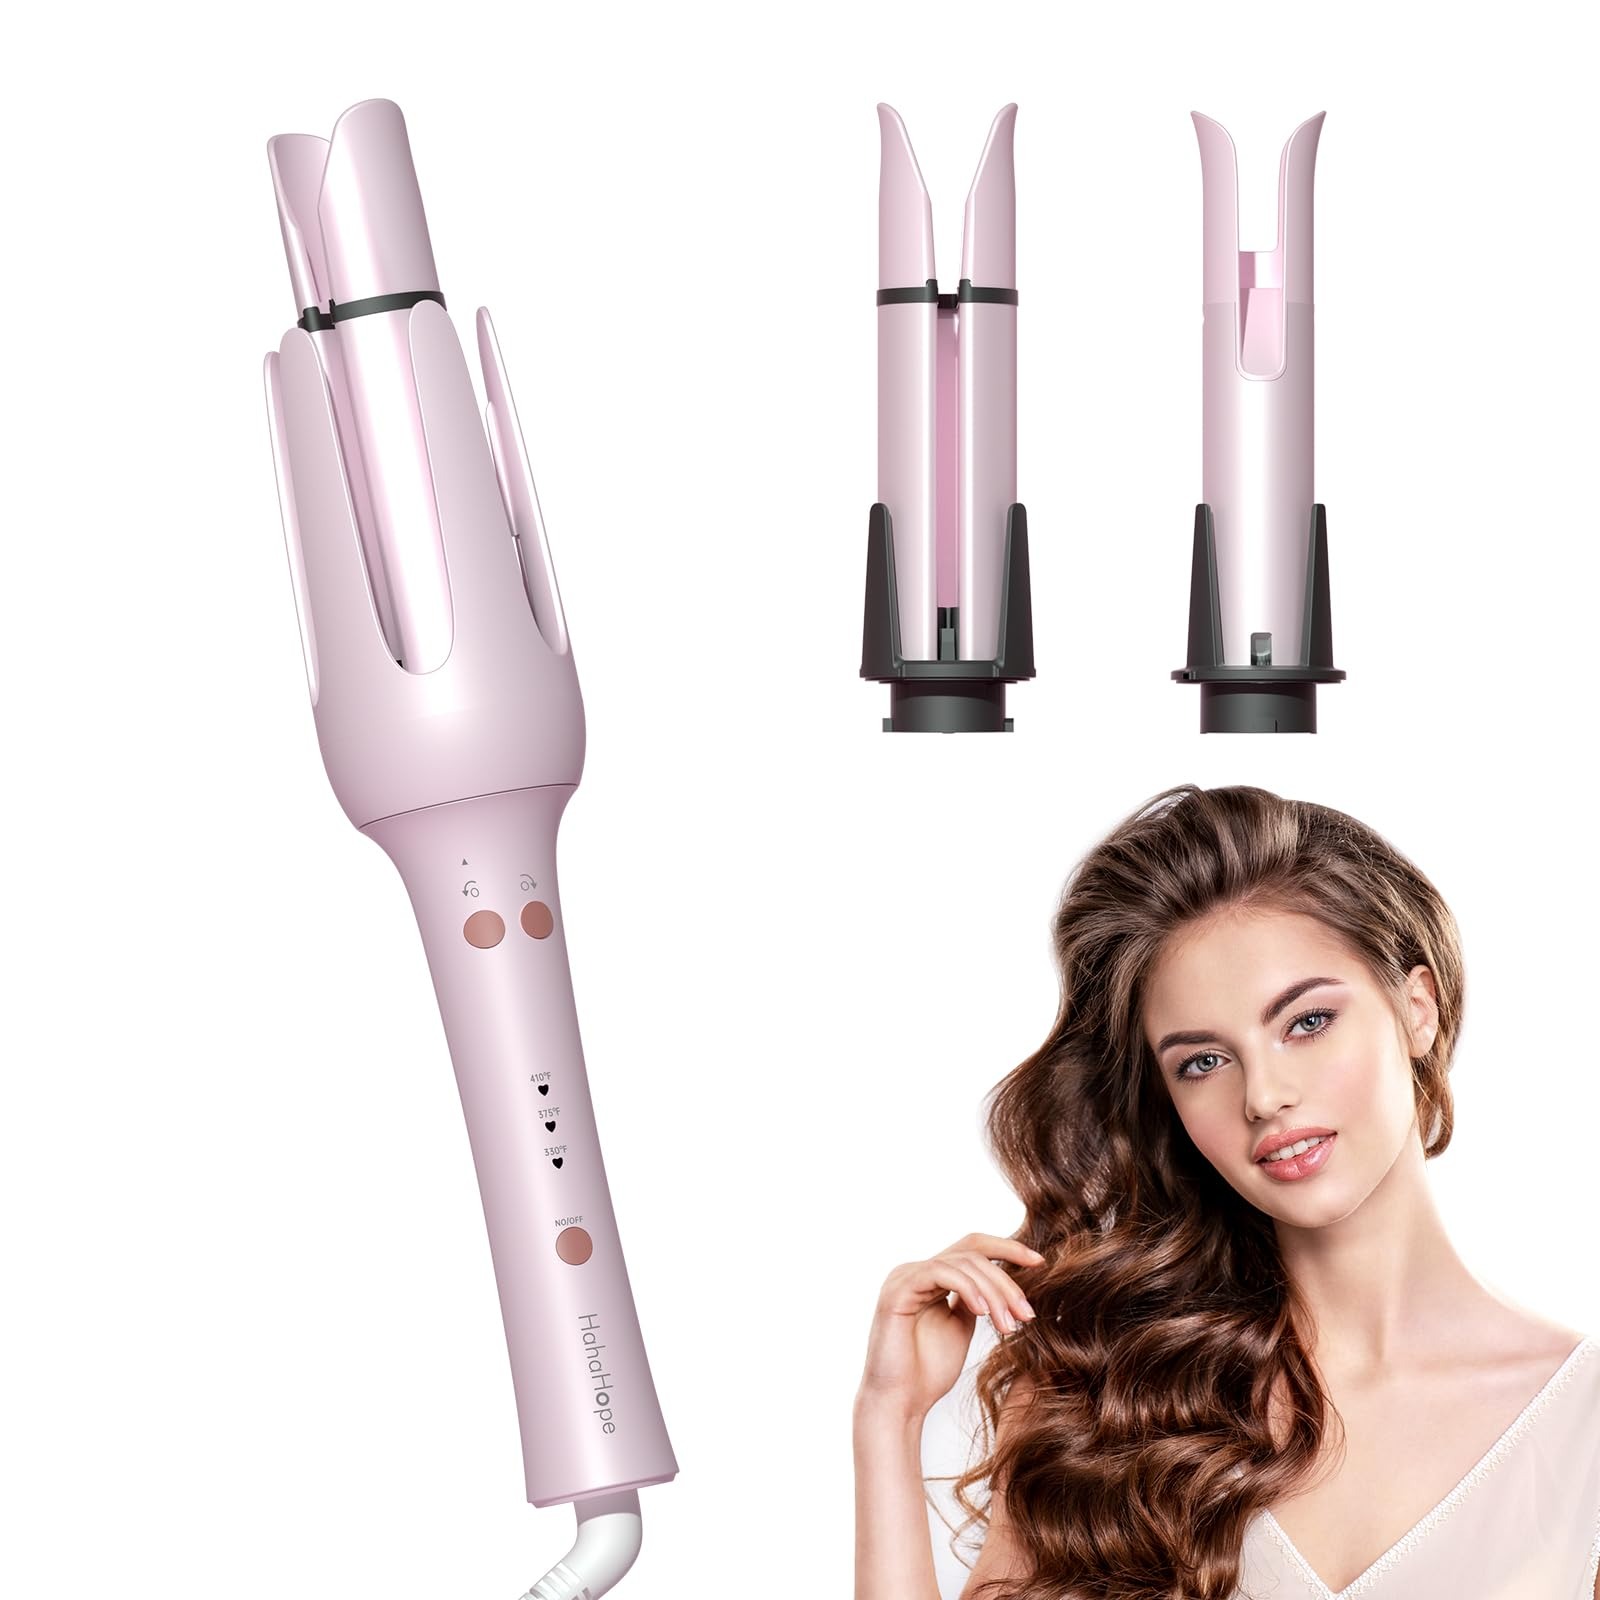
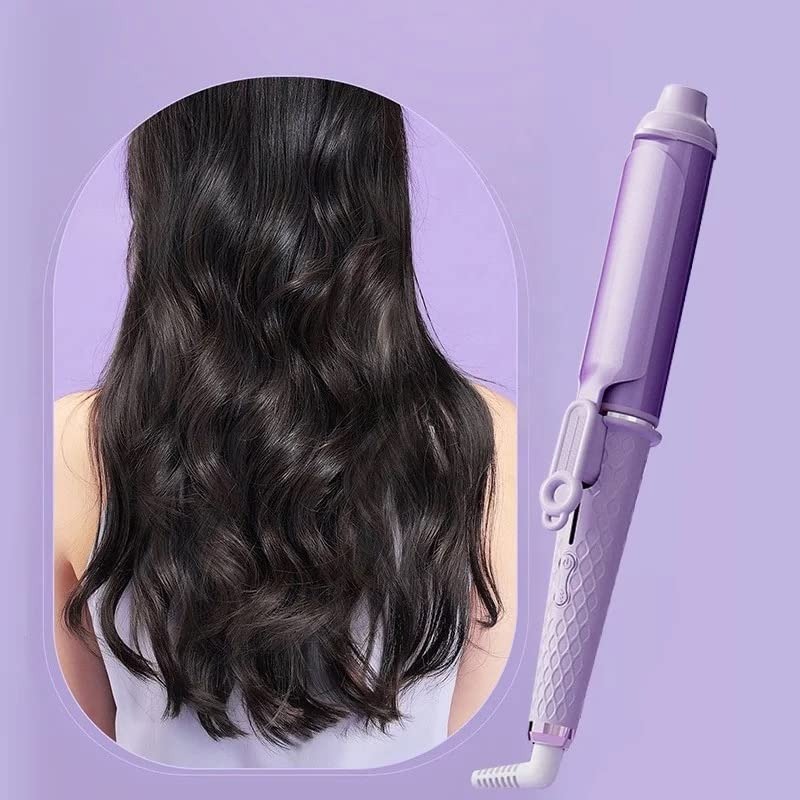
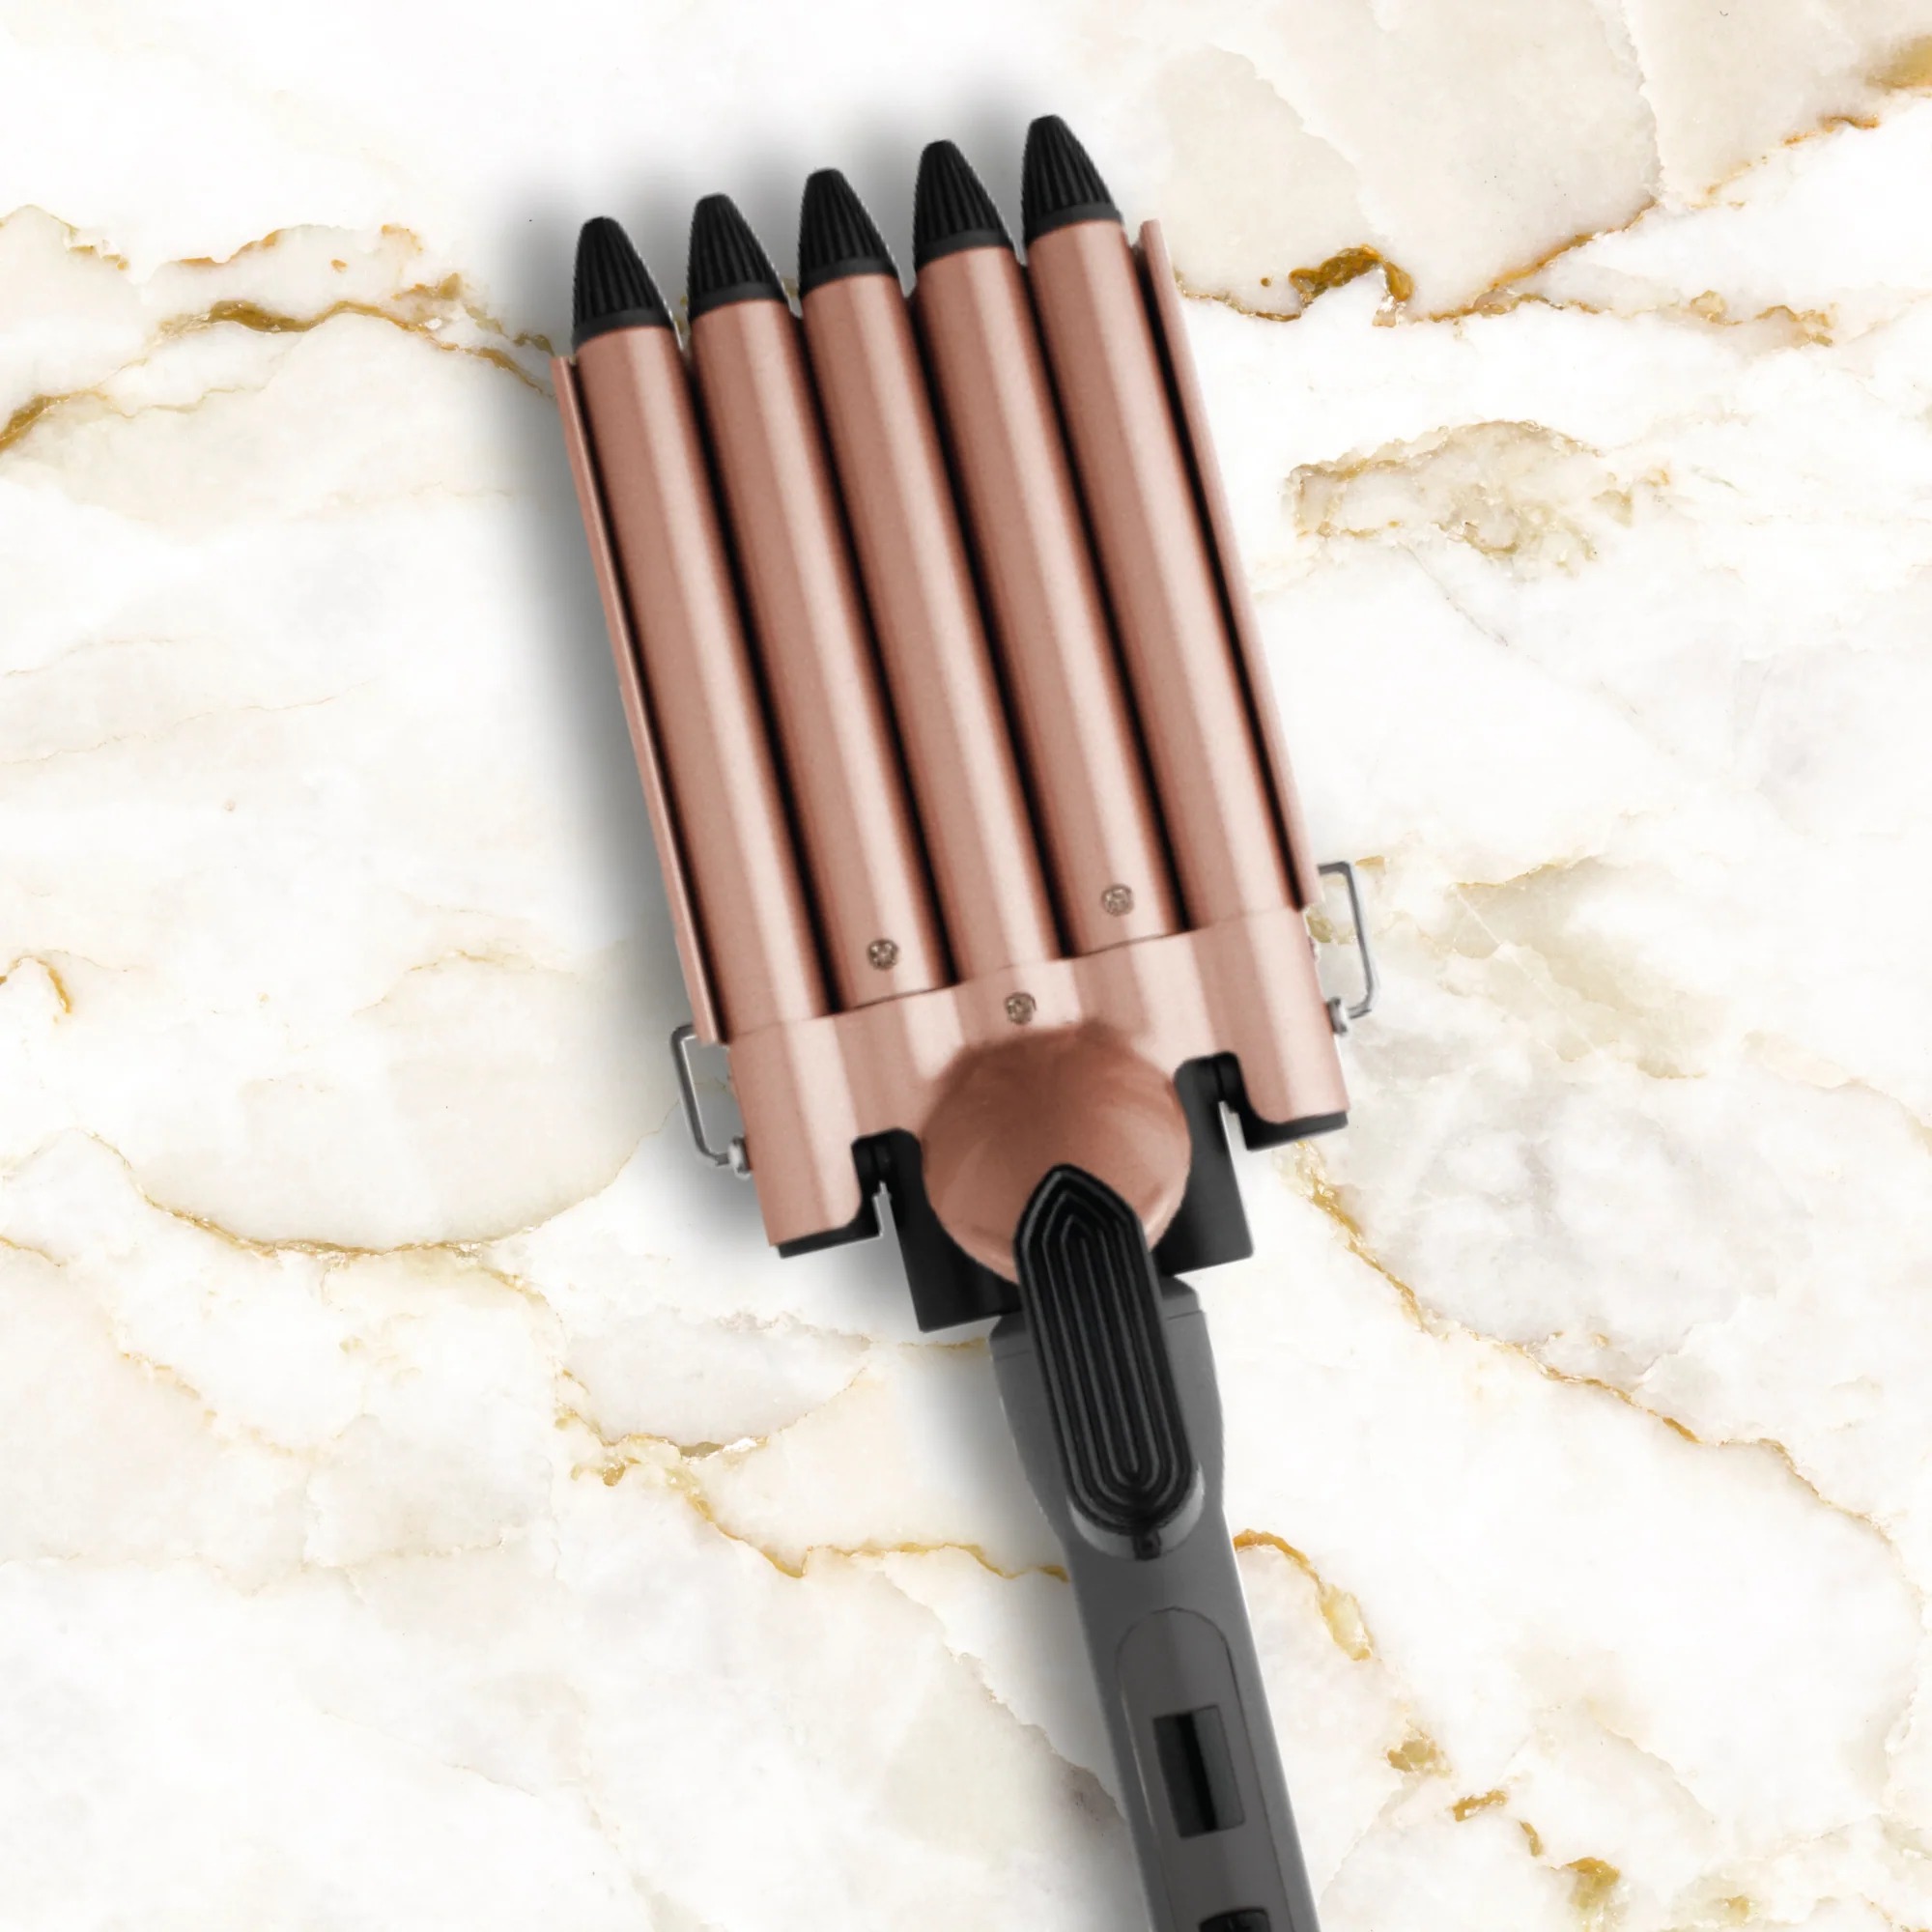
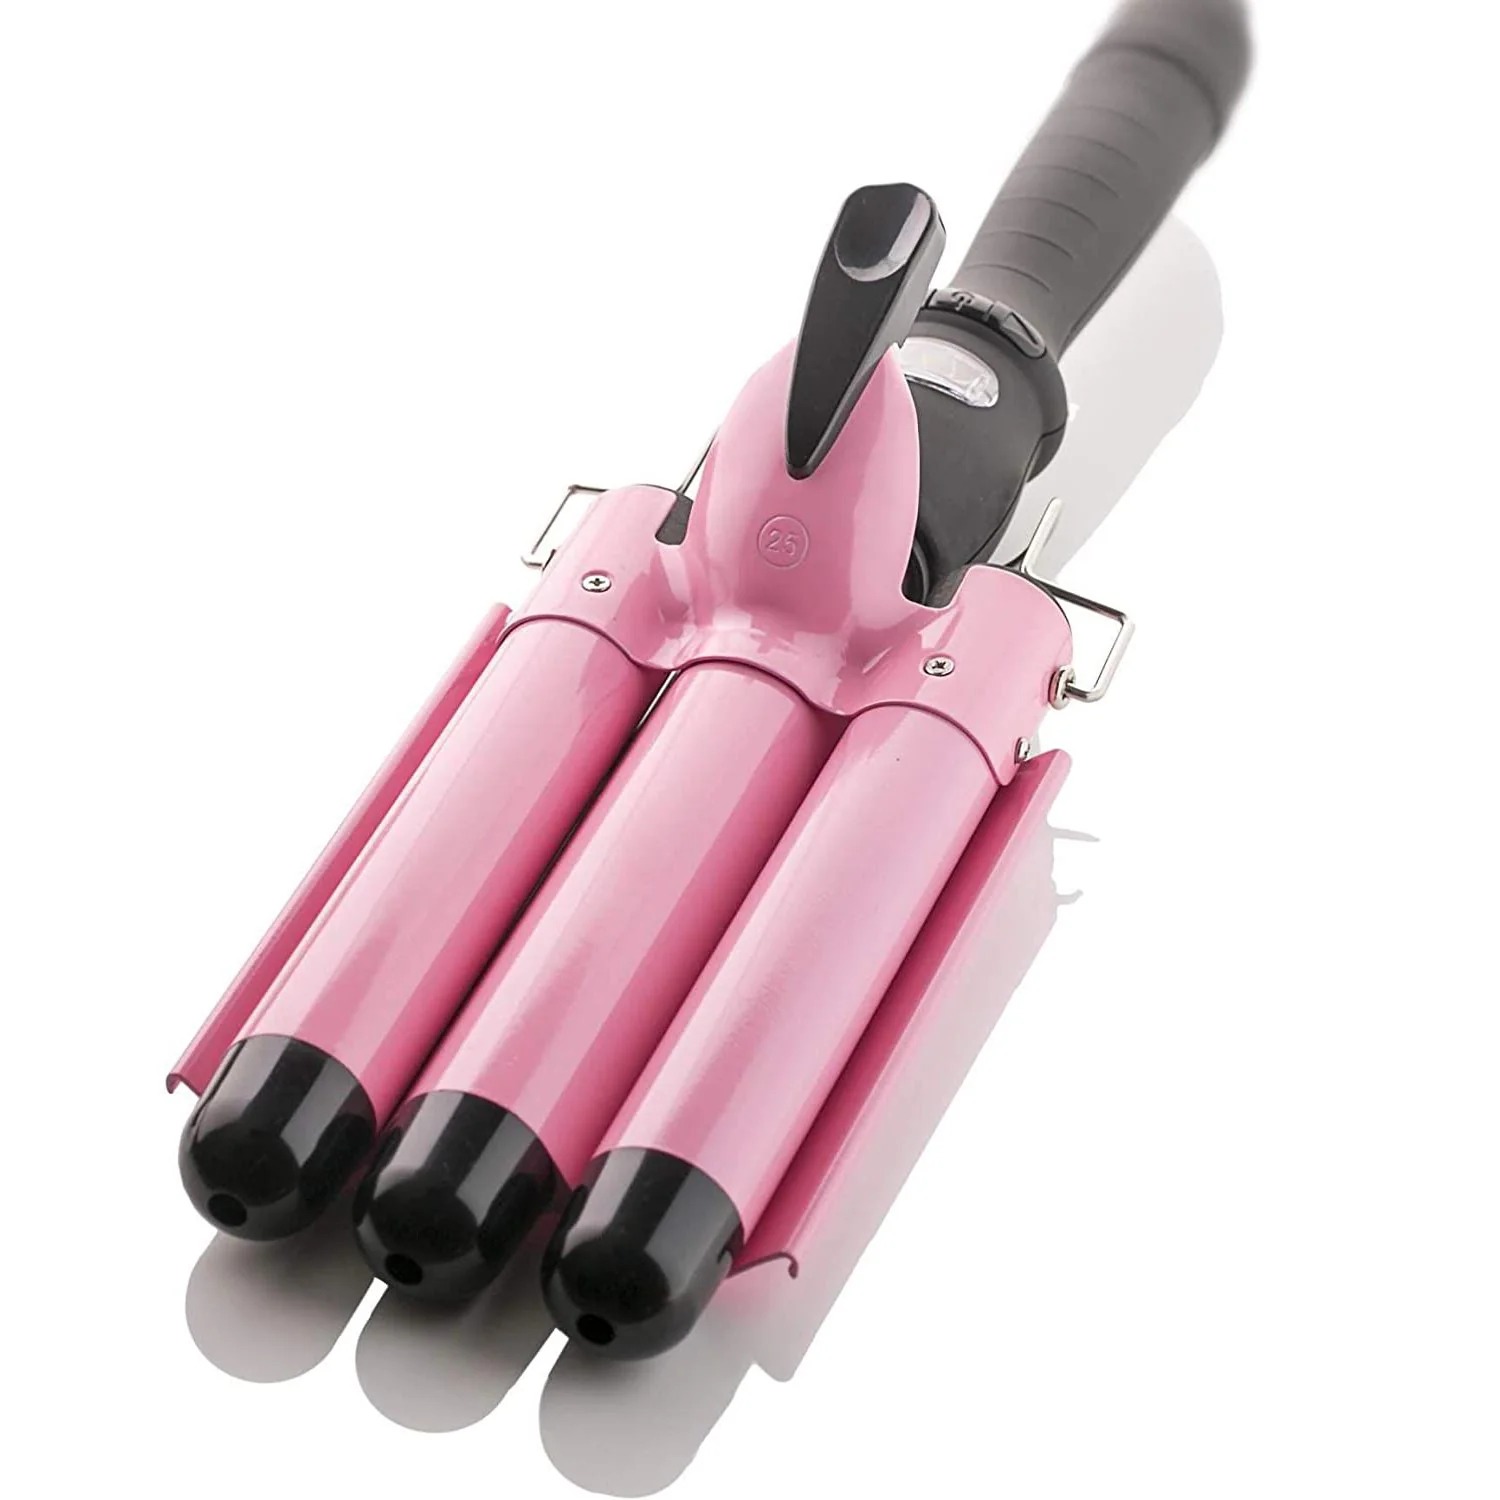
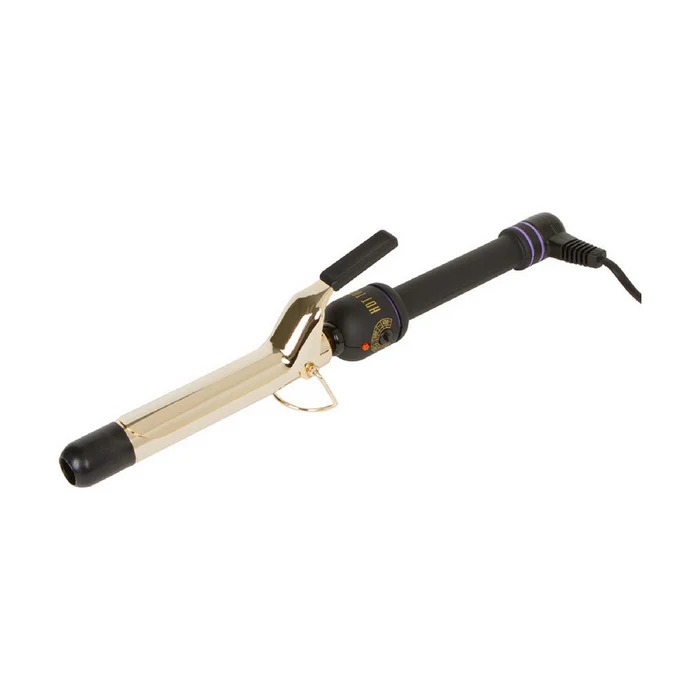
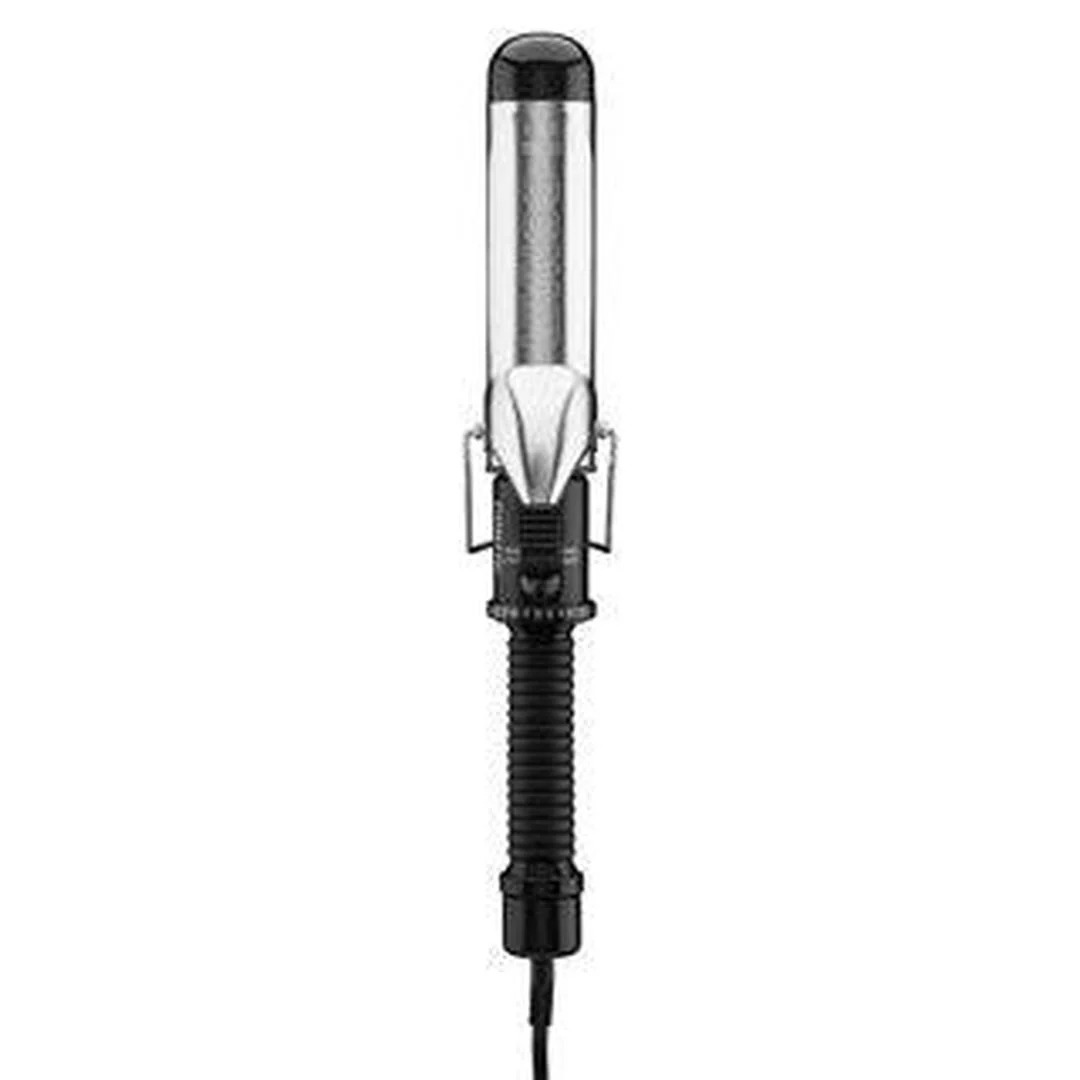
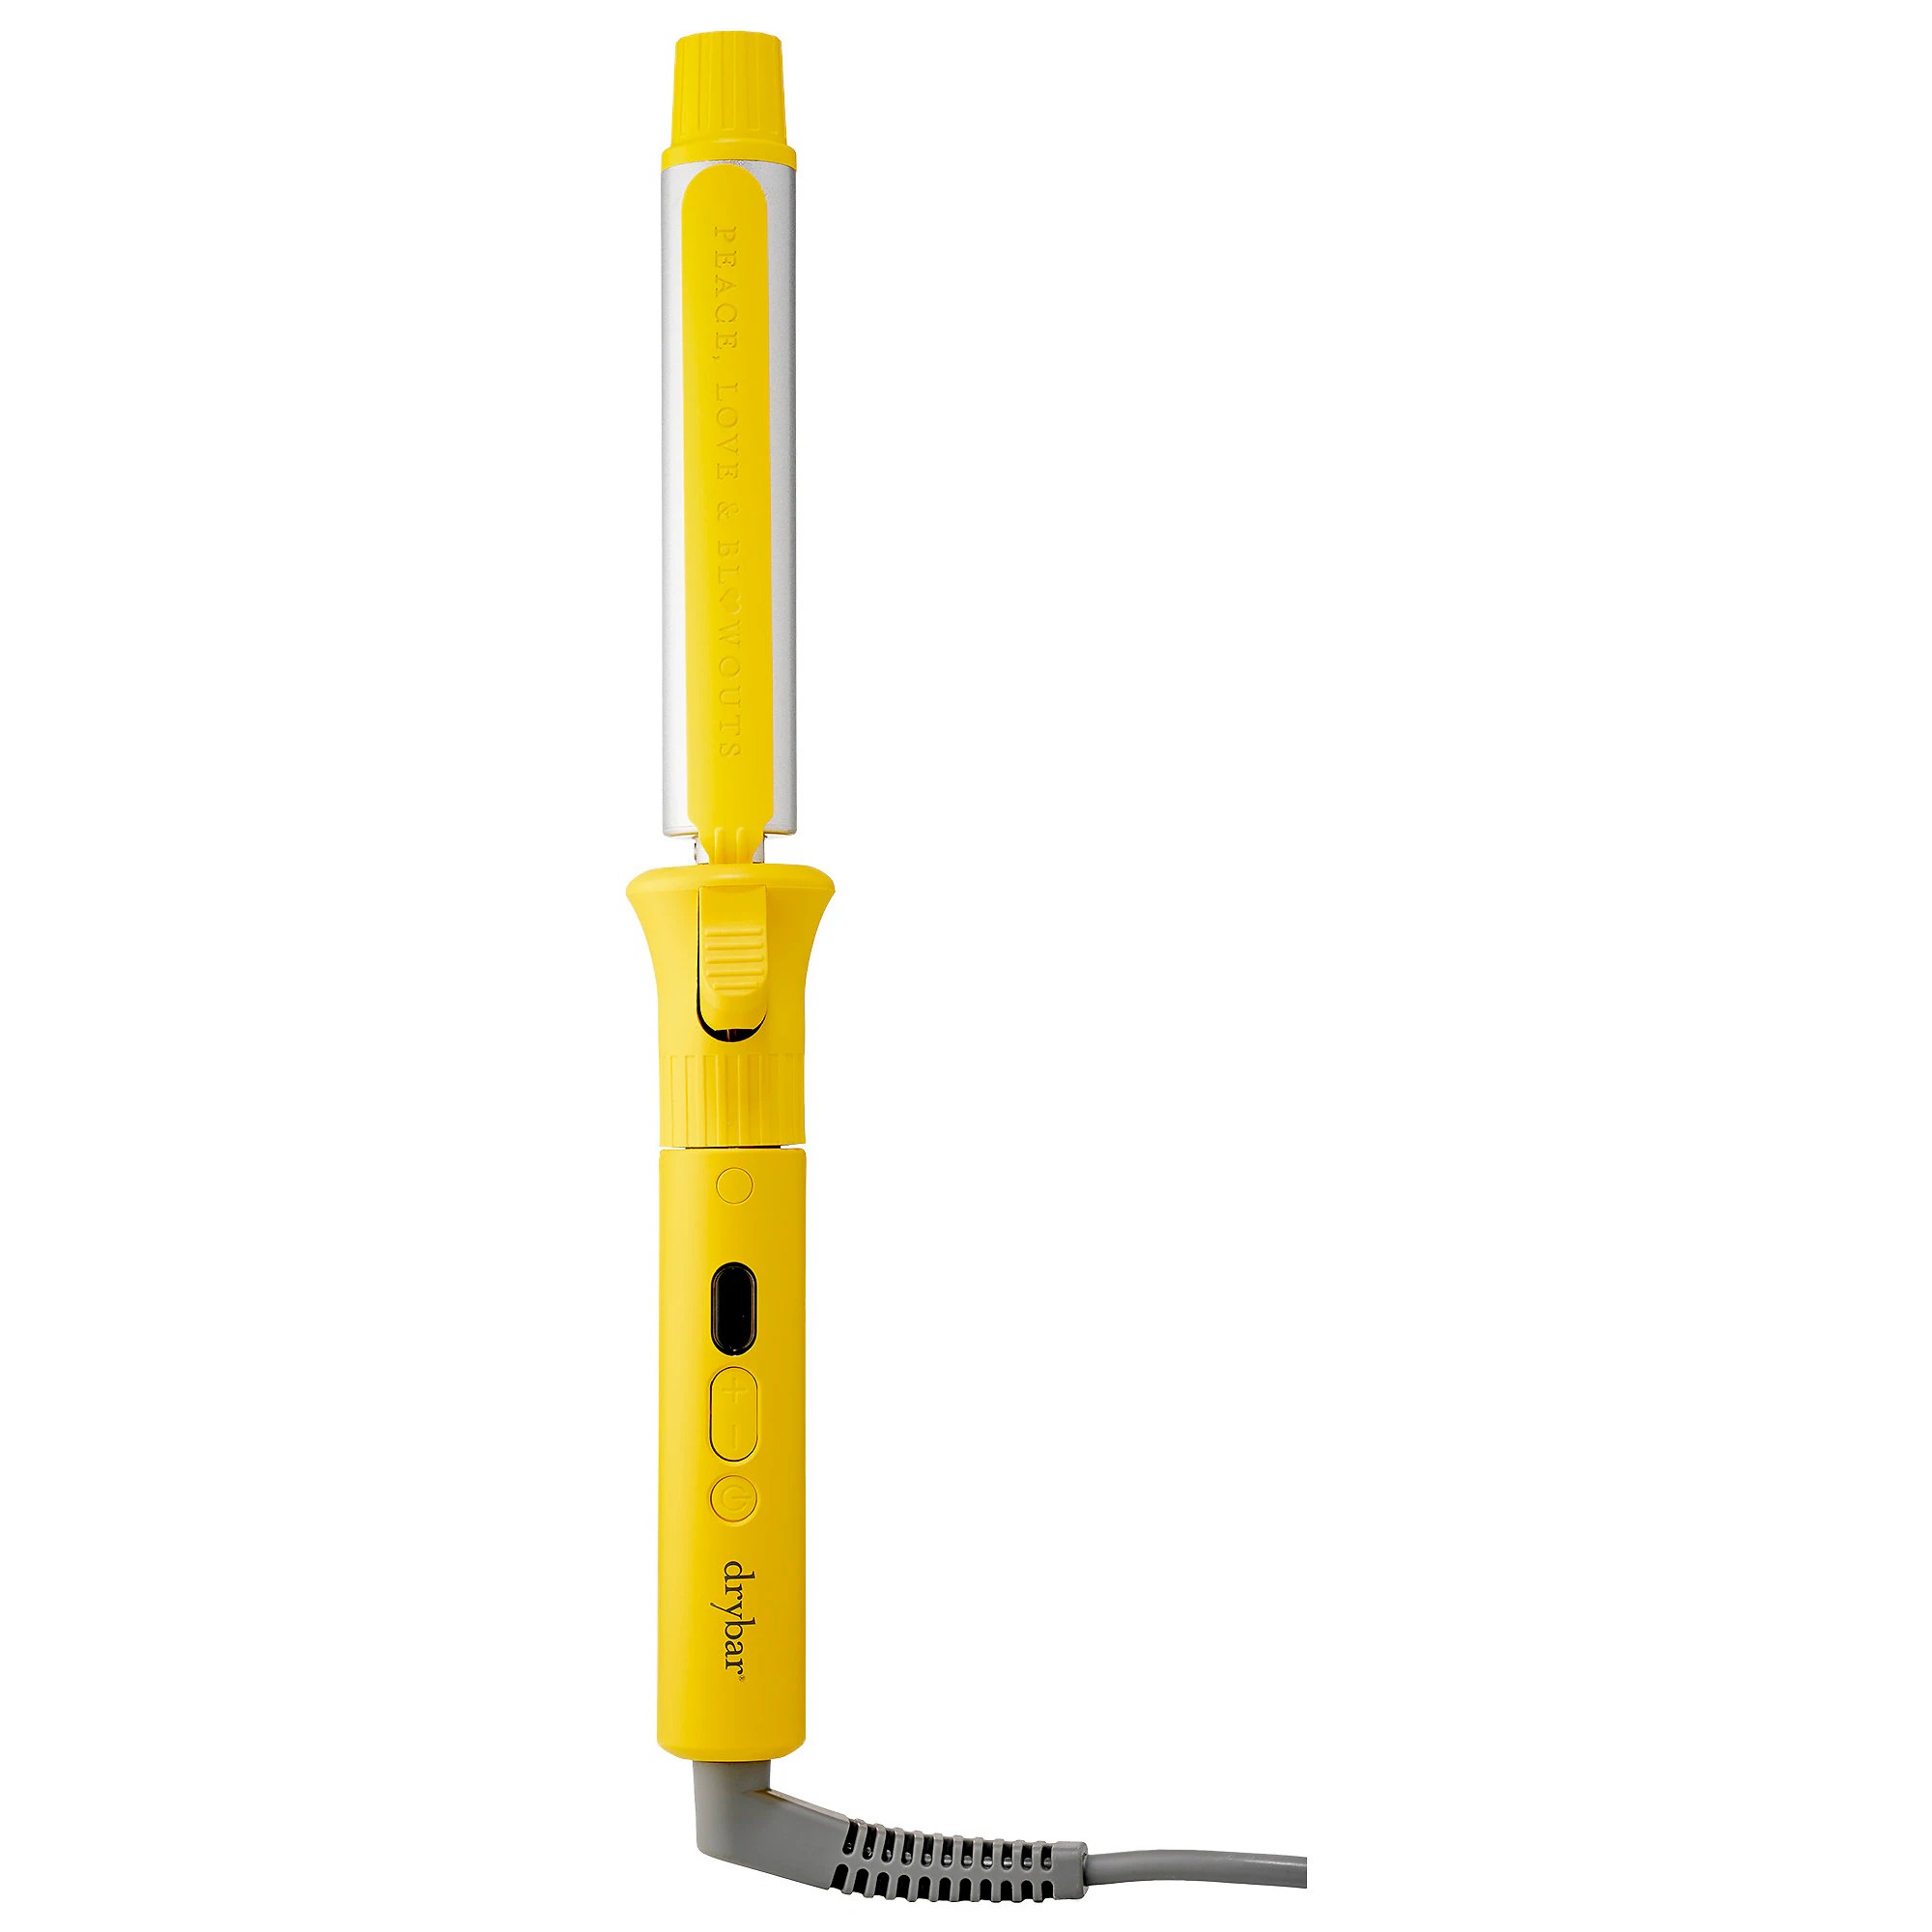
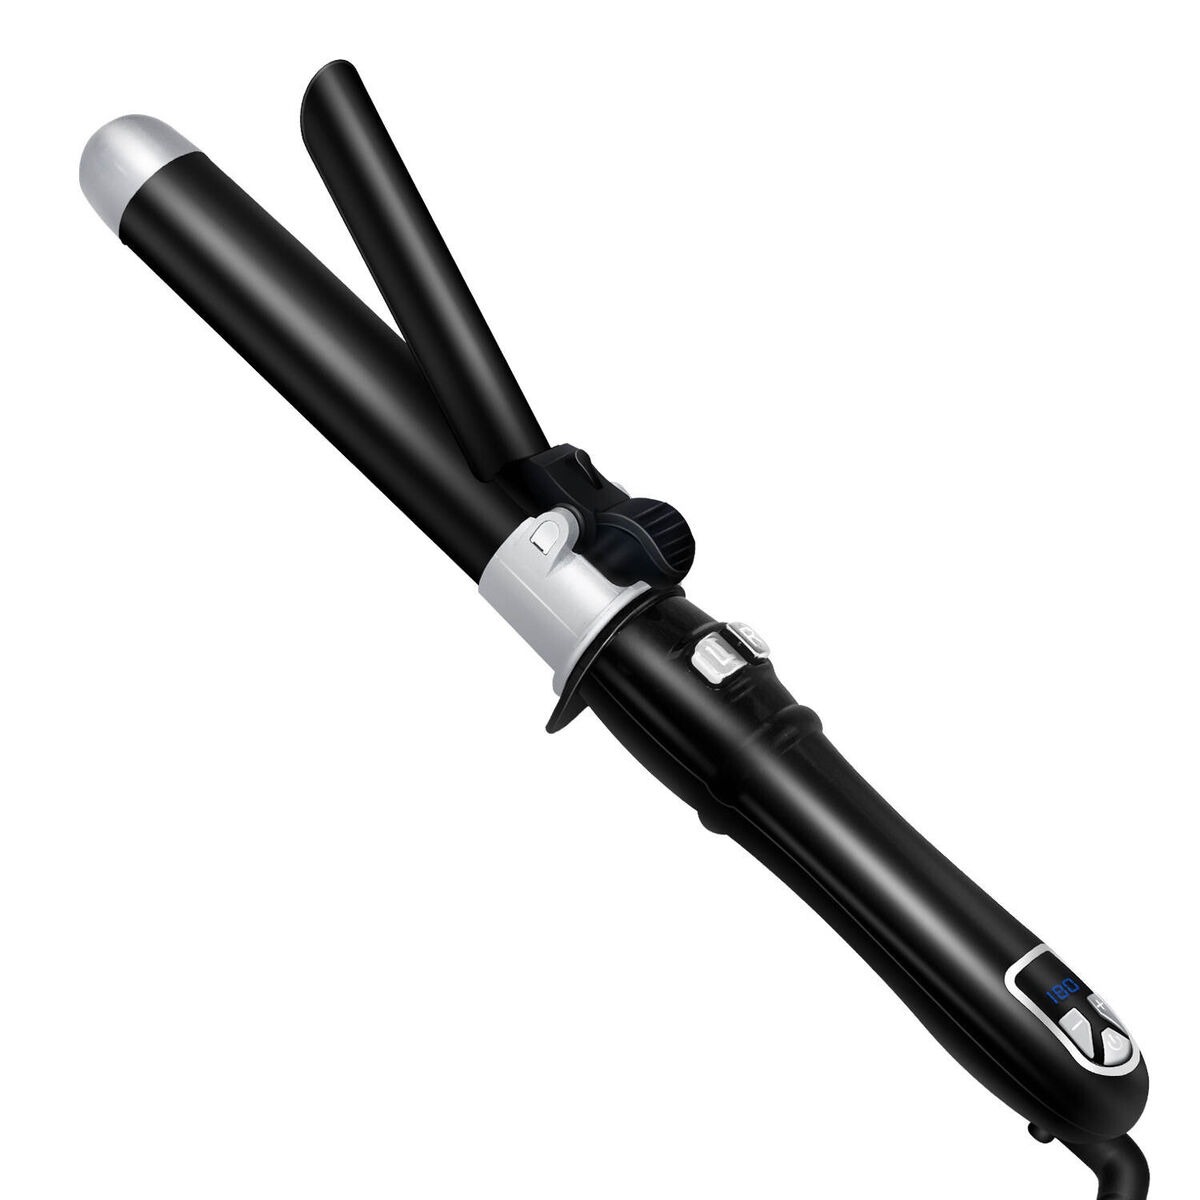
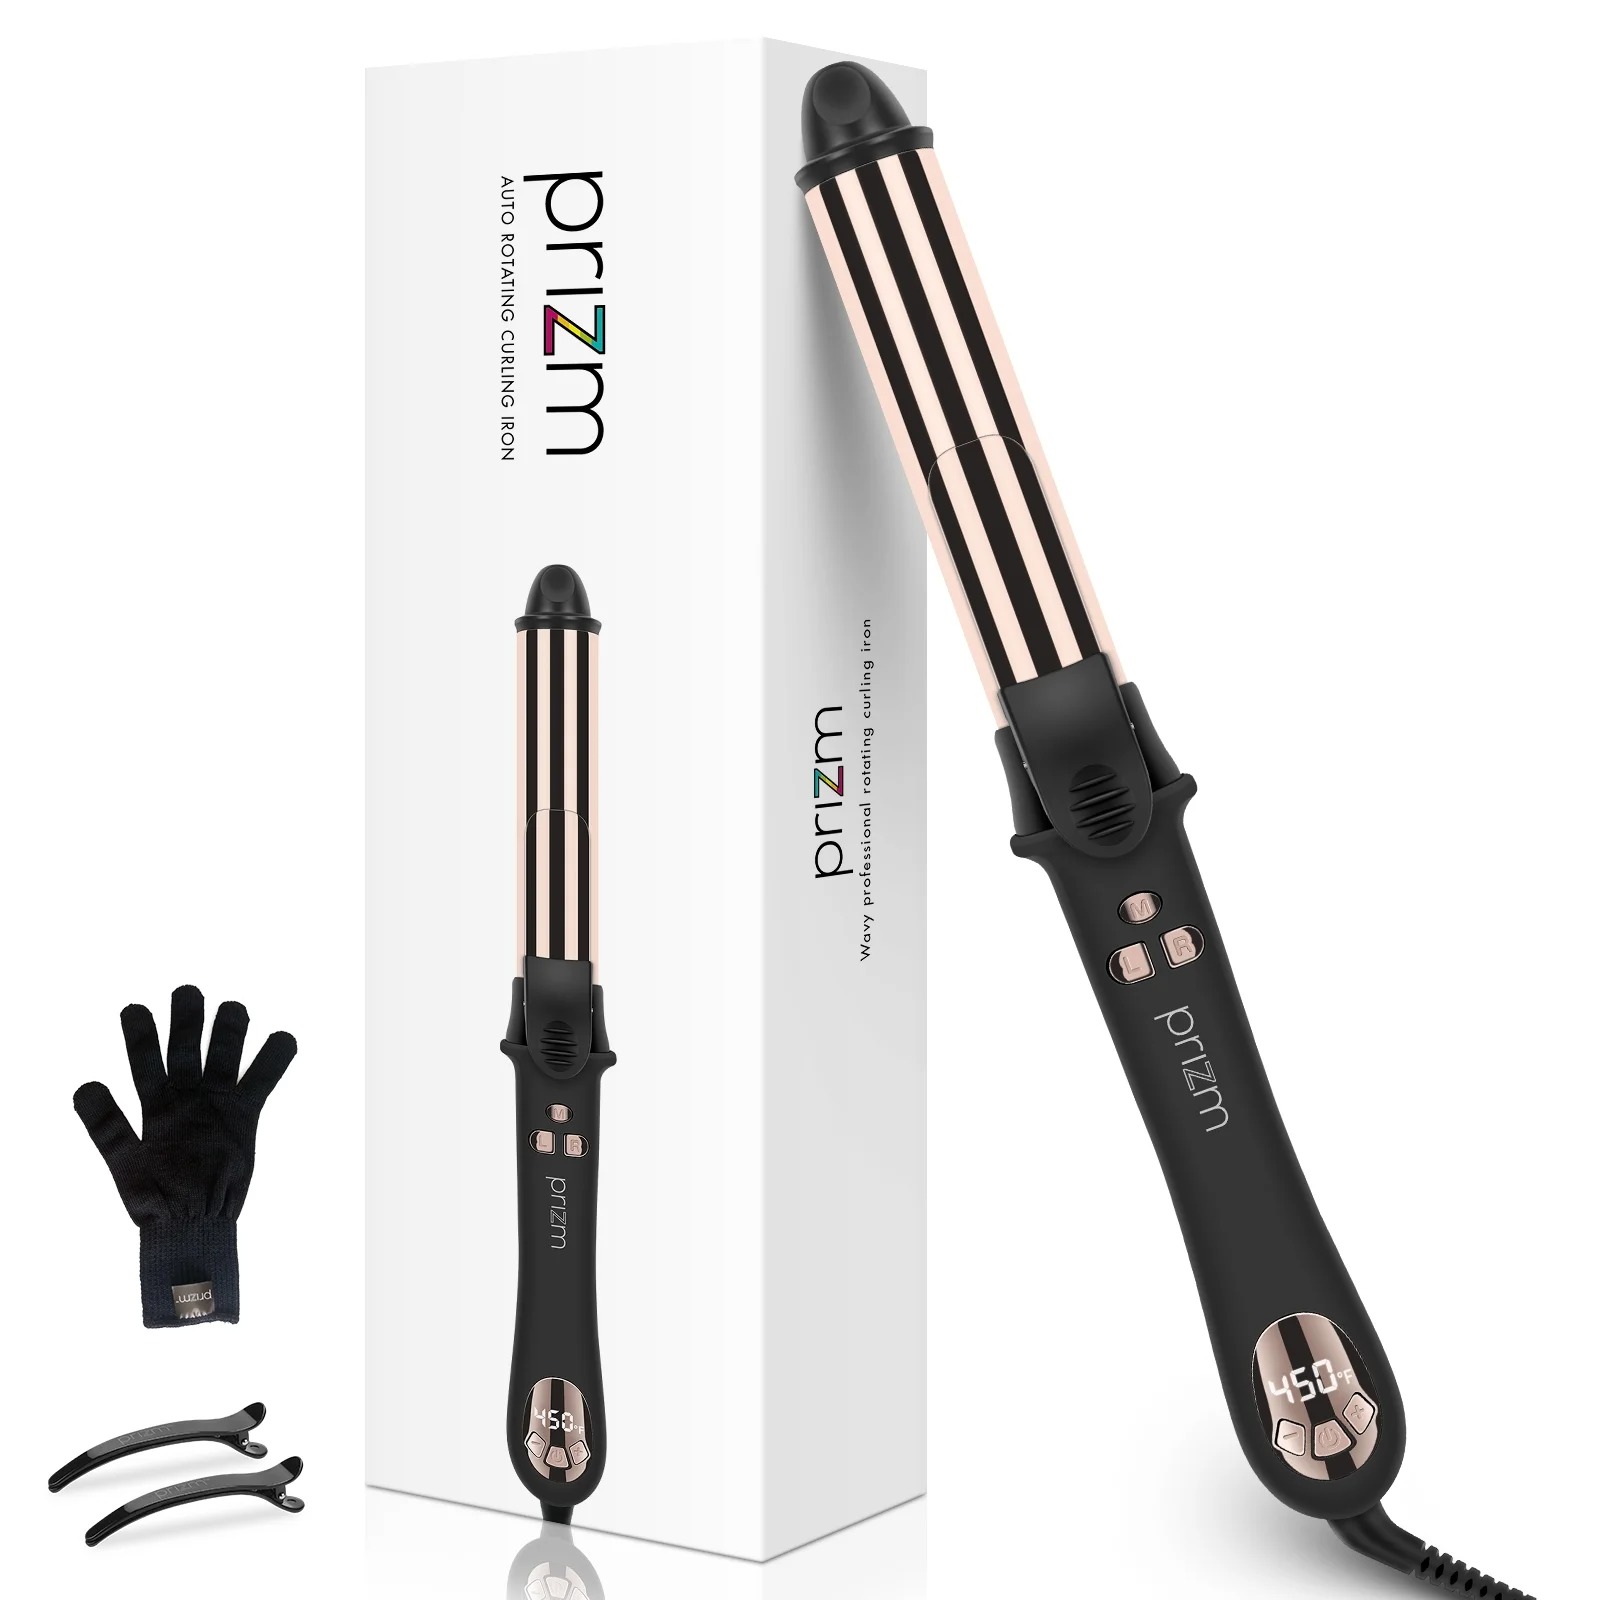
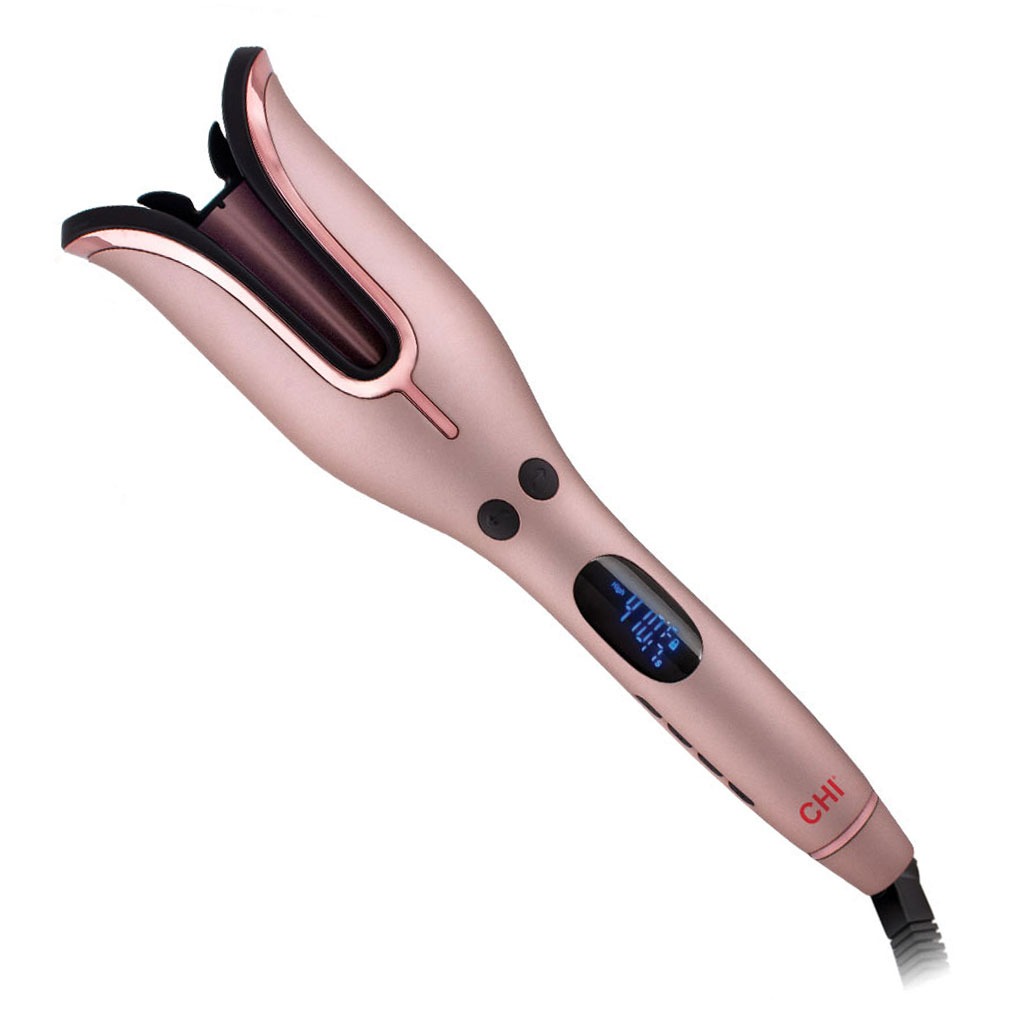
Curling iron that spins are innovative tools in hair styling. Unlike traditional curling irons, a curling iron that spins rotates automatically. This feature makes creating curls easier and faster. It helps users achieve uniform curls with less effort and skill needed.
A spinning curling iron typically comes with a motorized barrel. When activated, it winds the hair around the barrel with a press of a button. Users don’t have to twist their wrist or turn the iron manually. This benefit is a huge leap forward, especially for those who find regular curling methods challenging.
The Benefits of Using a Spinning Curling Iron
Choosing a curling iron that spins comes with a variety of advantages. The benefits extend from ease of use to hair health. Here’s why you might consider switching to a spinning curling iron:
Time-Efficient Styling
Spinning curling irons allow for rapid styling. You save time as the spinning action does the work for you. No need for manual wrist-twisting or turning the iron. This speeds up the curling process significantly.
Consistent Curls
Achieving consistent curls can be difficult. The automatic rotation of a spinning iron ensures uniformity. Every curl comes out looking just as good as the last, without any extra effort.
Reduced Physical Strain
Traditional curling requires wrist dexterity and can lead to strain. A spinning curling iron reduces the physical effort required. This makes it ideal for those with hand or wrist issues.
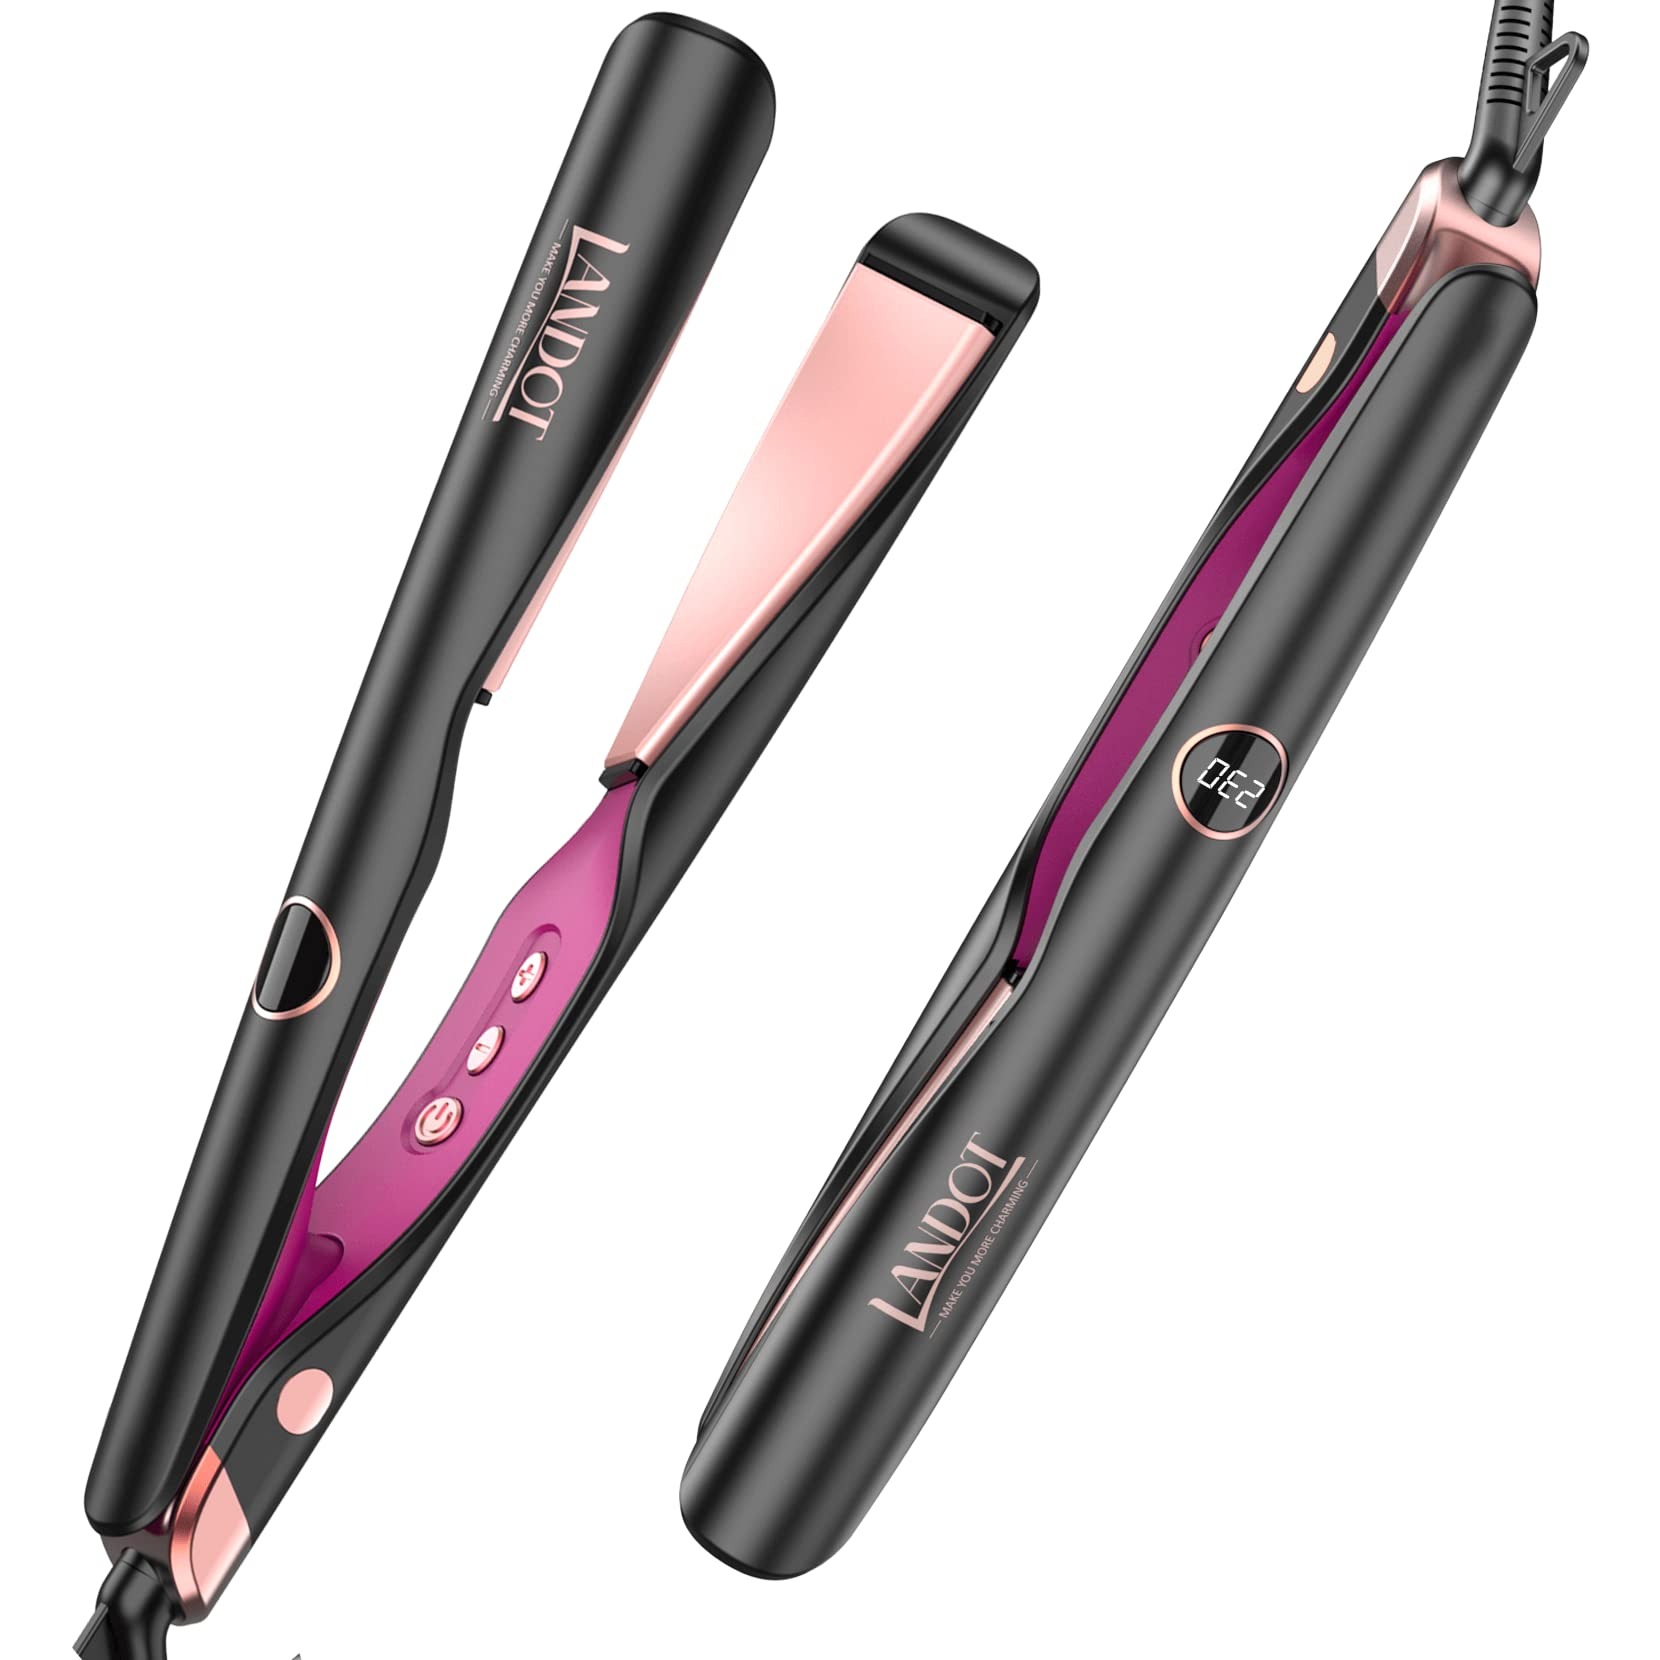
Adjustable Heat for Hair Protection
Adjustable heat settings protect your hair from damage. You can set the temperature to match your hair type. This ensures that fine hair won’t be fried and coarse hair will be styled effectively.
Advanced Technology for Healthier Hair
Many spinning irons come with ionic and ceramic technology. These enhancements can reduce frizz and add shine. As a result, hair is not only styled but also treated to look healthier.
Suitable for All Skill Levels
Even if you’re new to curling, a spinning iron is user-friendly. It simplifies the curling process, making professional-looking curls accessible to beginners.
In sum, a spinning curling iron offers numerous benefits that make styling easier, less time-consuming, and gentle on the hair. Its user-friendliness and hair-protective features are what set it apart from traditional curling irons.
How to Choose the Right Spinning Curling Iron
Selecting the right spinning curling iron involves several factors. To help you make an informed decision, here are some aspects to consider:
Assess Your Hair Type and Length
Match the spinning iron to your hair type. Fine hair needs a lower heat setting, while thick hair may require more heat. Consider an iron with a range of temperature settings for versatility. Also, make sure the barrel size fits your hair length.
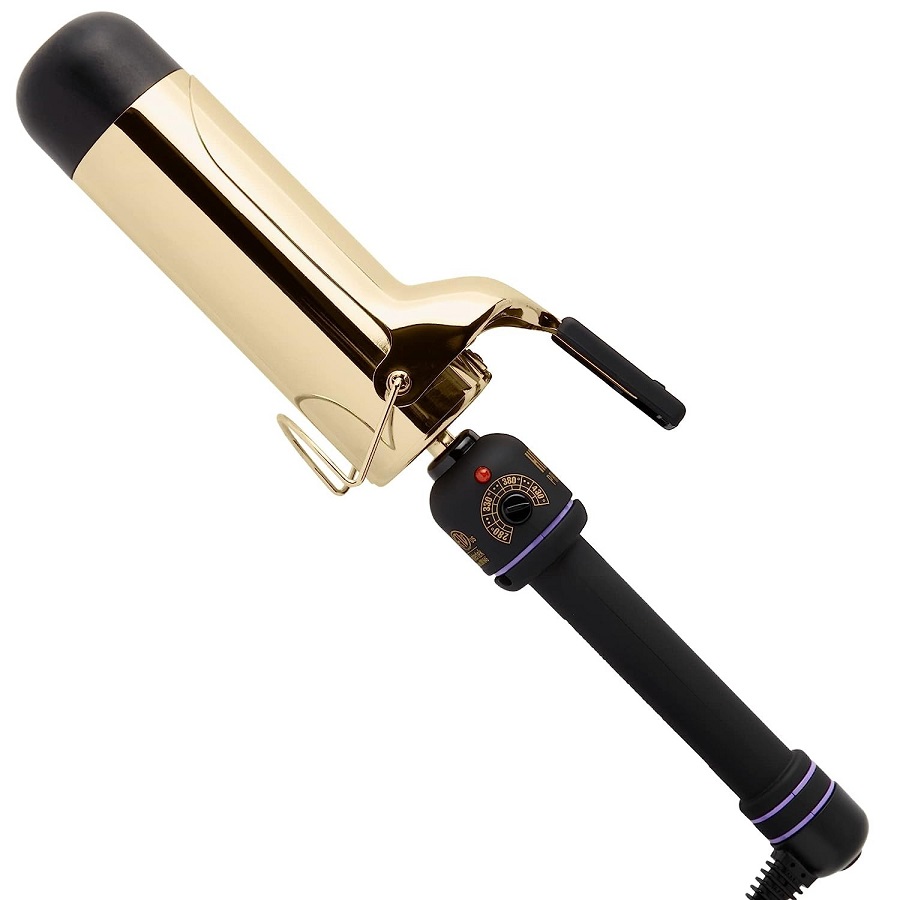
Check for Adjustable Heat Settings
Look for a spinning curling iron with adjustable heat settings. This lets you control the temperature to prevent hair damage. It’s essential for hair health and styling success.
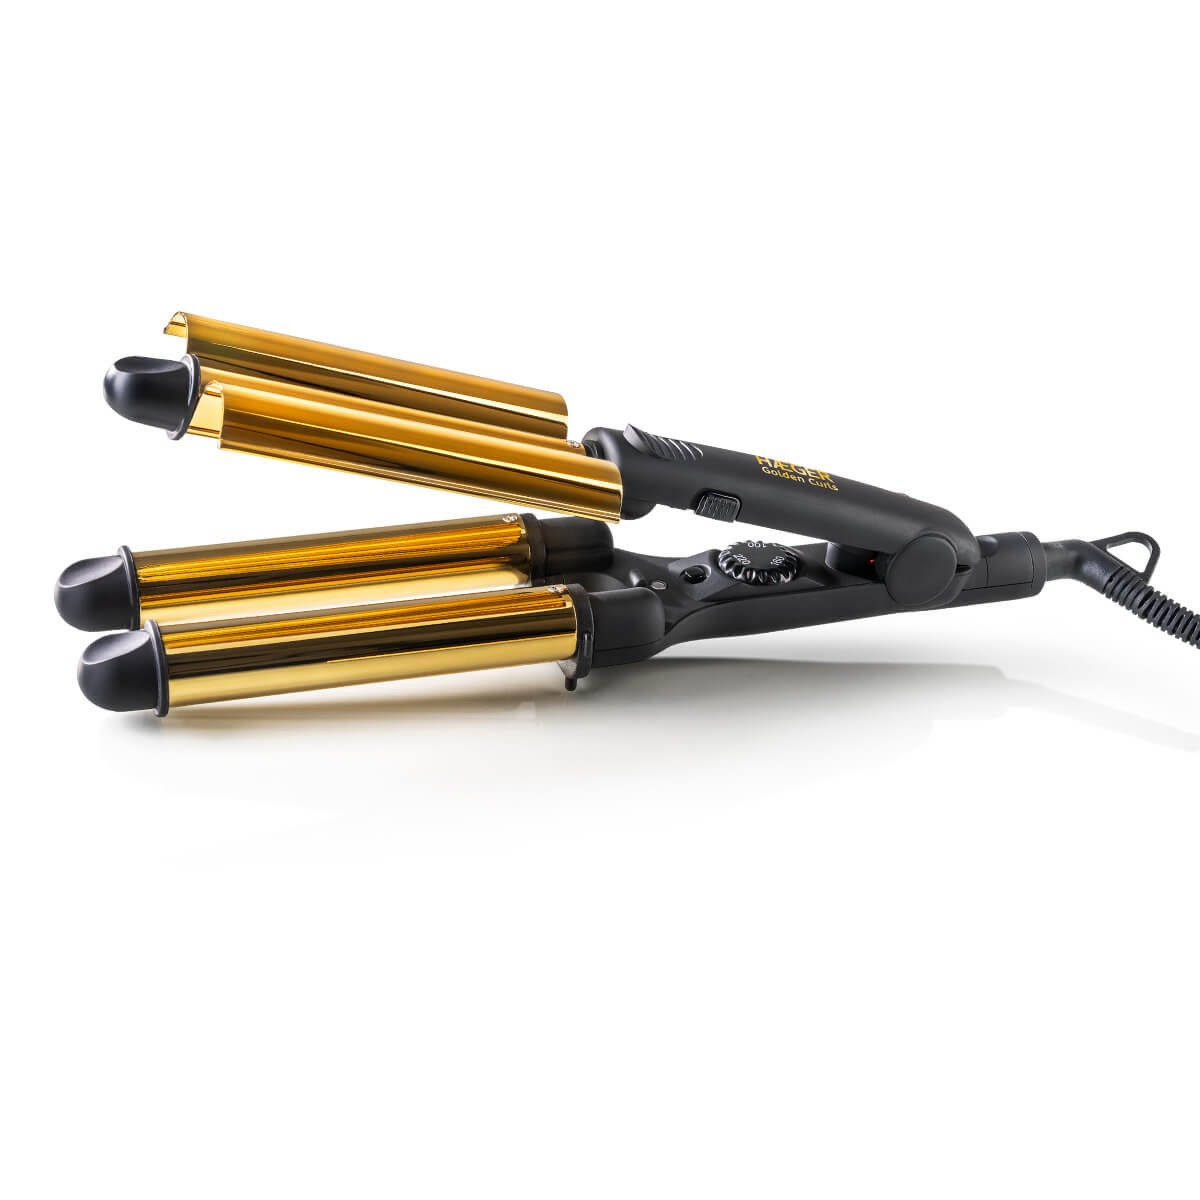
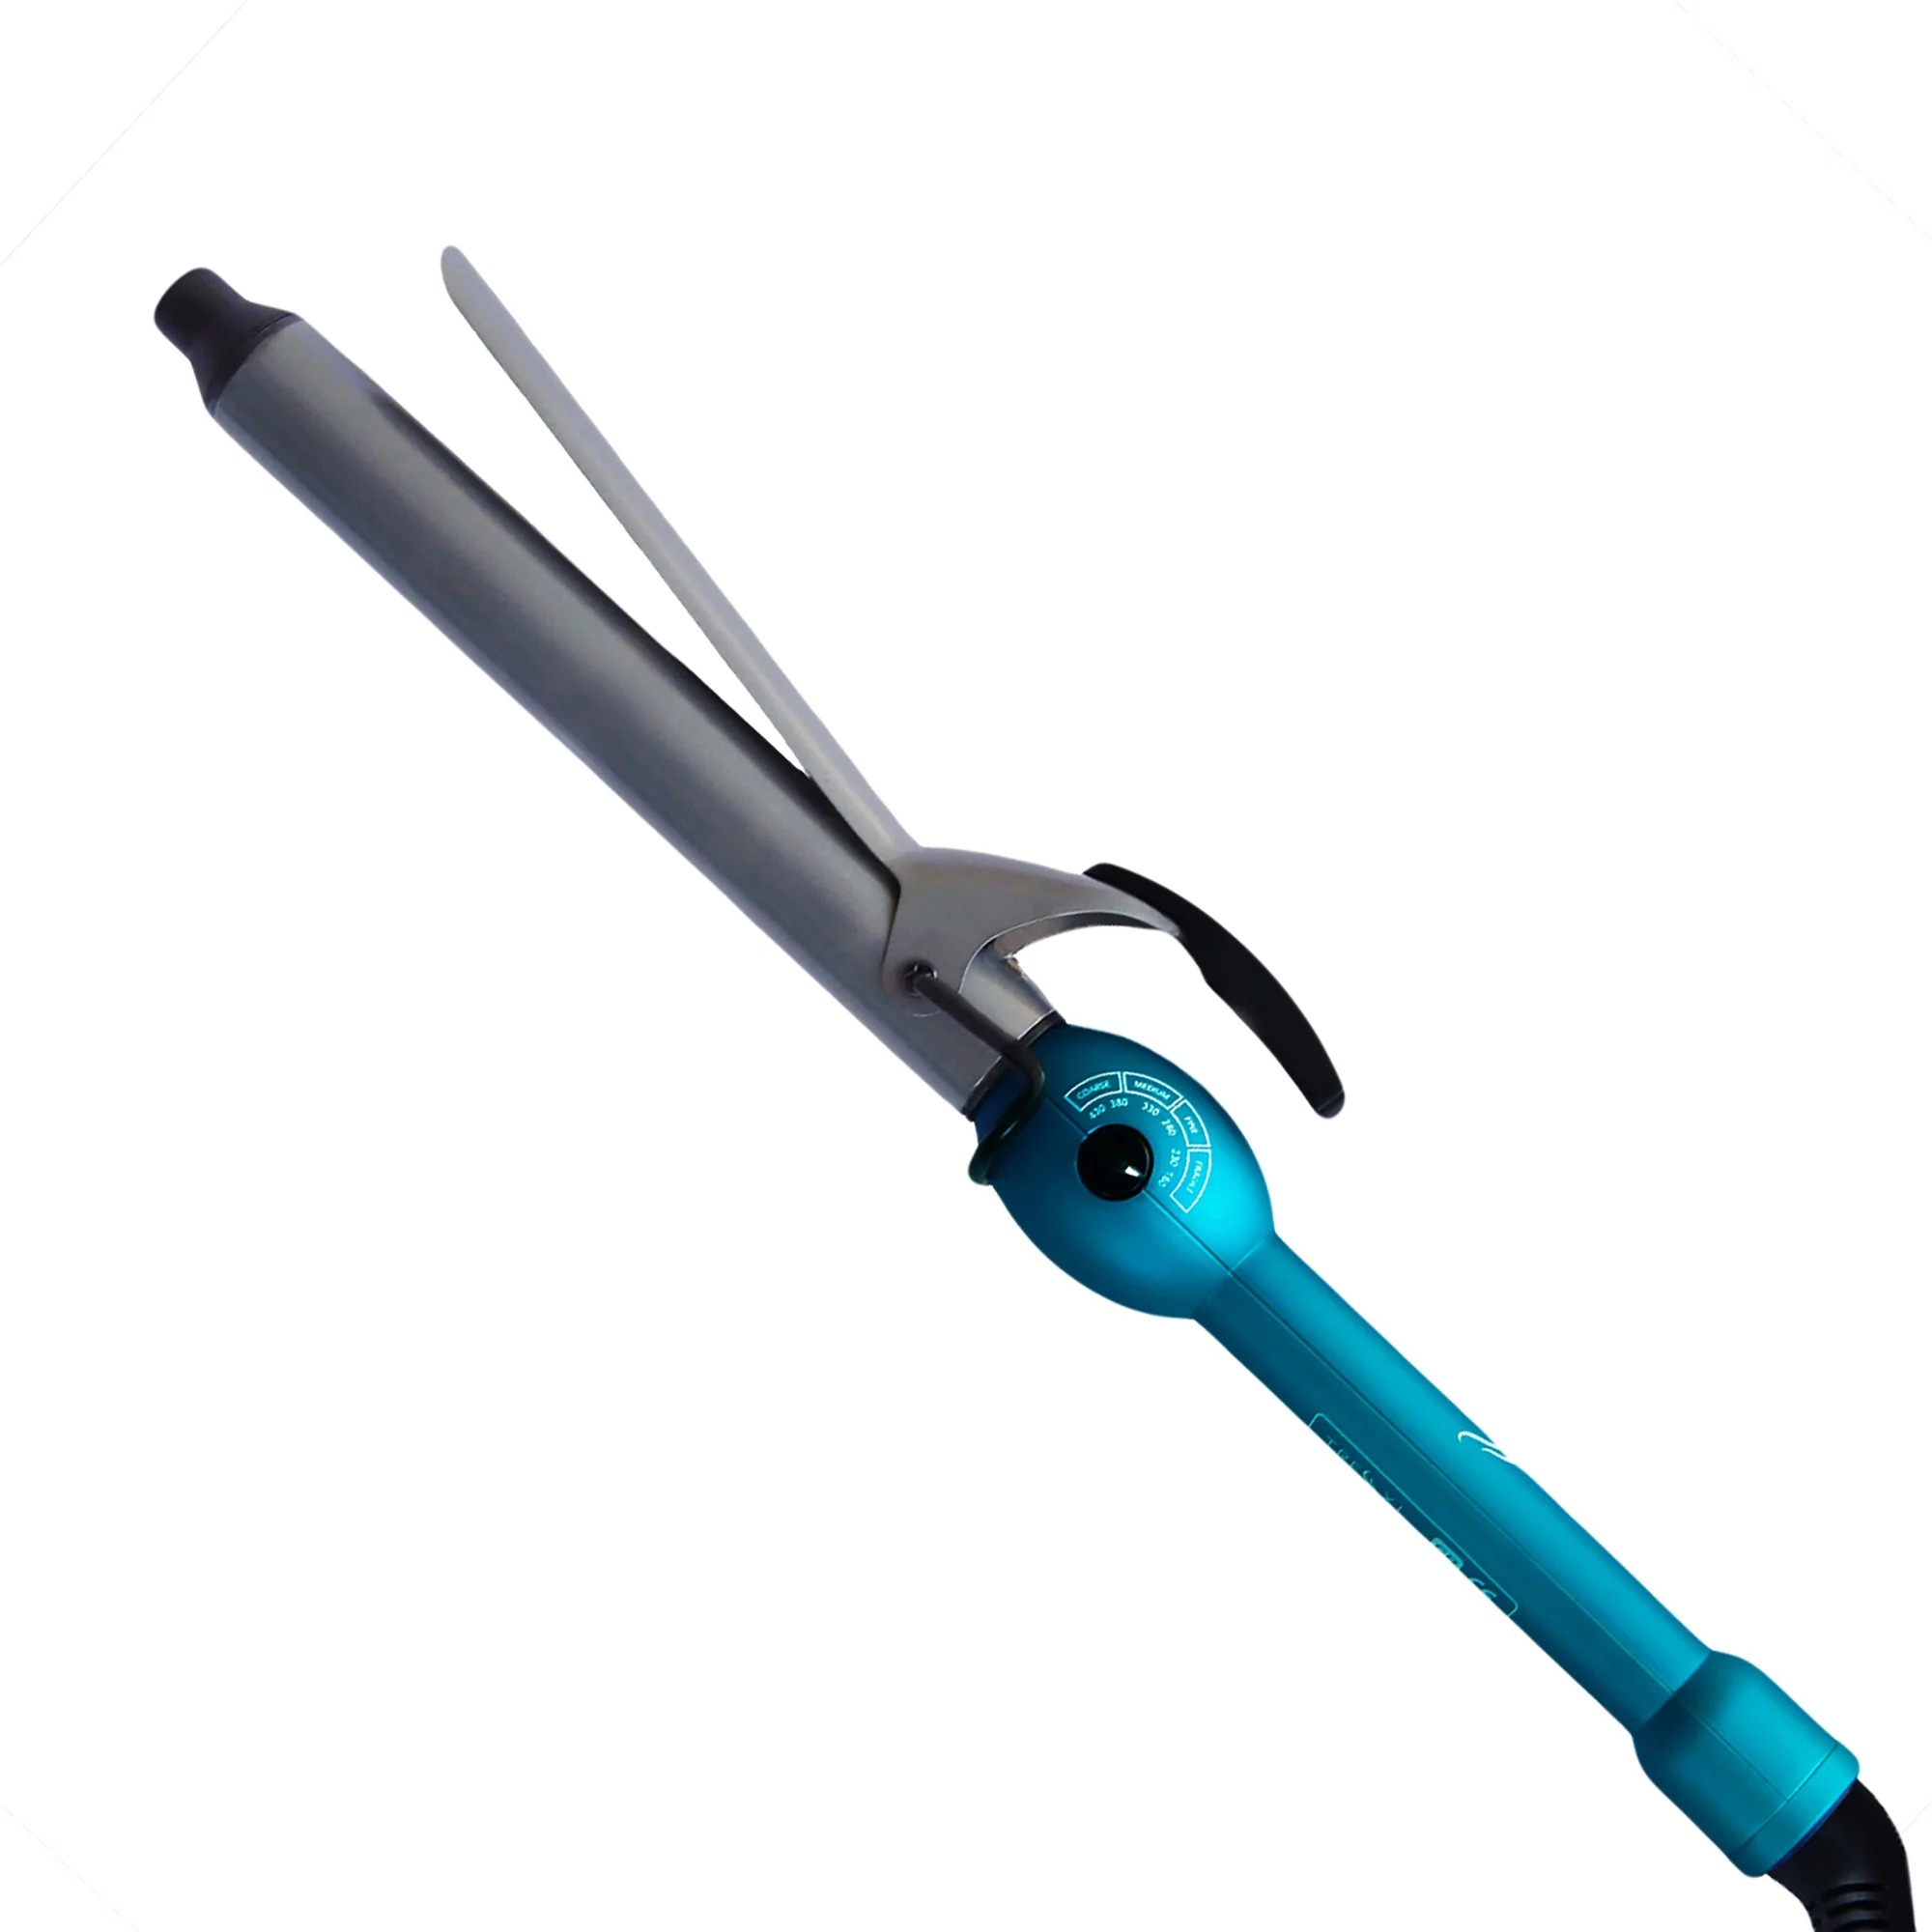
Consider the Barrel Material
The barrel material affects the outcome. Ceramic or tourmaline barrels emit negative ions, reducing frizz. They also distribute heat more evenly, which is better for your hair.
Look for Additional Features
Additional features can enhance styling. A curling iron that spins with a long swivel cord offers freedom of movement. Dual voltage is a plus for travel. Auto shut-off adds safety.
Read Reviews and Recommendations
Read user reviews and expert recommendations. They provide real insights into performance and durability. Choose a model with positive feedback and good ratings.
Determine Your Budget
Finally, set a budget for your purchase. Spinning curling irons come in various price ranges. Balance the features you want with how much you’re willing to spend.
By considering these factors, you’ll find the spinning curling iron that best suits your needs. It’s the first step towards effortless, beautiful curls.
Step-by-Step Guide to Using a Spinning Curling Iron
Using a curling iron that spins can transform your hair styling routine. Follow this simple guide to get started:
- Prep Your Hair: Start with clean, dry hair. Apply a heat protectant to shield your hair from heat damage.
- Power on the Iron: Turn on your spinning curling iron. Allow it to heat up to your desired temperature.
- Section Your Hair: Divide your hair into sections. Smaller sections make more defined curls, while larger sections create looser waves.
- Position the Iron: Open the clamp and place a section of hair in it. Position the curling iron near your roots without touching the scalp.
- Activate the Spin Function: Press the button to spin the barrel. Wrap the hair around the barrel by holding the end of your hair in place.
- Hold and Release: Keep the hair around the barrel for a few seconds. Then release the clamp and gently pull the iron out of the curl.
- Cool the Curl: Let the curl cool for a moment to set its shape. This makes your curl last longer.
- Repeat: Continue with the next section of hair until all hair is curled.
- Shake Out Your Curls: Once all hair is curled, lightly run your fingers through your hair. This blends the curls for a more natural look.
- Apply Finishing Products: Use hairspray or serum for extra hold and shine.
By following these steps, you can achieve beautiful, even curls with a spinning curling iron. This tool makes curling simple, whether you’re a beginner or a pro.
Safety Tips for Spinning Curling Irons
Using a curling iron that spins can make styling your hair a breeze, but like any heated styling tool, it’s crucial to use it safely to prevent accidents and damage to your hair. Here are some safety tips to keep in mind:
- Read the Instruction Manual: Before you use your new tool, read the manual. It has important safety info.
- Handle with Care: Always hold the spinning curling iron by the handle, not the barrel. It gets very hot.
- Avoid Water: Never use a curling iron near water to avoid shocks. Keep it away from sinks and bathtubs.
- Use a Heat-Resistant Mat: Place the iron on a heat-proof mat while it’s hot. Protect your surfaces.
- Don’t Touch the Barrel: Warn children not to touch. The barrel can cause burns if handled incorrectly.
- Unplug After Use: Always unplug the iron once you are done. It prevents overheating and saves energy.
- Let It Cool: After using, let the curling iron that spins cool down before storing it somewhere safe.
- Never Leave It Unattended: When the iron is on, keep an eye on it. Don’t walk away and leave it hot.
Following these simple yet effective tips will help ensure your experience with a spinning curling iron is both safe and enjoyable. Always remember to prioritize your safety and the care of your hair when using heated tools.
Cleaning and Maintenance of Spinning Curling Irons
Proper care extends a curling iron’s life and maintains its performance. Here are easy maintenance tips:
- Unplug and Cool: Always let the curling iron cool completely before cleaning.
- Clean Regularly: Wipe the barrel with a soft, damp cloth after each use to remove residue.
- Avoid Harsh Chemicals: Use gentle cleaners, not abrasive ones that can damage the iron.
- Check the Cord: Inspect the power cord for wear or damage to ensure safety.
- Store Properly: Keep your iron in a dry place and use a heat-resistant pouch if possible.
- Handle with Care: Avoid dropping the iron as it can damage the internal components or the barrel.
By following these simple steps, your curling iron that spins will remain a reliable tool for creating beautiful curls.
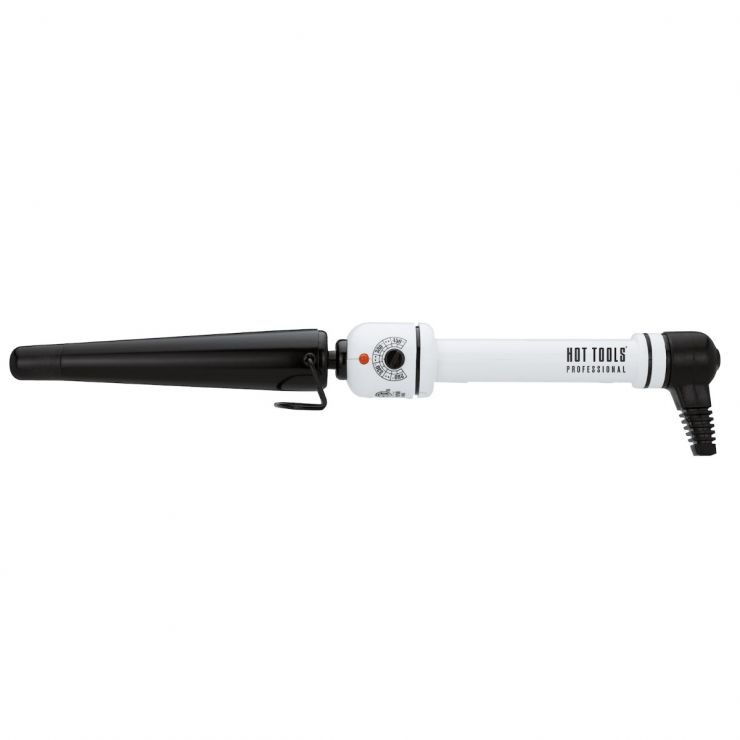
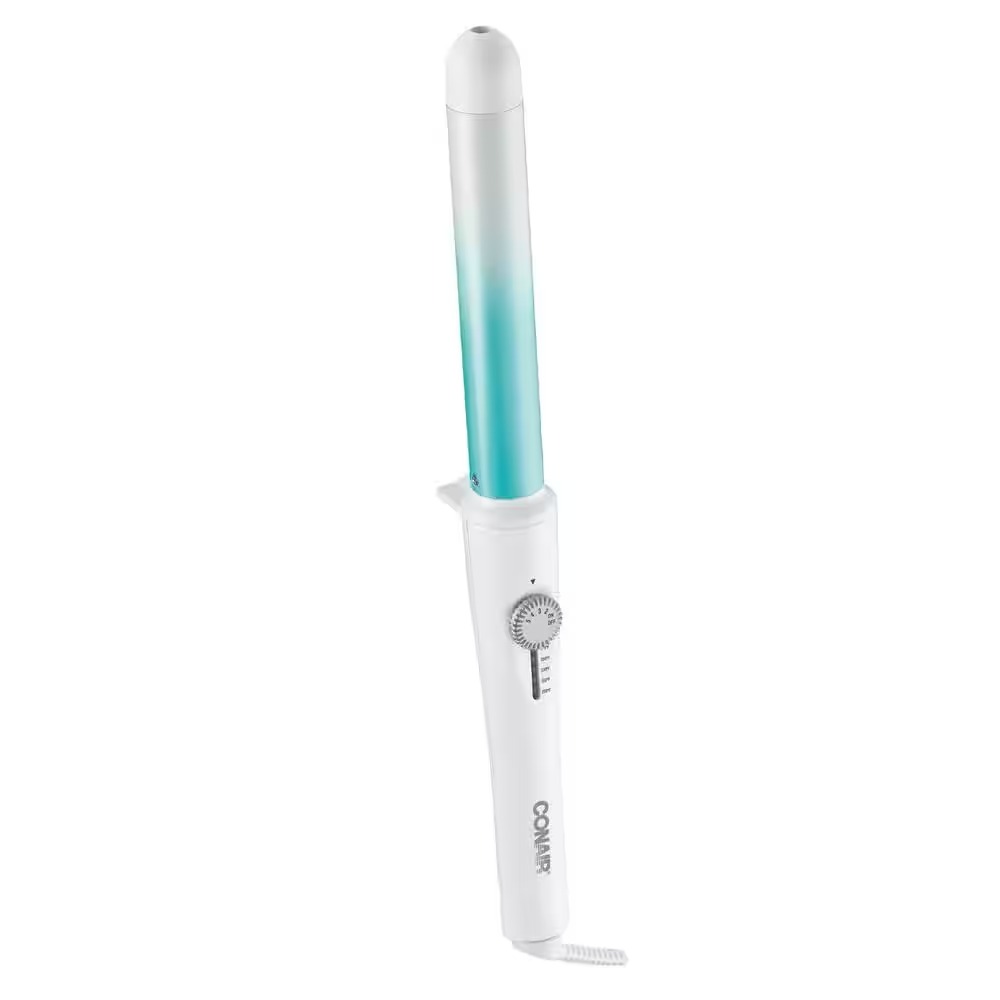
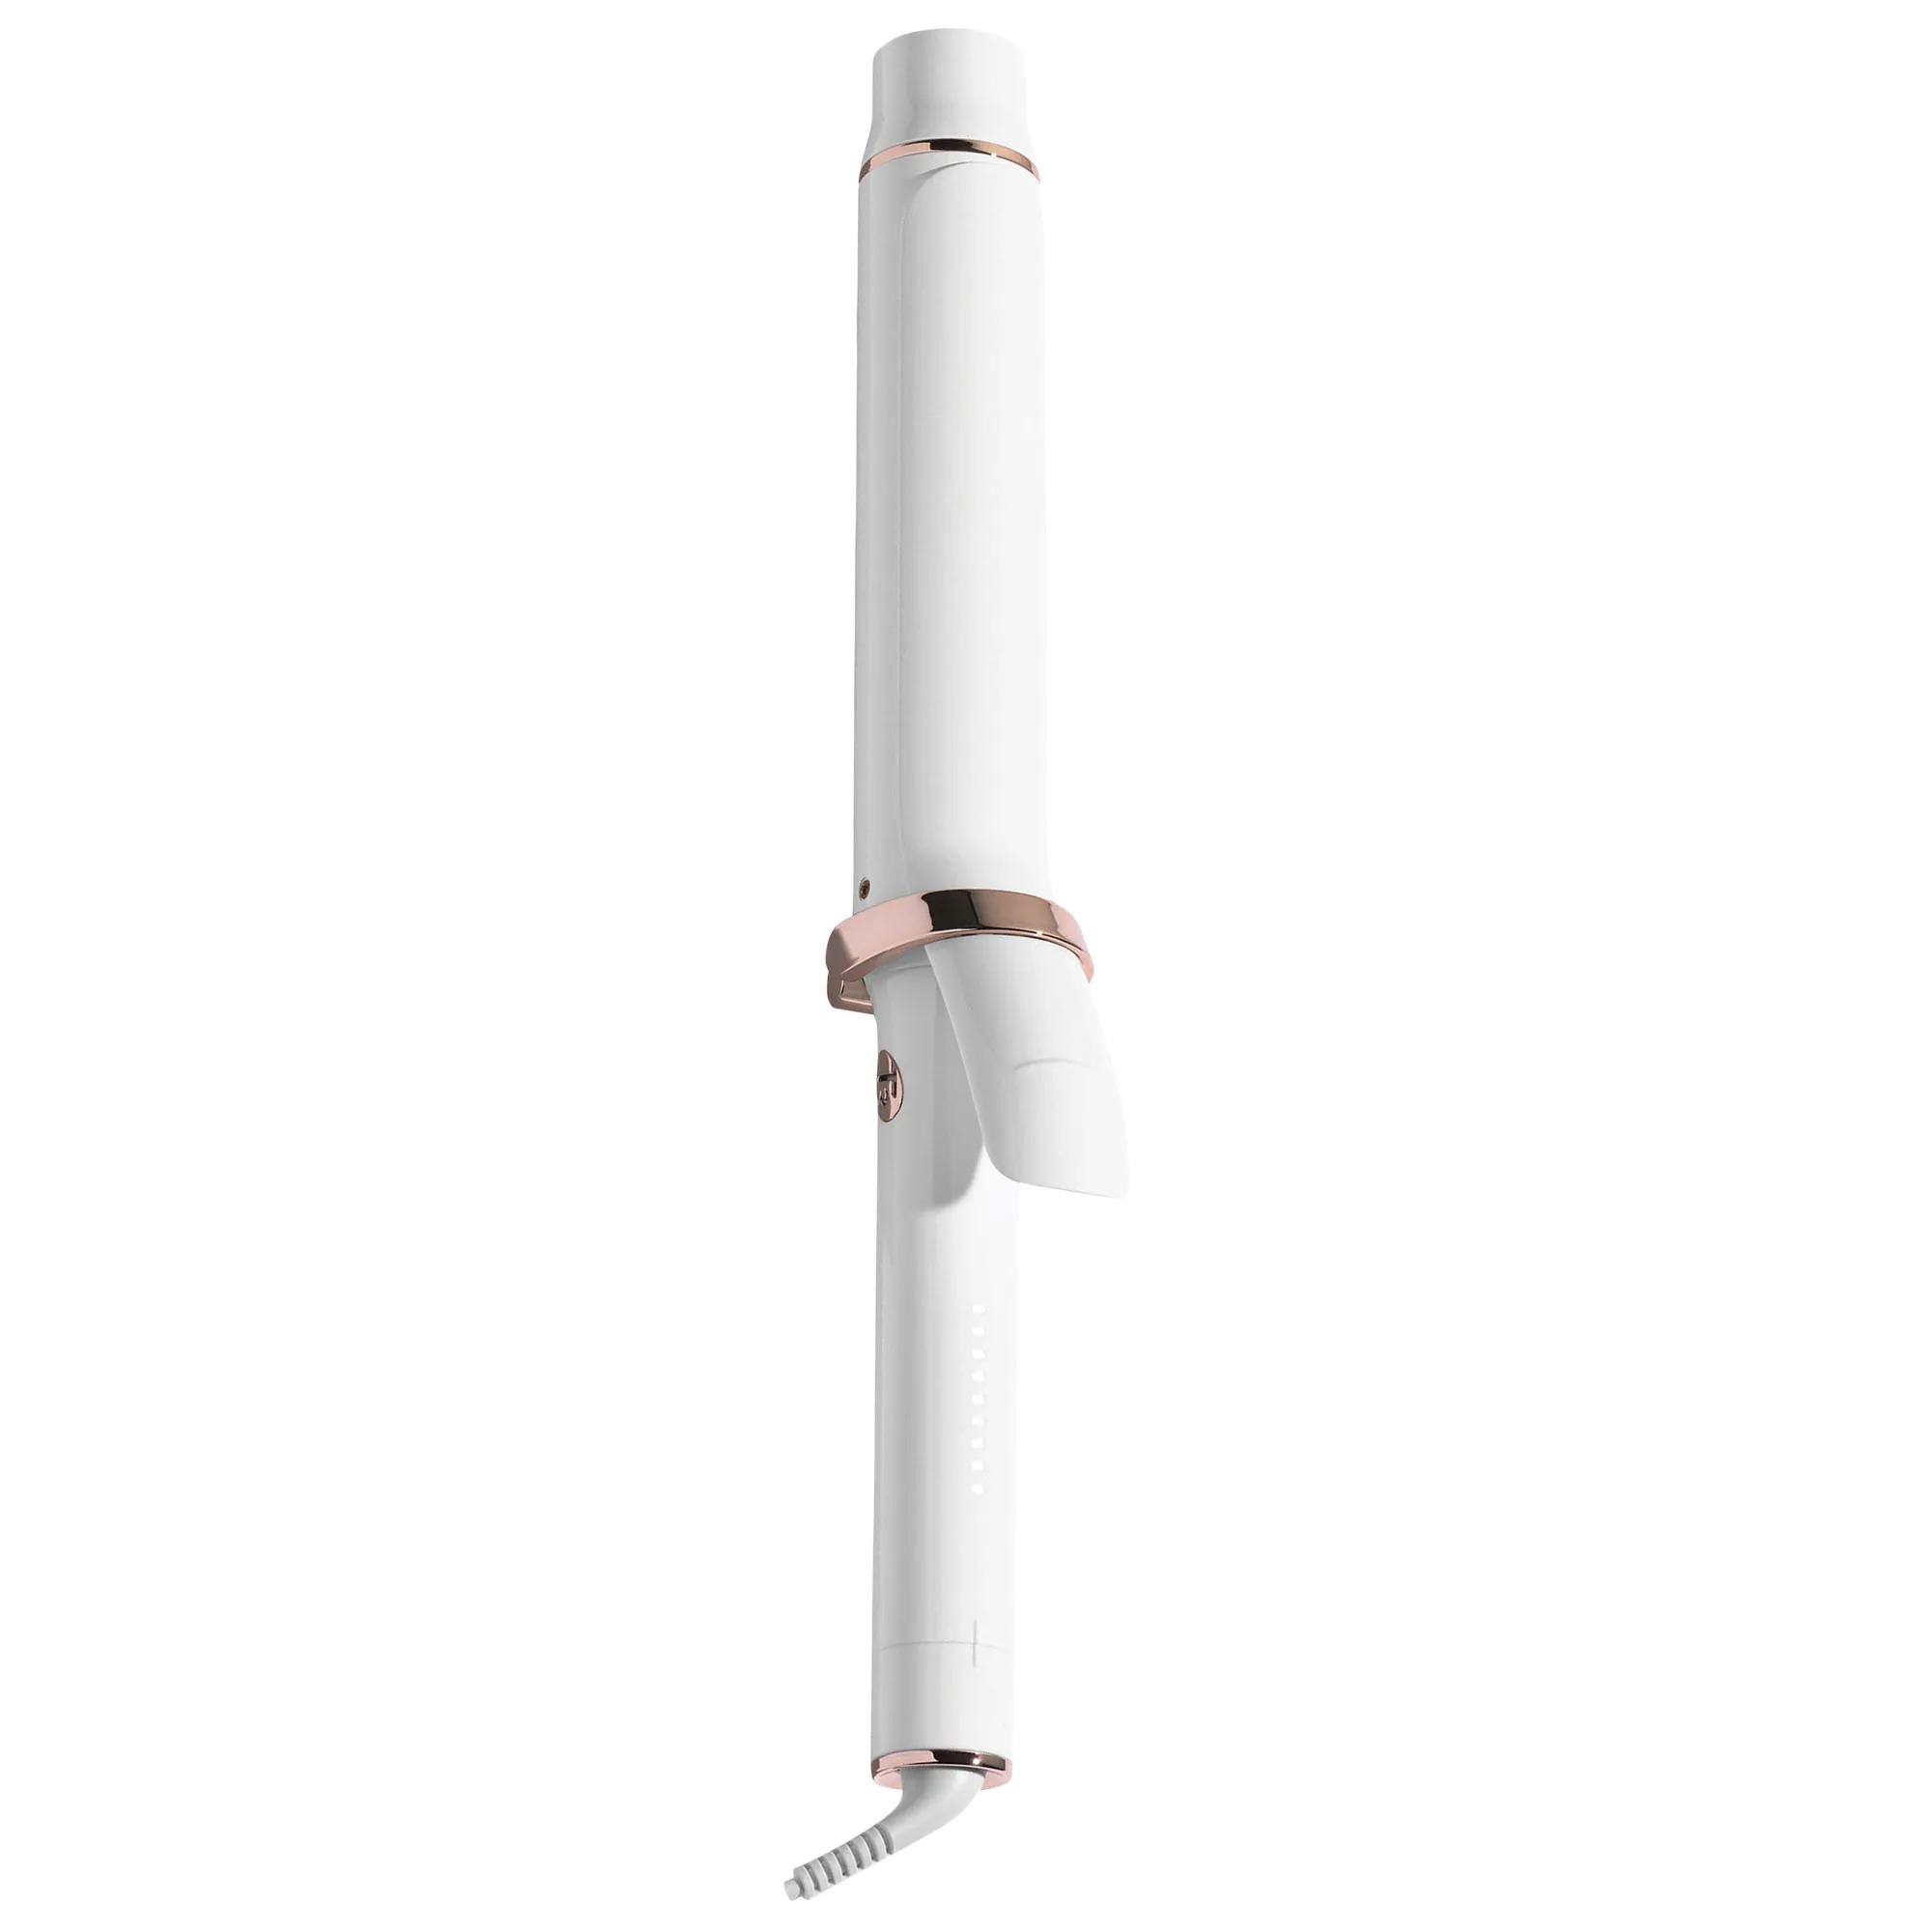
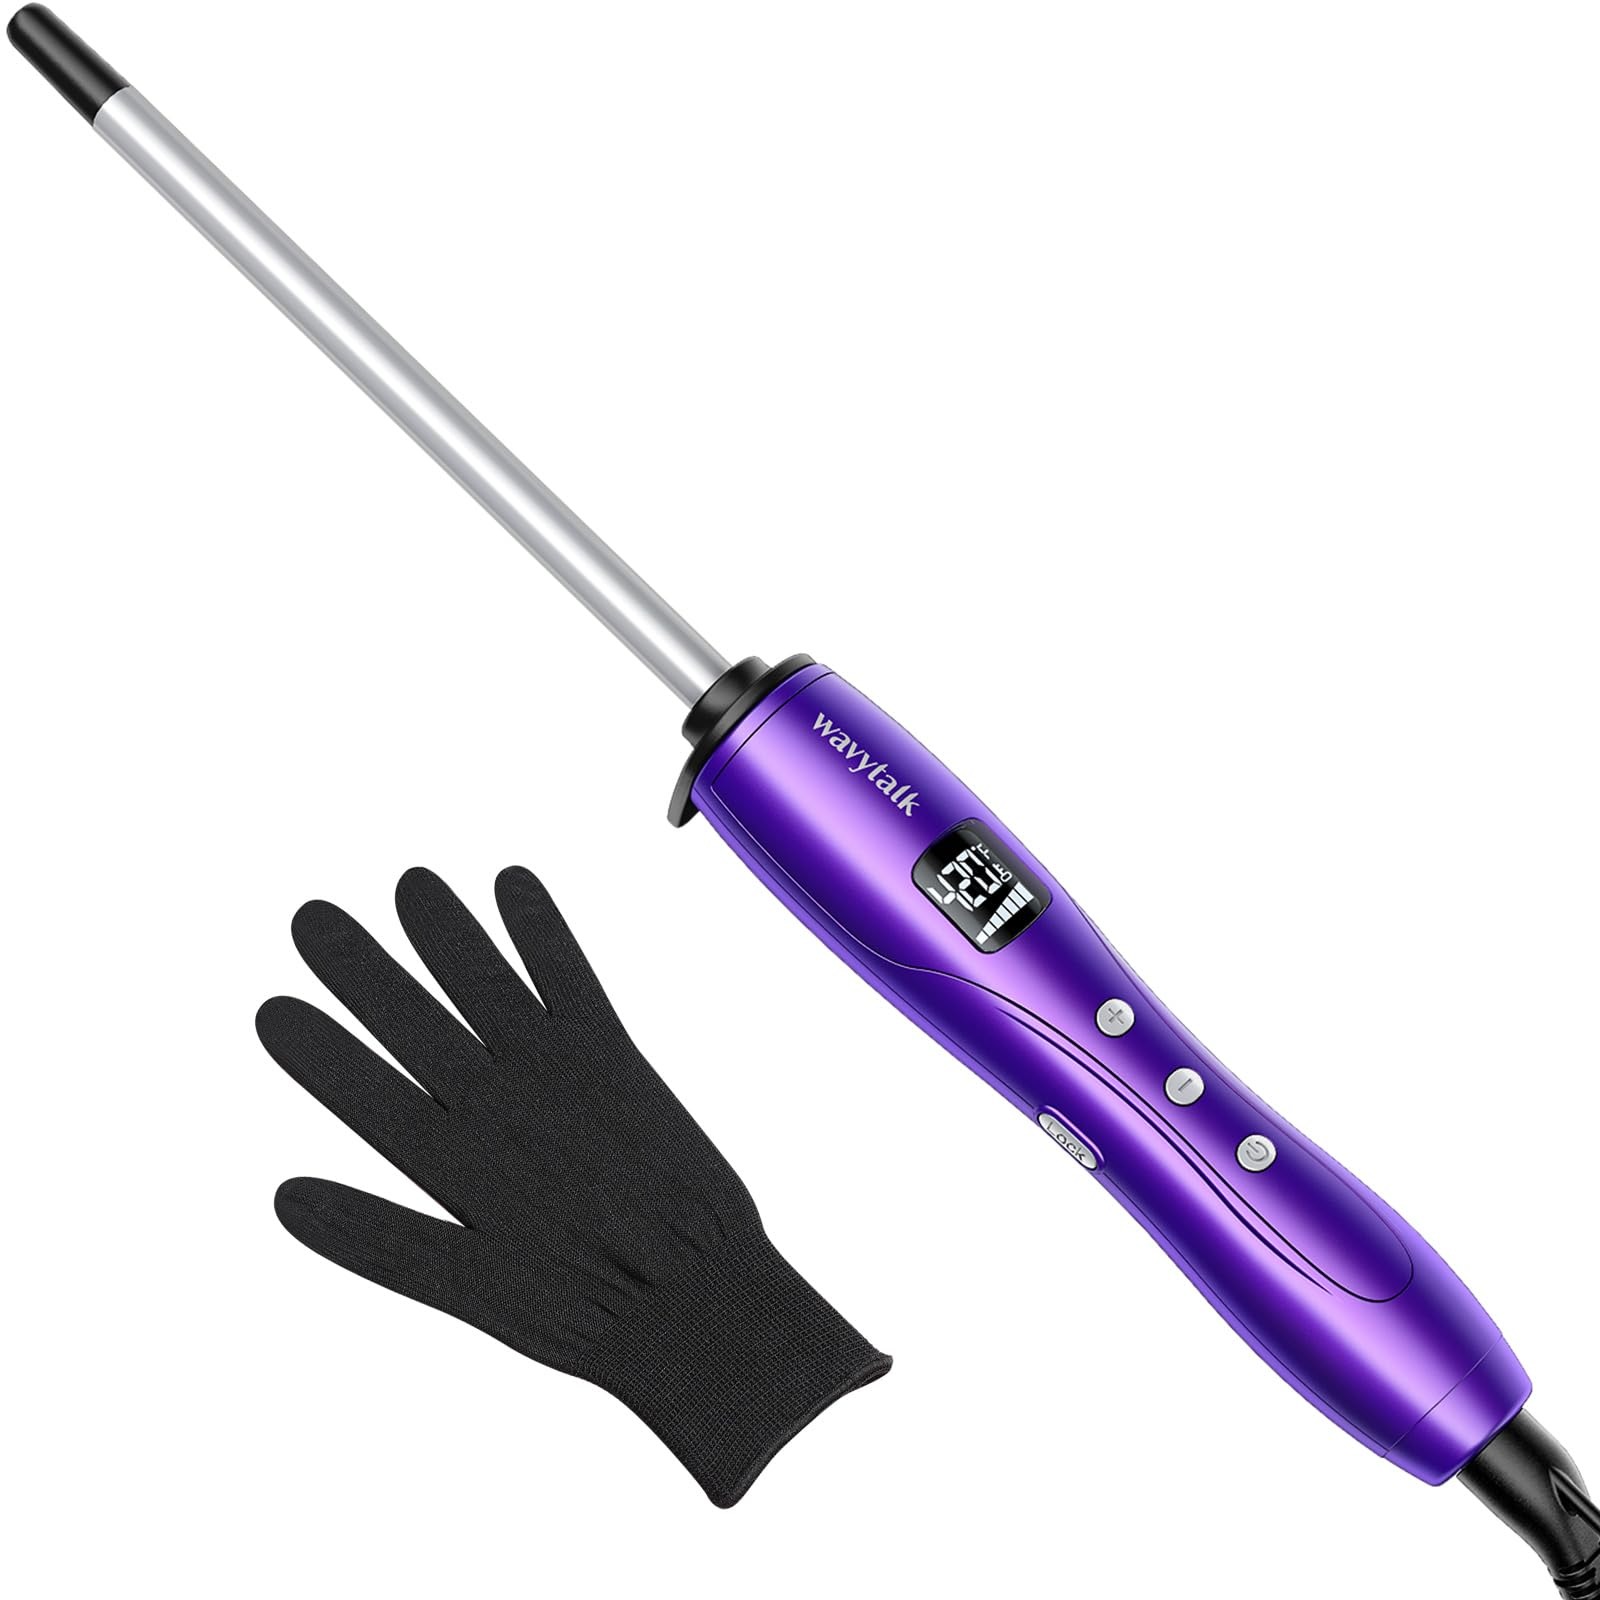
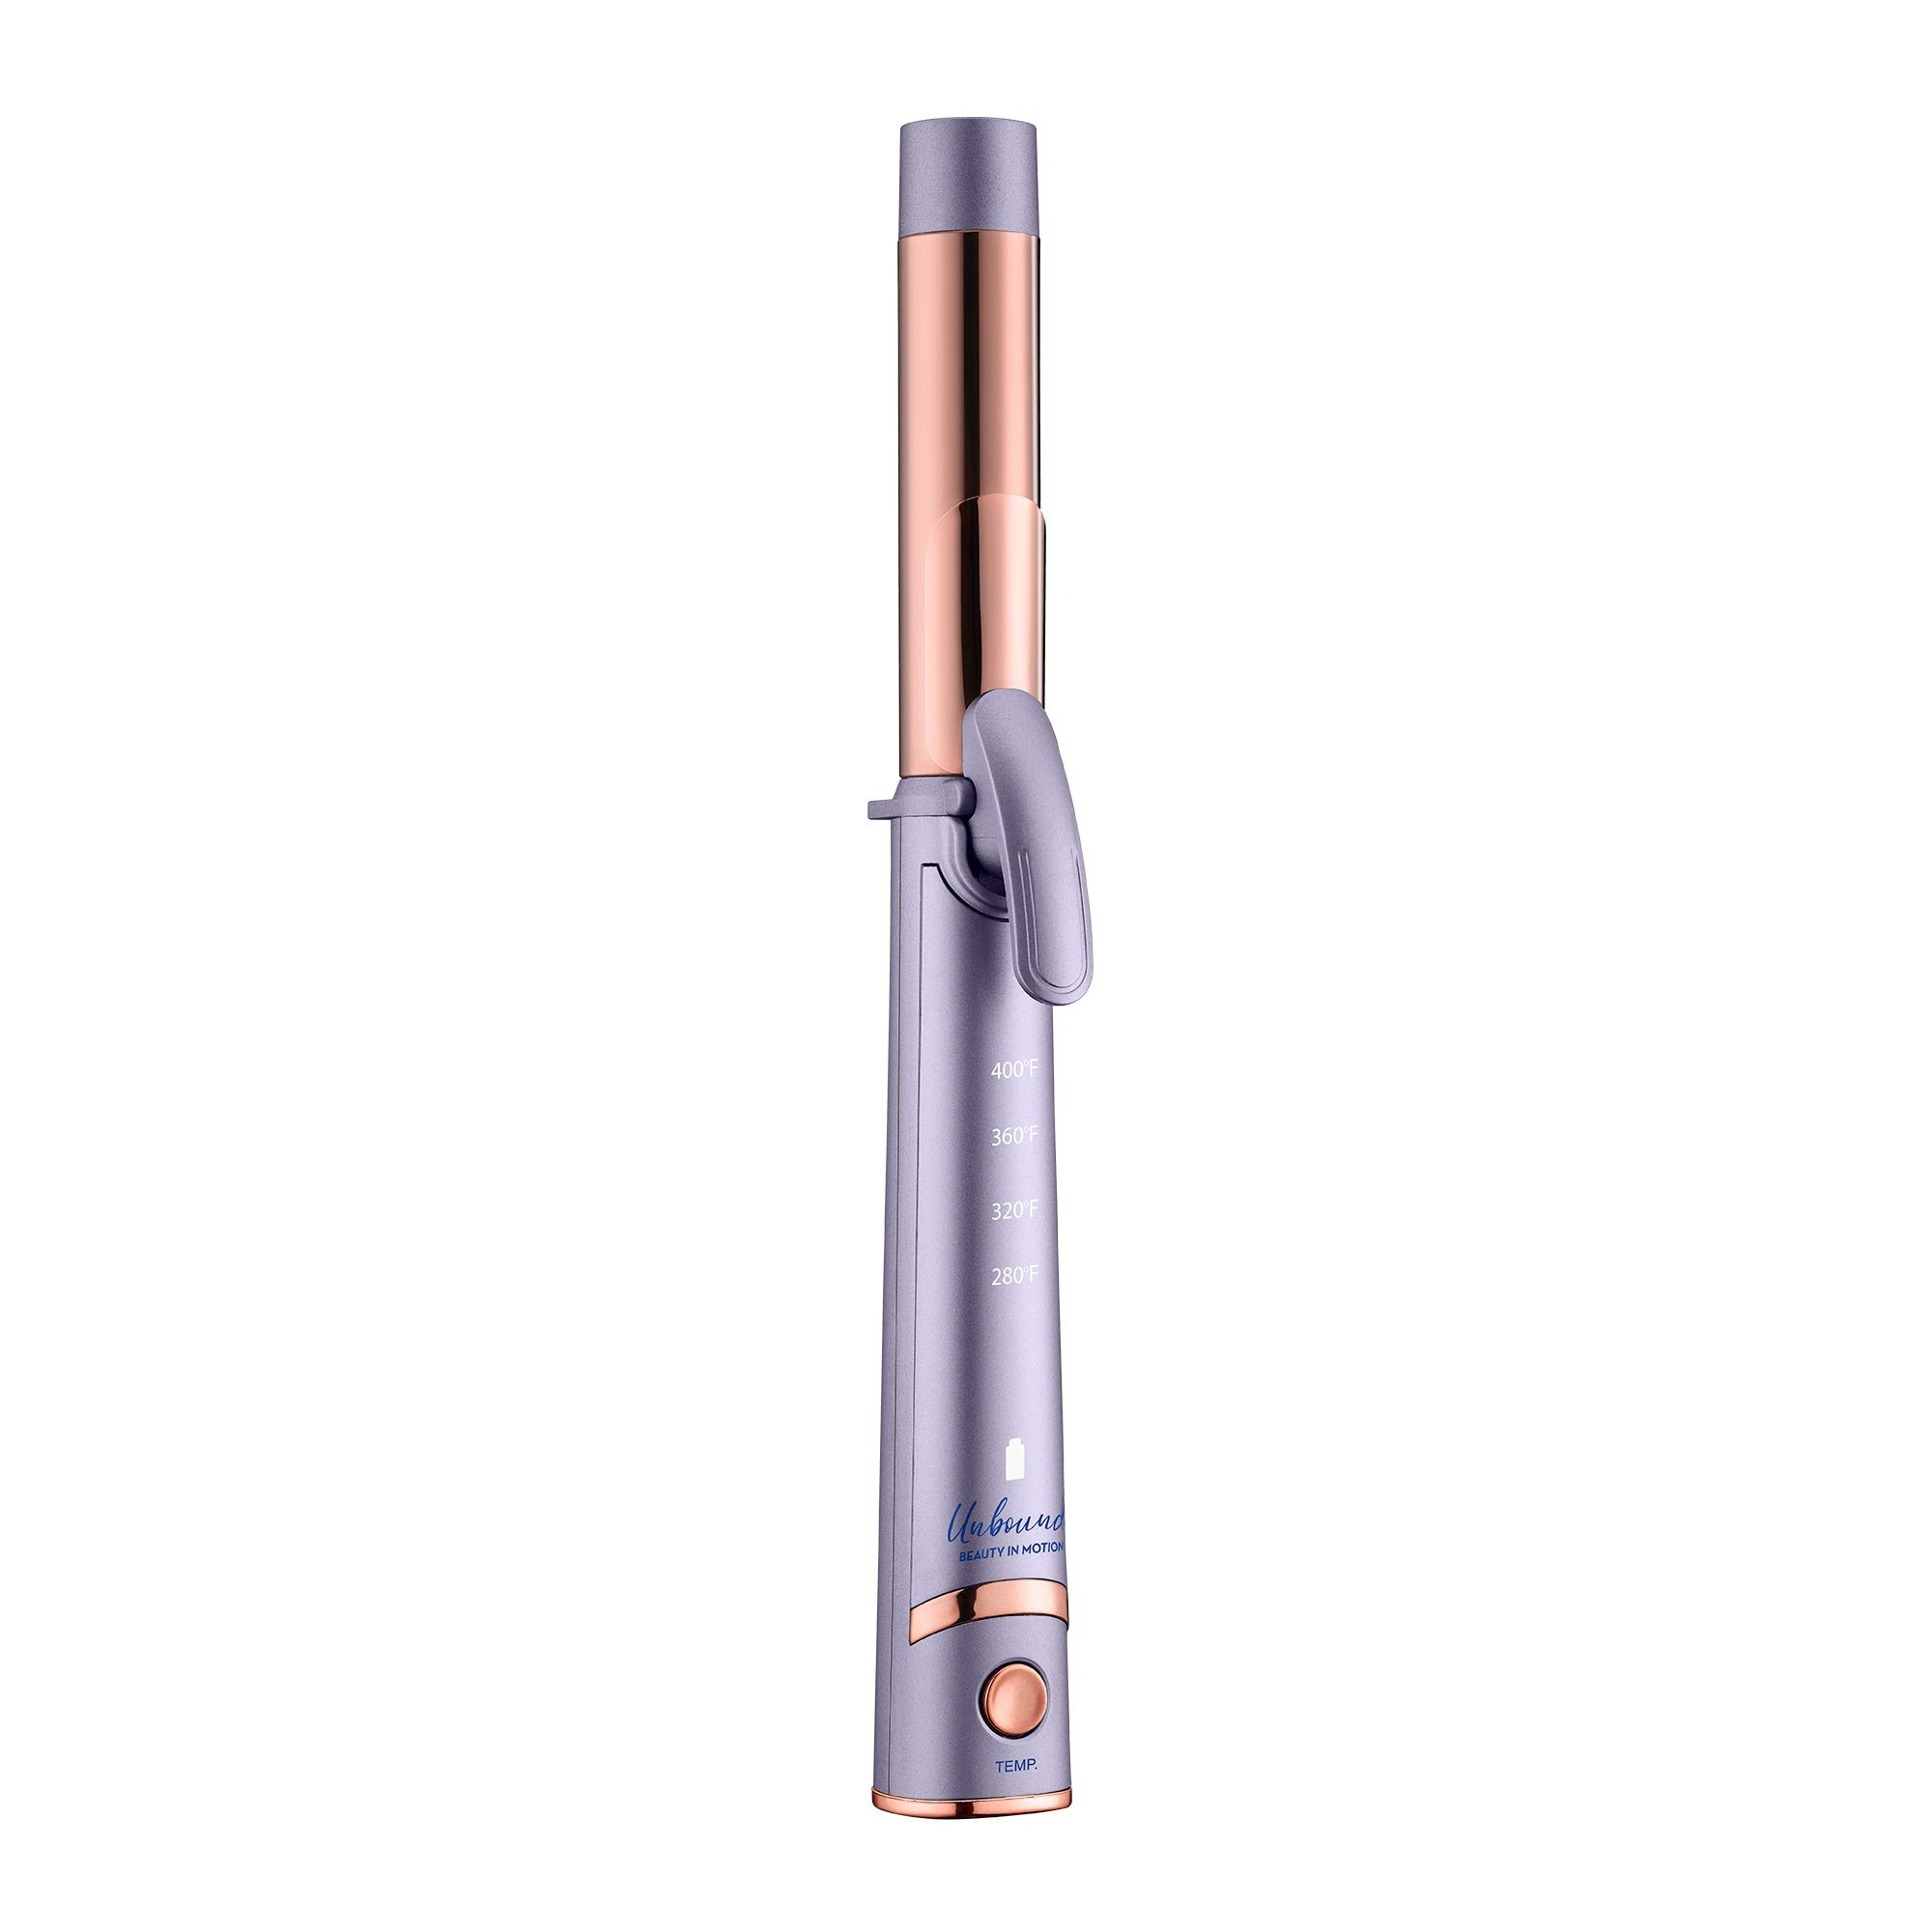
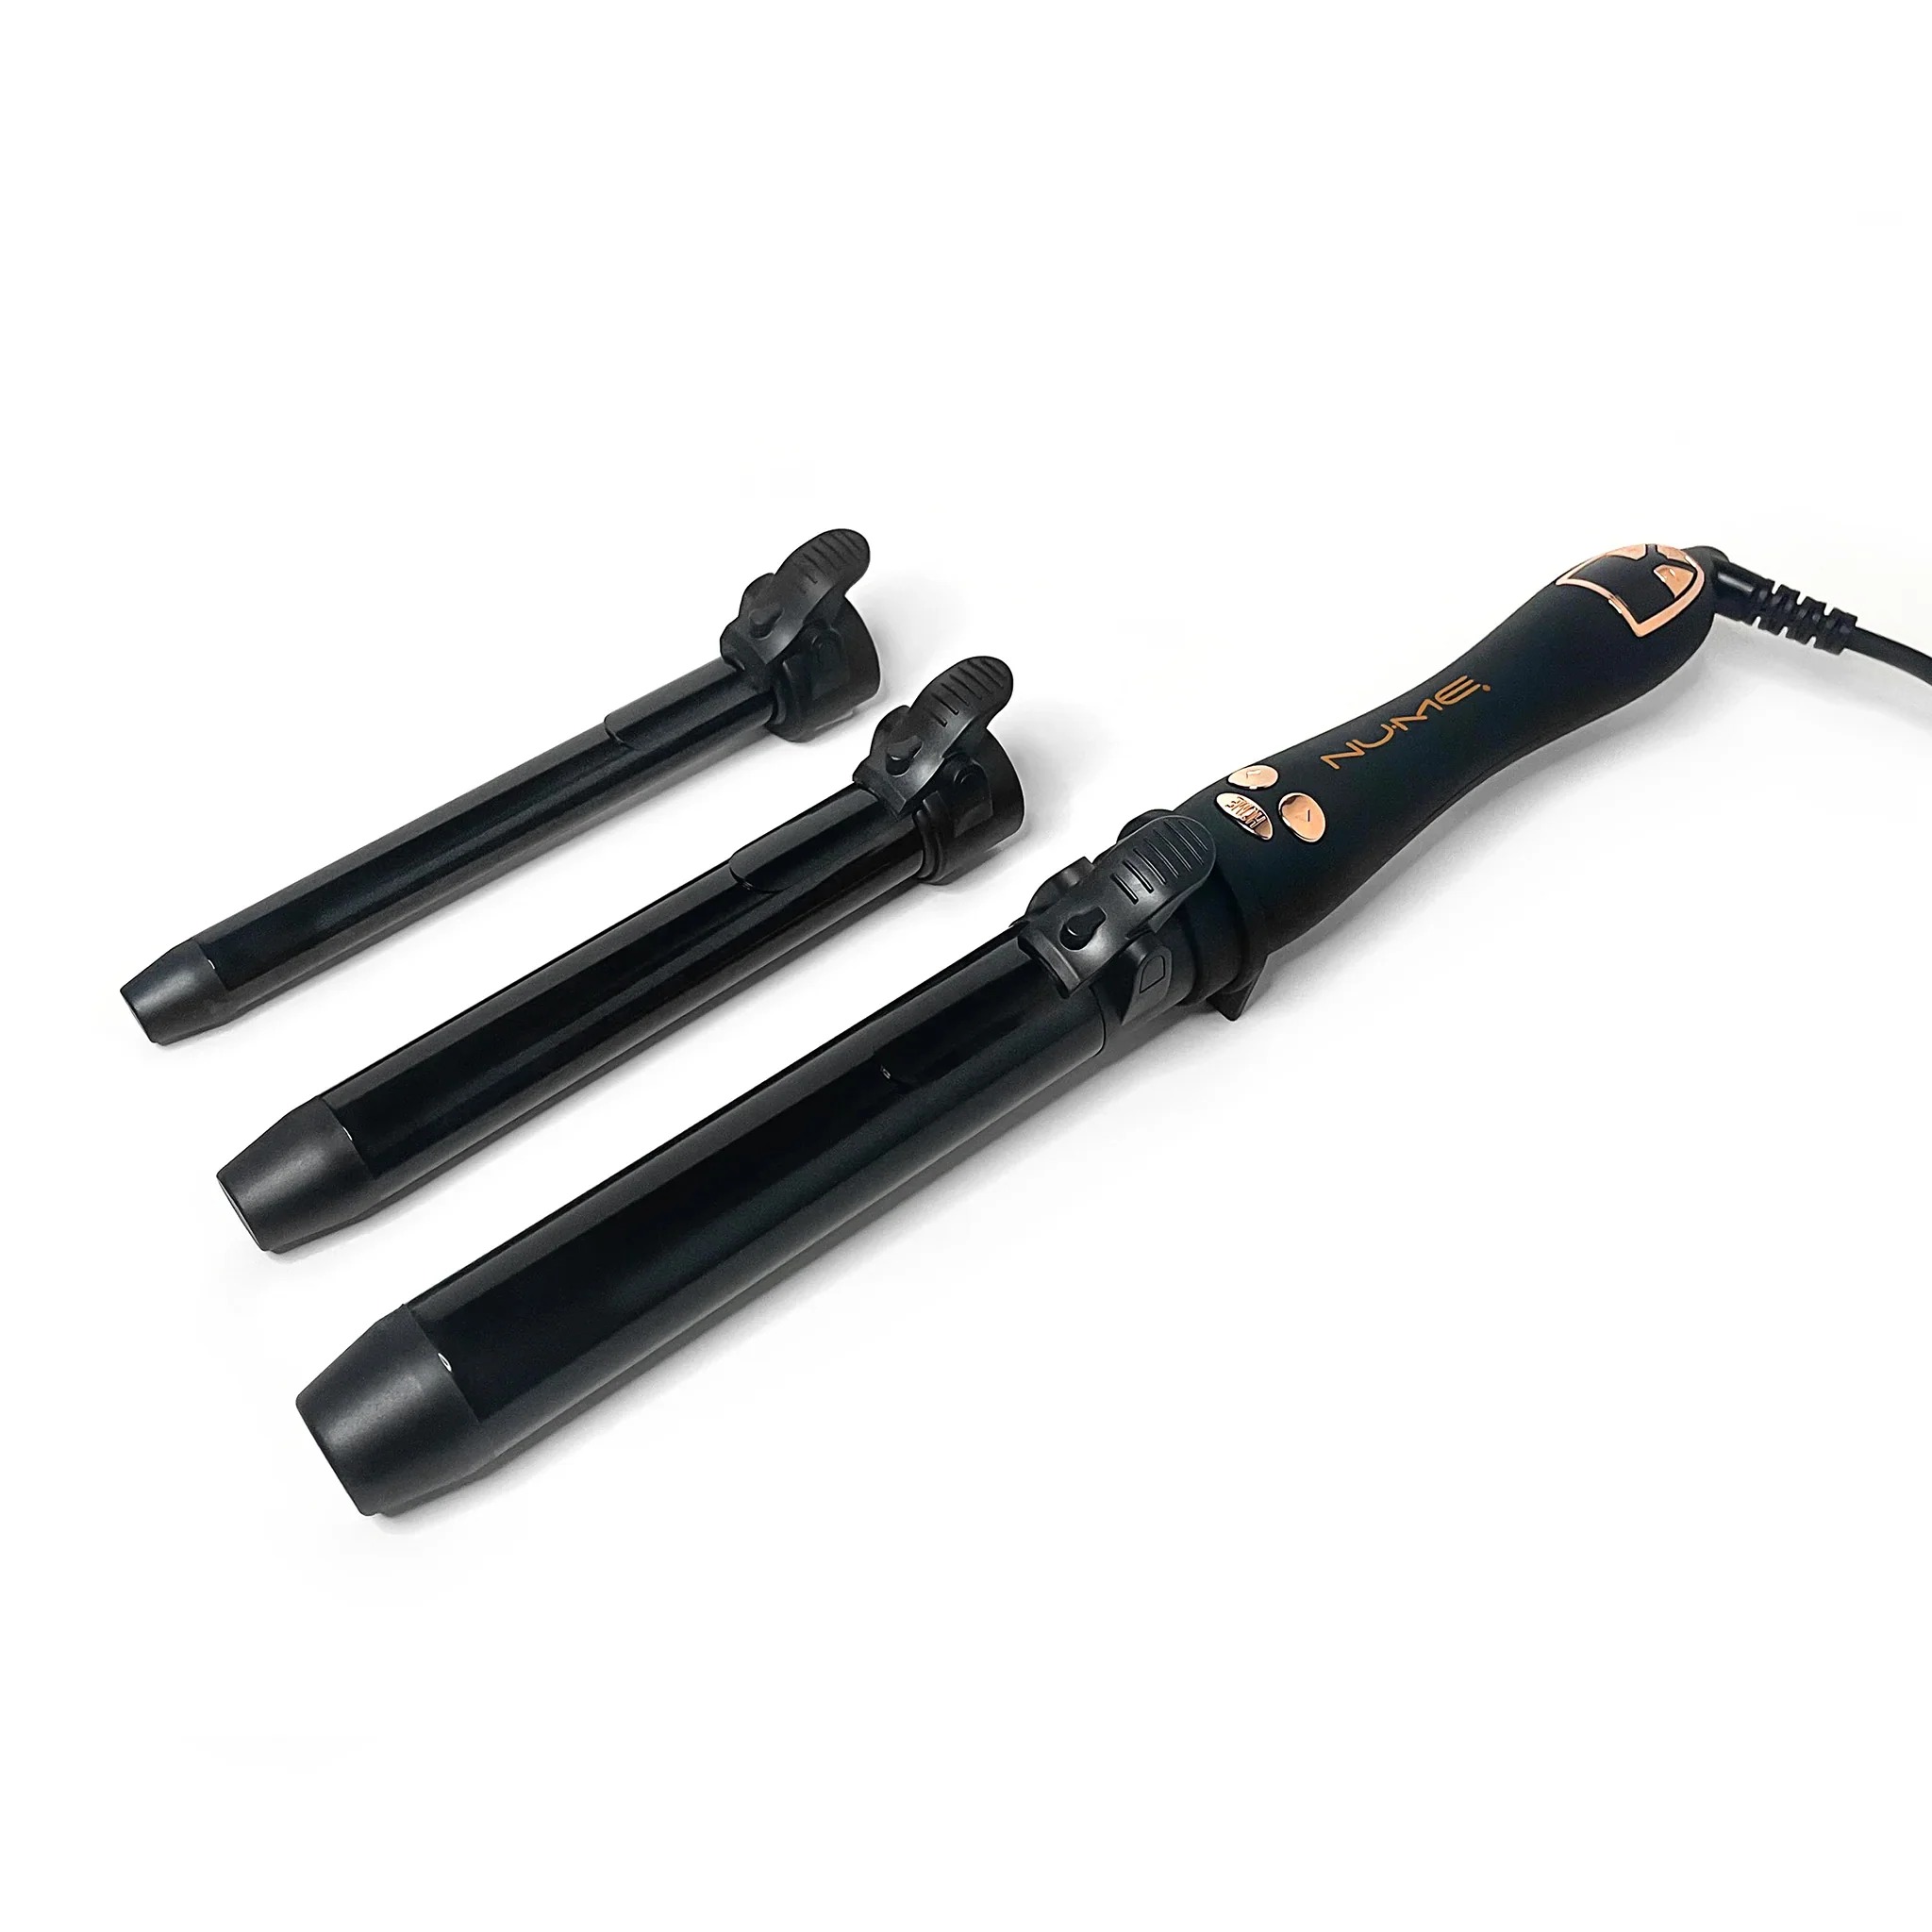
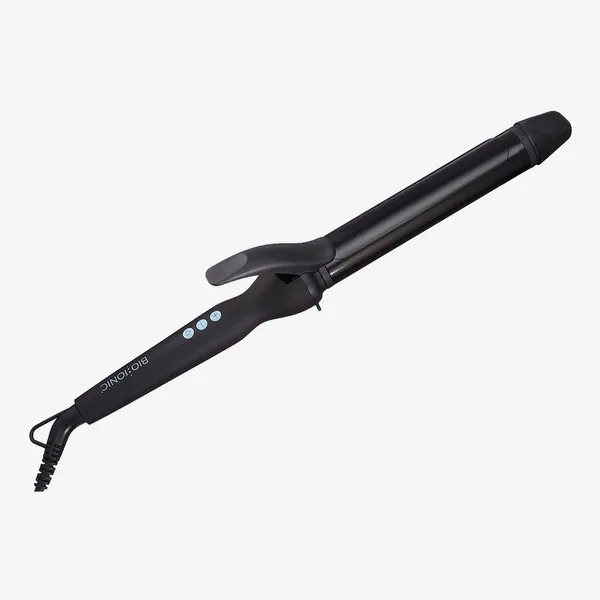
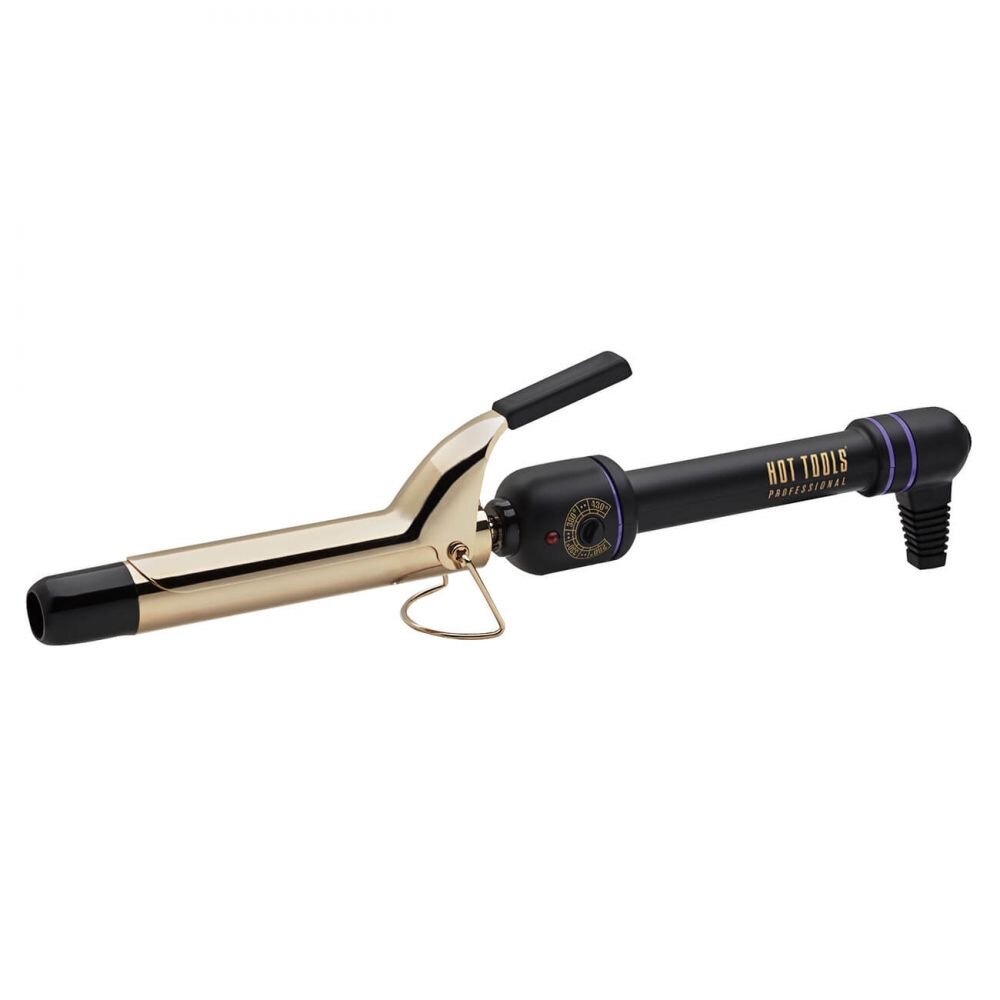
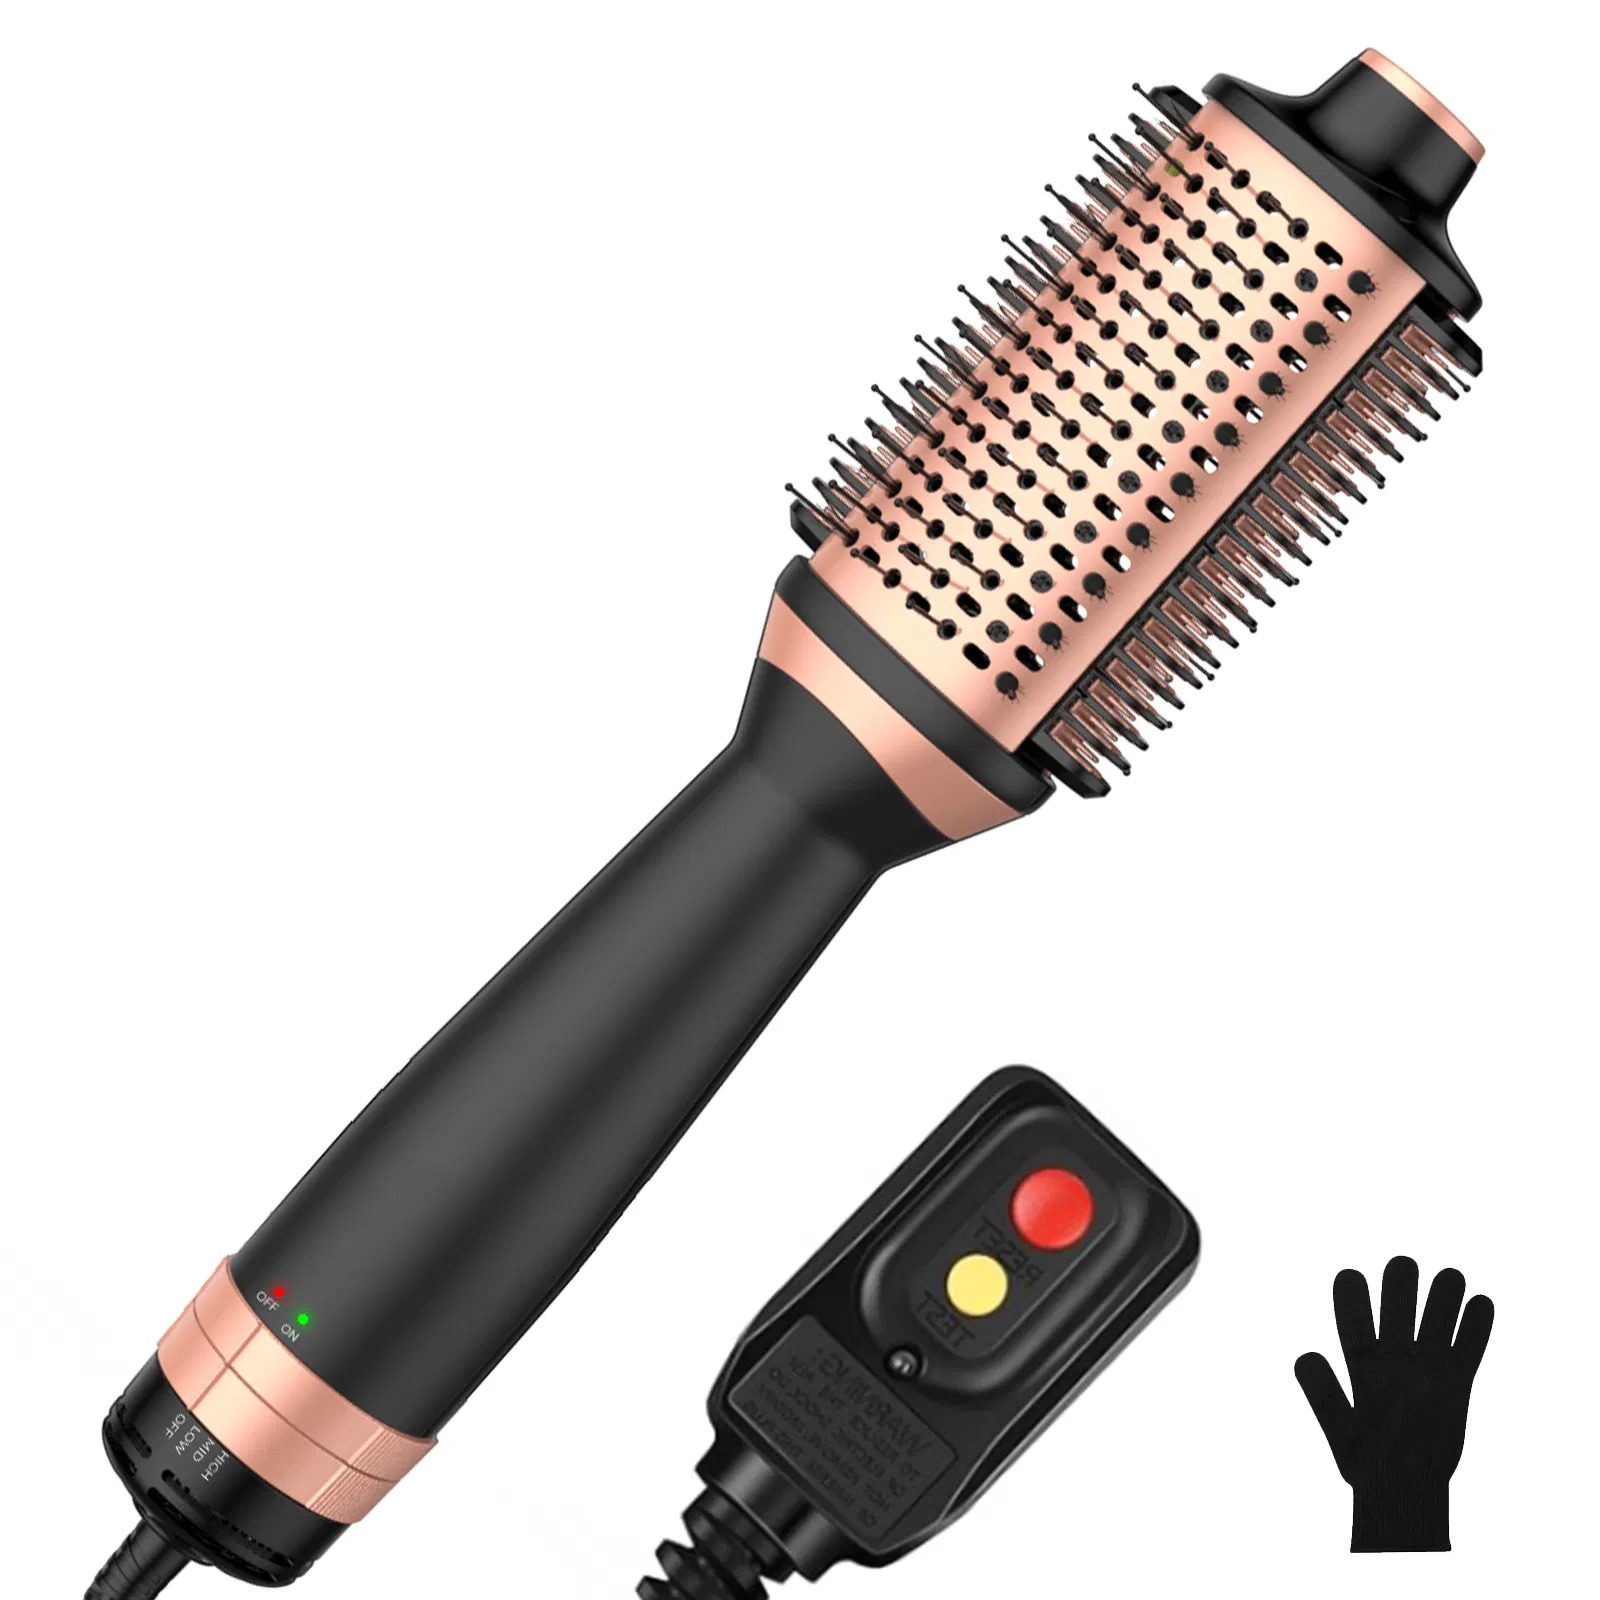
Top Recommended Spinning Curling Irons on the Market
When shopping for a curling iron that spins, it’s crucial to pick a reputable and well-reviewed model. The market has a variety to offer, and here are some top recommendations that combine quality, performance, and user satisfaction:
- The Elite Styler: This iron boasts an ergonomic design and multiple heat settings. Users rave about its ease of use.
- The Professional’s Choice: With advanced ionic technology, this tool promises frizz-free, shiny curls. It’s a favorite among hair stylists.
- The Travel Companion: Its dual voltage feature makes it ideal for globetrotters. It’s compact and reliable.
- The Budget-Friendly Find: This iron offers solid performance at a lower price point. It’s great for those on a budget.
- The Innovative Wonder: Featuring the latest in curling technology, this model ensures quick and lasting curls. Its high-tech features are impressive.
- The Safety-Minded Model: Built with an auto shut-off function, this iron scores high on safety. Many users find this feature gives peace of mind.
Each of these spinning curling irons has something unique to offer. Consider what’s important to you, be it the price, technology, safety features, or the brand’s reputation. Remember to look for adjustable heat settings and a barrel material that suits your hair type. Reviews and recommendations will guide you to the best choice for effortless curls.
Conclusion: Why a Spinning Curling Iron is a Game-Changer for Hair Styling
Investing in a spinning curling iron can revolutionize your styling routine. Here are the key reasons why this tool is a standout choice:
- Ease of Use: Anyone can use a spinning curling iron, no matter their skill level. It’s easy and intuitive.
- Time-Saving: This iron turns hair curling into a quick activity. You get great results without spending long hours.
- Consistent Results: You’ll achieve even and beautiful curls every time. It takes the guesswork out of styling.
- Reduced Damage: With adjustable heat, you can style without harming your hair. That means healthier locks.
- Advanced Features: Ionic and ceramic technologies make your hair shine. They also cut down on frizz.
- Versatility: Whether your hair is thick or thin, long or short, this tool adapts. That’s convenience.
- Safety: Built-in safety features like auto shut-off give peace of mind. You can style without worries.
- Durability: With the right care, these irons last a long time. They are a worthy investment.
Remember, a curling iron that spins caters to your hair’s needs while saving you time and effort. It’s a smart choice that leads to beautiful curls and healthier hair. Testimonials and reviews mostly echo this sentiment, and once you try it, you may never want to go back to traditional curling irons. Make the switch and enjoy effortless styling every day.