DIY Microwave Heating Pad: Your Own Heat Therapy Solution
Introduction:
Microwave heating pads provide soothing relief for aches, pains, and stress. They are easy to make and can be customized to suit your preferences. Creating your own microwave heating pad allows you to choose materials, scents, and sizes that best meet your needs. This comprehensive guide details the step-by-step process for making a microwave heating pad, from selecting materials and filling options to sewing techniques and safety tips. By following these instructions, you can enjoy the benefits of a personalized heat therapy solution.
DIY Microwave Heating Pad:
Make Your Own Heat Therapy Solution
Materials and Tools:
What Do You Need to Make a Microwave Heating Pad?
Gathering the right materials and tools is the first step toward creating an effective microwave heating pad.
Fabric Selection:
Choosing the Right Fabric:
Cotton Flannel: Cotton flannel is another excellent choice. Its soft texture is comfortable against the skin and adds a cozy feel to the heating pad.
Filling Options:
Selecting the Fill Material:
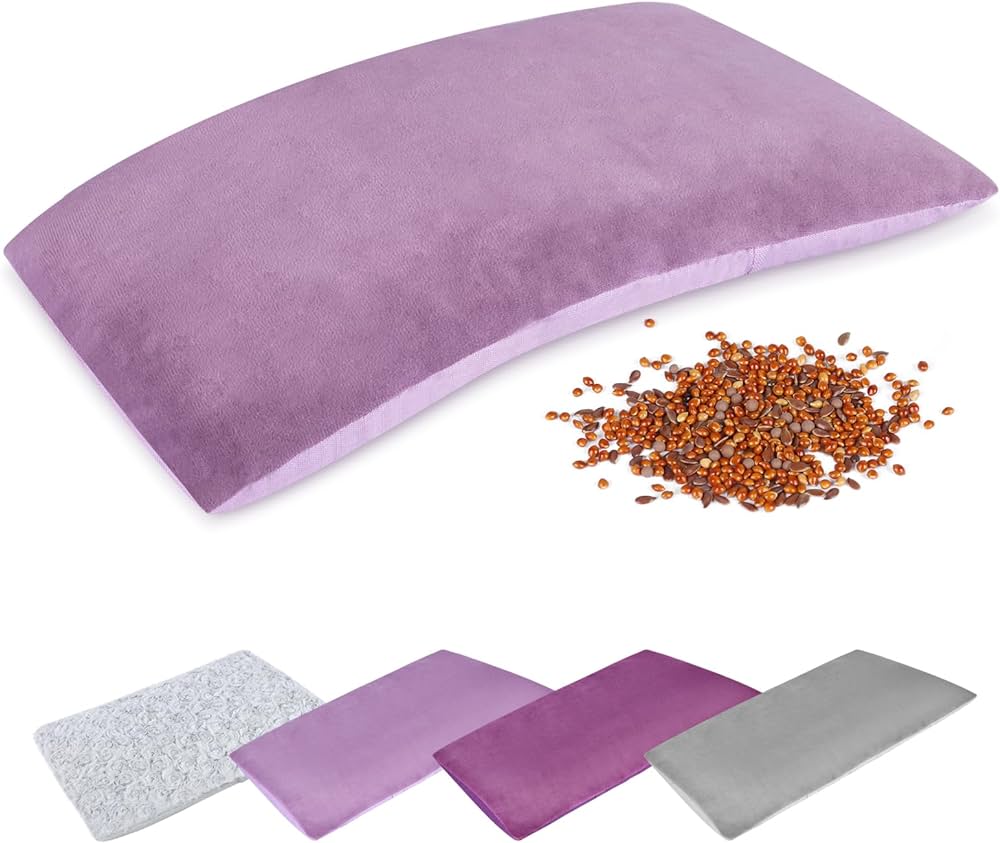
Rice: Rice is a popular filling for microwave heating pads due to its ability to retain heat for a long period. It conforms to the body, providing even heat distribution.
Flaxseed: Flaxseed is another great option, known for its high oil content, which helps retain heat. It is lightweight and offers a slightly different texture compared to rice.
Other Fillings: You can also use other grains like oats, barley, or millet, as well as dried beans, cherry pits, or corn. Each filling has its unique heating properties and texture.
 Additional Ingredients:
Enhancing the Heating Pad:
Essential Oils: Add a few drops of essential oils like lavender, eucalyptus, or chamomile to the filling to provide a soothing scent and additional therapeutic benefits.
Herbs: Incorporating dried herbs such as lavender, rosemary, or chamomile can enhance the aroma and add a relaxing element to the heating pad.
Tools Needed:
Basic Tools and Supplies:
Sewing Machine: A sewing machine makes the process quicker and provides stronger seams. However, you can also sew by hand if you don’t have a machine.
Scissors: Sharp fabric scissors are essential for cutting clean, precise edges on your fabric pieces.
Ruler or Measuring Tape: A ruler or measuring tape ensures accurate cuts and measurements for your heating pad.
Pins or Clips: Use pins or fabric clips to hold the fabric pieces together while sewing.
Step-by-Step Instructions:
How Do You Make a Microwave Heating Pad?
Follow these detailed steps to create your own microwave heating pad.
Cutting the Fabric:
Preparing the Fabric Pieces:
Measure and Cut: Decide on the size of your heating pad. A common size is 10 inches by 12 inches, but you can adjust based on your preference. Cut two pieces of fabric to the desired size, ensuring they are equal.
Straight Edges: Ensure the edges are straight and the corners are right angles. This helps achieve a neat, professional finish.
Sewing the Edges:
Creating the Pouch:
Stack the Fabric: Place the two fabric pieces on top of each other with the right sides facing inward. This means the outer sides of the fabric should be touching each other.
Pin the Fabric: Use pins or fabric clips to secure the edges together, leaving a small gap (about 2-3 inches) on one side. This opening allows you to fill the pouch later.
Sew Around the Edges: Sew around the edges of the fabric using a ½-inch seam allowance. Start at one side of the opening and continue around the fabric back to the other side of the opening, reinforcing the seams at the start and finish.
 Turning the Fabric:
Prepare for Filling:
Trim and Turn: Trim the corners of the fabric to reduce bulk. Turn the pouch right side out through the opening, using a pencil or chopstick to push out the corners for a clean edge.
Check for Gaps: Ensure the seams are secure and there are no gaps or holes in the stitching.
Filling the Heating Pad:
Adding the Fill Material:
Measure the Fill: Use a measuring cup to fill the heating pad with your chosen fill material. For a 10×12-inch pad, you’ll need about 2-3 cups of filling. Adjust the amount based on the size of your pad.
Optional Add-Ins: If you’re using essential oils or herbs, mix them into the fill material before adding to the pouch. Ensure the distribution is even for a consistent scent.
Securing the Opening:
Closing the Heating Pad:
Pin the Opening: Once the pouch is filled to your desired level (it should be full but not overstuffed), pin the opening closed. Ensure the edges are folded inward to match the seam allowance.
Hand Stitch or Machine Sew: Sew the opening closed with a whip stitch by hand or use a sewing machine to secure the seam. Reinforce the stitching to ensure the filling stays contained.
Customizing Your Heating Pad:
What Variations Can You Try?
Personalize your microwave heating pad according to your preferences and needs.
Different Shapes:
Exploring Various Designs:
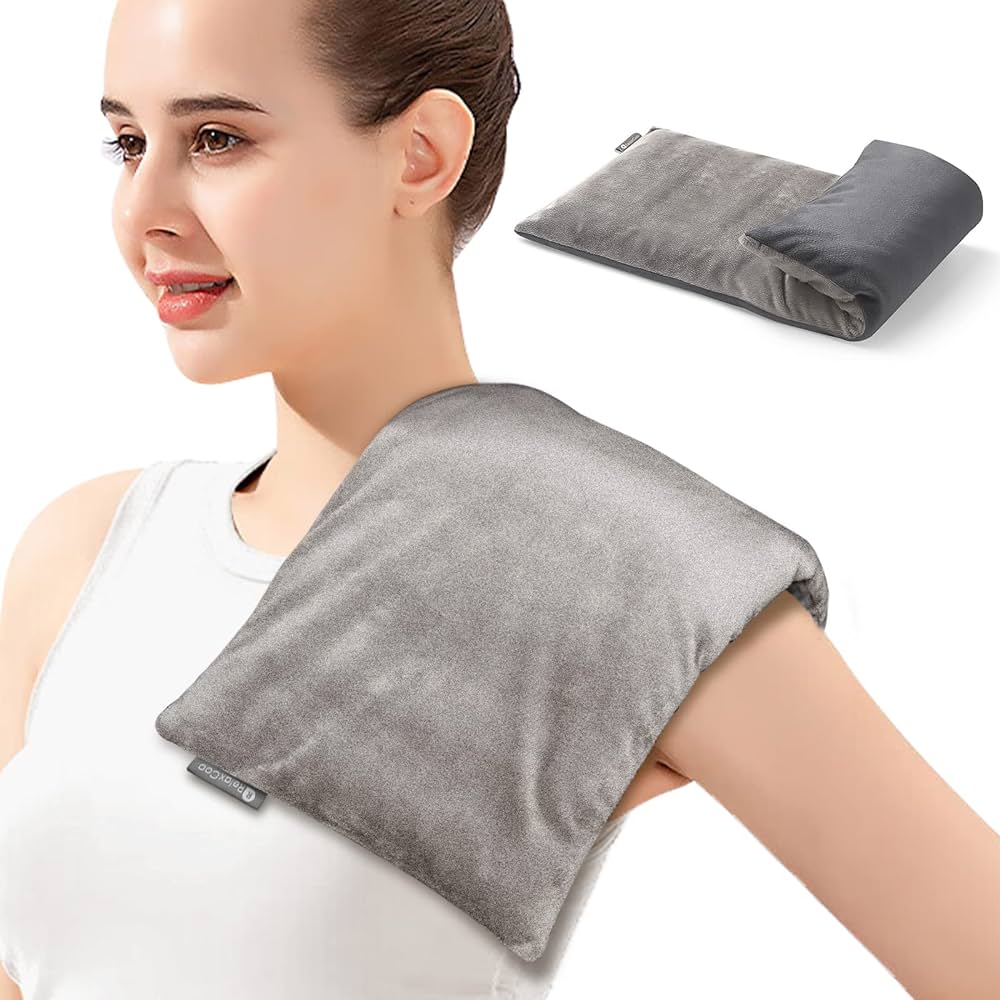
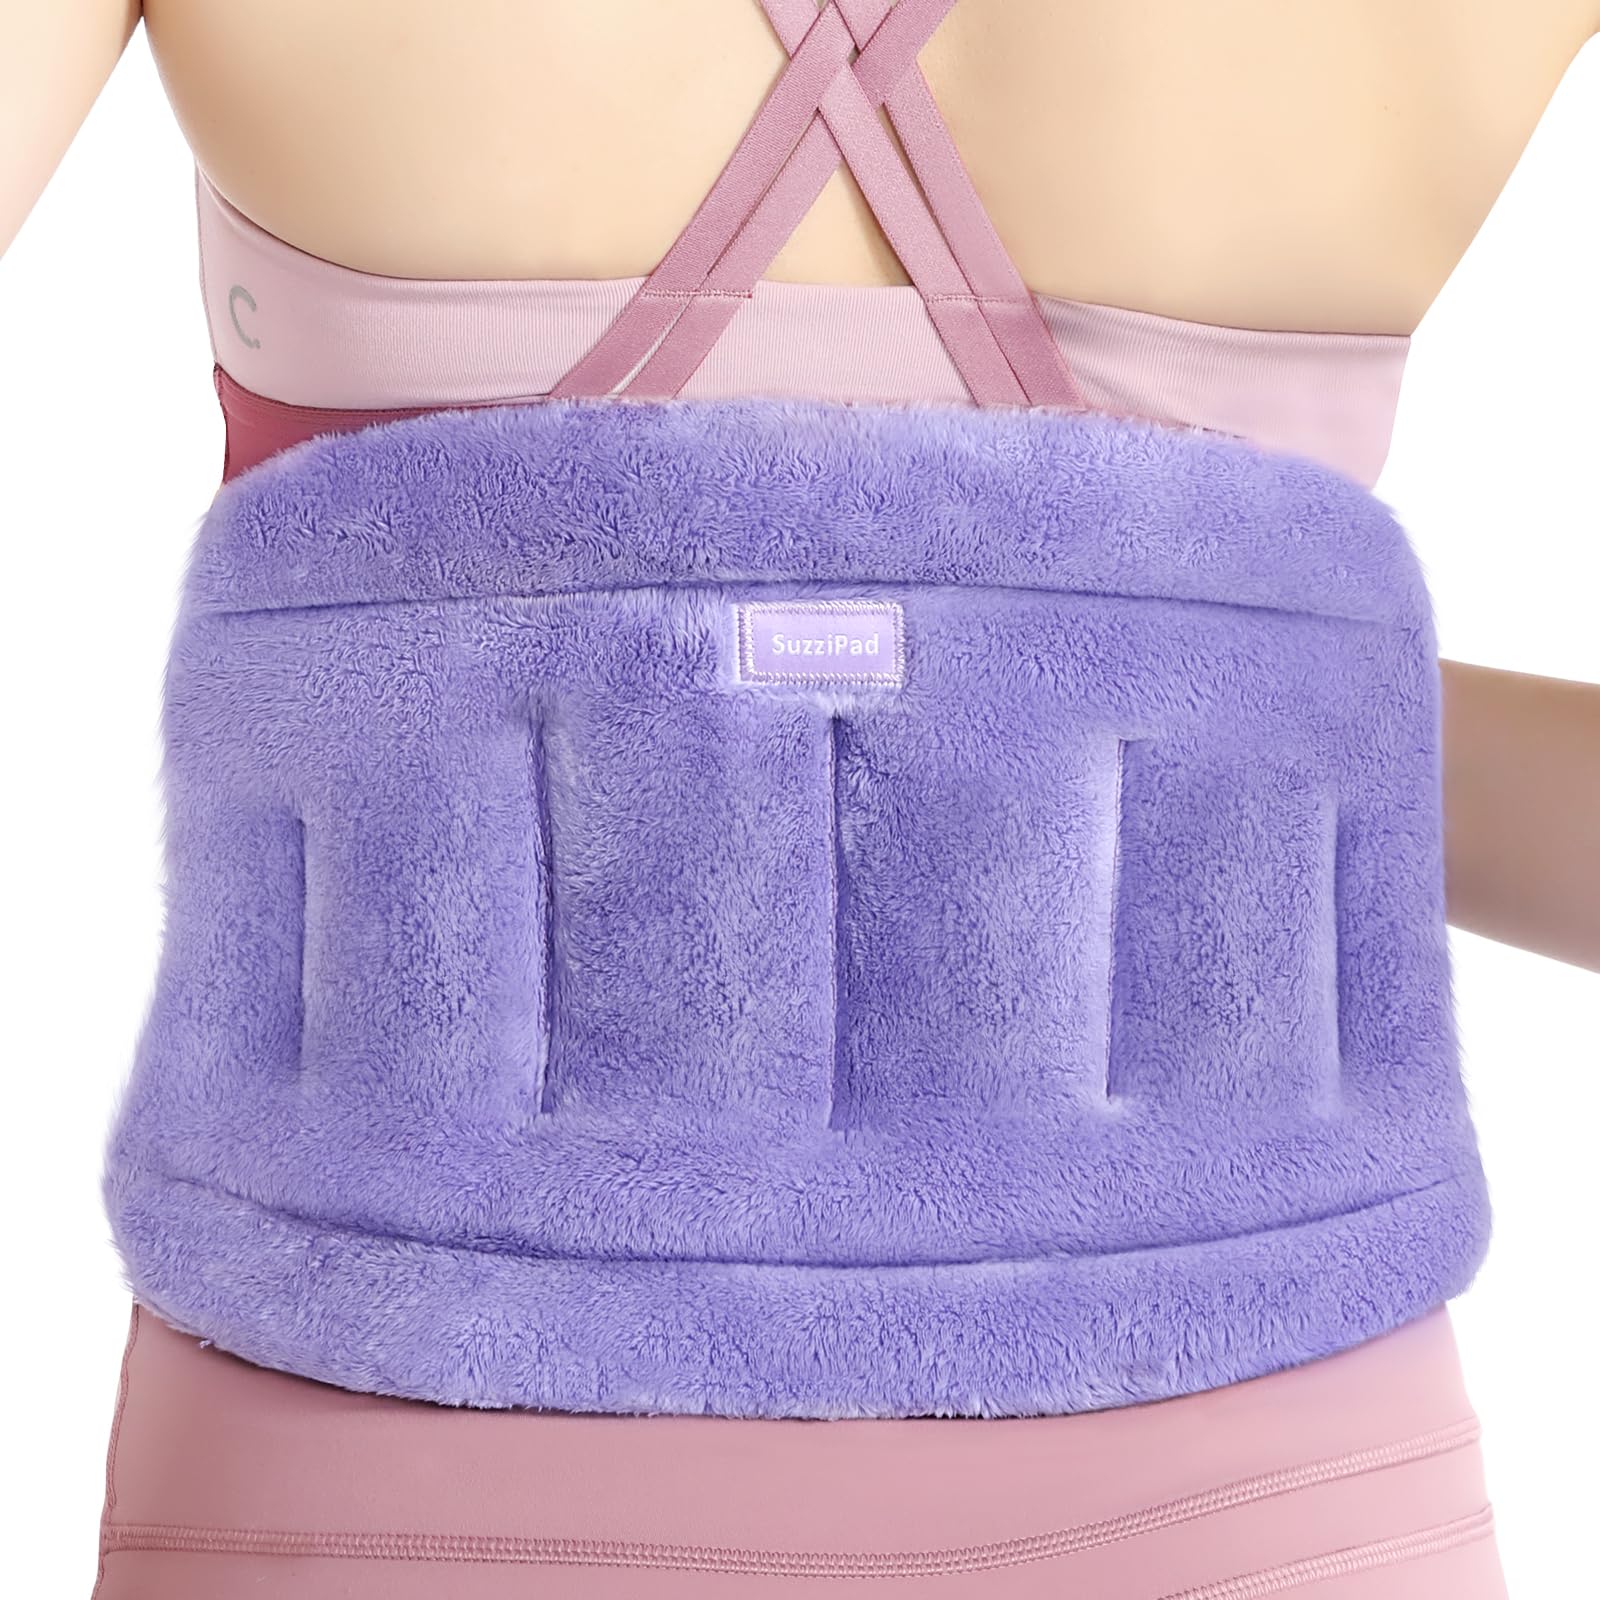
Rectangular Pads: Standard rectangular heating pads are versatile and easy to make. They cover larger areas and are suitable for most body parts.
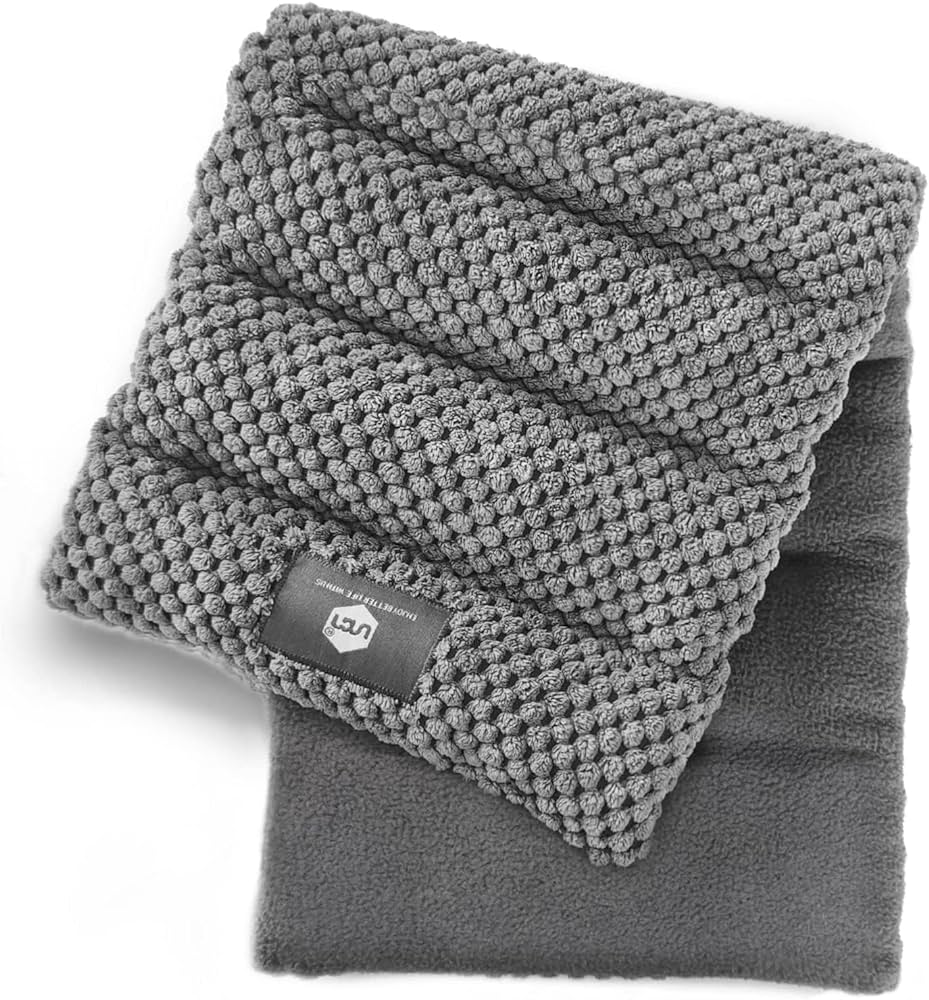
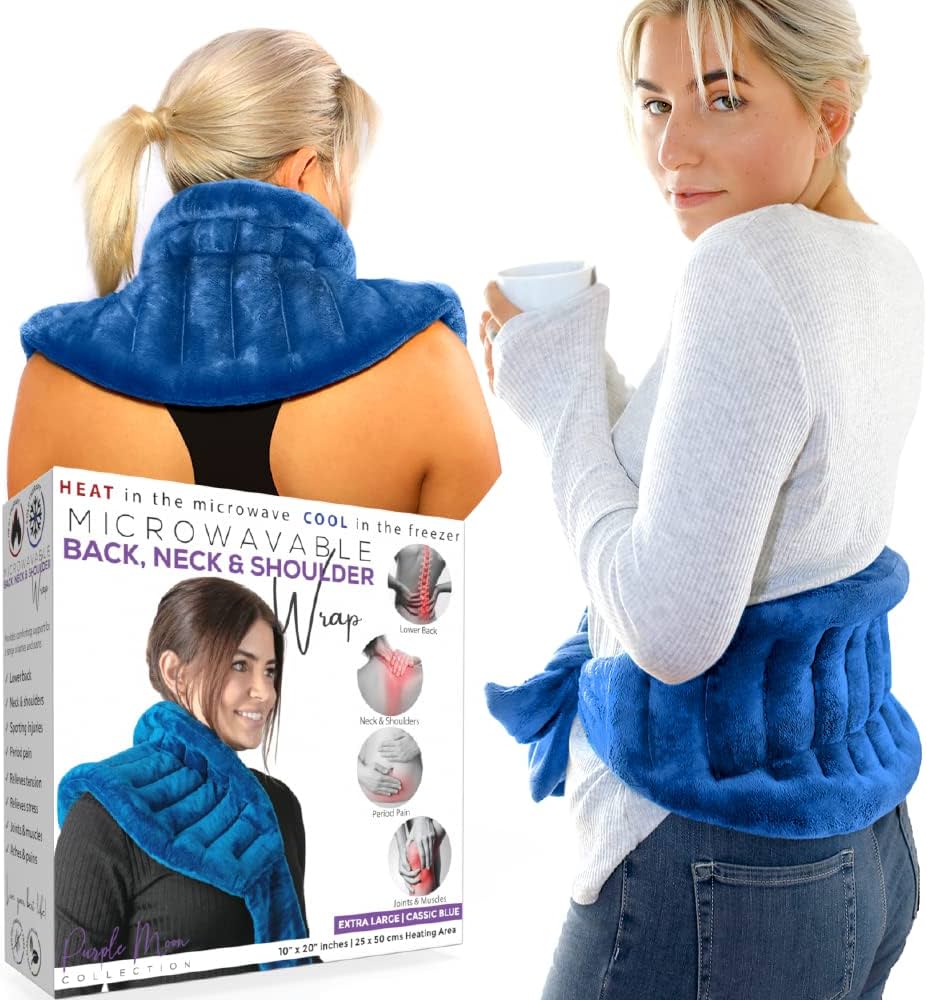
Neck and Shoulder Wraps: Create a longer, narrow heating pad that can wrap around your neck and shoulders. This shape is ideal for targeting tension in these areas.
Eye Masks:
Soothing Eye Relief:
Eye Pad Shape: Make a smaller, rounded pad that fits comfortably over your eyes. This can help relieve headaches, sinus pressure, and eye strain.
Soft Fabric: Use extra-soft fabric like cotton flannel for added comfort against the delicate skin around the eyes.
Sectioned Pads:
Even Heat Distribution:
Creating Sections: Divide the heating pad into smaller sections by sewing multiple parallel lines across the pad. This keeps the fill material evenly distributed and prevents it from bunching up.
Flexible Movement: Sectioned pads are more flexible and can mold to different body shapes, providing even heat distribution.
 Using Your Heating Pad:
How Should You Safely Use a Microwave Heating Pad?
Proper usage ensures safety and effectiveness when using a microwave heating pad.
Heating Instructions:
Microwave Settings:
Initial Heating: Place the heating pad in the microwave. Start by heating it for 1-2 minutes at a medium setting. The exact time may vary depending on the microwave’s wattage and the pad’s size.
Check Temperature: Carefully check the temperature of the pad. If it’s not hot enough, heat it in 30-second increments until it reaches the desired warmth. Avoid overheating to prevent burns and fabric damage.
Use and Reuse:
Applying the Heating Pad: Apply the heated pad to the desired area. The pad should provide a comforting level of heat without being too hot. If it feels too warm, allow it to cool slightly before use.
Reheating: The heating pad can be reheated multiple times. However, always ensure it is completely cool before reheating to prevent overheating.
Cooling Option:
Dual Functionality:
Cold Pack Use: Your microwave heating pad can also be used as a cold pack. Place it in a plastic bag and store it in the freezer for a few hours. This dual functionality makes it versatile for both hot and cold therapy.
 Cleaning and Maintenance:
How Can You Keep Your Heating Pad Clean and Effective?
Regular care and maintenance extend the life of your microwave heating pad.
Spot Cleaning:
Maintaining Cleanliness:
Surface Cleaning: Spot clean the surface of the heating pad with a damp cloth and mild detergent. Avoid soaking the pad, as moisture can affect the filling.
Dry Thoroughly: Ensure the pad is completely dry before using it again to prevent mold and mildew growth.
Refilling:
Long-Term Use:
Replacing Fill Material: Over time, the fill material may lose its effectiveness. You can carefully open the seam, replace the filling, and sew it back up to refresh the pad.
Regular Checks: Periodically check for signs of wear and tear. Ensure the seams remain intact and the fabric is not thinning or burning.
Conclusion
Creating a DIY microwave heating pad is a simple yet rewarding project that delivers comfort and relief for various aches and pains. By choosing the right materials, such as cotton fabric and fillings like rice or flaxseed, you can customize the pad to suit your needs. Following detailed step-by-step instructions, from cutting and sewing the fabric to filling and securing the pad, ensures a professional and effective result. With various shapes and customization options, including eye masks and neck wraps, you can tailor the heating pad to specific body areas. Proper usage, including safe heating instructions and dual functionality as a cold pack, enhances its versatility. Regular maintenance through spot cleaning and periodic refilling extends the life of your microwave heating pad, ensuring it remains a reliable tool in your wellness routine. By following these guidelines, you can create a personalized, heat-free therapy solution that brings soothing relief and comfort.