Beach Wave Curling Iron – Styling Tips for Perfect Waves
Choosing the Right Curling Iron for Beach Waves
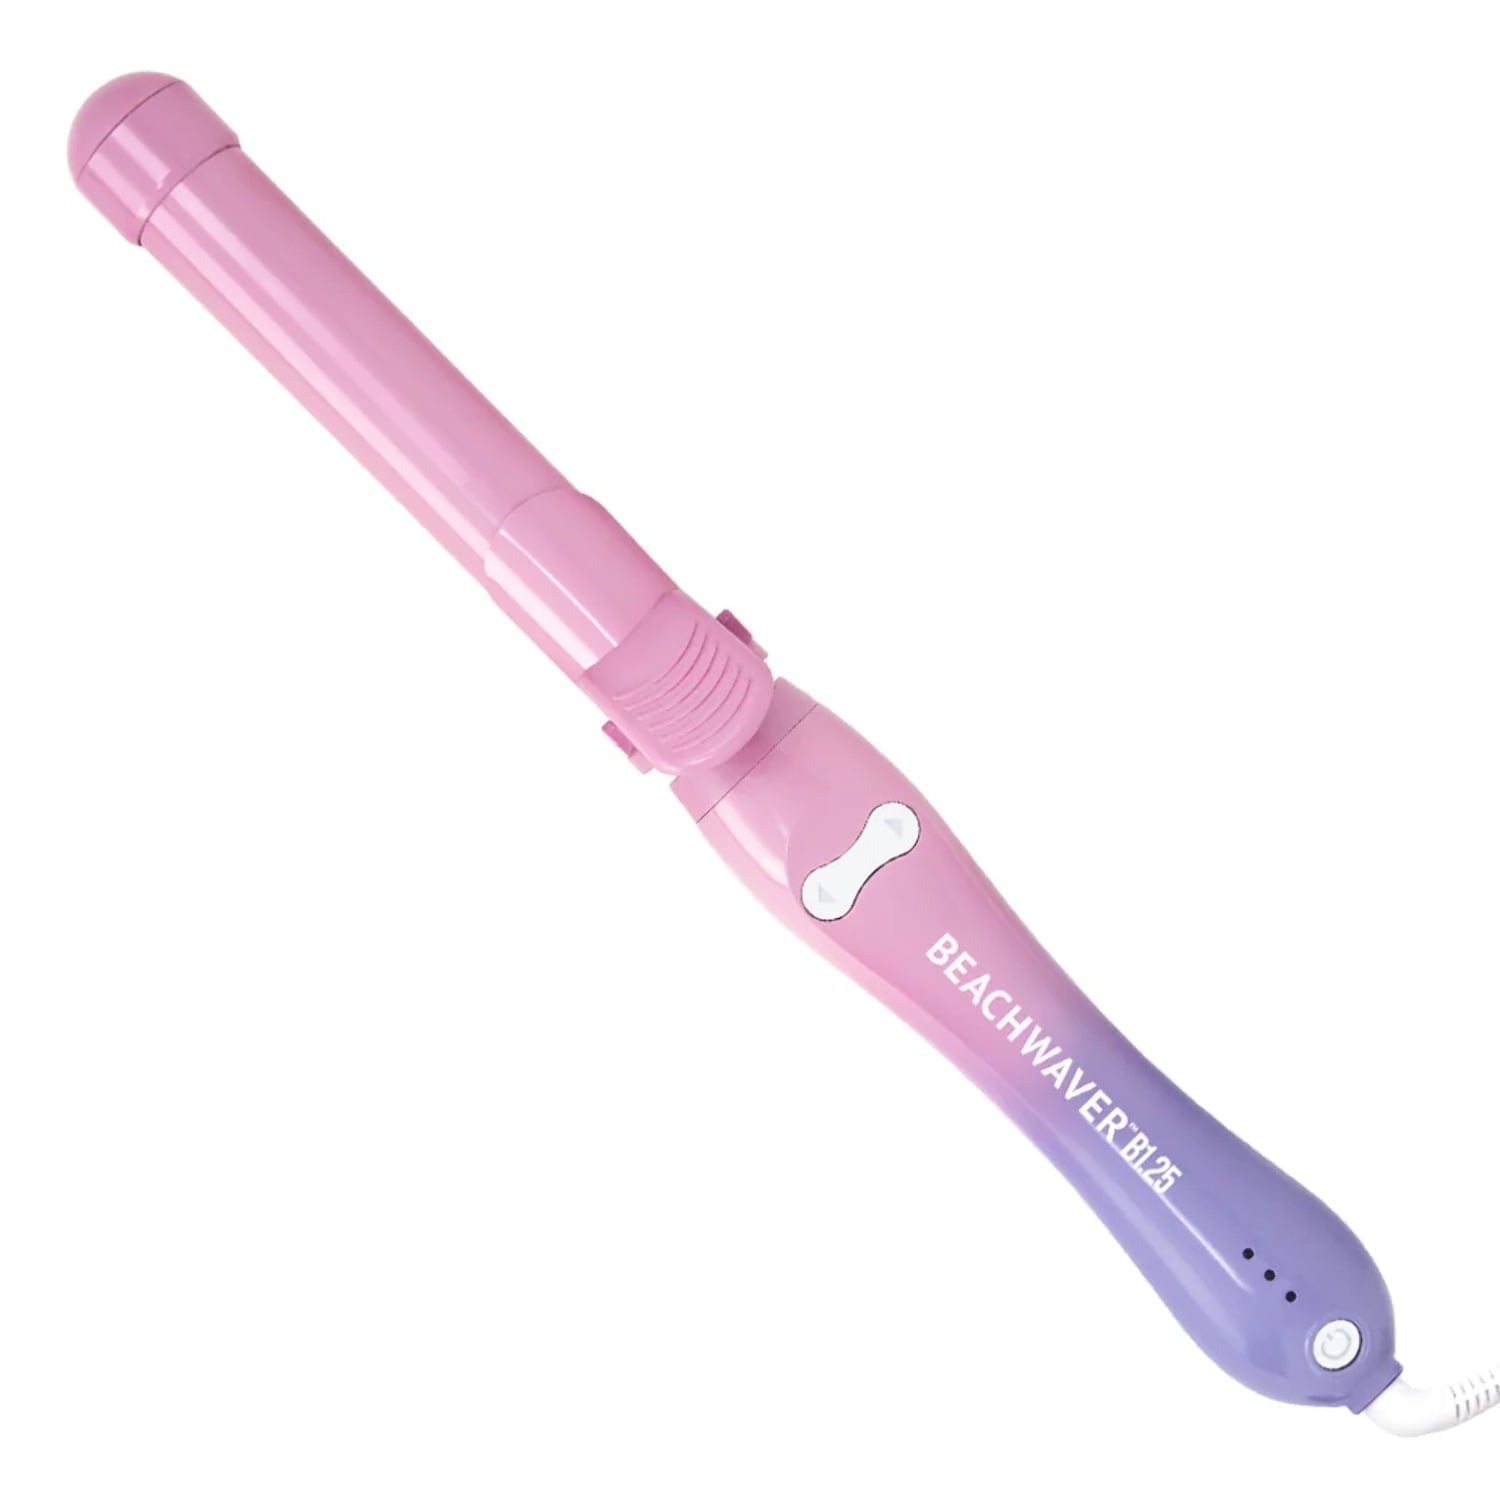
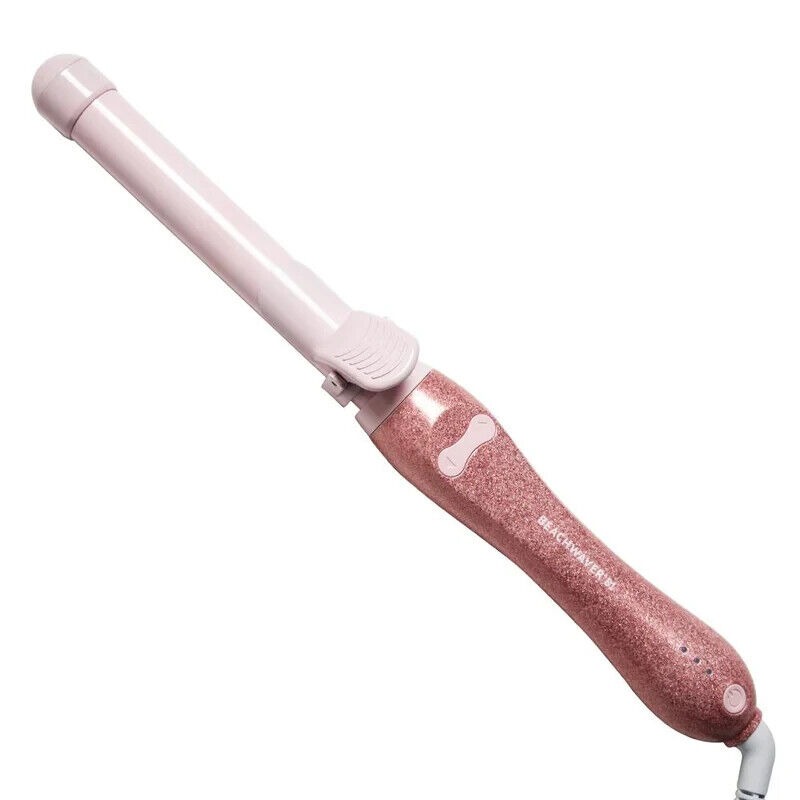
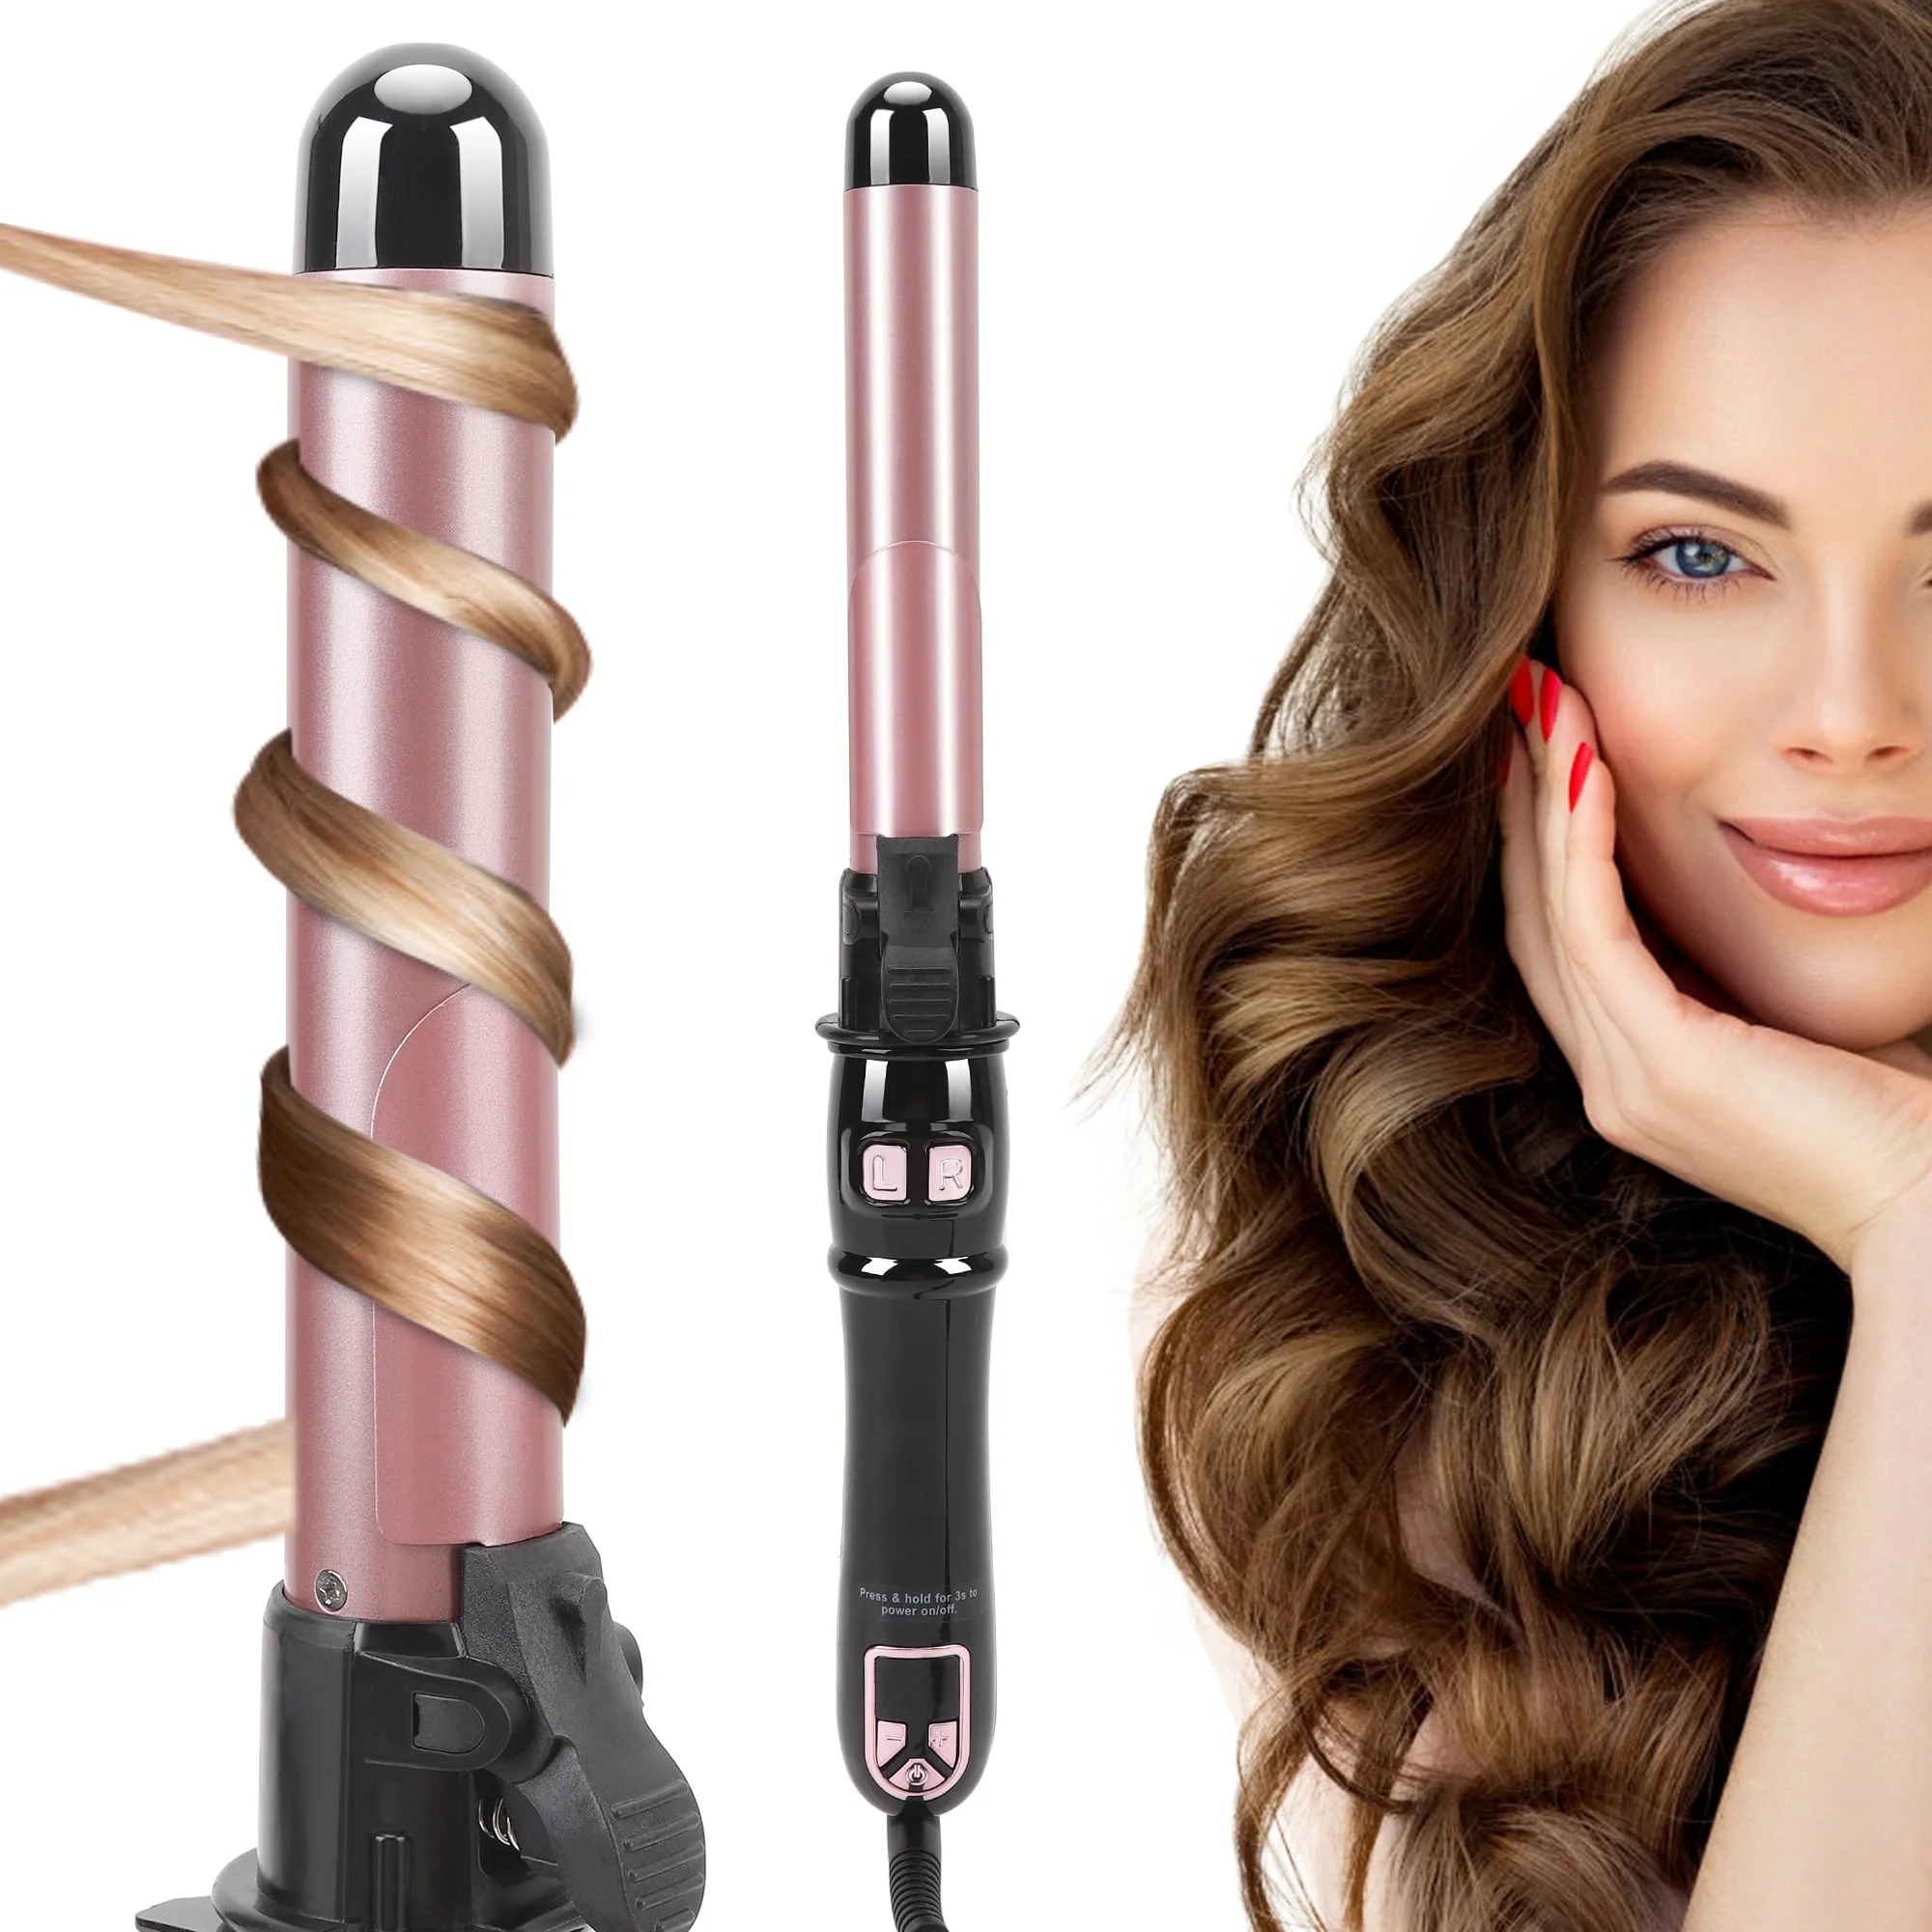
When creating the beach wave curling iron, selecting the appropriate beach wave curling iron is crucial. The barrel size mainly influences the wave’s shape and size. Typically, for loose beach waves, a barrel that is 1 to 1.5 inches in diameter works best. It offers a good balance between defined curls and natural-looking waves.
Prepping Your Hair for Styling
Before creating the perfect beach waves with your beach wave curling iron, hair preparation is key. A solid prep lays the groundwork for a stunning hairstyle and prevents damage.
Start by washing your hair with a nourishing shampoo and conditioner. This step removes any built-up products and oils. Clean hair holds style better and will help your beach waves last longer.
Next, gently towel-dry your hair to remove excess water. Avoid rubbing your hair vigorously as this can cause frizz and breakage. Instead, blot or squeeze your hair with the towel.
Apply a heat protectant evenly through your damp hair. This product is essential to shield your hair from the high temperatures of the curling iron. It helps prevent split ends and keeps your hair healthy.
Step-by-Step Guide to Creating Beach Waves
Now that you’ve chosen your beach wave curling iron and prepped your hair, it’s time to dive into the styling process. Crafting the perfect beach waves can be simple with the right technique. Here’s a step-by-step guide to help you achieve those effortless-looking waves.
1. Section Your Hair
Begin by dividing your hair into sections. Smaller sections ensure even heat distribution. Clip away the top layers and start with the bottom ones.
2. Heat the Curling Iron
Turn on your beach wave curling iron. Set it to the appropriate temperature for your hair type. Wait for it to heat up.
3. Wrap Hair Around the Barrel
Take a section of hair and wrap it around the curling iron’s barrel. Avoid overlapping the hair to prevent uneven waves. Hold for a few seconds.
4. Release and Repeat
Gently release the hair. Let it fall into a wave. Move to the next section and repeat the curling process. Alternate the curl direction for a more natural look.
Temperature Settings for Different Hair Types
Choosing the correct temperature on your beach wave curling iron is crucial for achieving ideal waves without damaging your hair. Different hair types require unique heat settings to effectively curl while maintaining hair health.
- Fine Hair: Fine hair is sensitive and can easily suffer damage from high temperatures. Set your iron between 250-300 degrees Fahrenheit to create gentle waves without fry.
- Medium/Normal Hair: This hair type can handle a bit more heat. Position your beach wave curling iron between 300-350 degrees Fahrenheit for effective curling that won’t sap moisture.
- Thick Hair: Thick hair may resist curling at lower temperatures. Turn up the heat to 350-400 degrees Fahrenheit for firm beach waves. However, consistently avoid exceeding 400 degrees to prevent damage.
- Treated or Damaged Hair: If your hair is colored or chemically treated, it’s likely more fragile. Use a lower temperature, similar to fine hair settings, and increase gradually if needed.
Always start at the lower end of the temperature range recommended for your hair type and increase gradually if necessary. This approach will help you find the sweet spot for creating perfect waves while preserving hair integrity.
Tips for Long-Lasting Beach Waves
Achieving beach waves that last requires a few expert tips. Stick to these guidelines and your beach waves will stay intact from sunrise to sunset.
Use Quality Hair Products
Start with high-quality hair products. Apply a mousse or sea salt spray before you curl. These provide texture and help hold the waves.
Don’t Overlook Hairspray
After curling, use a lightweight hairspray. It will set your waves without making them stiff. Look for one that’s humidity-resistant.
Avoid Touching Your Hair Too Much
Resist the urge to touch your hair. Oils and moisture from your hands can cause the waves to fall out. Let them set and don’t fiddle with them.
Consider Overnight Styles
For waves that last, try overnight braids or buns. These styles create natural-looking waves without heat. Just brush them out lightly in the morning.
Wrap Hair Loosely
When curling, wrap hair loosely around the beach wave curling iron. Tight curls tend to drop faster. Gentle waves have better longevity.
Common Mistakes to Avoid When Using a Curling Iron
Creating the perfect beach waves with your beach wave curling iron might seem simple, but common mistakes can lead to less-than-ideal results and potential hair damage. Here are some pitfalls to steer clear of during your styling routine.
- Not Using a Heat Protectant: Skipping this crucial step exposes your hair to potential heat damage. Always apply a heat protectant before styling.
- Setting the Heat Too High: Excessive heat can harm your hair, especially if it’s fine or treated. Use the right temperature setting for your hair type.
- Curling Wet Hair: Your hair should be completely dry before curling. Damp hair won’t hold the wave and could be damaged.
- Clamping Too Tightly: Applying too much pressure with the clamp creates creases. Instead, hold the hair gently around the barrel.
- Holding the Iron for Too Long: Keep the iron in your hair for just a few seconds. Overdoing it can fry your strands.
By avoiding these common errors, you’ll ensure your beach waves turn out beautifully and your hair stays healthy.
Aftercare and Maintenance for Your Beach Wave Hairstyle
After crafting your perfect beach waves with a beach wave curling iron, proper aftercare is vital. This ensures that your hairstyle continues to look fresh and your hair remains in good health. Below are some aftercare and maintenance tips to keep your beach waves looking their best.
Use a Silk Pillowcase
Swap your cotton pillowcase for a silk one. Silk reduces friction, which helps prevent your waves from getting frizzy or flattened while you sleep.
Apply a Lightweight Oil or Serum
A little bit of lightweight hair oil or serum can go a long way. Use it to add shine and tame any flyaways. Just be sure not to use too much, as it can weigh down your waves.
Refresh with a Curl Reviving Spray
On the days following your initial styling, revive your waves with a curl-enhancing spray. This helps redefine the waves and add bounce back into your hair.
Avoid Over-Washing Your Hair
Frequent washing can loosen your waves faster. Try to extend the time between washes. Use dry shampoo to absorb excess oil at the roots.
The Best Products to Enhance Your Beach Waves
To elevate your beach waves, quality products are key. Here are some top picks for that extra oomph.
Mousse for Volume and Hold
A good volumizing mousse can lift your roots and give your waves body. Apply it to damp hair before drying.
Sea Salt Spray for Texture
Sea salt spray adds the perfect beachy texture. Spray it on dry hair and scrunch for a tousled look.
Heat Protectant for Safety
Never skip the heat protectant. It guards against heat damage. Use it on damp hair before styling with your beach wave curling iron.
Curl Enhancing Spray for Definition
To define your waves, a curl enhancing spray works wonders. Spritz it on before and after curling for more pronounced waves.