Wand Curling Iron Styles – Trending Looks for Any Occasion
Choosing the Right Wand Curling Iron
Finding the right wand curling iron can make a big difference in your styling routine. There are several factors to consider before making your choice.
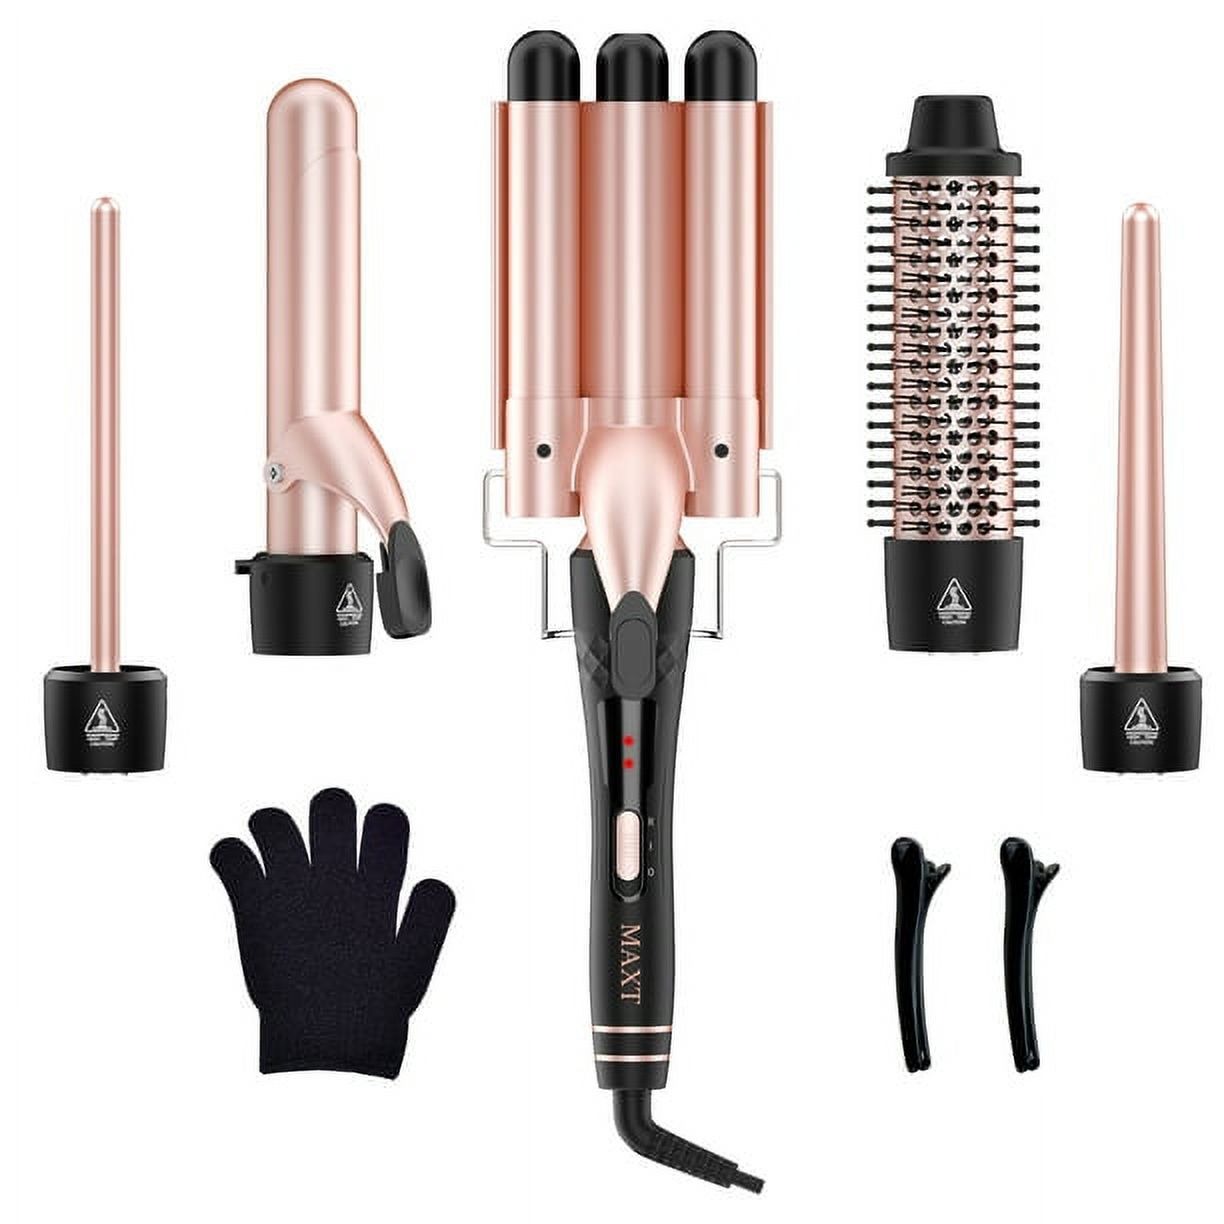
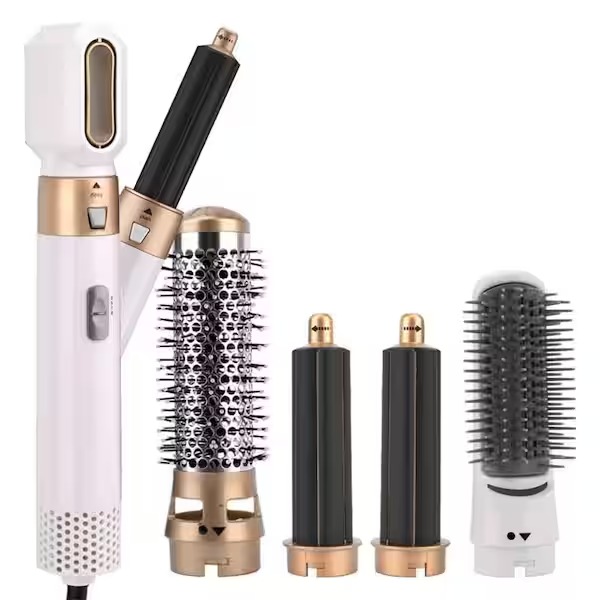
Types of Wand Curling Irons
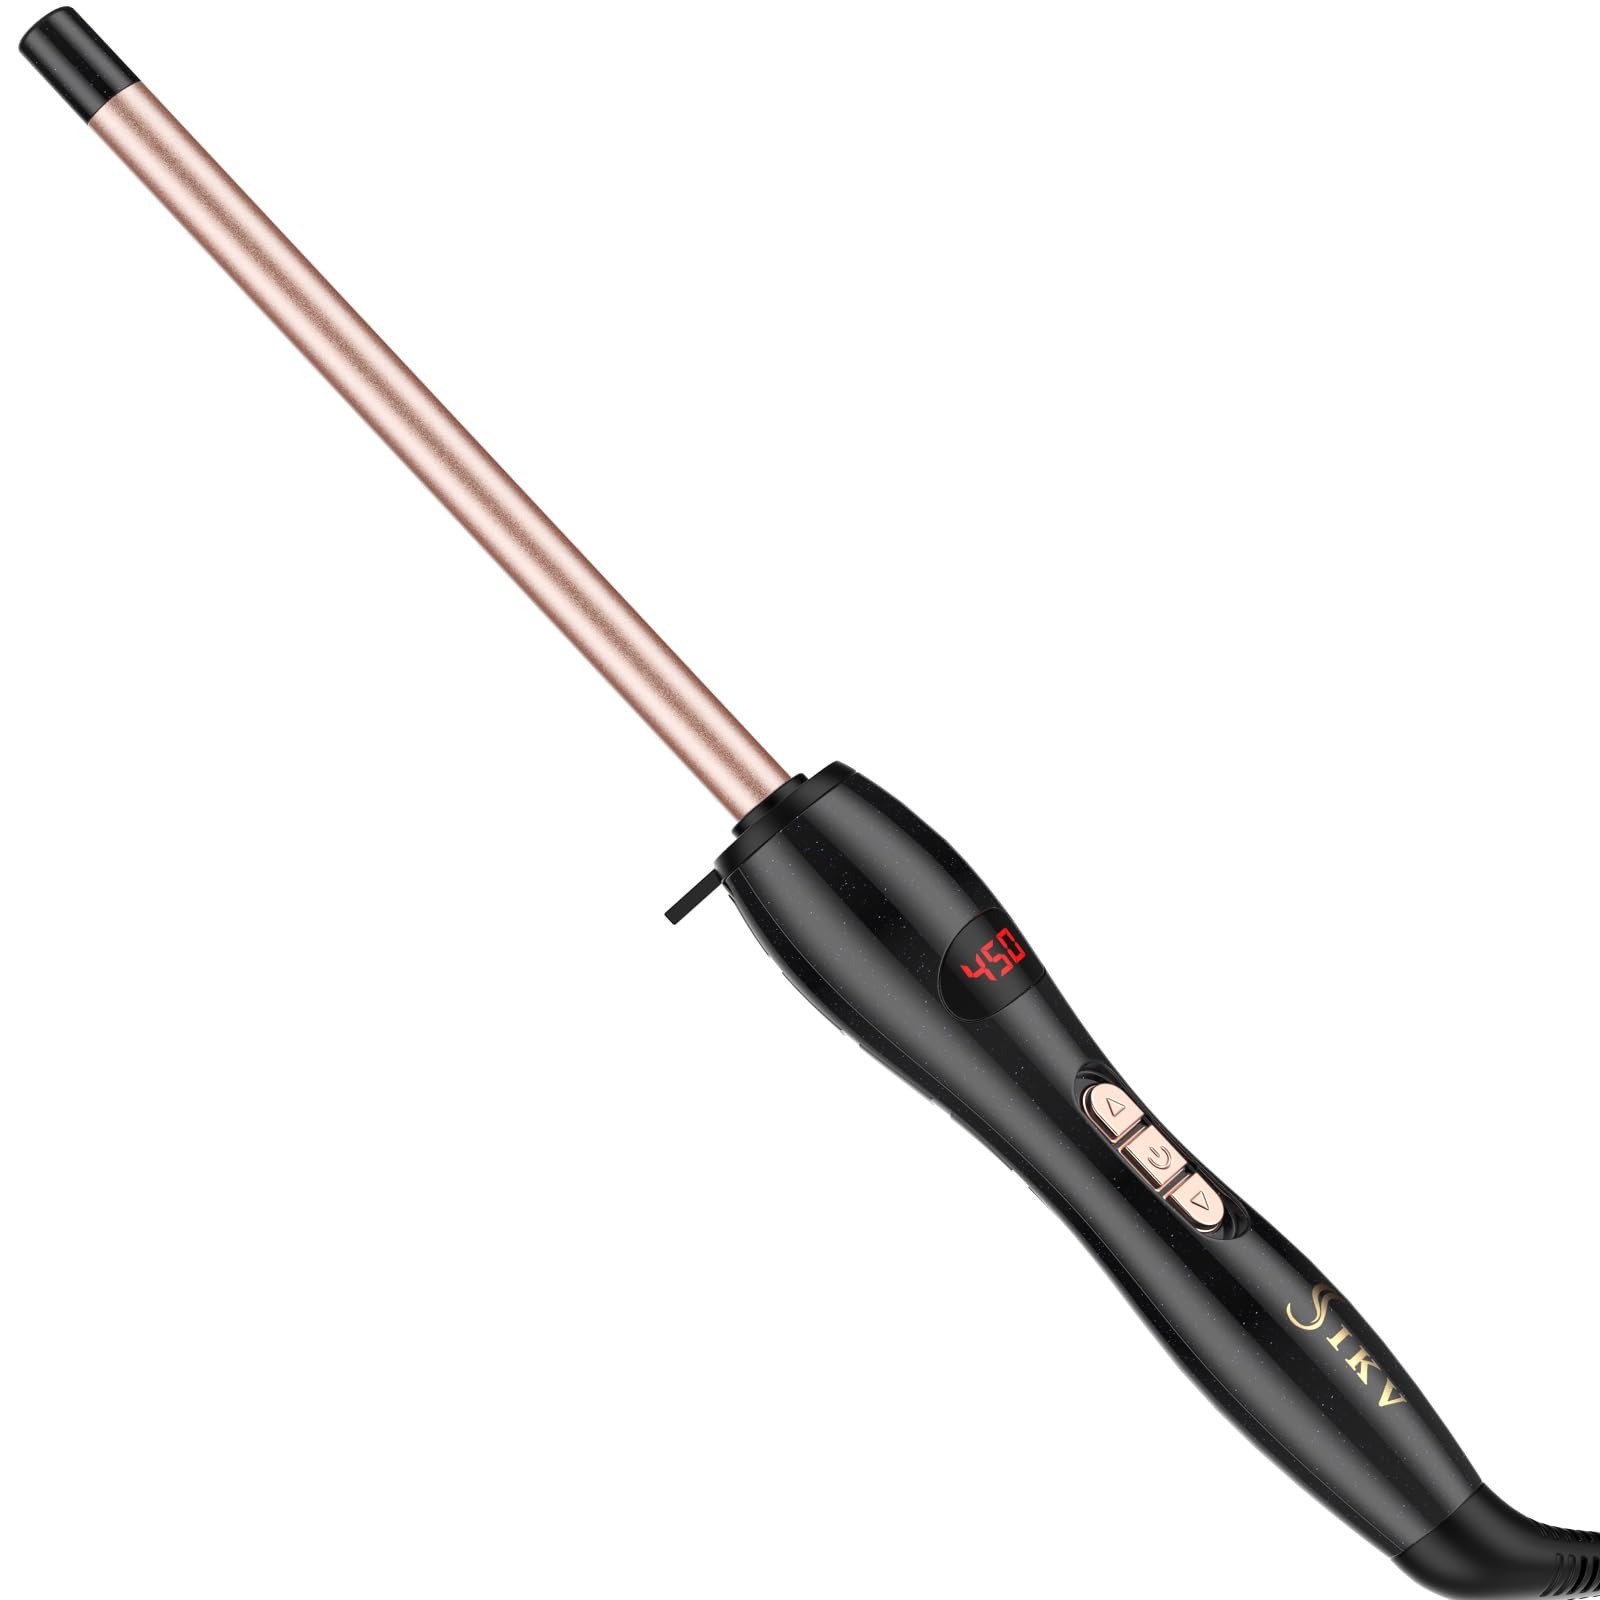
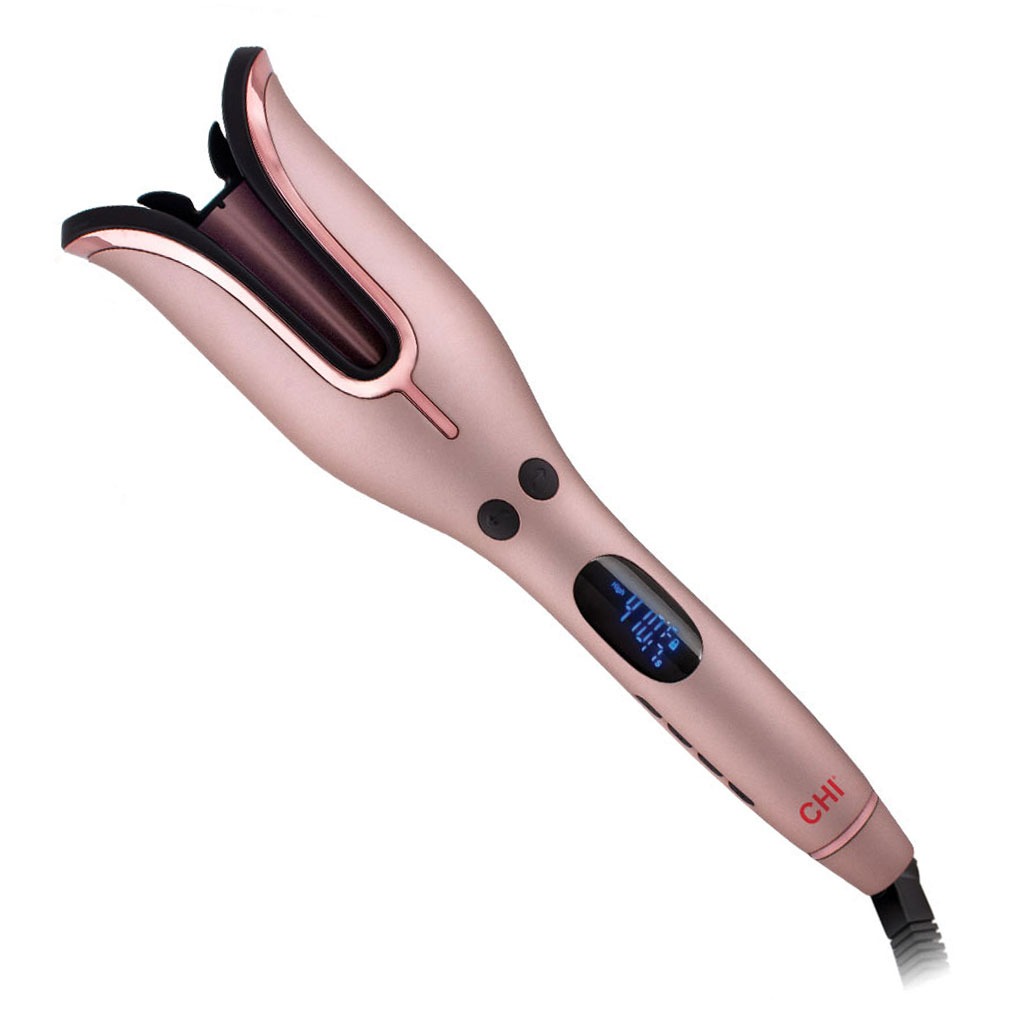
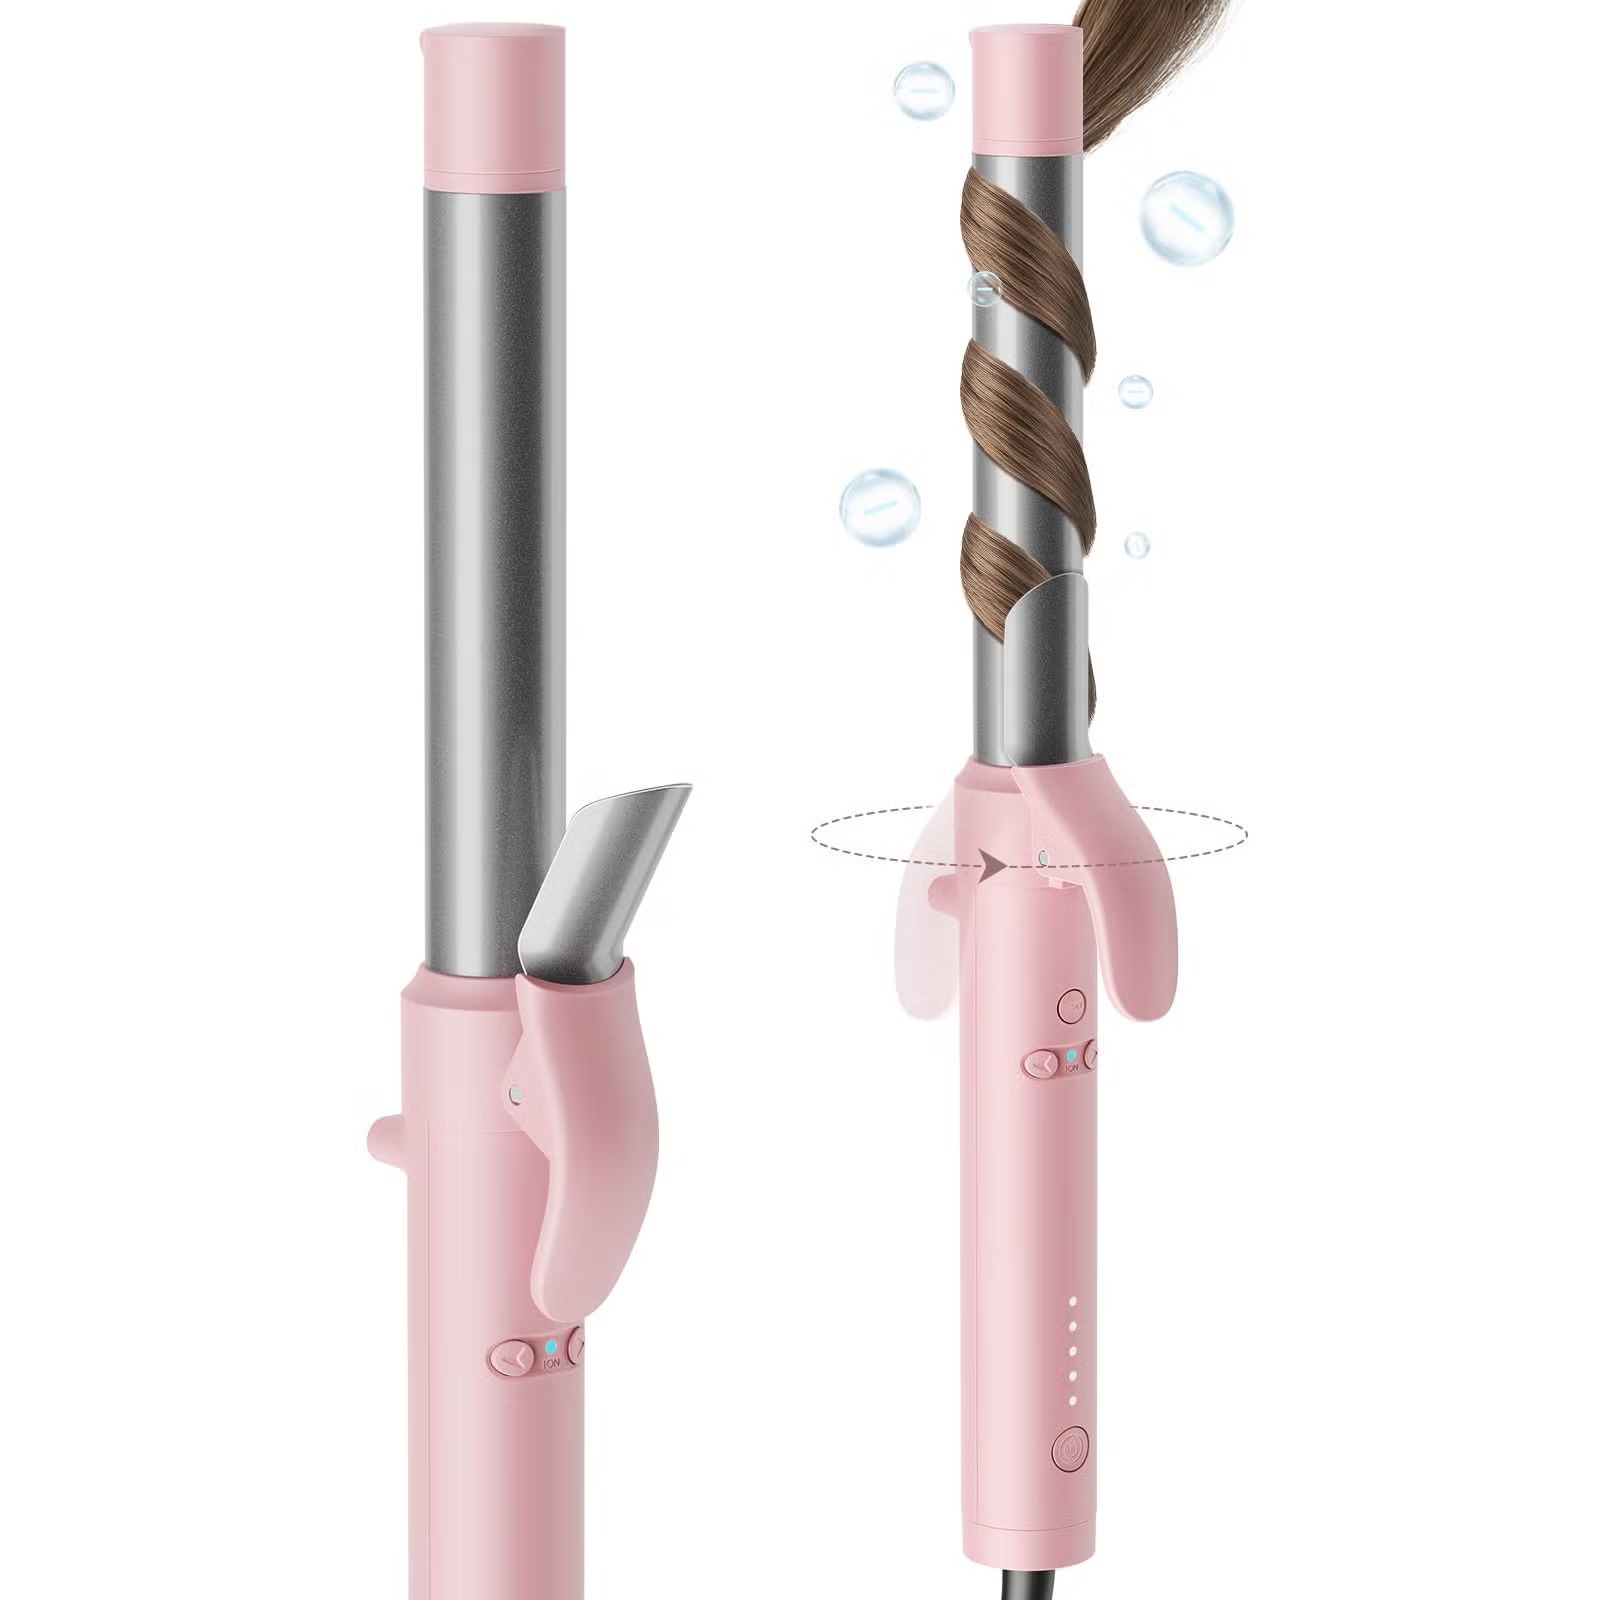
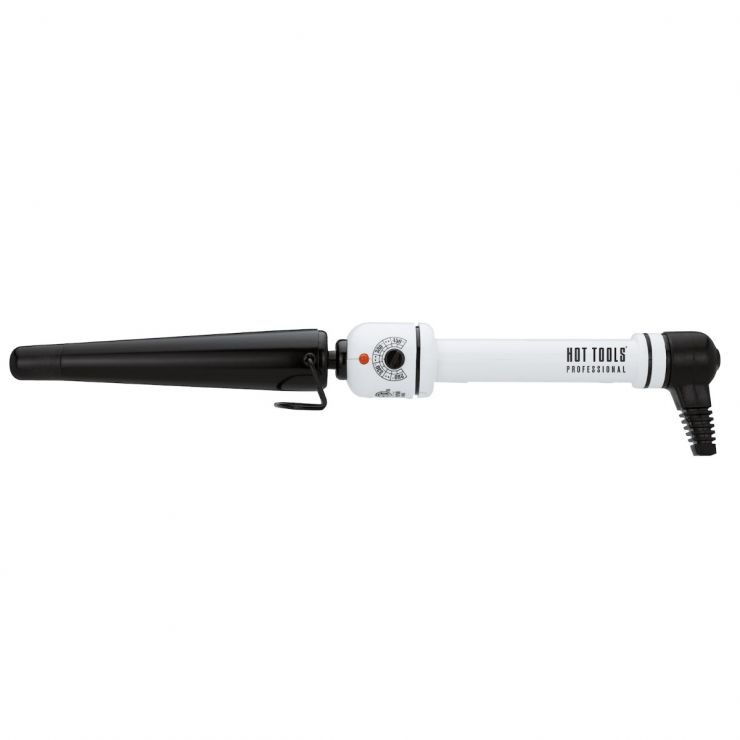
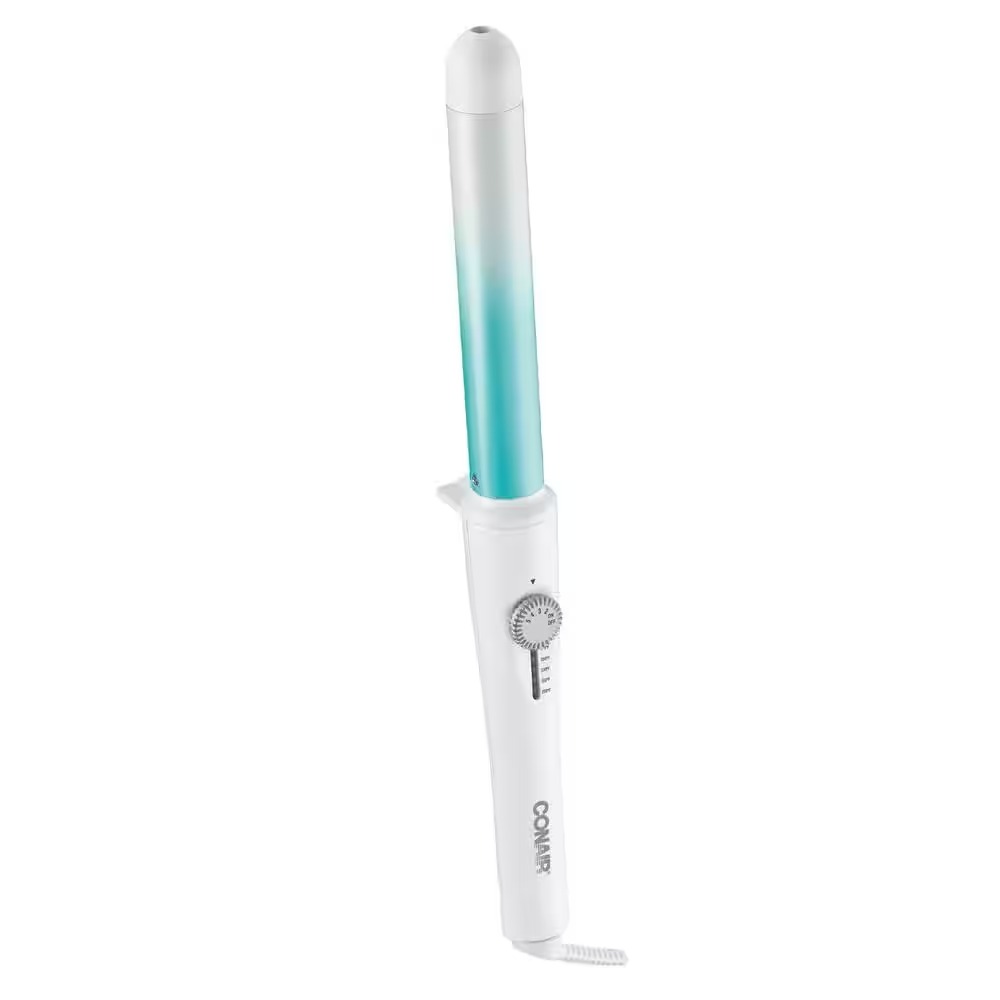
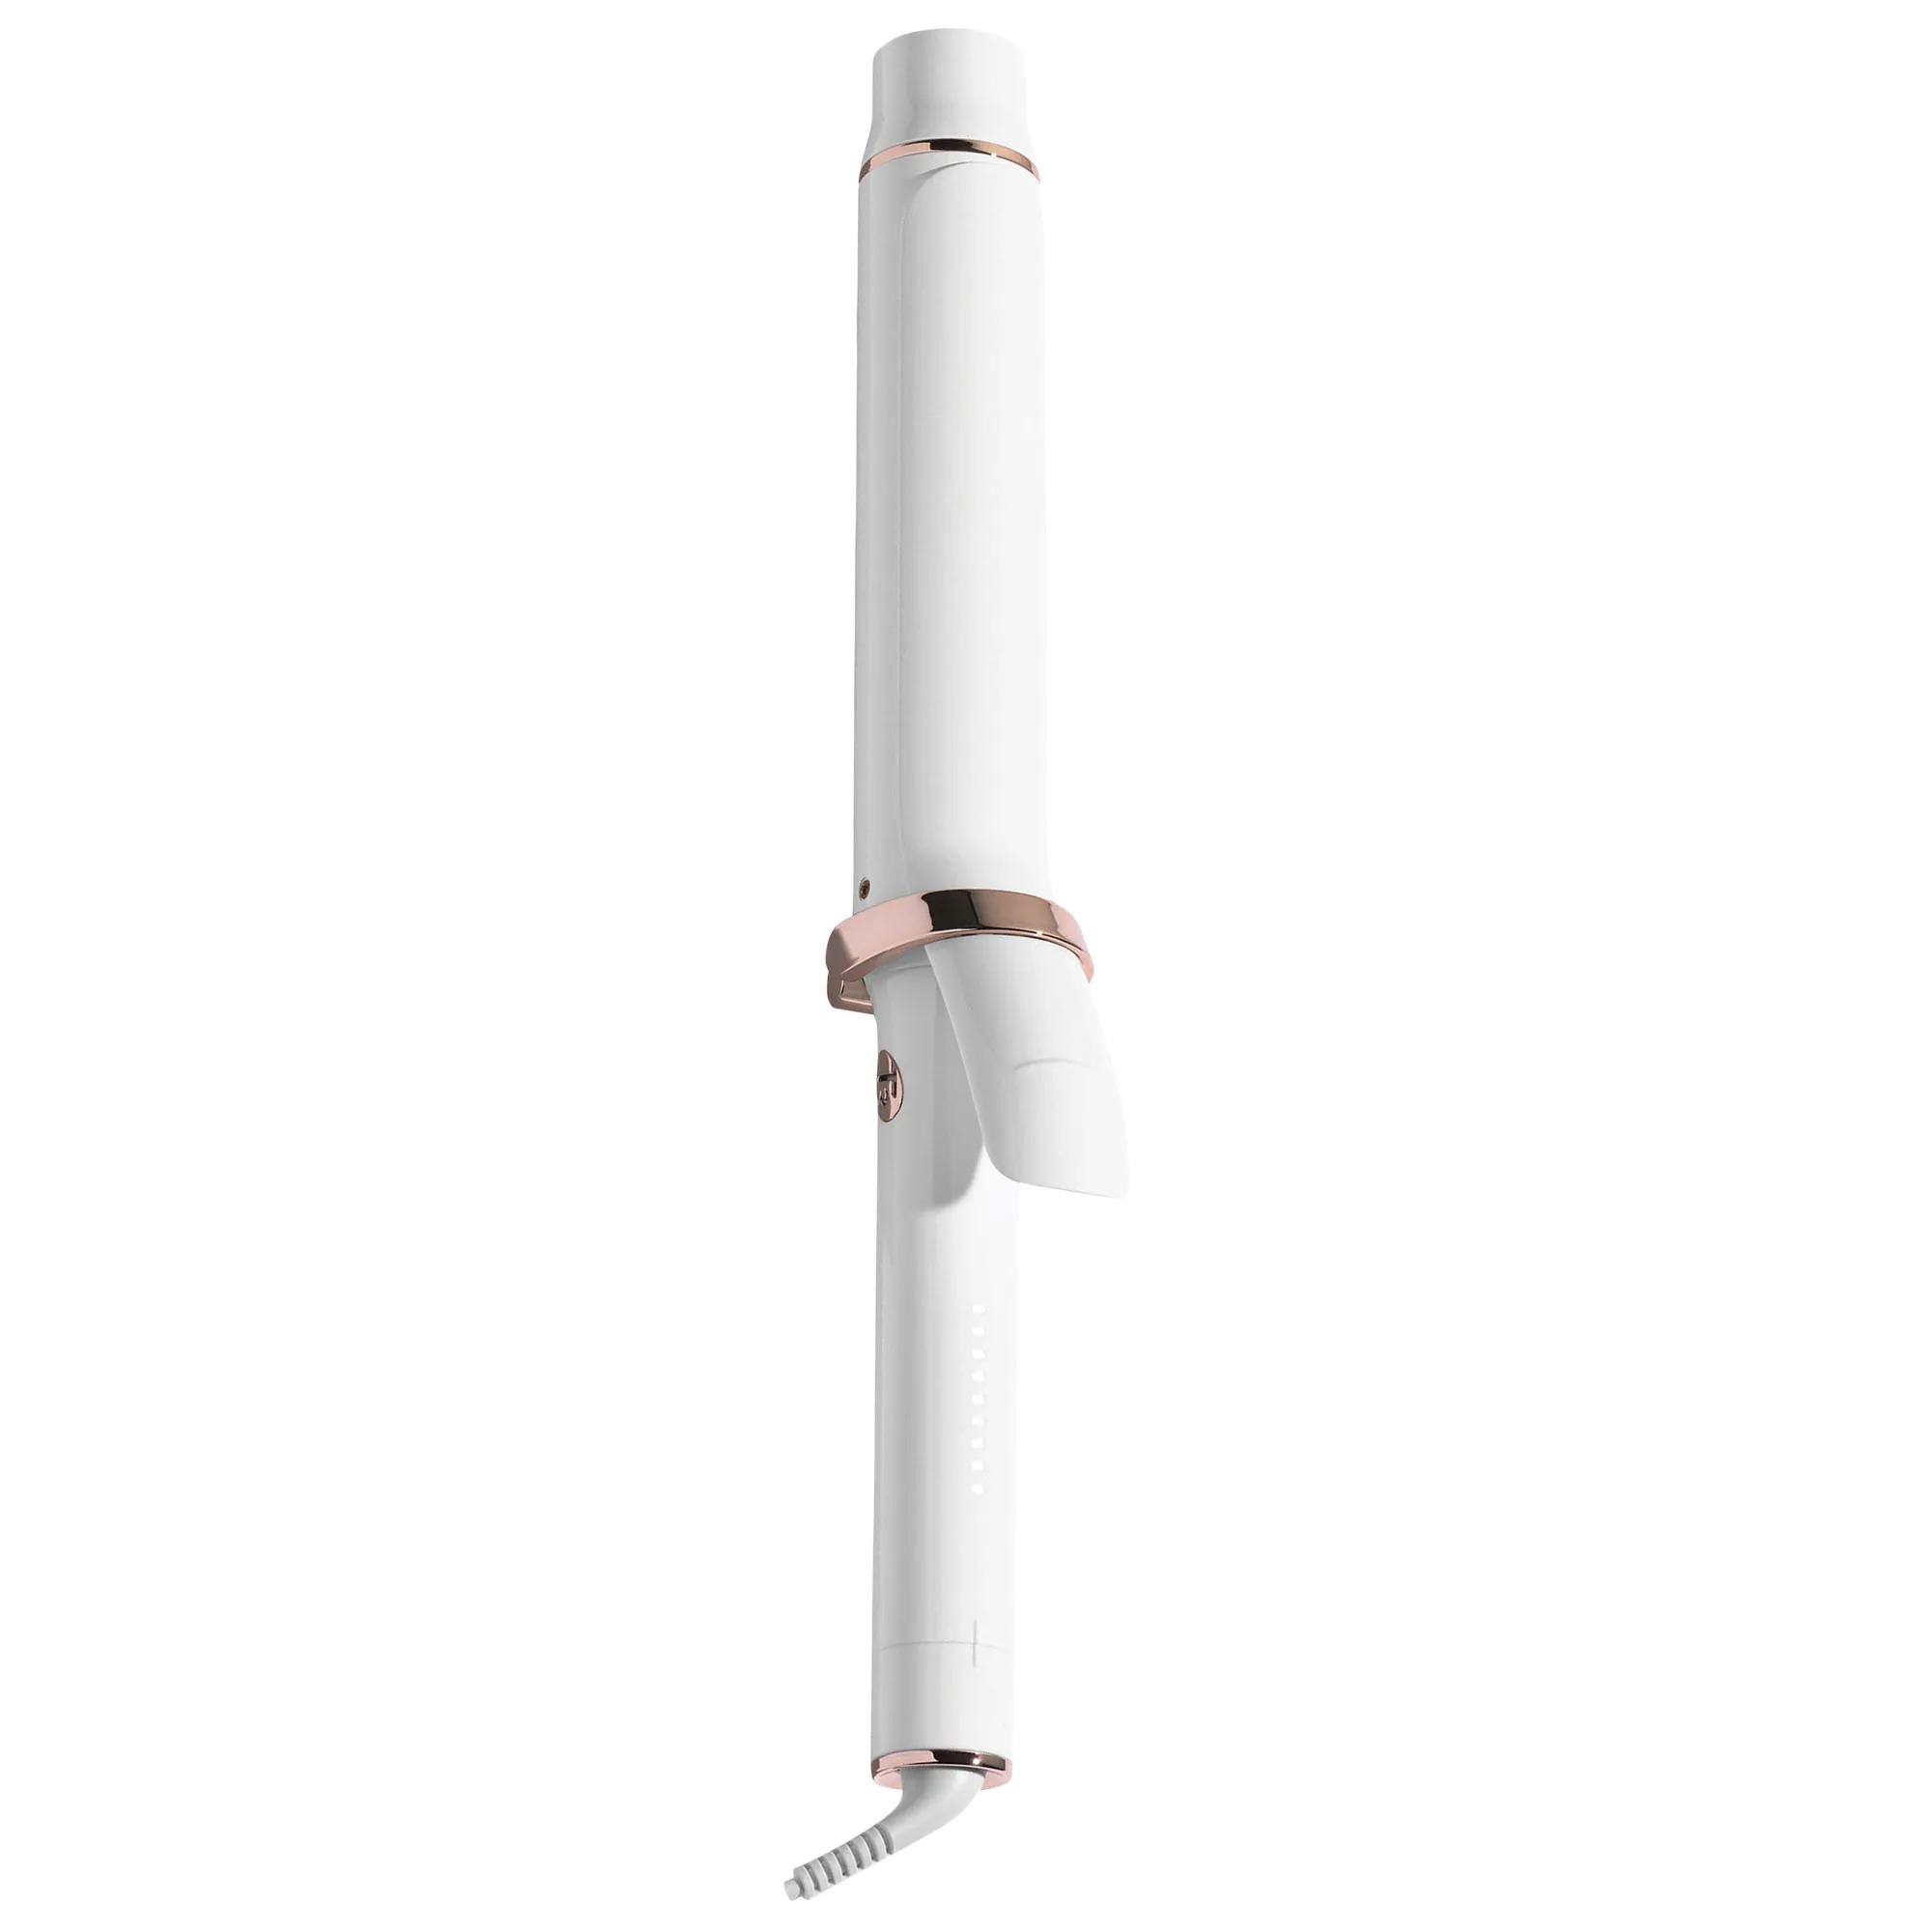
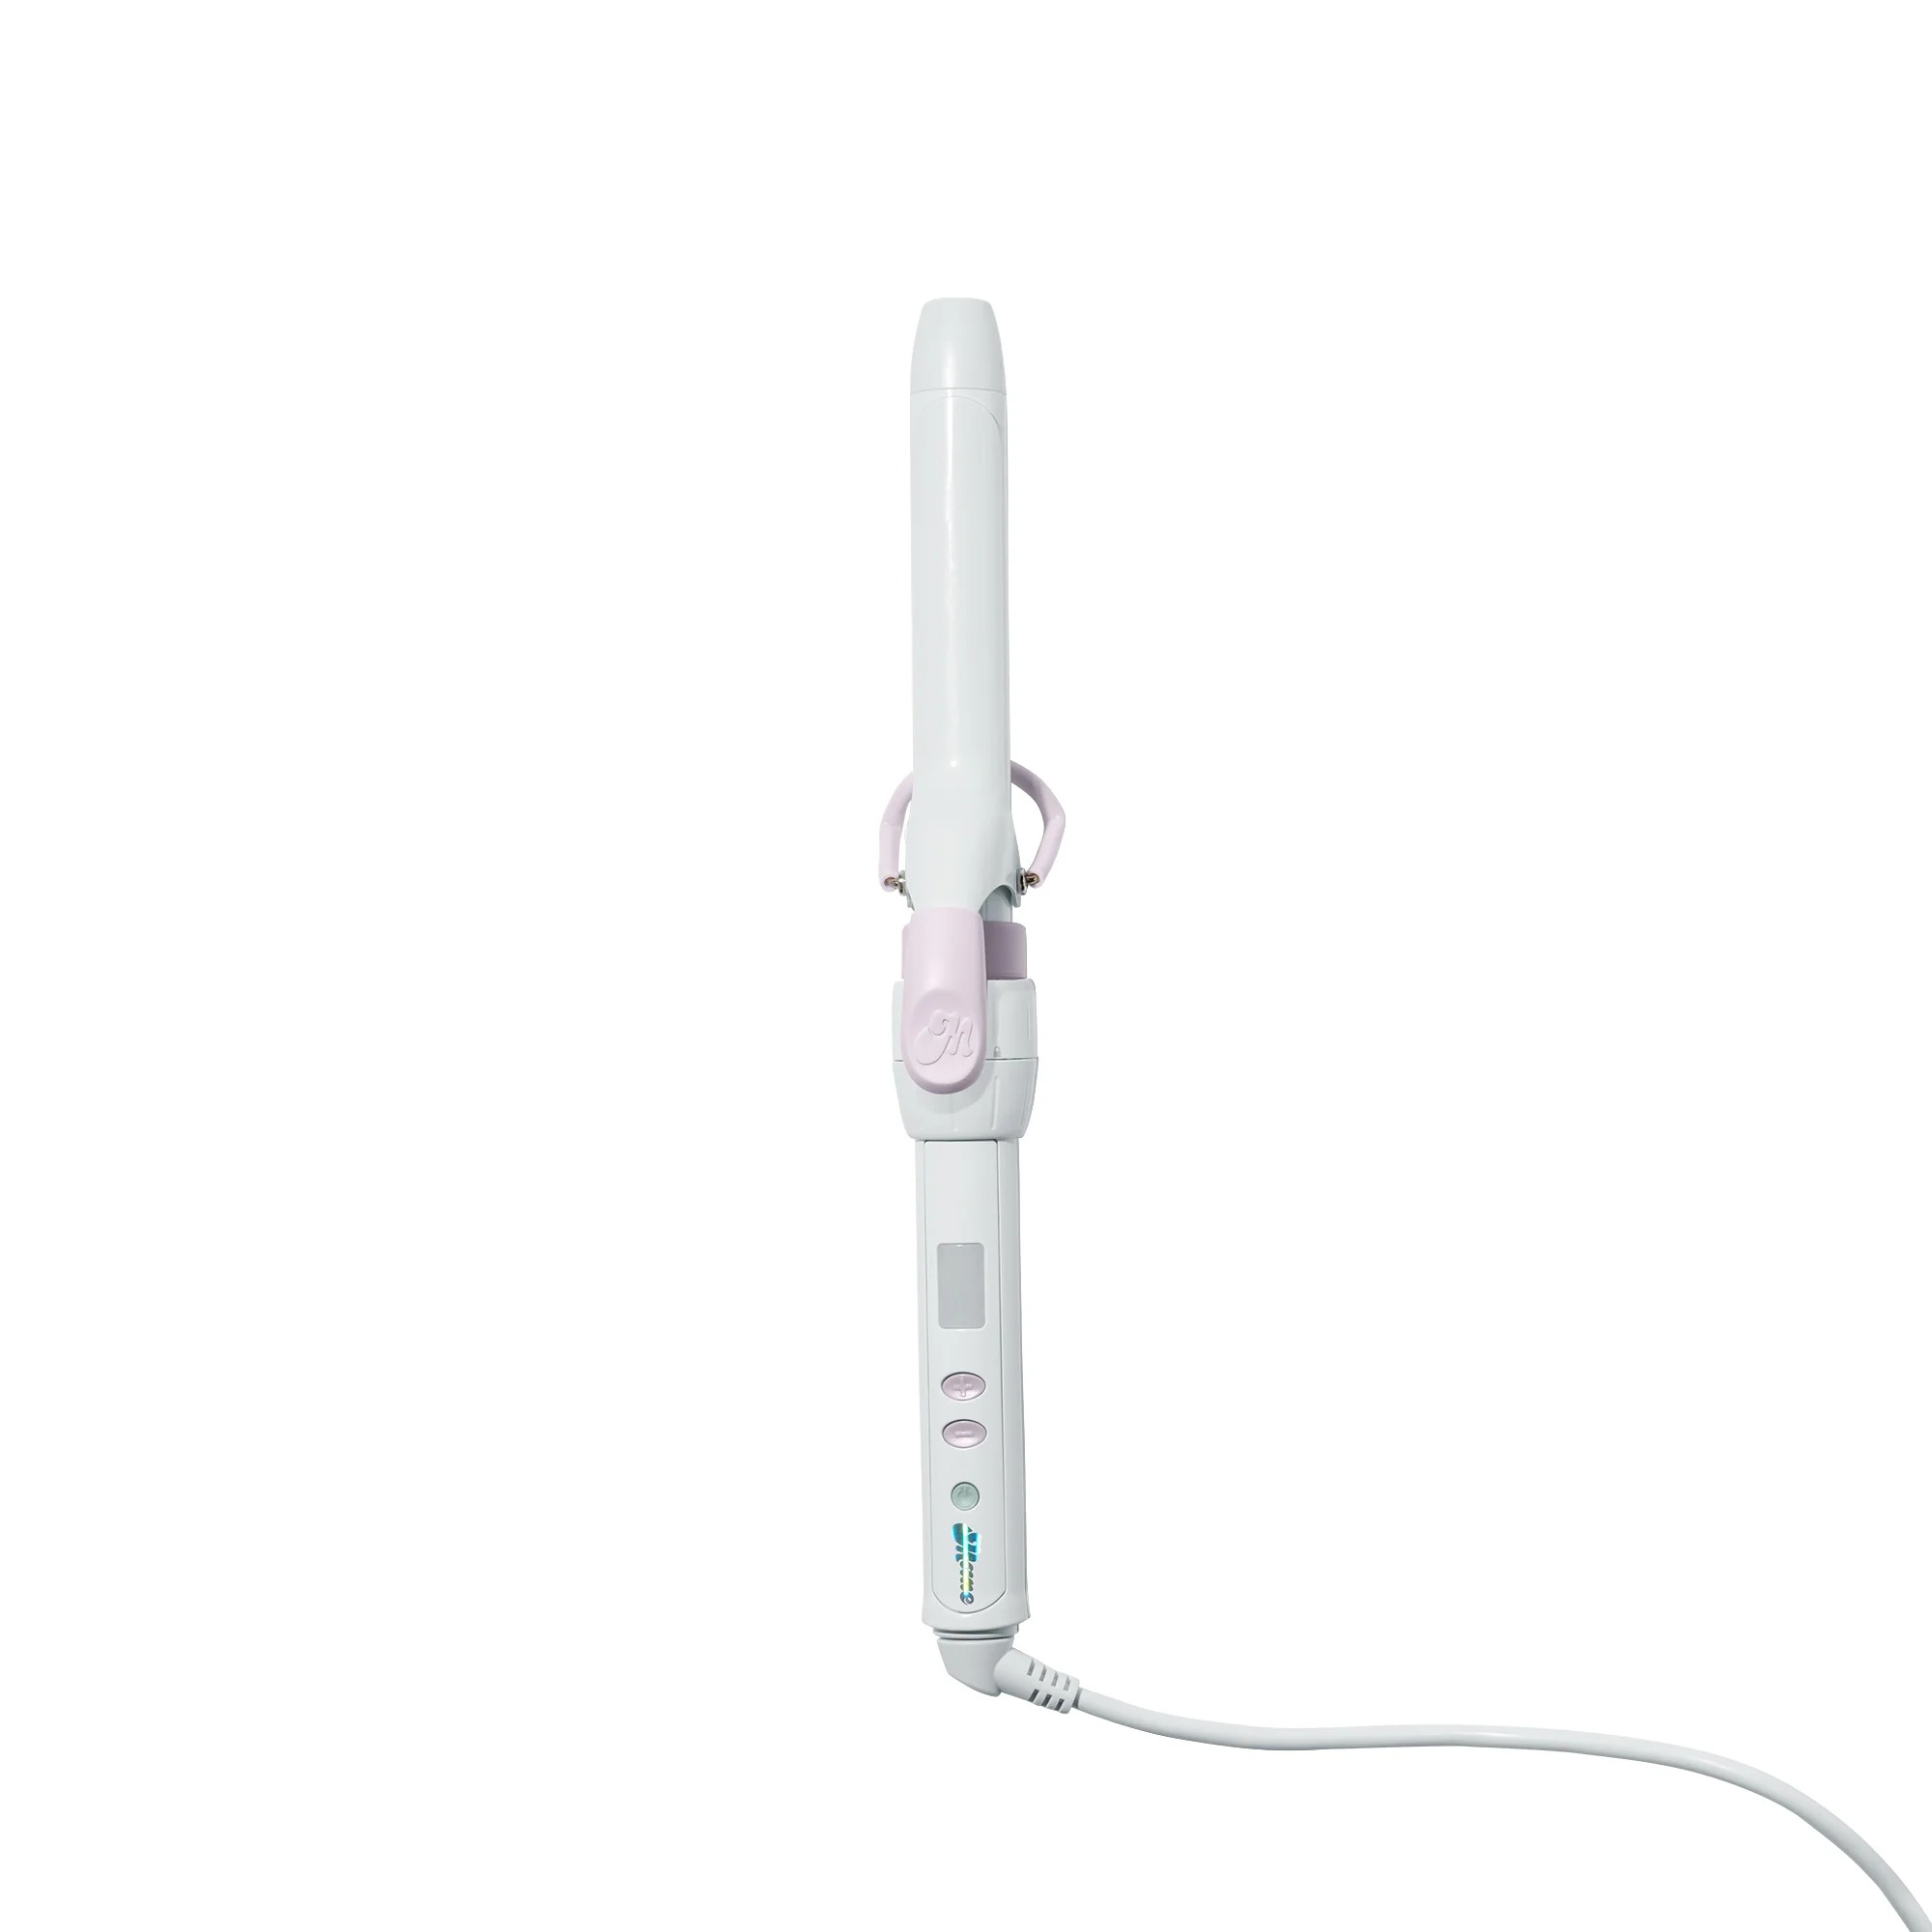
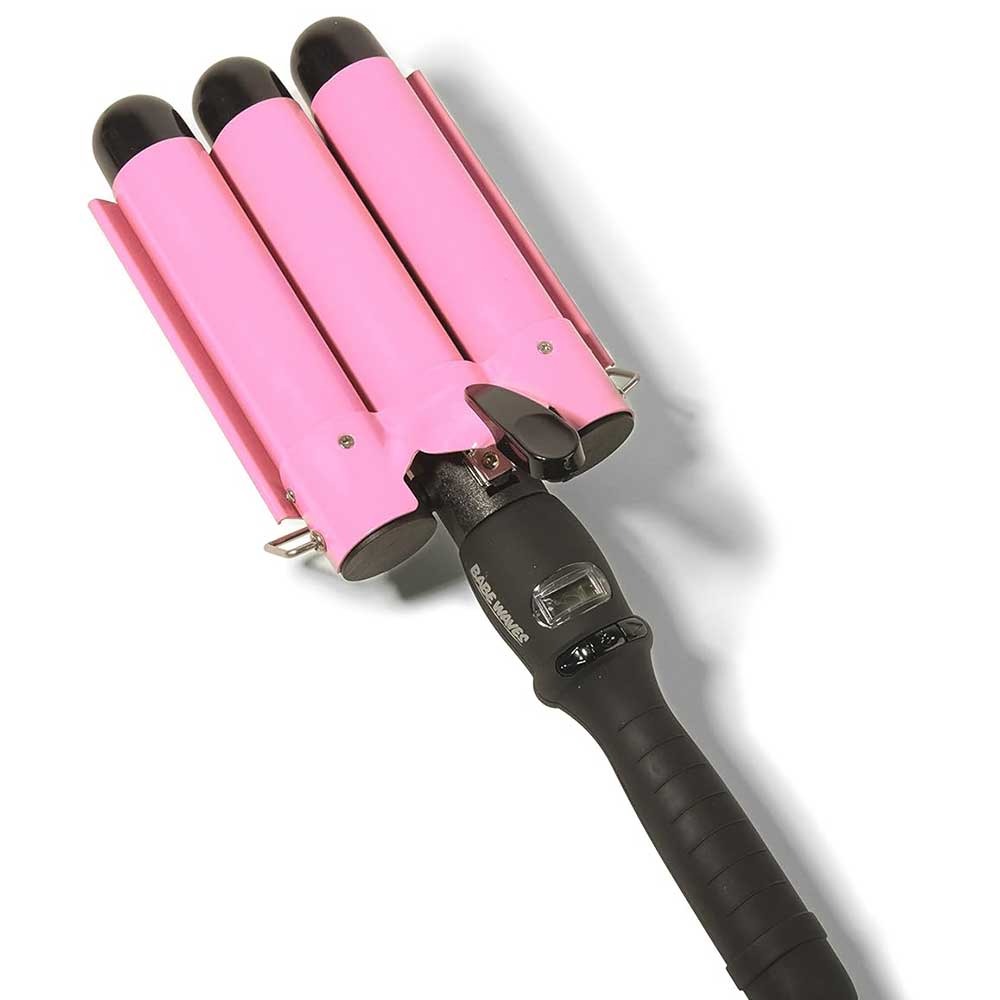
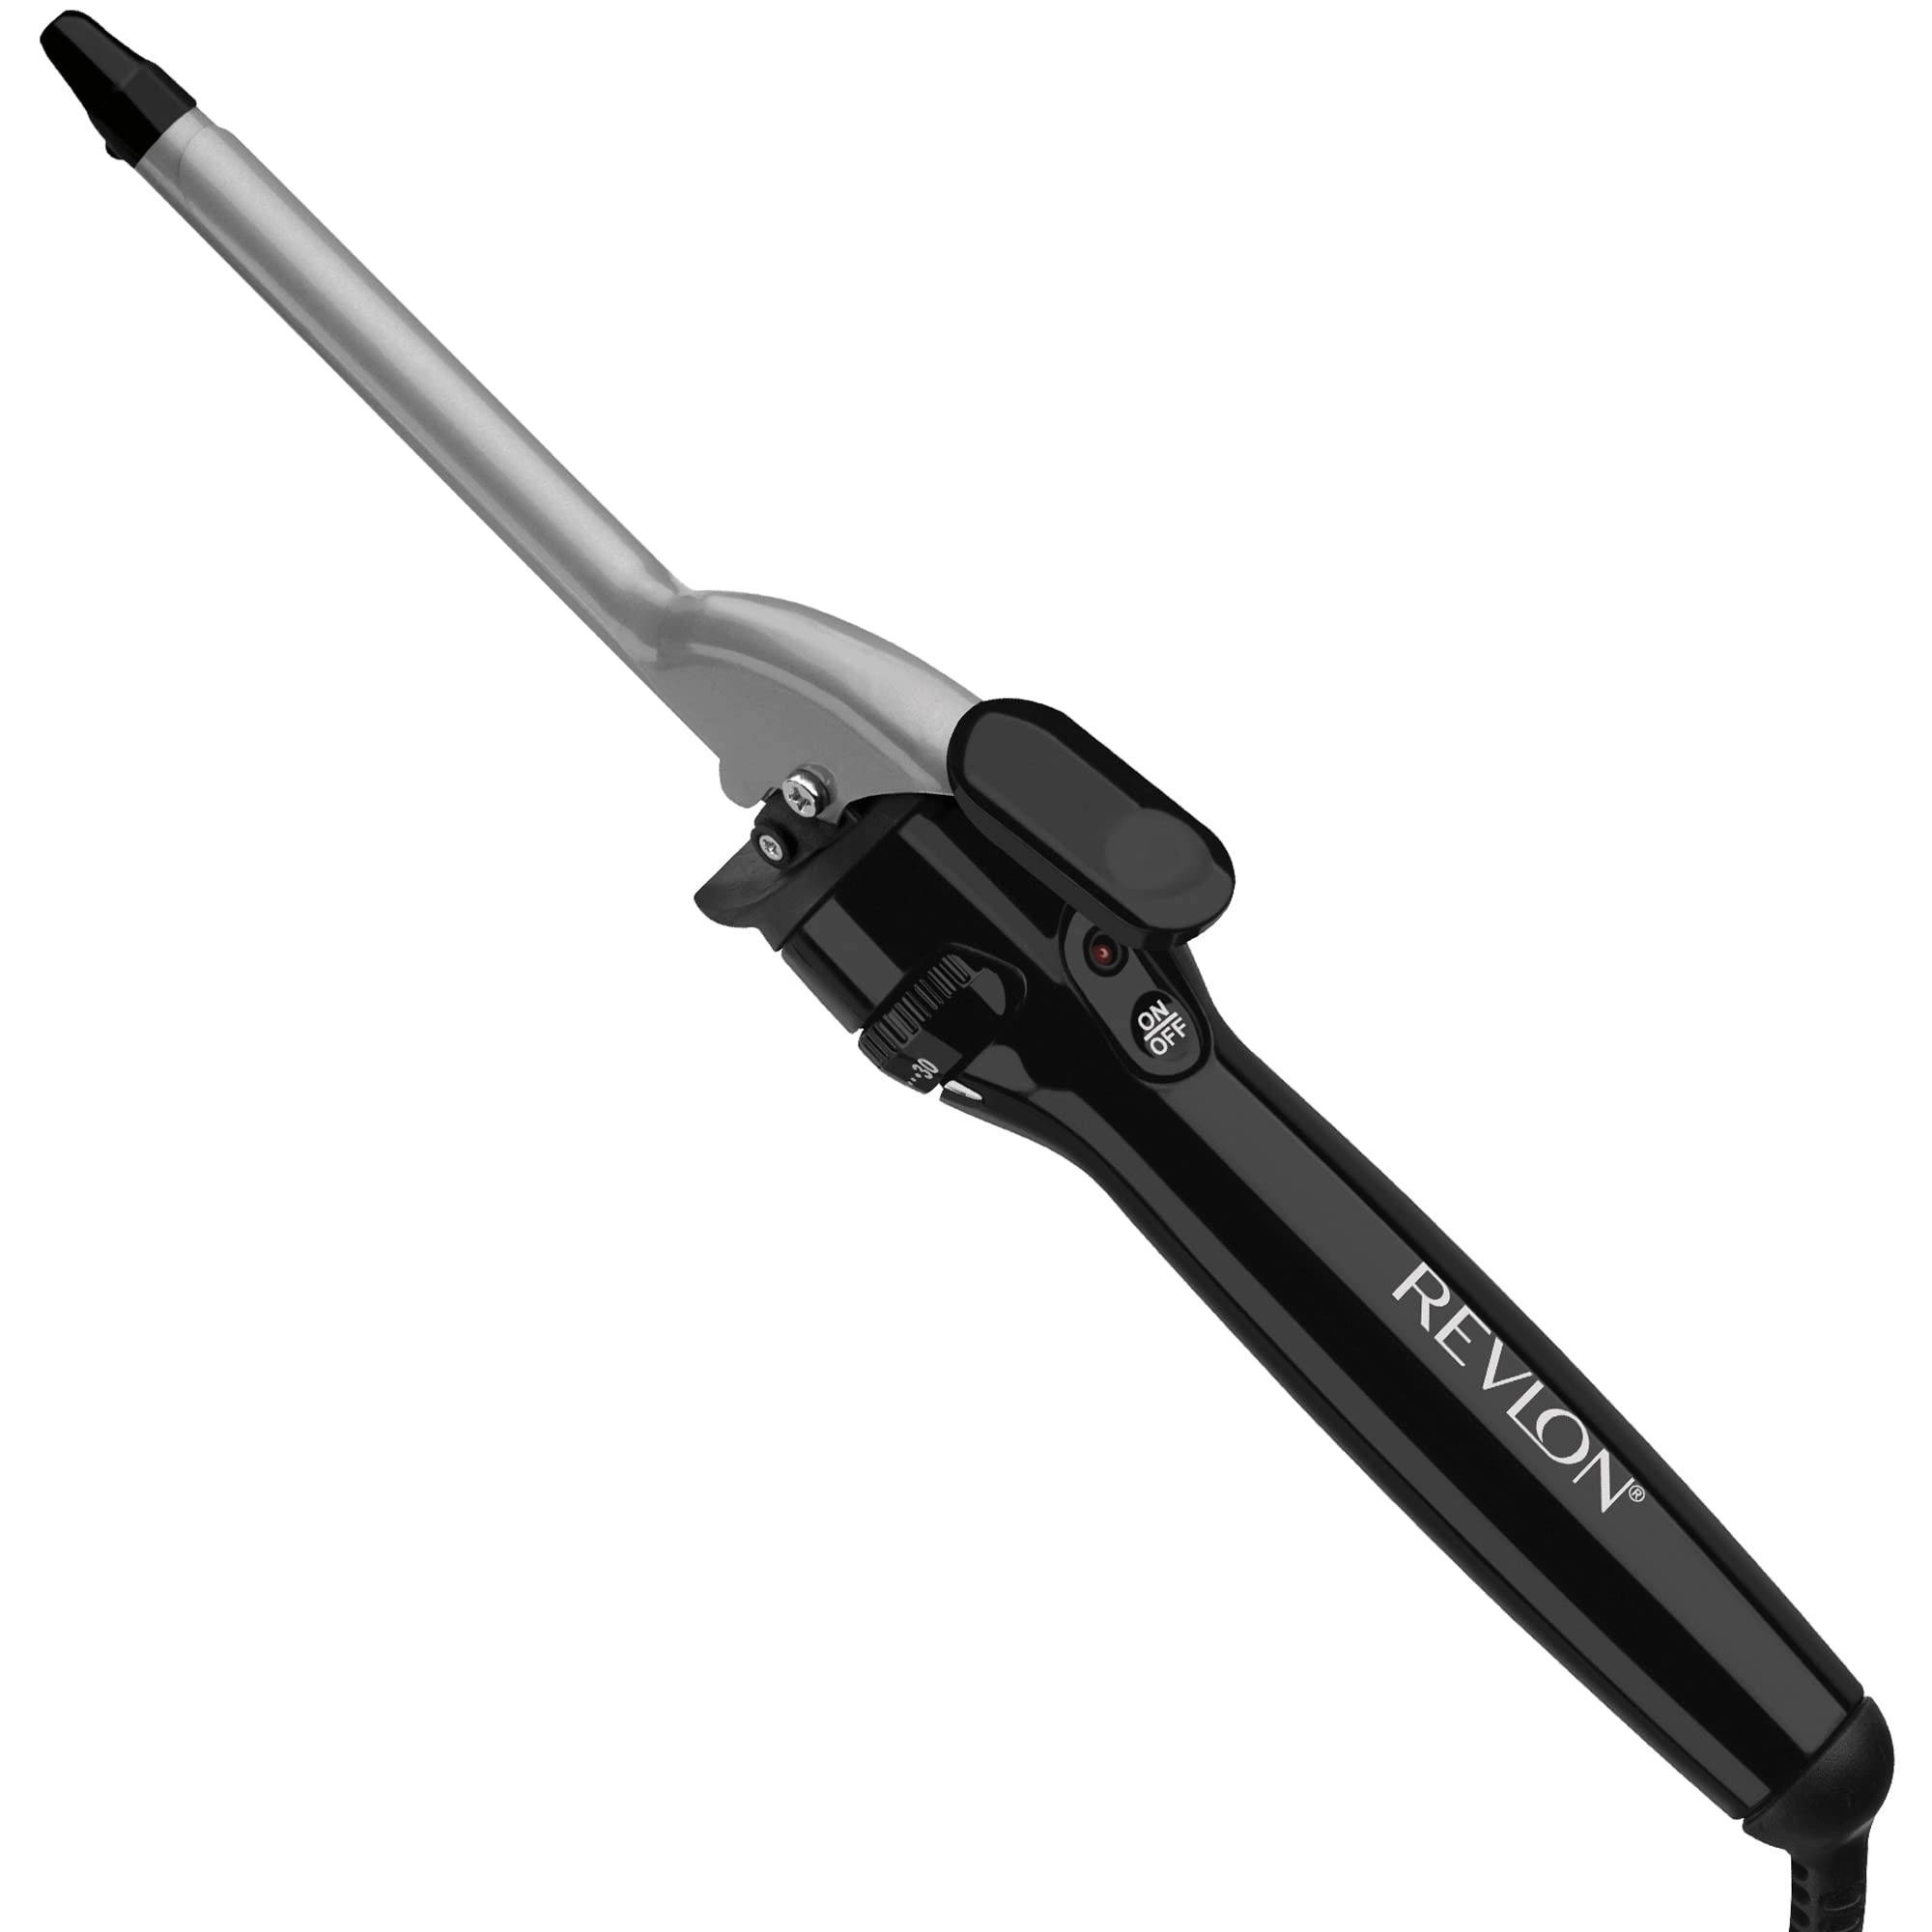
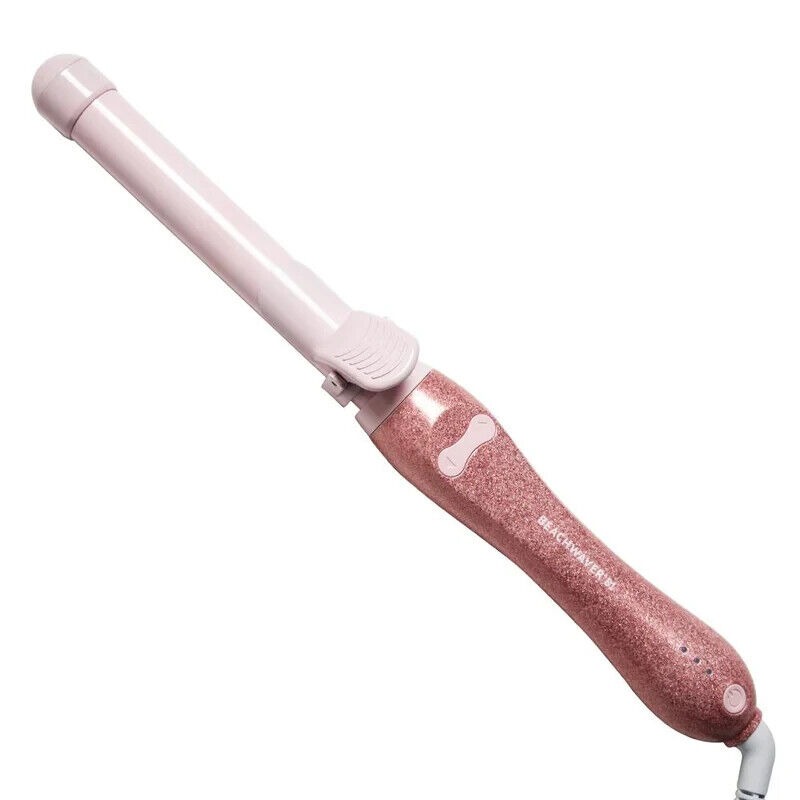
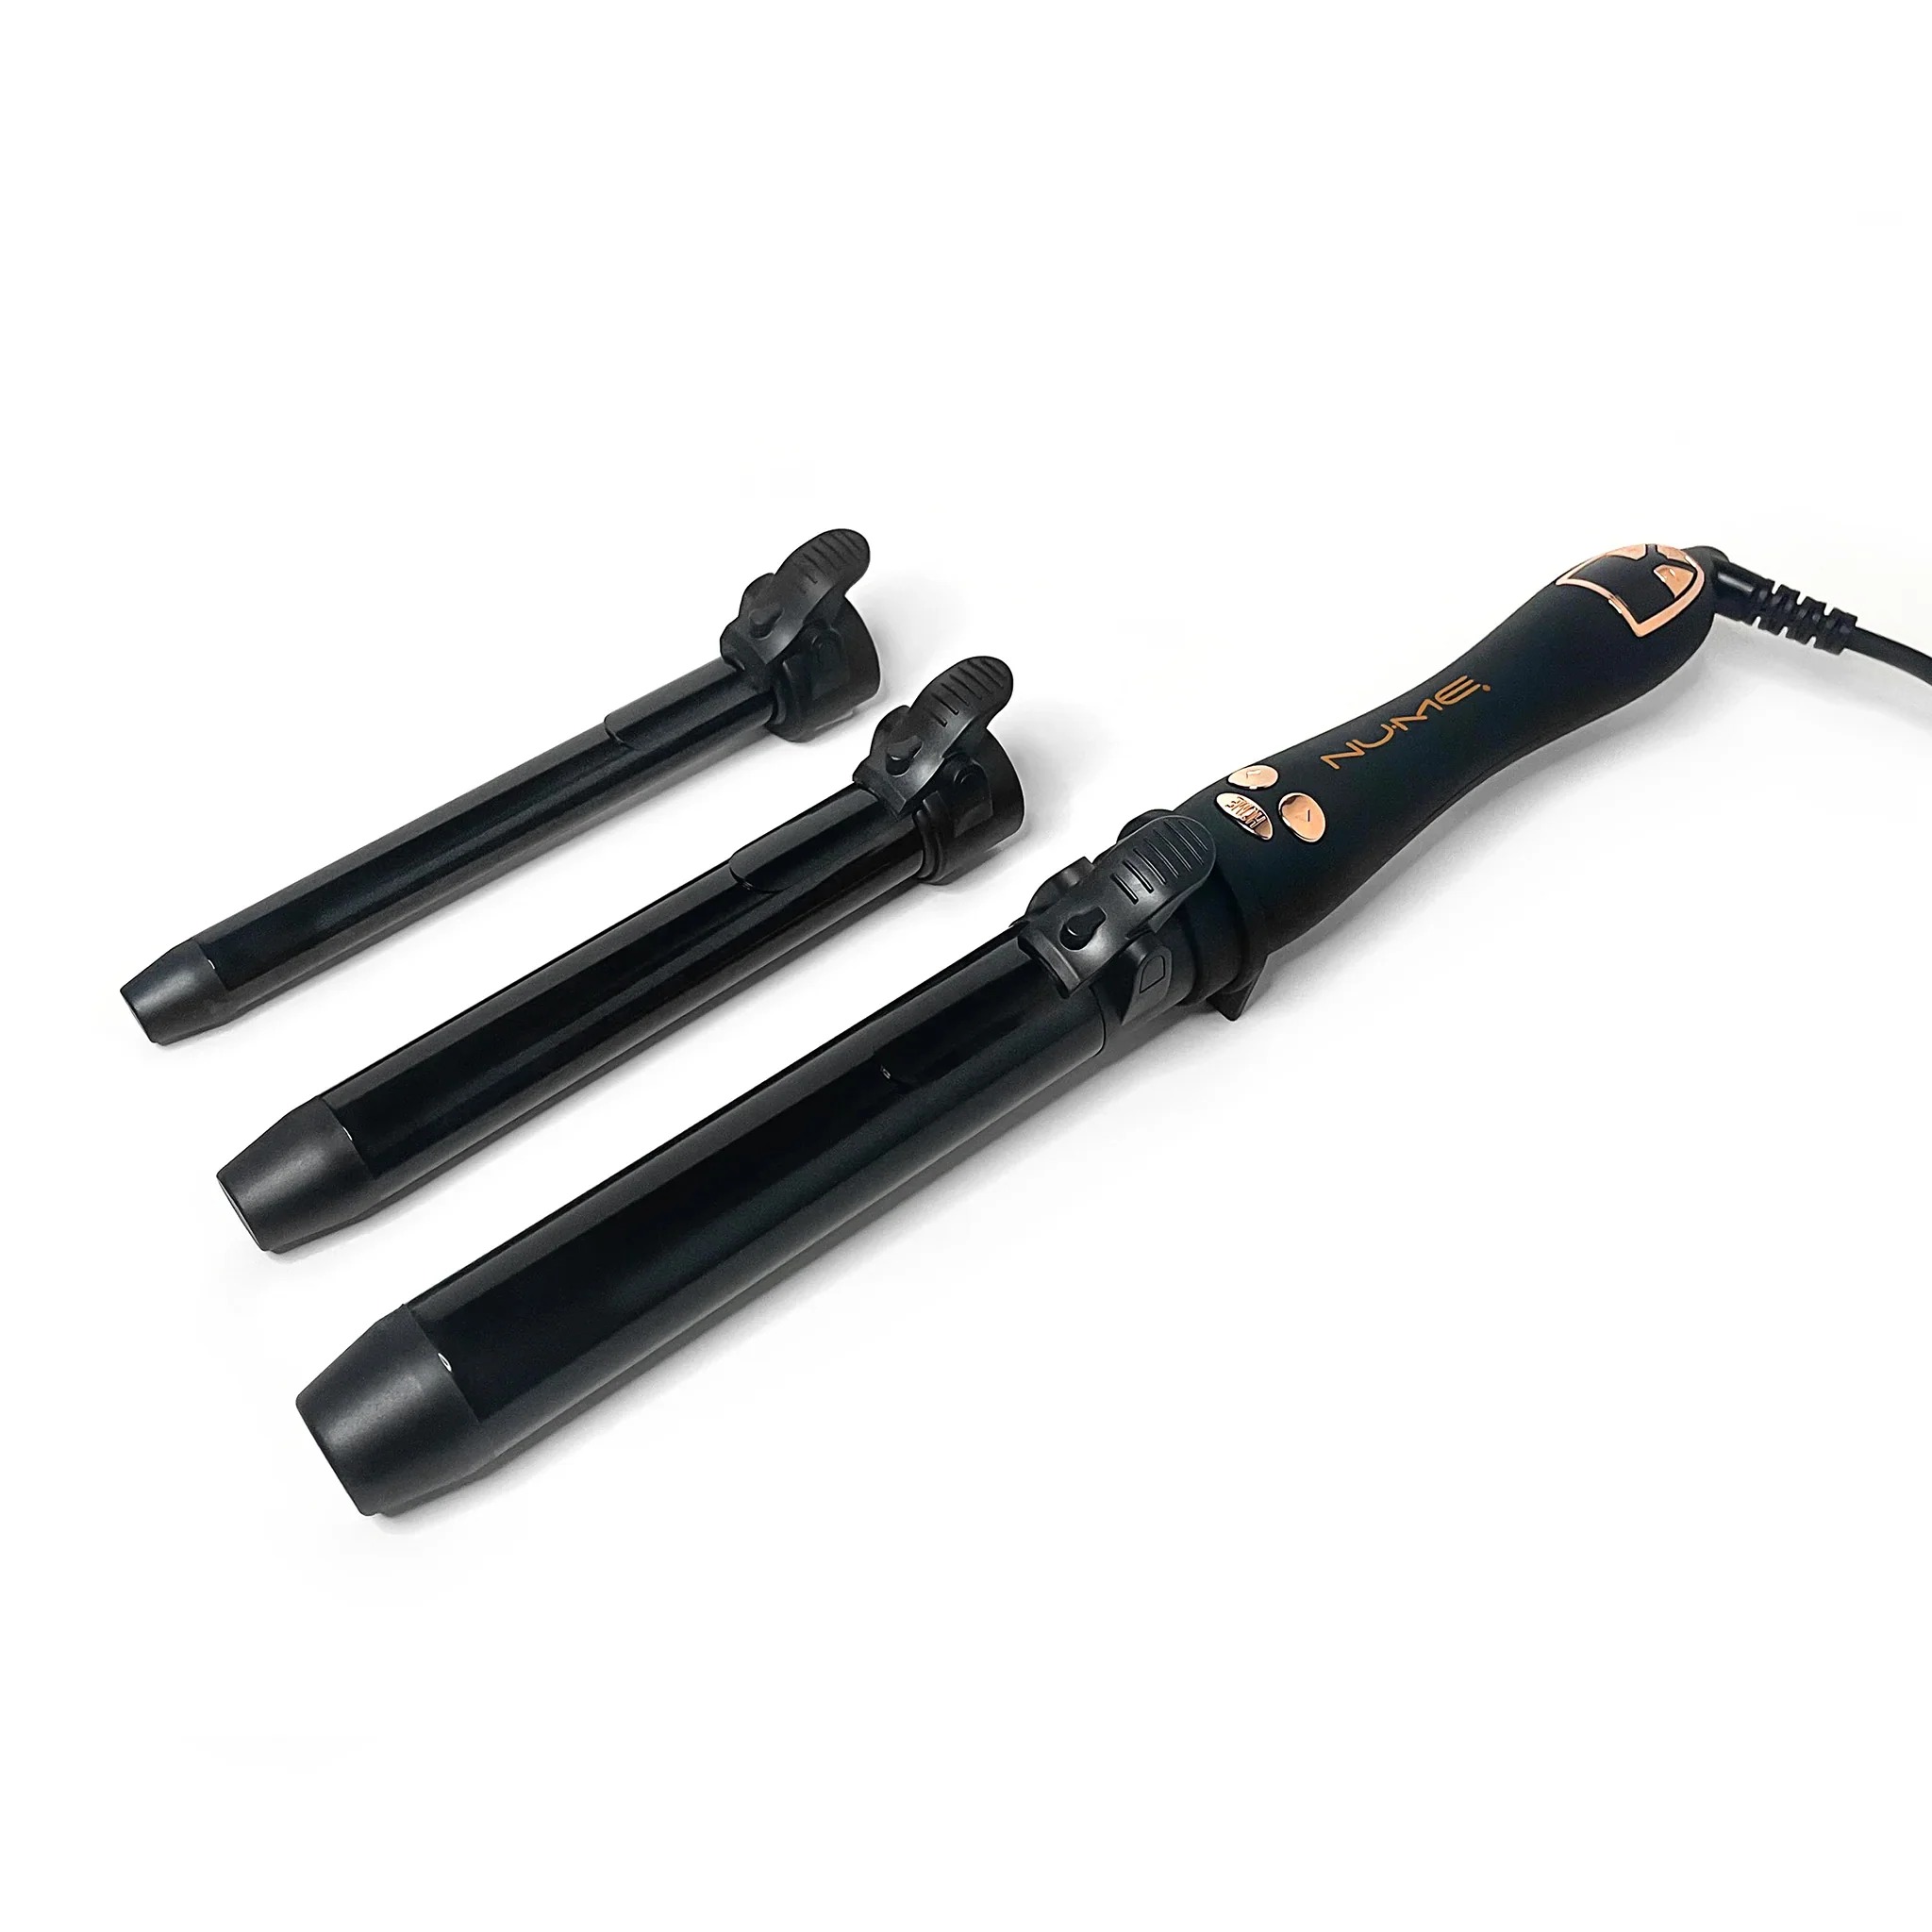
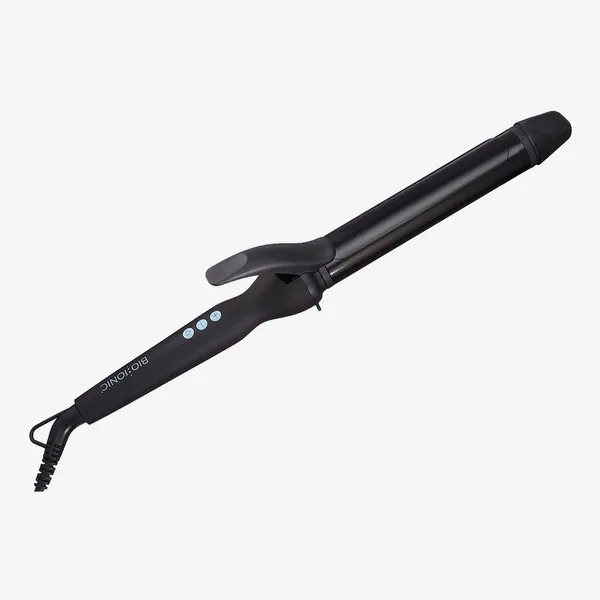
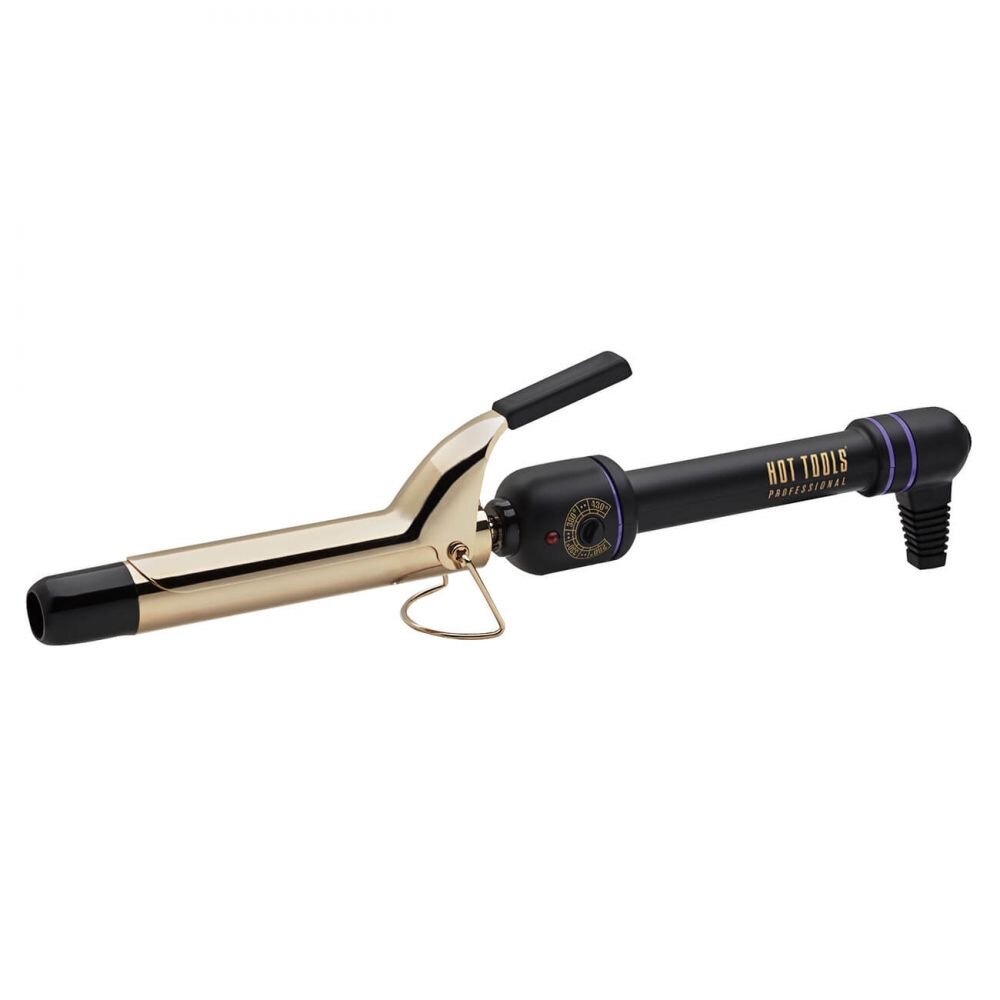
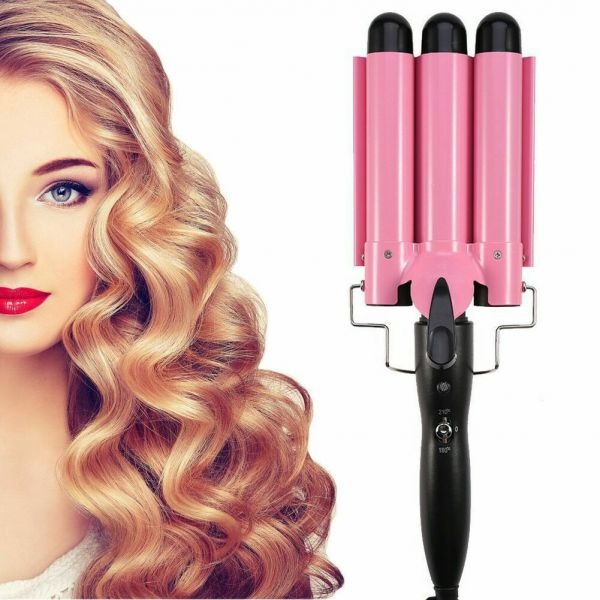
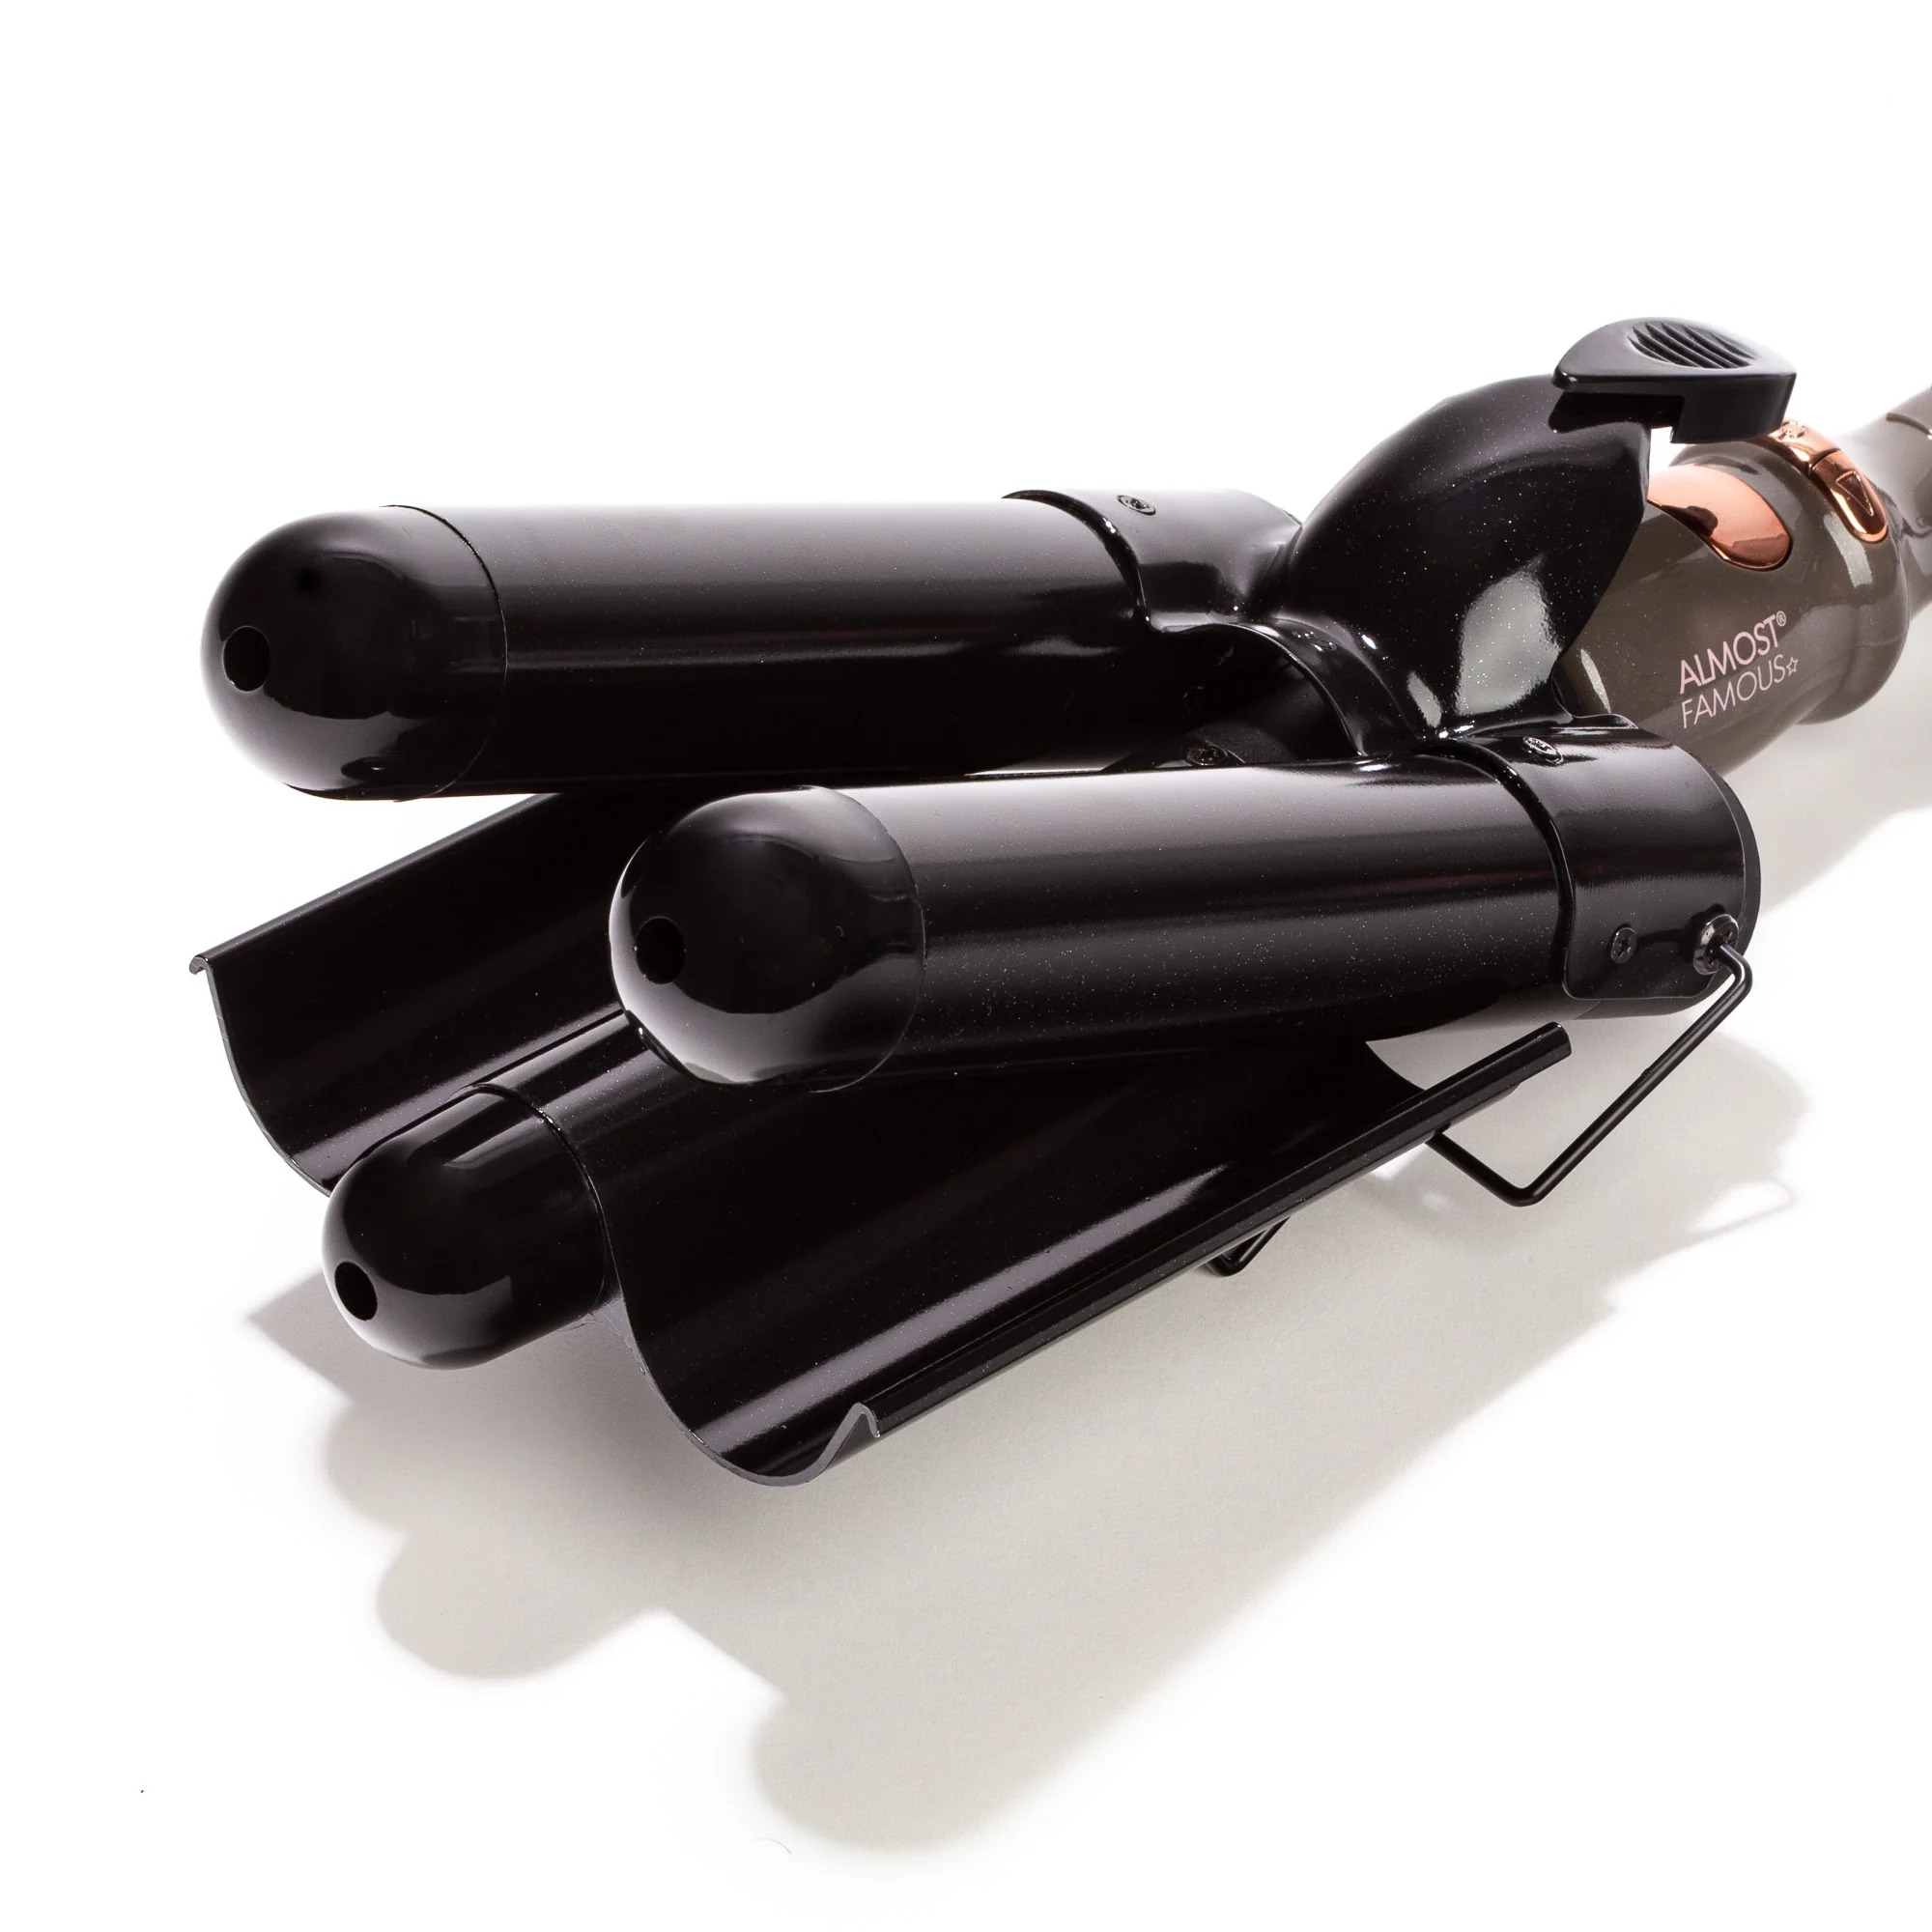
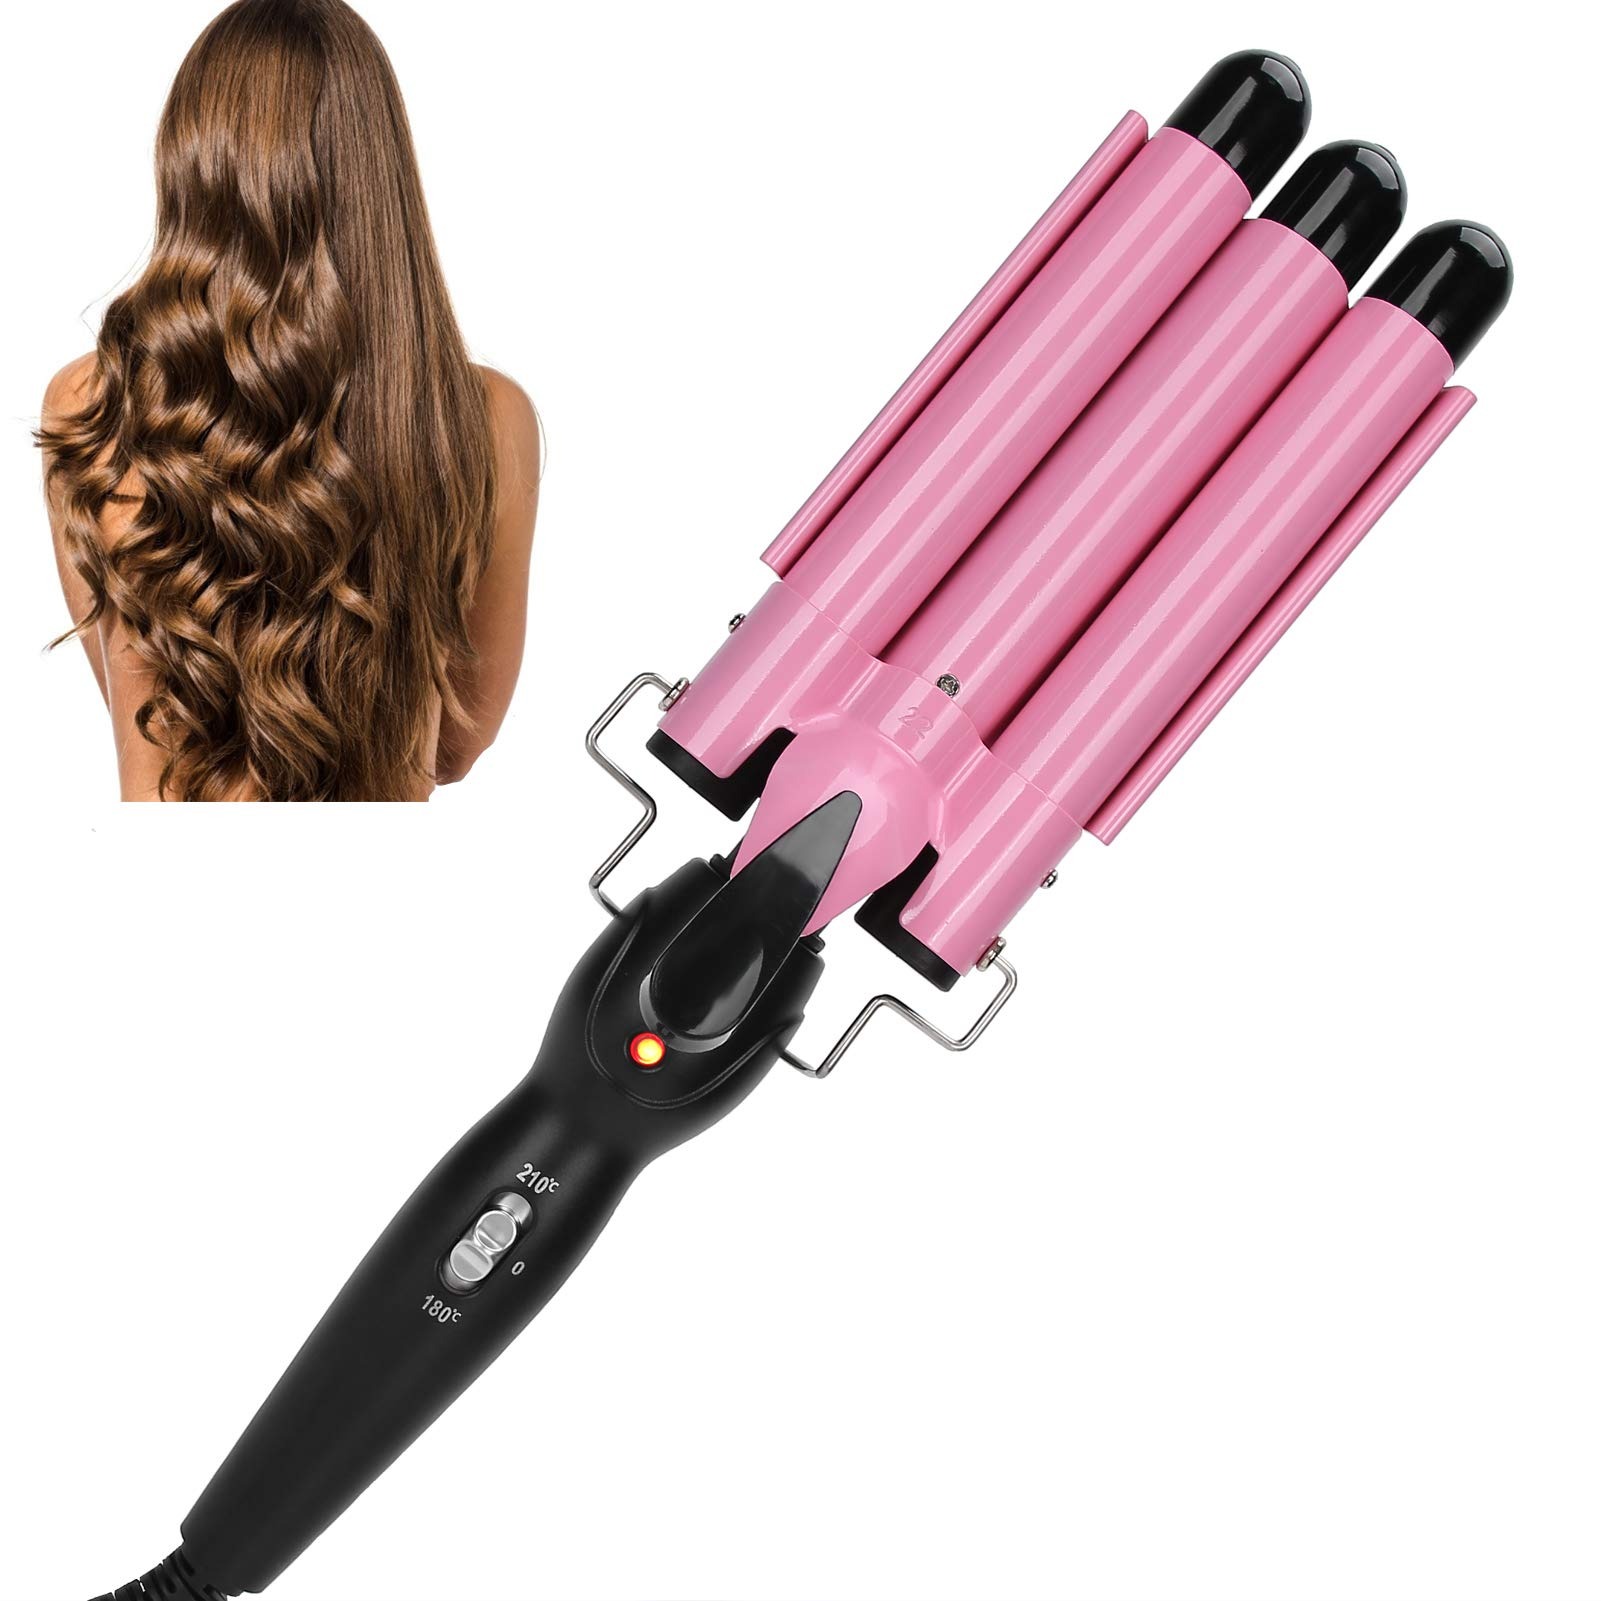
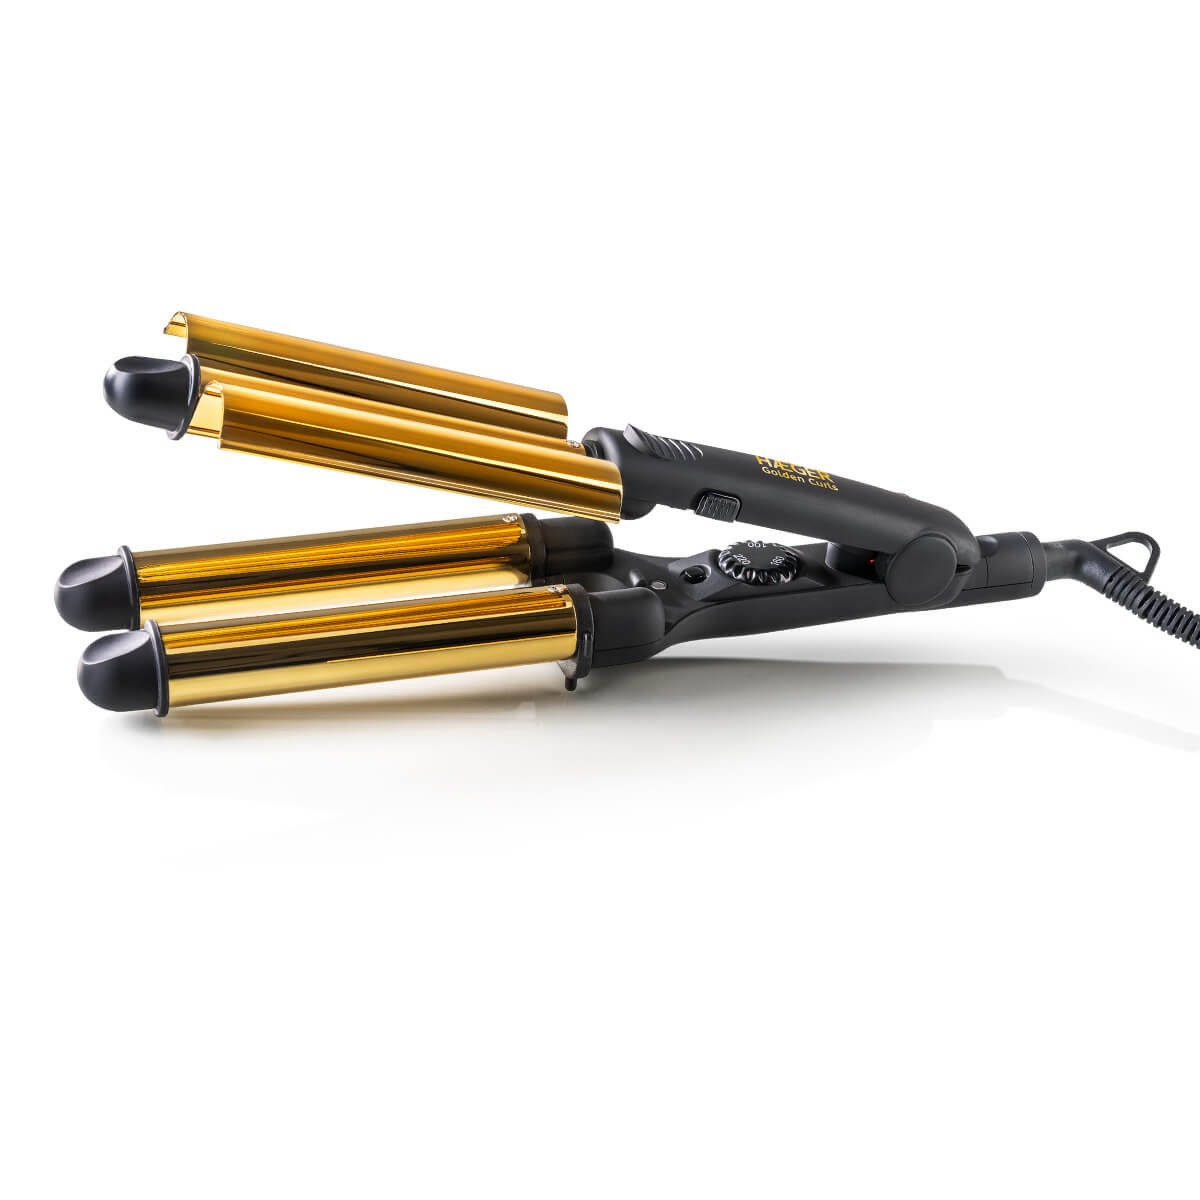
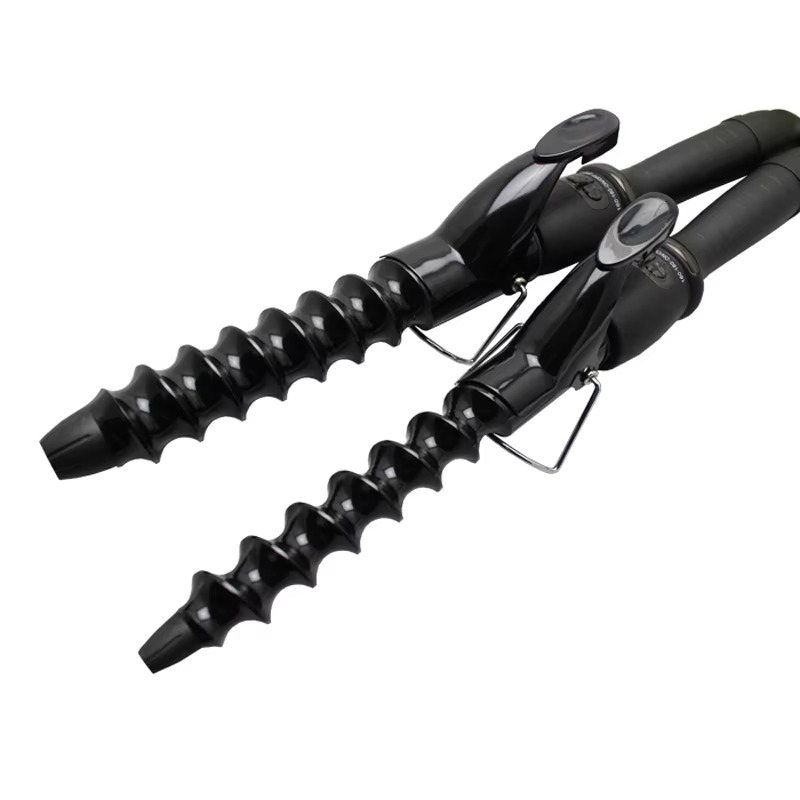
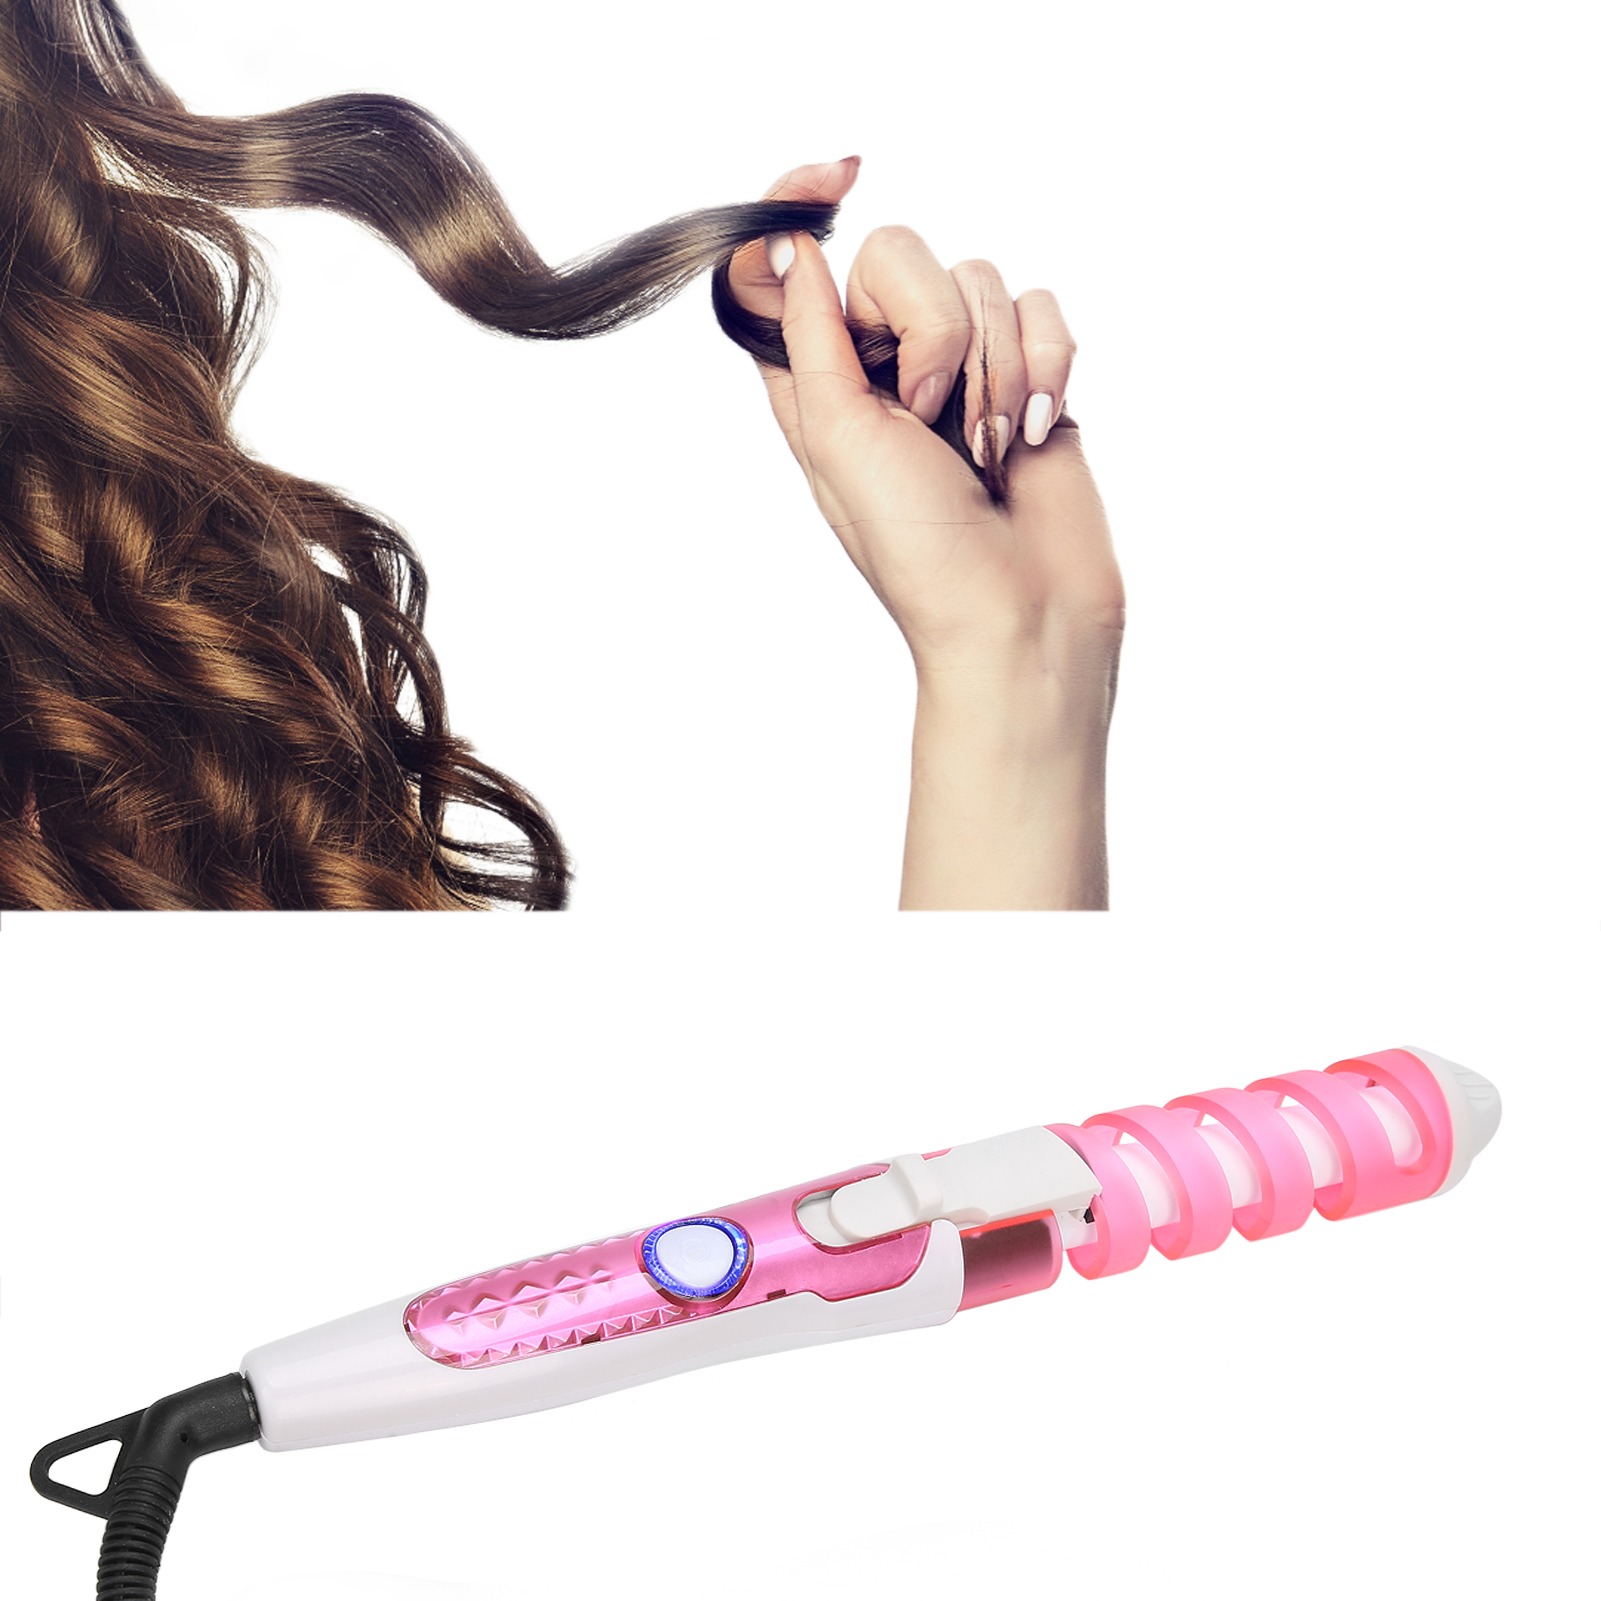
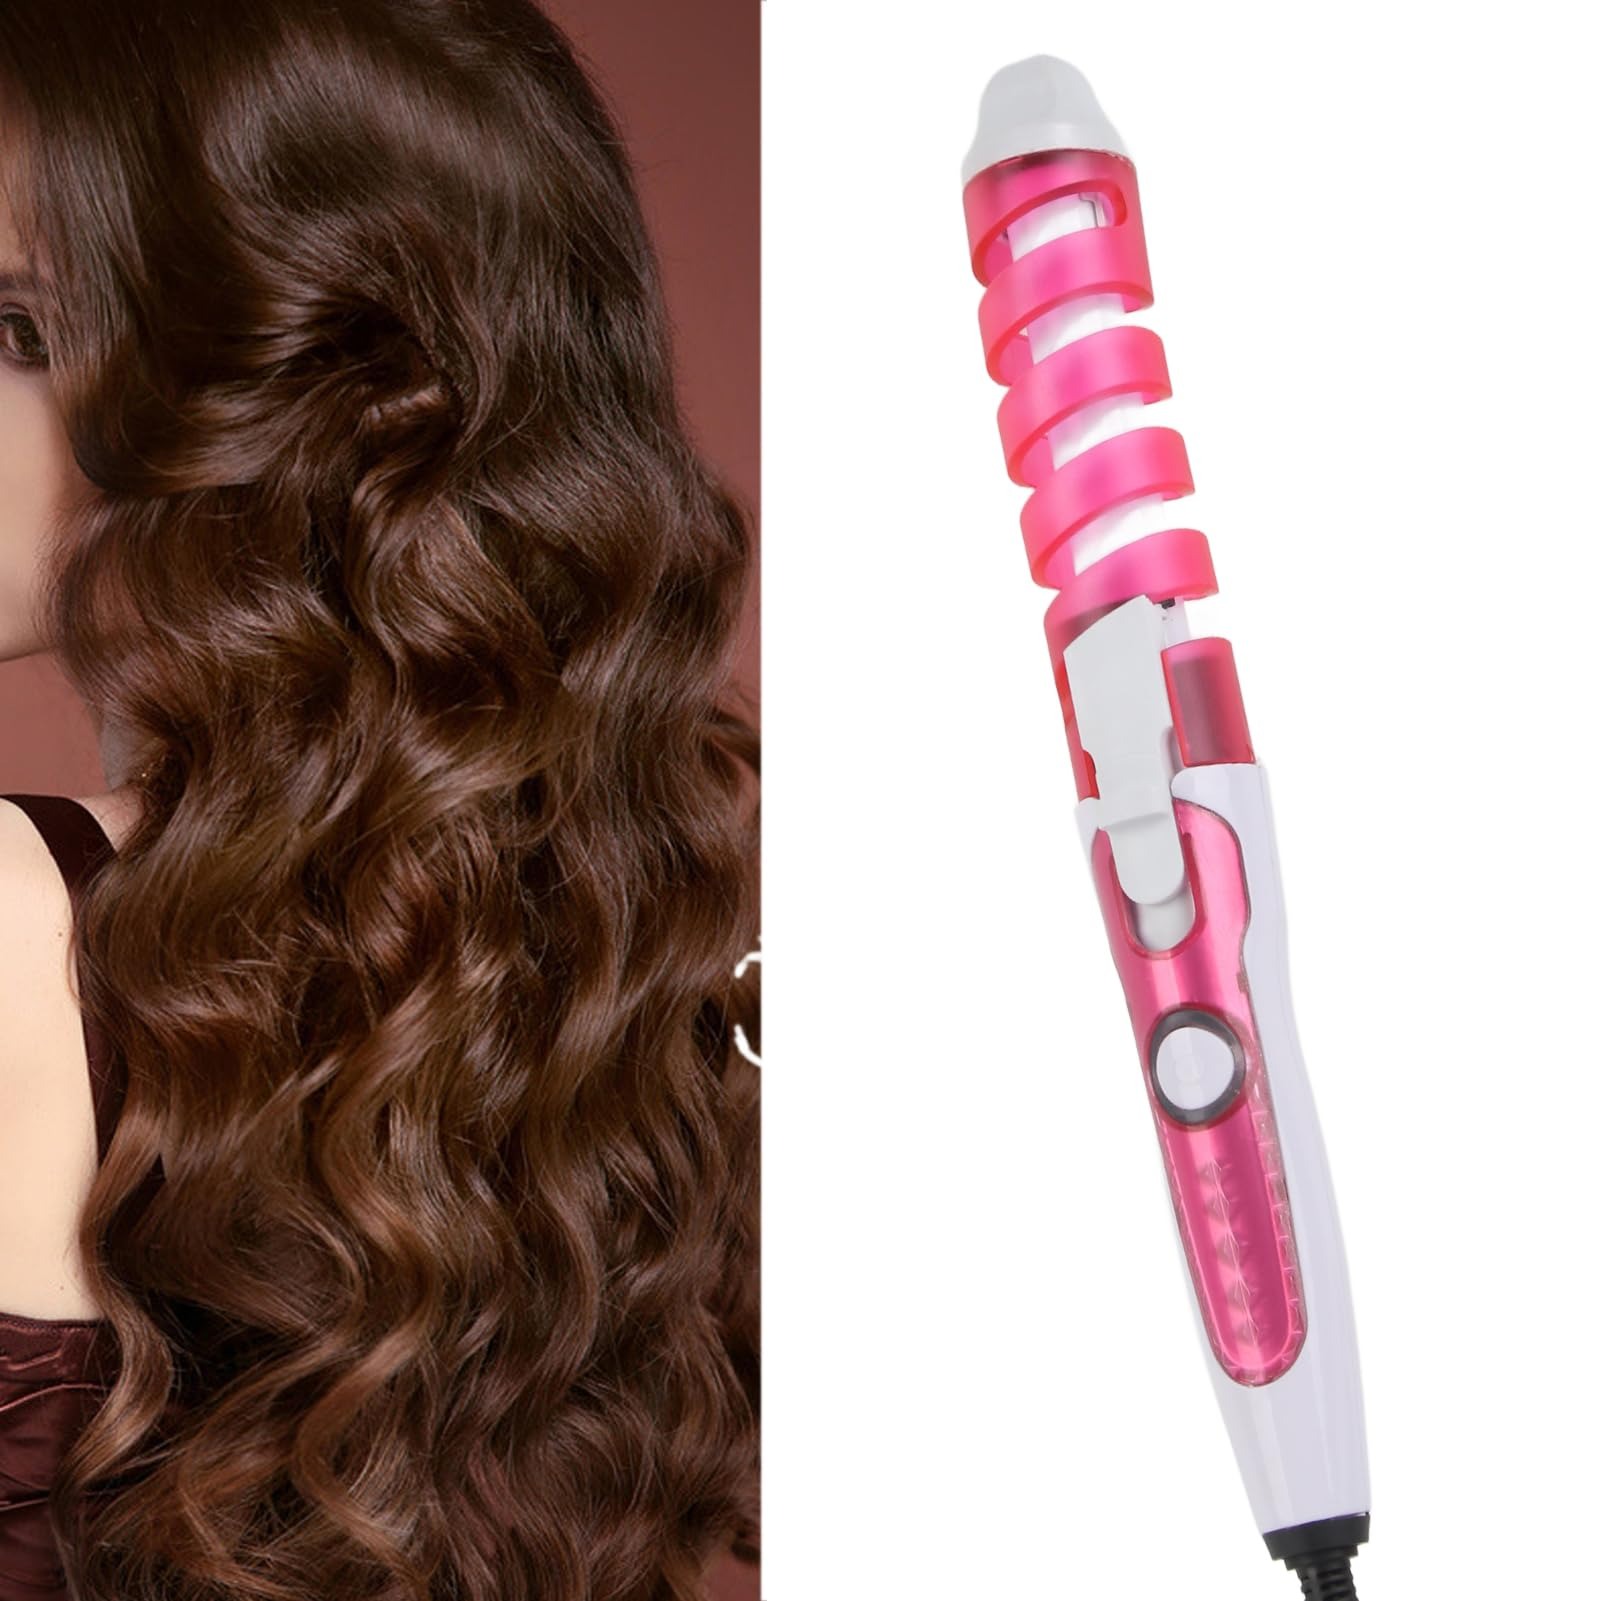
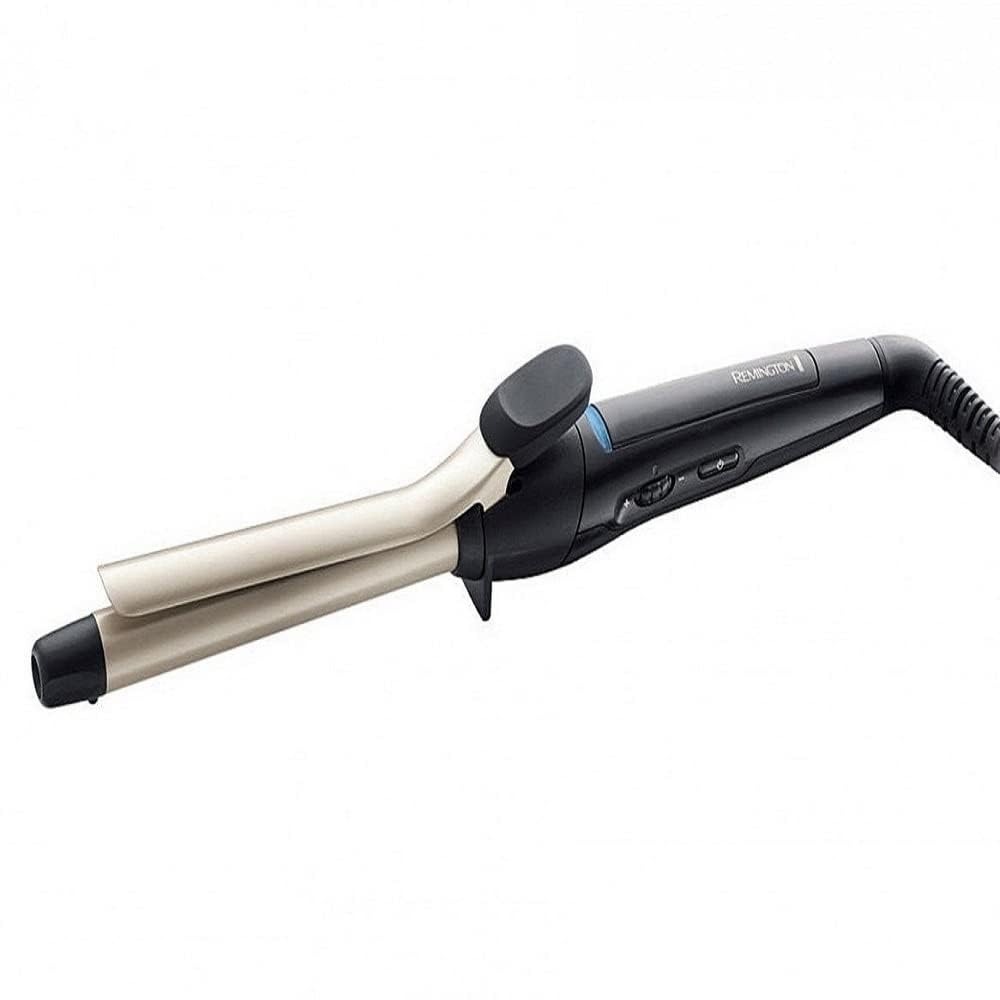
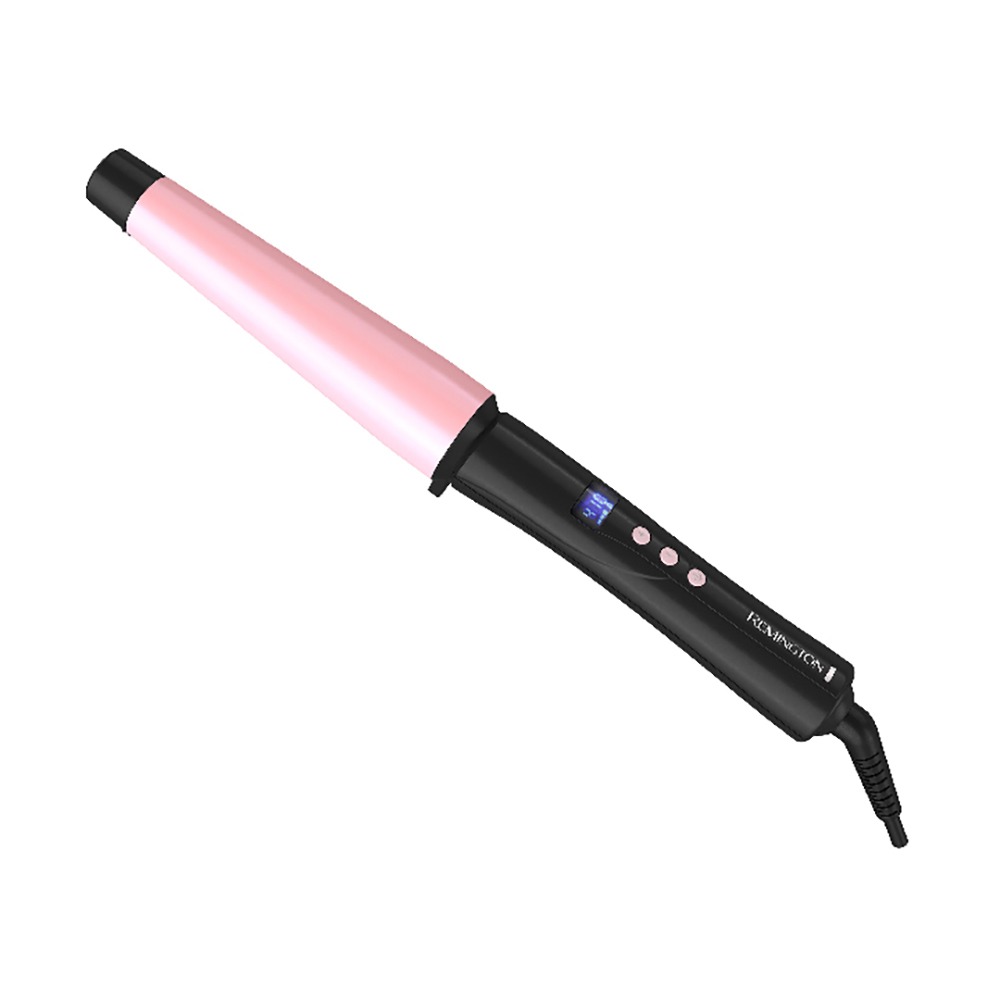
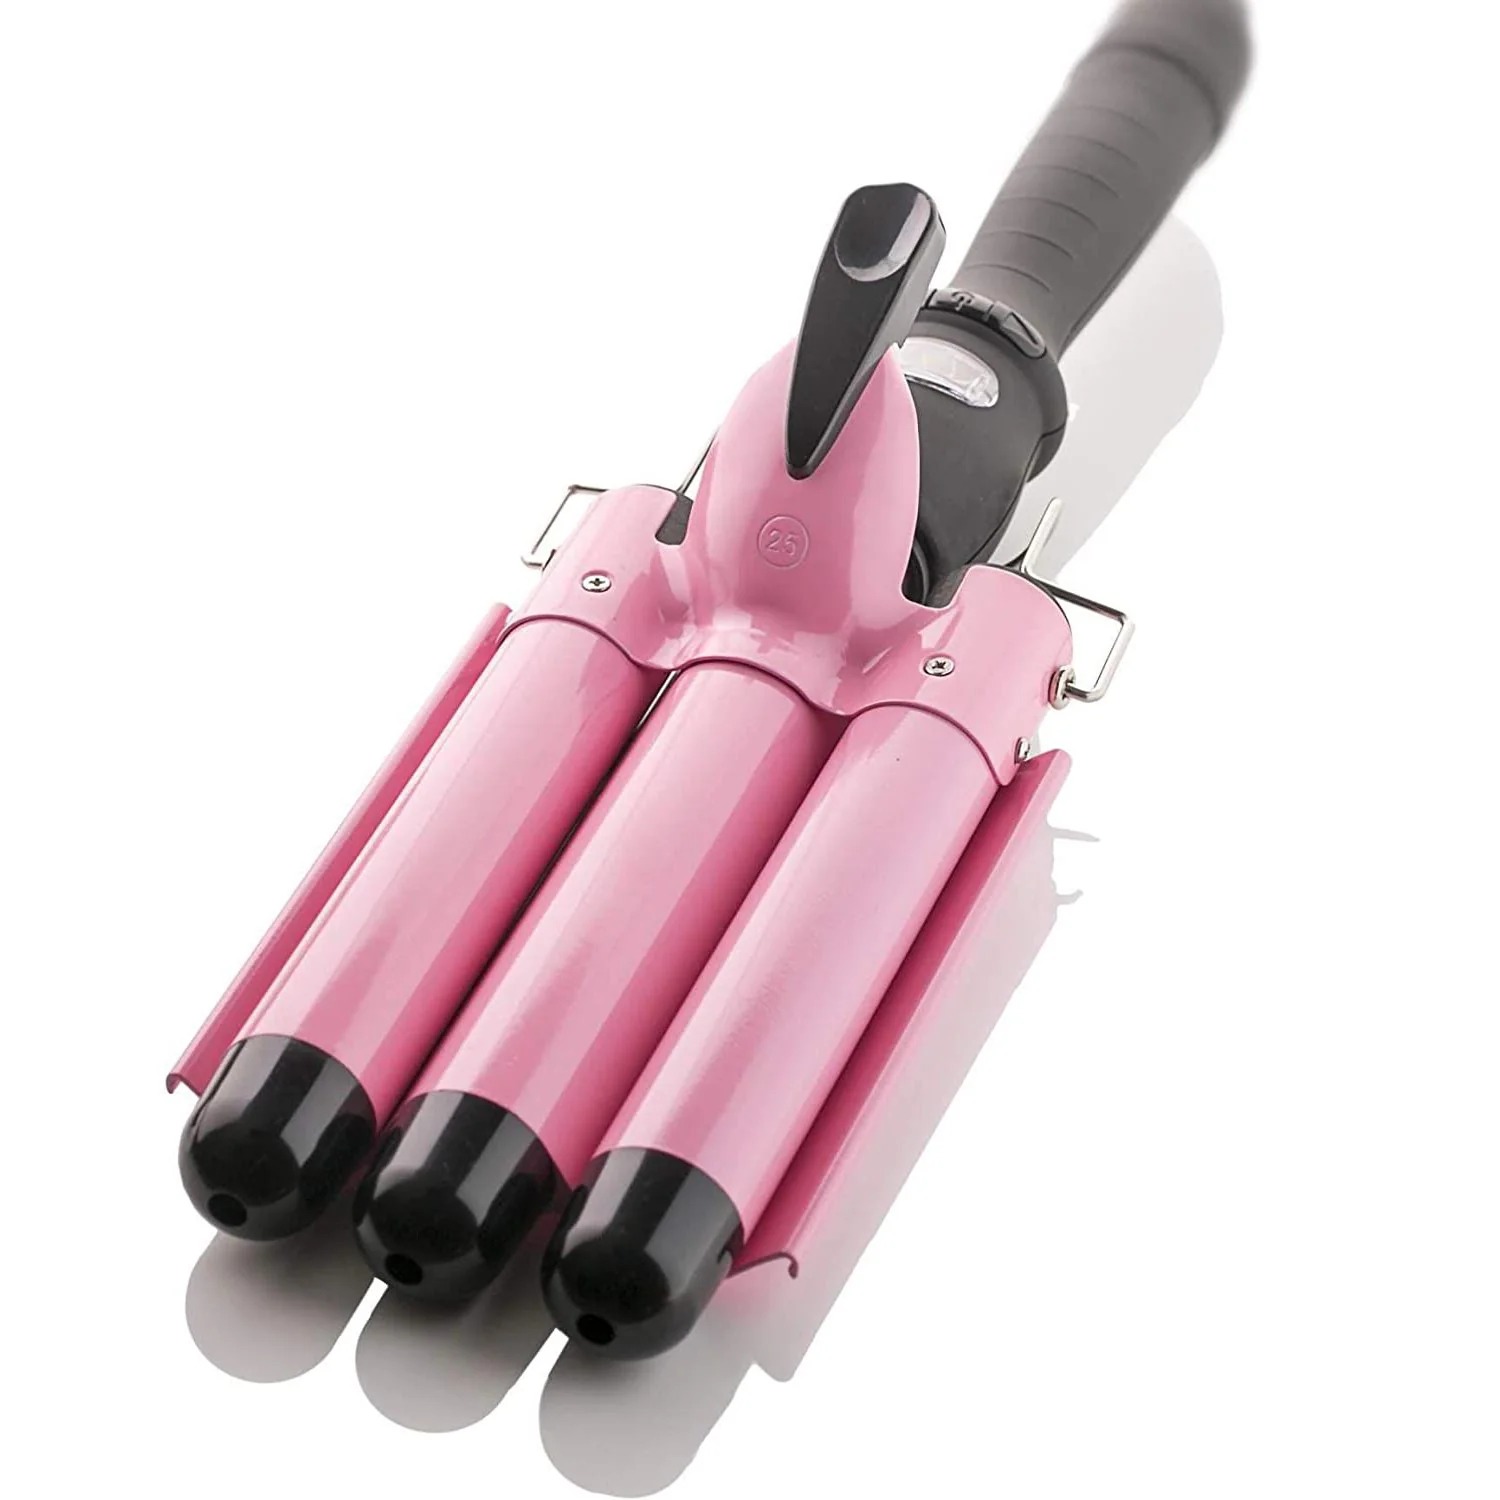
Various wand curling irons cater to different styling needs. The classic wand is the most common, with a uniform barrel shape. Tapered wands offer a more natural look, creating looser curls at the roots and tighter ones at the ends. Interchangeable wands come with multiple barrels, suitable for those who enjoy versatility. Lastly, bubble wands help craft perfectly defined, natural-looking curls.
Considering Barrel Size for Different Curls
Barrel size is crucial for the type of curl you desire. Small barrels, around 0.5 to 0.75 inches, are perfect for tight, springy curls. Medium barrels, 1 inch to 1.5 inches, are versatile for both classic curls and waves. Large barrels, 1.5 inches and up, produce loose, flowy waves. Consider the length and texture of your hair as well: long, thick hair often requires a larger barrel for effective styling, while short, fine hair works well with smaller sizes. Keep these tips in mind to select the right wand curling iron that matches your curling needs.
Preparing Your Hair for Styling
Before you create stunning curls with your wand curling iron, proper hair preparation is key. This ensures your hair is in the best condition to hold curls and minimizes damage.
Washing and Drying Tips
Begin with clean, dry hair for the best results. Here are a few tips to prepare your locks:
- Wash your hair with a gentle shampoo. Skip heavy conditioners that may weigh down curls.
- Blot hair with a microfiber towel after washing. This reduces frizz and speeds up drying.
- Let your hair air dry if possible. If in a rush, use a blow dryer with a diffuser on a low heat setting.
- Avoid styling with a wand curling iron on wet hair. This prevents damage and ineffective curls.
Heat Protection Strategies
To safeguard your hair from heat, follow these strategies:
- Always use a heat protectant spray or serum. This shields hair from the high temperatures of the wand curling iron.
- Apply the product evenly throughout your hair. Focus on the ends, which are more prone to damage.
- Select the lowest effective temperature on your wand curling iron. Every hair type has a heat threshold.
- Consider heat protection with added benefits like moisture or frizz control. This multi-tasks for better styling health.
By following these washing, drying, and heat protection tips, you will create a healthy base for your wand curling iron styles. This not only enhances the look of your curls but also promotes the longevity and health of your hair.
Basic Wand Curling Techniques
Before diving into the vast sea of hairstyles achievable with a wand curling iron, it’s essential to master a few basic techniques. These foundations will not only make styling easier but also open up a world of creative possibilities.
Creating Classic Curls
Achieving classic curls starts with your technique. Here’s a step-by-step guide:
- Heat up your wand curling iron to the right temperature for your hair type.
- Section your hair into manageable pieces.
- Wrap a section around the wand, starting close to the roots.
- Hold for a few seconds, then release the curl into your palm.
- Let the curl cool for a moment before releasing it completely.
- Repeat around your head for a full head of classic curls.
Remember, the size of the sections and the time you hold the hair on the wand will affect the tightness of the curl. Smaller sections create tighter curls, while larger ones lead to looser curls. Experiment with your wand curling iron to find what works best for you.
Experimenting with Waves and Textures
For a different look, try waves and varied textures. Here’s how you can experiment:
- Point the wand curling iron downward for a more natural wave.
- Twist the hair as you wrap it around the wand for added texture.
- For beachy waves, alternate the direction in which you wrap the hair.
- To create soft waves, use a large barrel and don’t curl the ends.
- Run your fingers or a wide-tooth comb through the curls for a softer effect.
These techniques with your wand curling iron can produce a myriad of looks suitable for any occasion. Play around with different wrapping methods, angles, and heat settings. With practice, your waves and textures will evolve into your signature style.
Occasion-Specific Wand Curling Ideas
Creating the perfect hairstyle with a wand curling iron is all about matching your look to the occasion. Whether you’re planning a casual day out or an elegant evening event, the versatility of the wand curling iron gives you plenty of options.
Casual Day-Out Styles
When you’re aiming for a relaxed yet stylish look for your day-to-day activities, casual curls are the way to go. Here are a few styles to try:
- Beach Waves: Use a medium-sized barrel. Wrap large sections loosely, and leave the ends out.
- Textured Curls: Opt for a tapered wand. Twist small sections before wrapping them around the wand.
- Tousled Look: Alternate curl direction for a more casual and carefree style.
These styles work great for coffee dates, shopping trips, or casual office days. They add a touch of glamour without being over the top. And with the right wand curling iron, they’re quick and easy to achieve.
Elegant Evening Looks
For those special nights out, elegant curls can truly elevate your ensemble. Try these sophisticated styles:
- Old Hollywood Waves: Use a large barrel to create smooth, glossy waves. Brush them out gently for a classic look.
- Defined Spirals: A smaller barrel will give you tight, springy curls. Pin them up to cool for lasting hold.
- Glamorous Volume: Curl away from your face with a medium-sized barrel for a voluminous, red-carpet-ready style.
These looks are perfect for formal events, dinner dates, or whenever you want to feel extra special. Remember, elegance is in the attention to detail, so take your time to perfect these styles with your wand curling iron.
Maintaining Your Curls Throughout the Day
To keep your curls looking fresh from morning to night, it’s crucial to maintain them properly.
Using the Right Hair Products
Choosing the right hair products is essential for maintaining your wand curling iron styles. Look for products that offer both hold and flexibility. Mousse or lightweight gel can define curls without making them stiff. Hairspray is useful for setting the style; opt for a flexible-hold formula to avoid a crunchy texture. Remember, too much product can weigh down your curls, so use sparingly.
Tips for Long-Lasting Hold
For your curls to last throughout the day, follow these simple tips:
- After curling, allow your curls to cool completely before touching them. This helps set the shape.
- Clip your curls up and let them set while you finish getting ready.
- Once cooled, gently shake out the curls with your fingers for a softer look.
- Avoid brushing your curls; it can cause frizz and undo your styling efforts.
- On humid days, use a humidity-resistant hairspray to combat frizz.
- If your hair tends to fall flat, flip your head upside down and give it a light spray.
- Touch-up any drooping curls with your wand curling iron on a low heat setting.
- Carry a small bottle of hairspray or a few bobby pins in your bag for quick fixes.
By using the right hair products and employing these tips, you can enjoy long-lasting, beautiful curls created with your wand curling iron any day.
Troubleshooting Common Wand Curling Issues
Even the most experienced stylists encounter issues with their wand curling iron from time to time. Knowing how to troubleshoot these problems is key to ensuring your curls look their best.
Dealing with Heat Damage
Heat damage is a common problem when using a wand curling iron, but there are ways to mitigate it. Follow these steps to help your hair recover:
- Cut back on the heat. Lower the temperature of your wand curling iron.
- Hydrate your hair. Use masks and deep conditioners regularly.
- Get trims often. This prevents split ends from worsening.
- Limit styling frequency. Take breaks from using your wand curling iron.
- Use natural oils. They can nourish and repair heat-damaged hair.
Following these steps can significantly improve the health of your hair and reduce further damage.
Curling Short Hair with a Wand Iron
Curling short hair with a wand curling iron can be a challenge, but it’s not impossible. Here are a few tips to achieve great curls on shorter locks:
- Choose a smaller barrel. This makes it easier to wrap shorter strands.
- Work with smaller sections. This gives you more control and better curls.
- Use a heat protectant. This is crucial to prevent damage on short hair.
- Be patient. Take your time to ensure each curl is well-formed.
- Finish with the right product. A light hairspray can help hold the curls without weighing them down.
With these tips, even short-haired beauties can rock fabulous curls using a wand curling iron.
The Future of Wand Curling Styles
As a professional blogger and SEO expert, I’m always looking ahead to the exciting trends in hair styling. The wand curling iron continues to evolve, bringing fresh and innovative ways to create stunning curls and waves. Let’s dive into what’s on the horizon.
Emerging Trends in Hair Styling
Hair styling is an art form that never stands still. The latest trends we’re seeing involve more natural and effortless looks. Expect to see curls that mimic natural hair patterns, with less uniformity and more movement. Using a wand curling iron, stylists are creating styles that look like they’ve been crafted by the wind and sea.
- Texture Freedom: More women are embracing their natural texture with a little help from the wand curling iron to enhance what they have.
- Heatless Styles: The move towards heatless curls is growing, with new tools that create styles overnight while you sleep.
- Sustainable Styling: Eco-conscious options, including low-energy-consuming wands, are expected to hit the market.
These trends are all about personal expression and embracing the hair’s natural beauty, with a little boost from our trusty wands.
Innovative Wand Curling Accessories
In addition to trends in curling techniques, there are several exciting accessories hitting the market. These innovations aim to make styling with a wand curling iron even easier and safer for your hair.
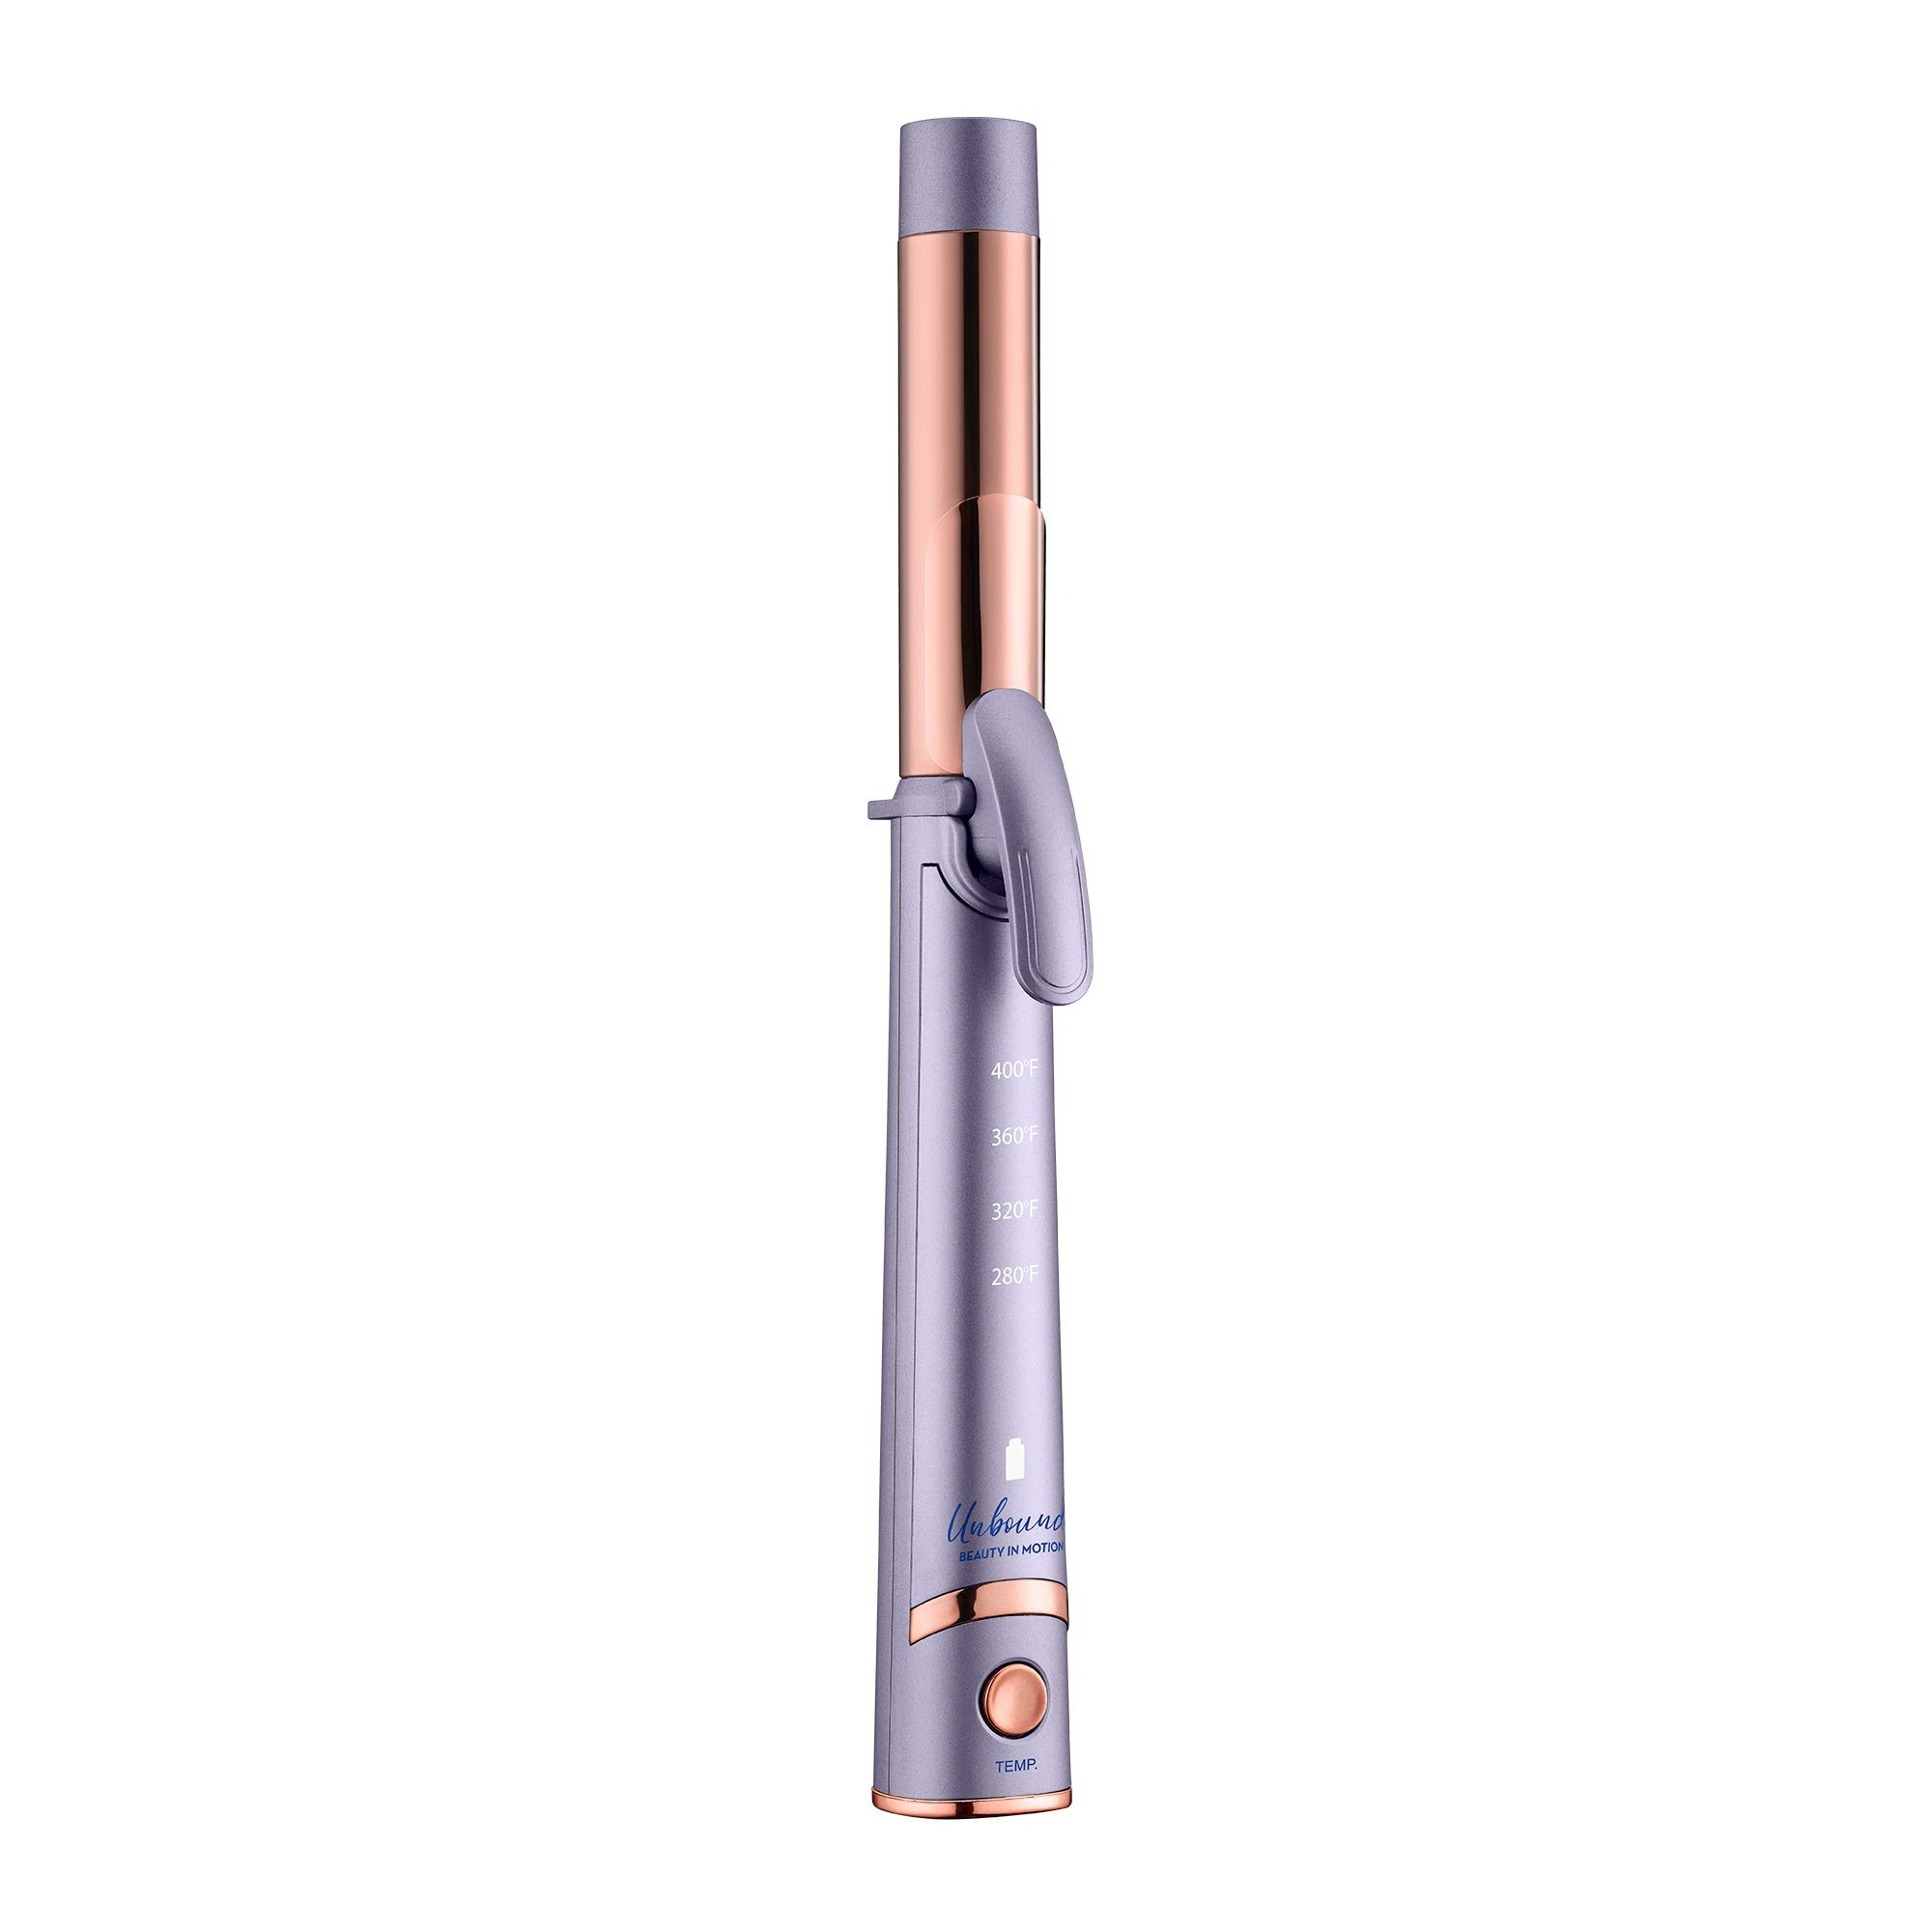
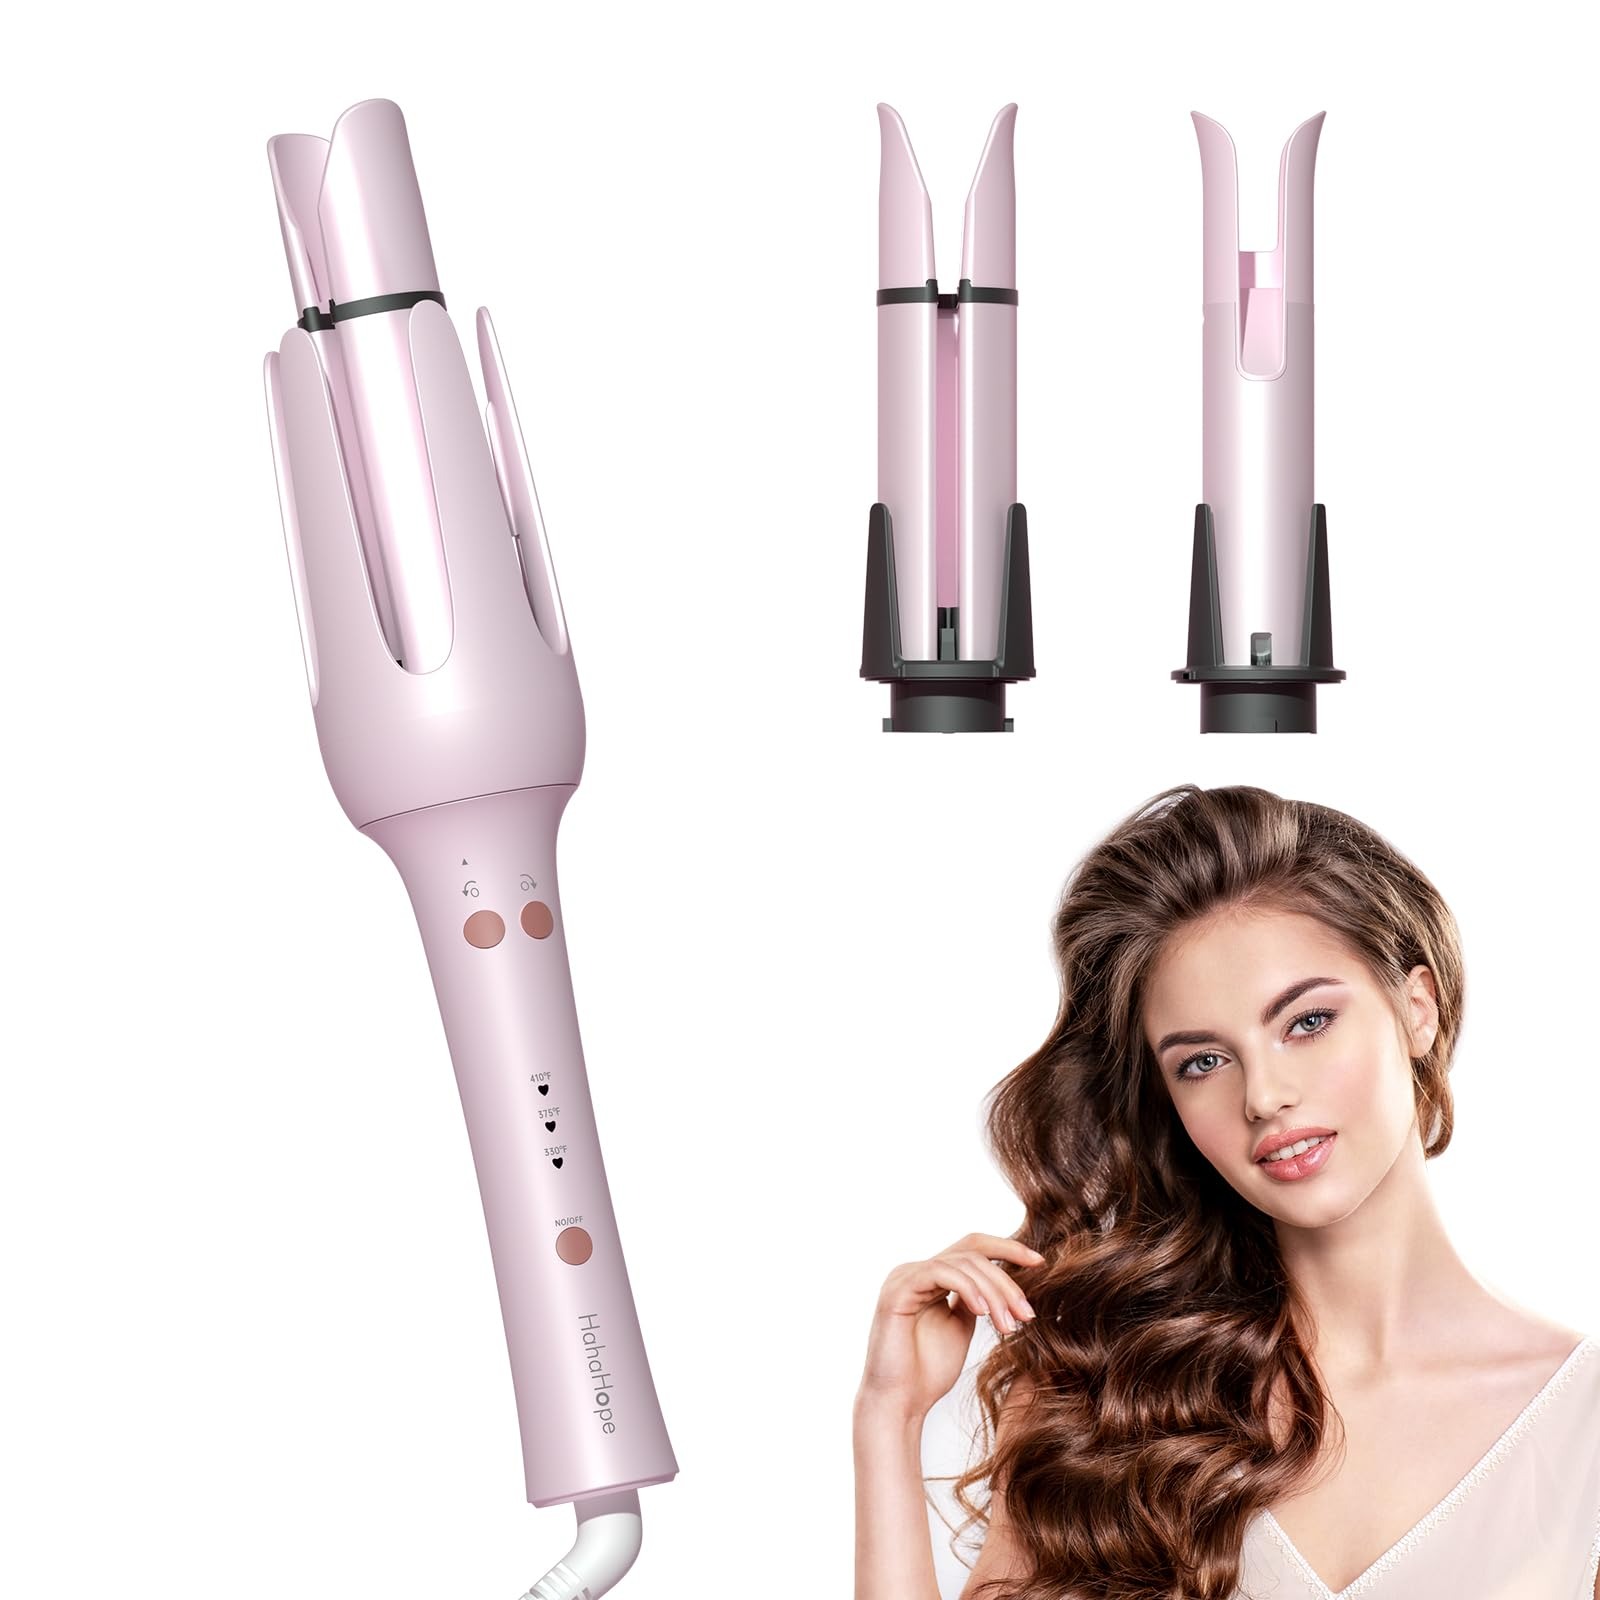
- Smart Wands: Wands that can adjust their temperature automatically based on hair type and condition.
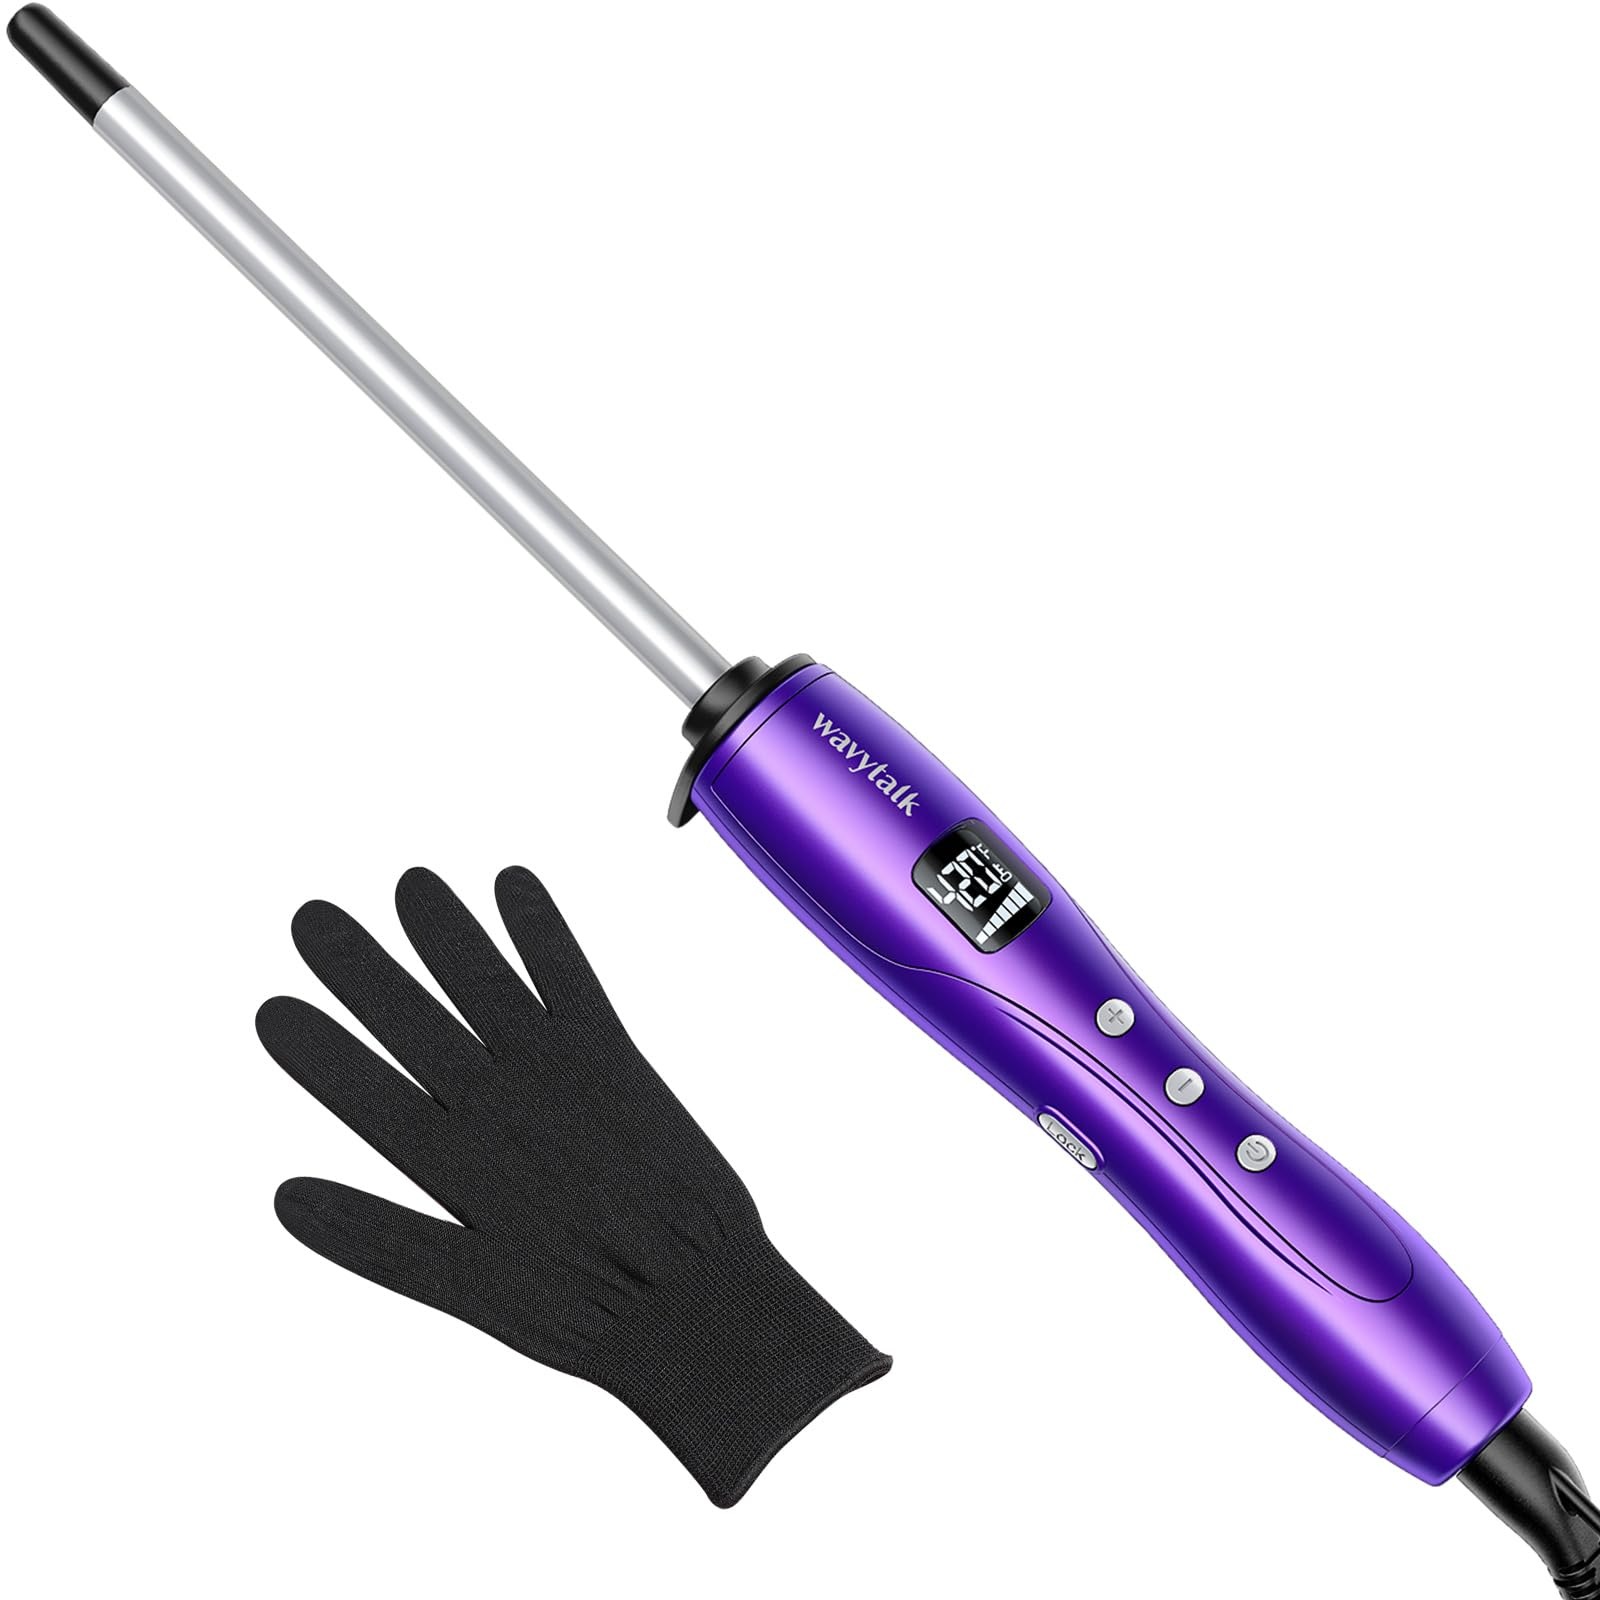
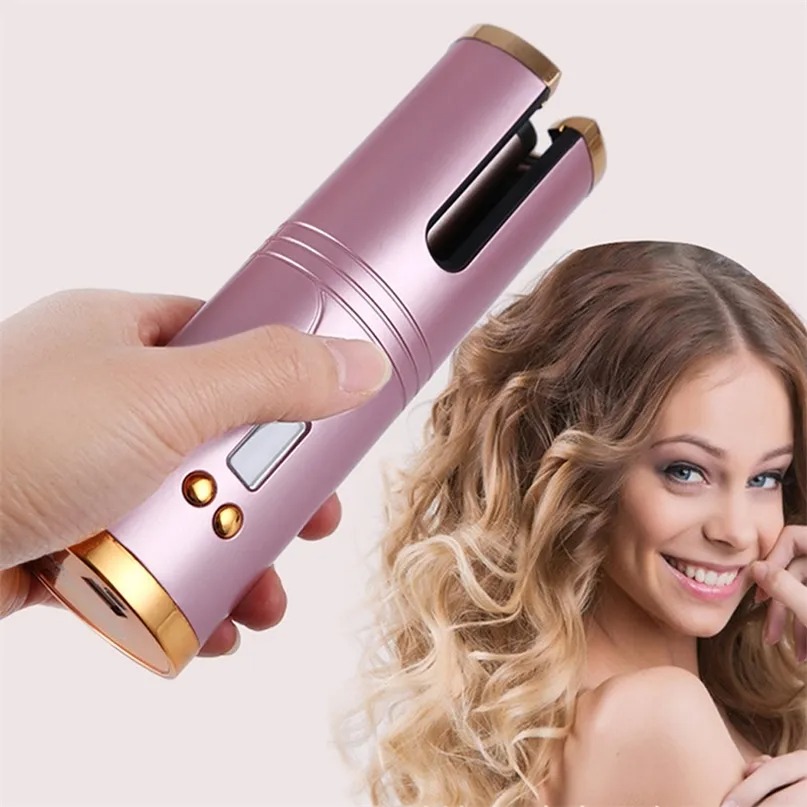
- Cordless Freedom: Battery-operated wands are becoming more powerful and convenient for styling on the go.
- Protective Gloves: New glove designs provide better grip and heat protection, allowing for more precise styling.
With these accessories, the way we use wand curling irons is bound to become more advanced and tailored to individual needs. Watch this space; the future of curling is looking bright, and full of bouncy, beautiful curls!