Perfect Waves with Big Barrel Curling Iron – Hairstyle Tools
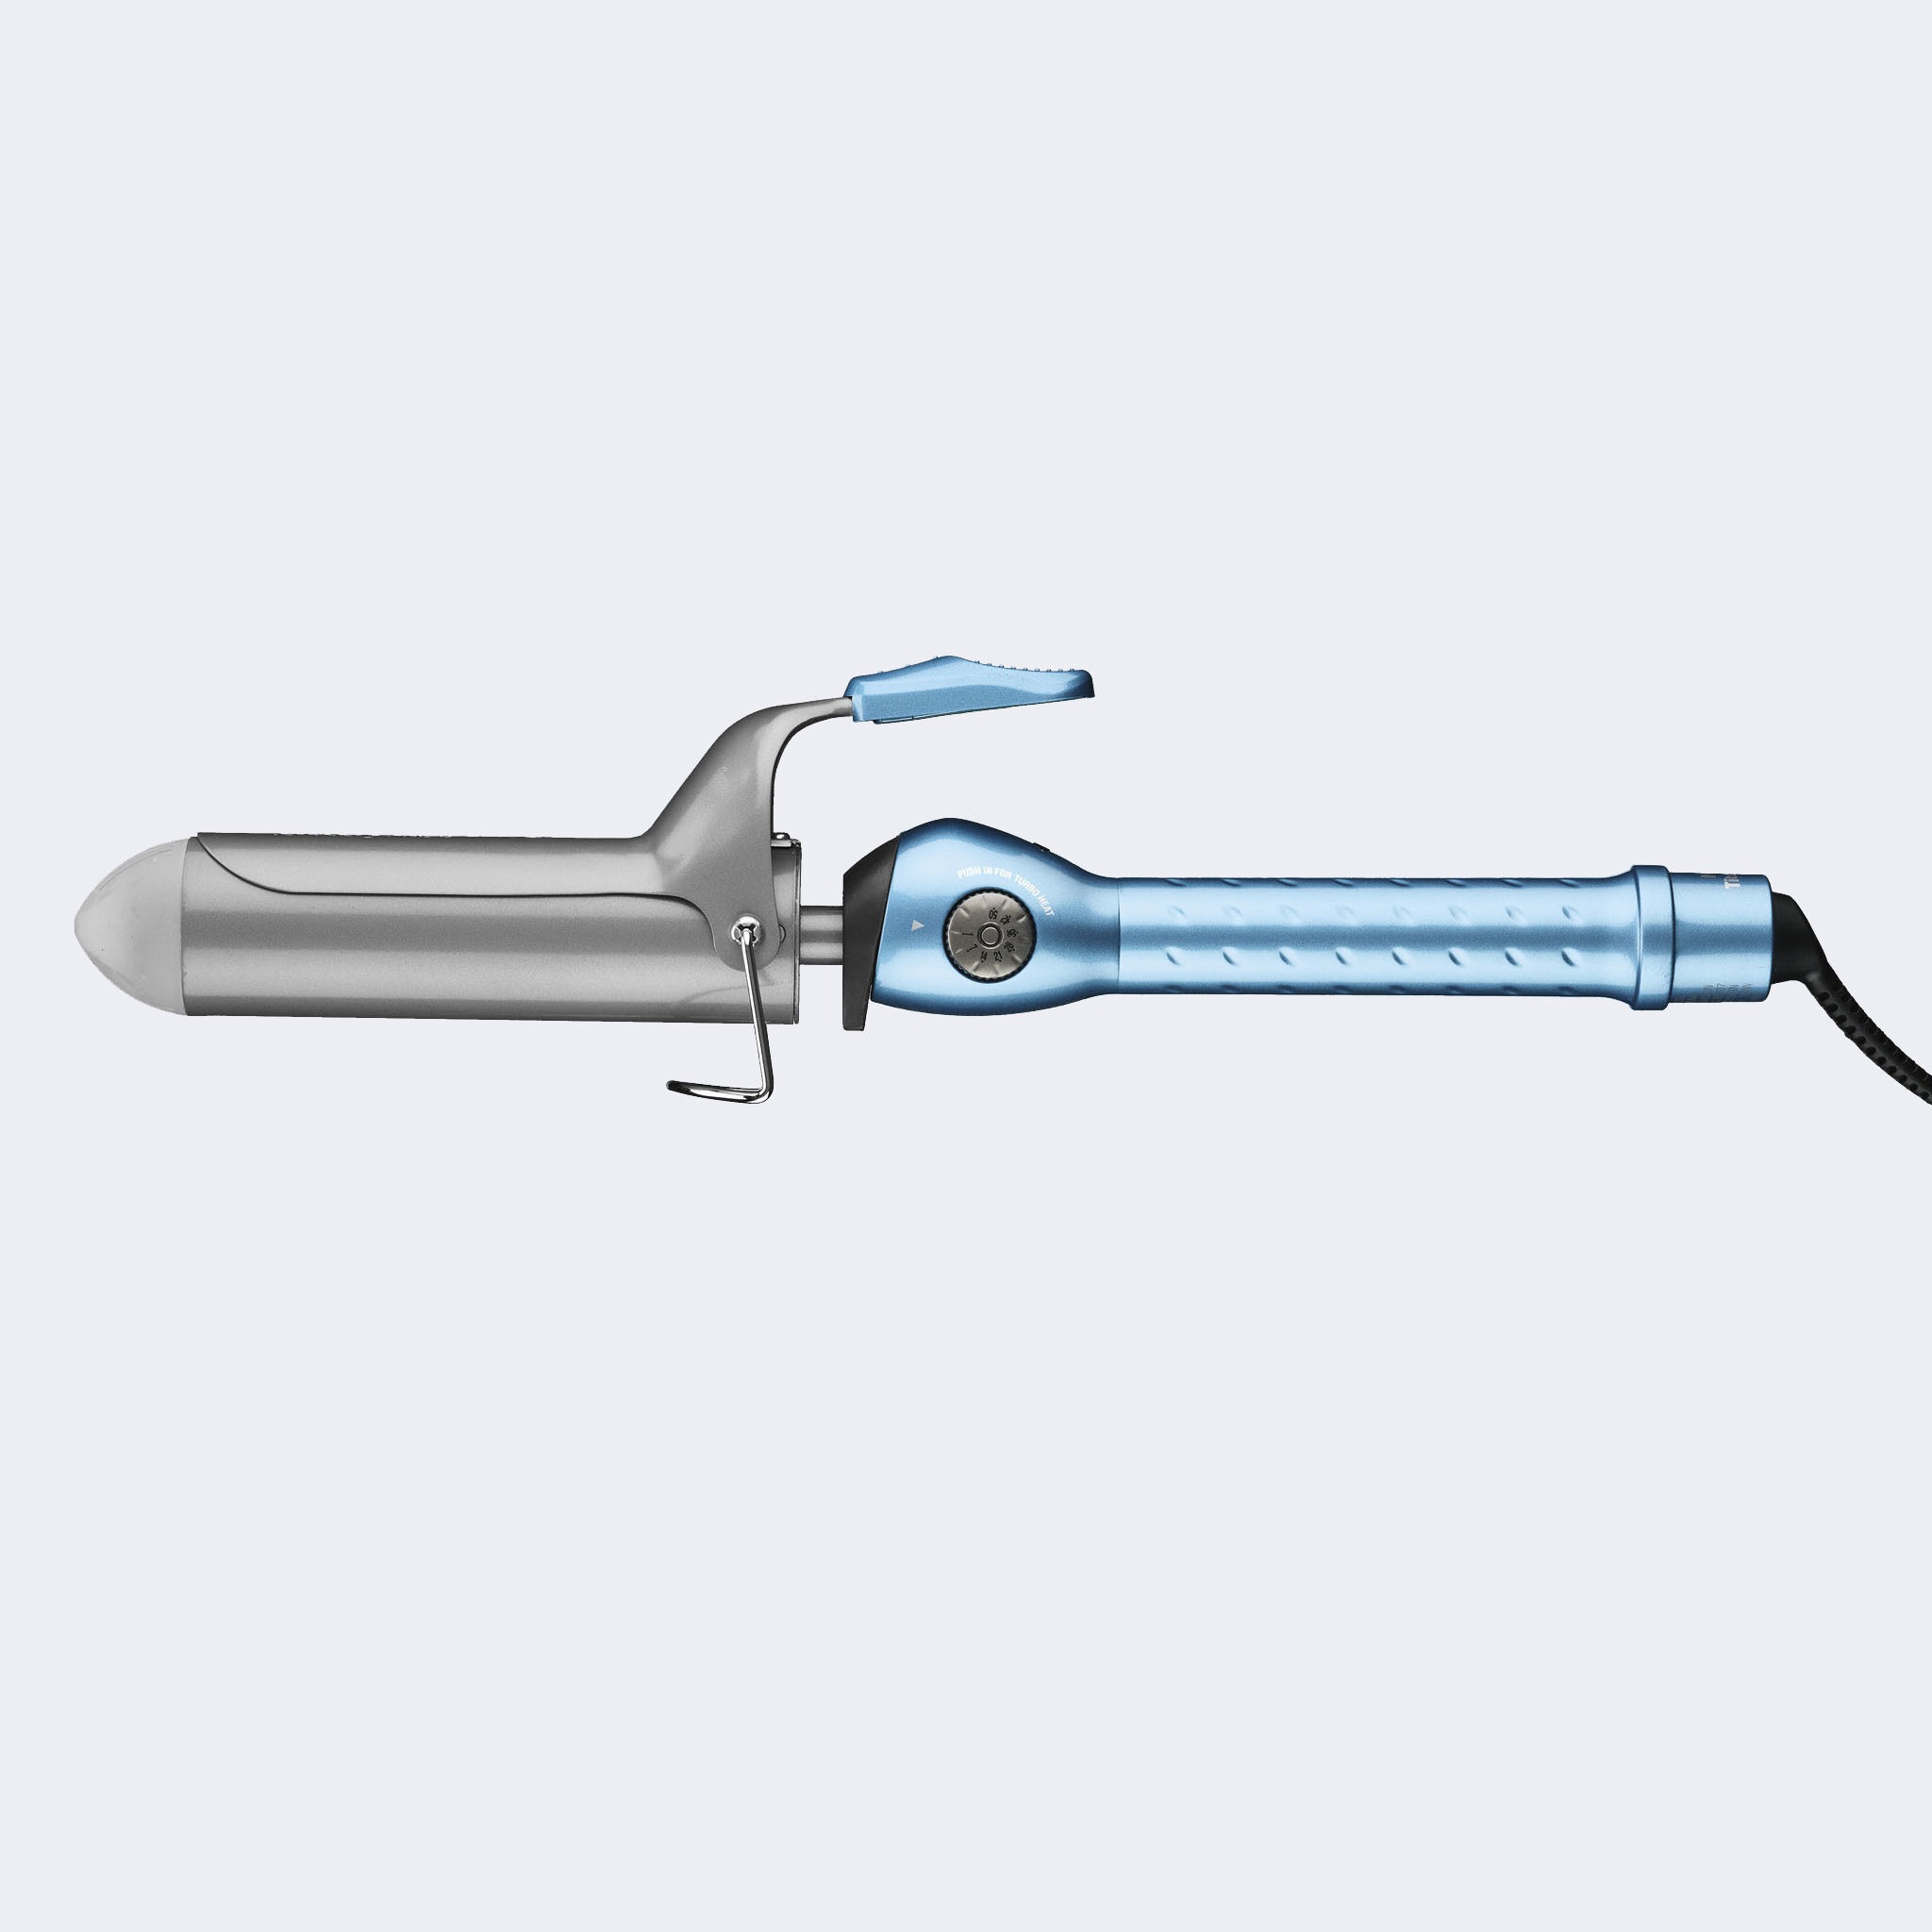
Best Big Barrel Curling Irons on the Market
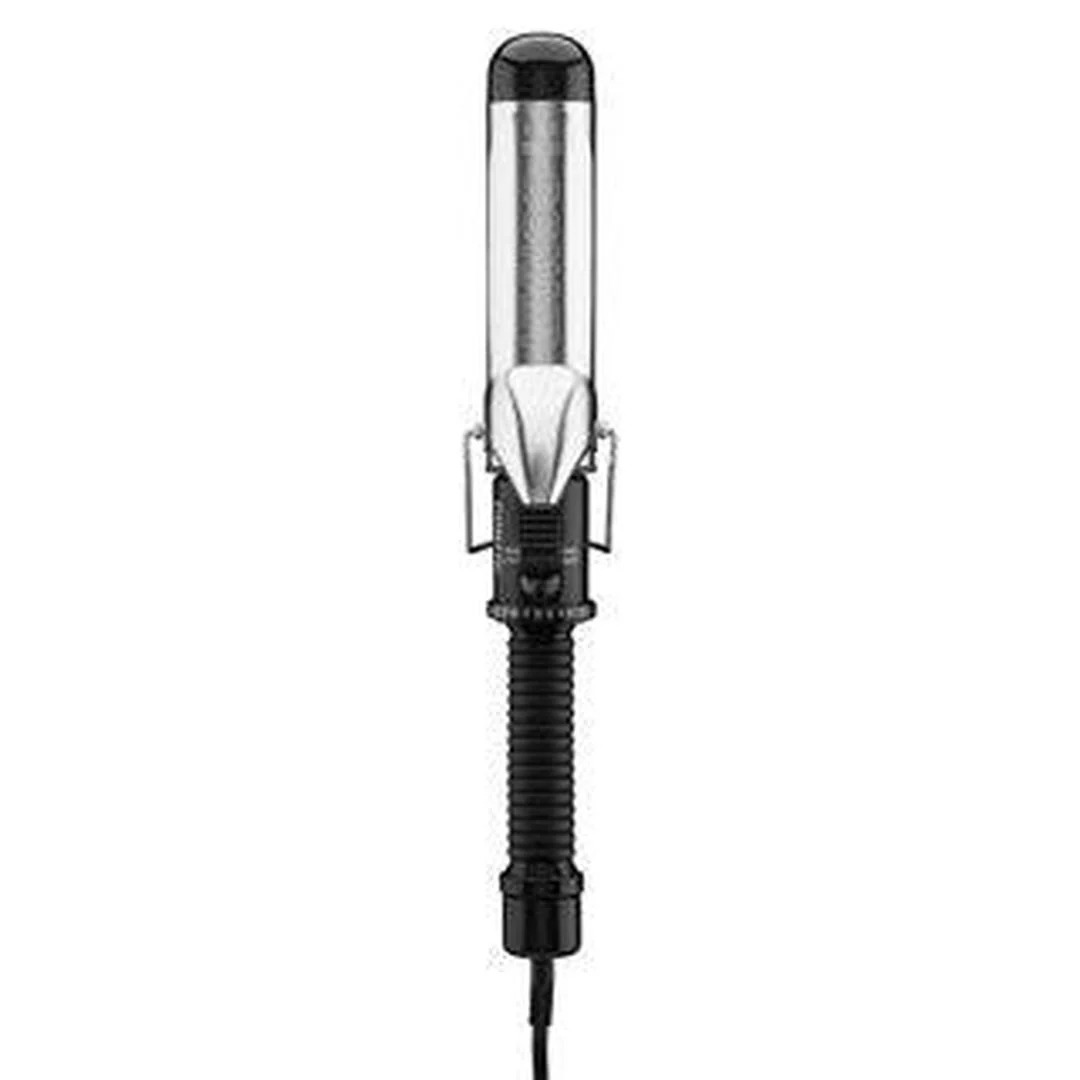
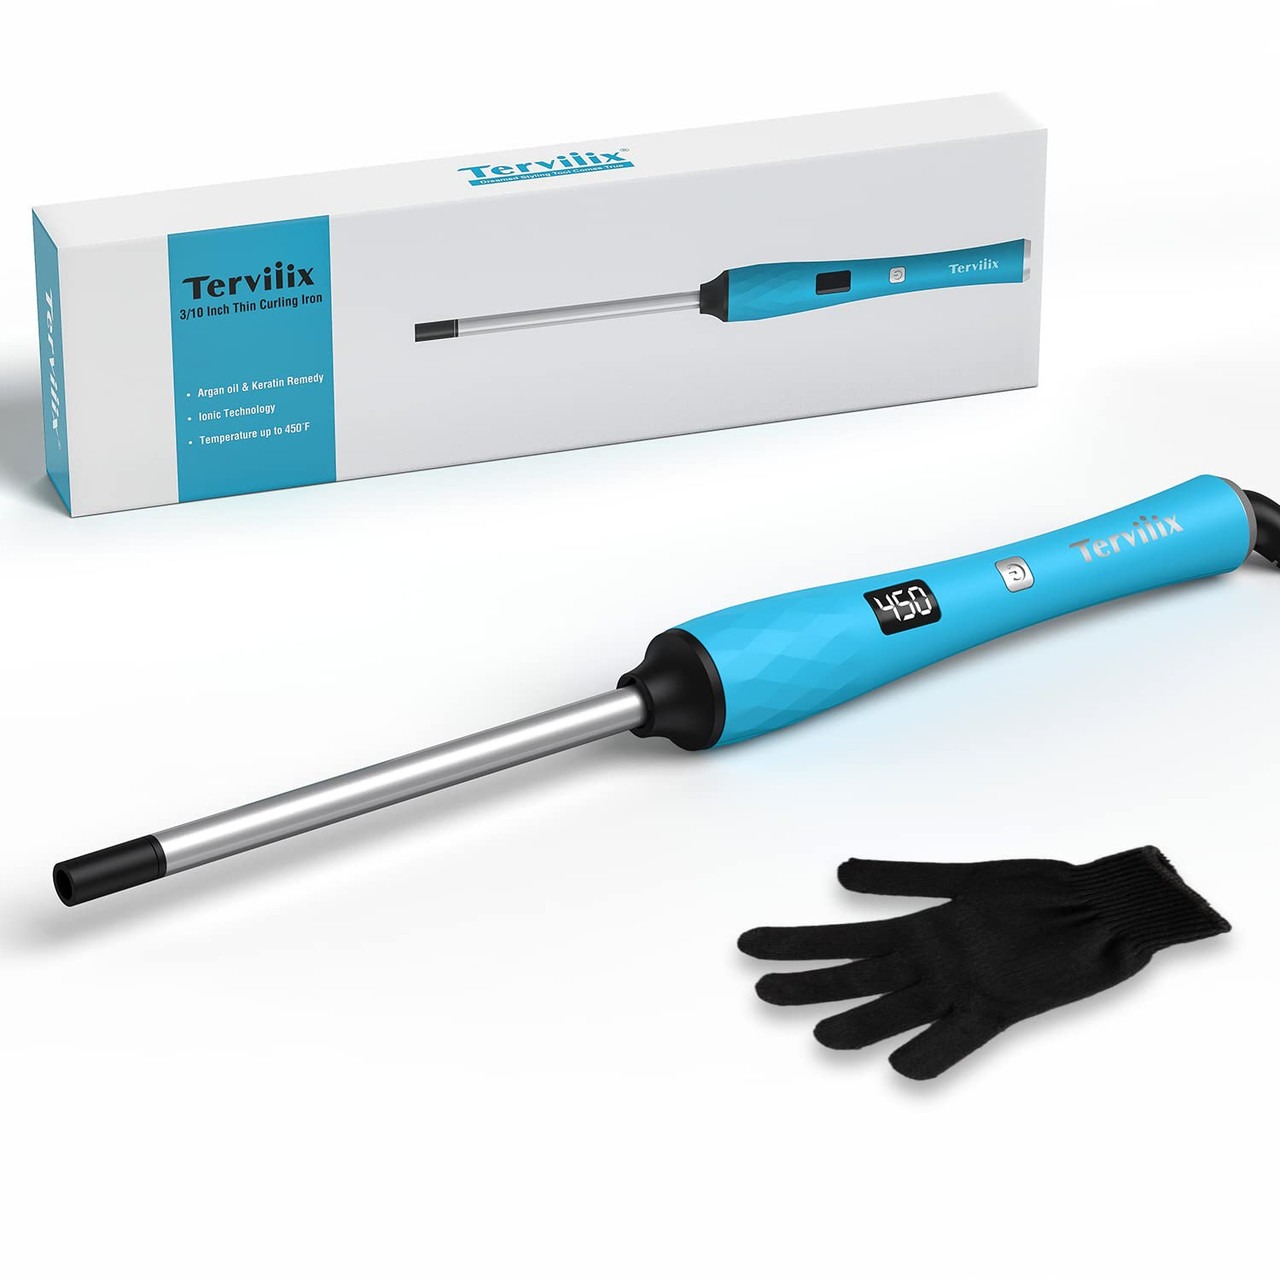
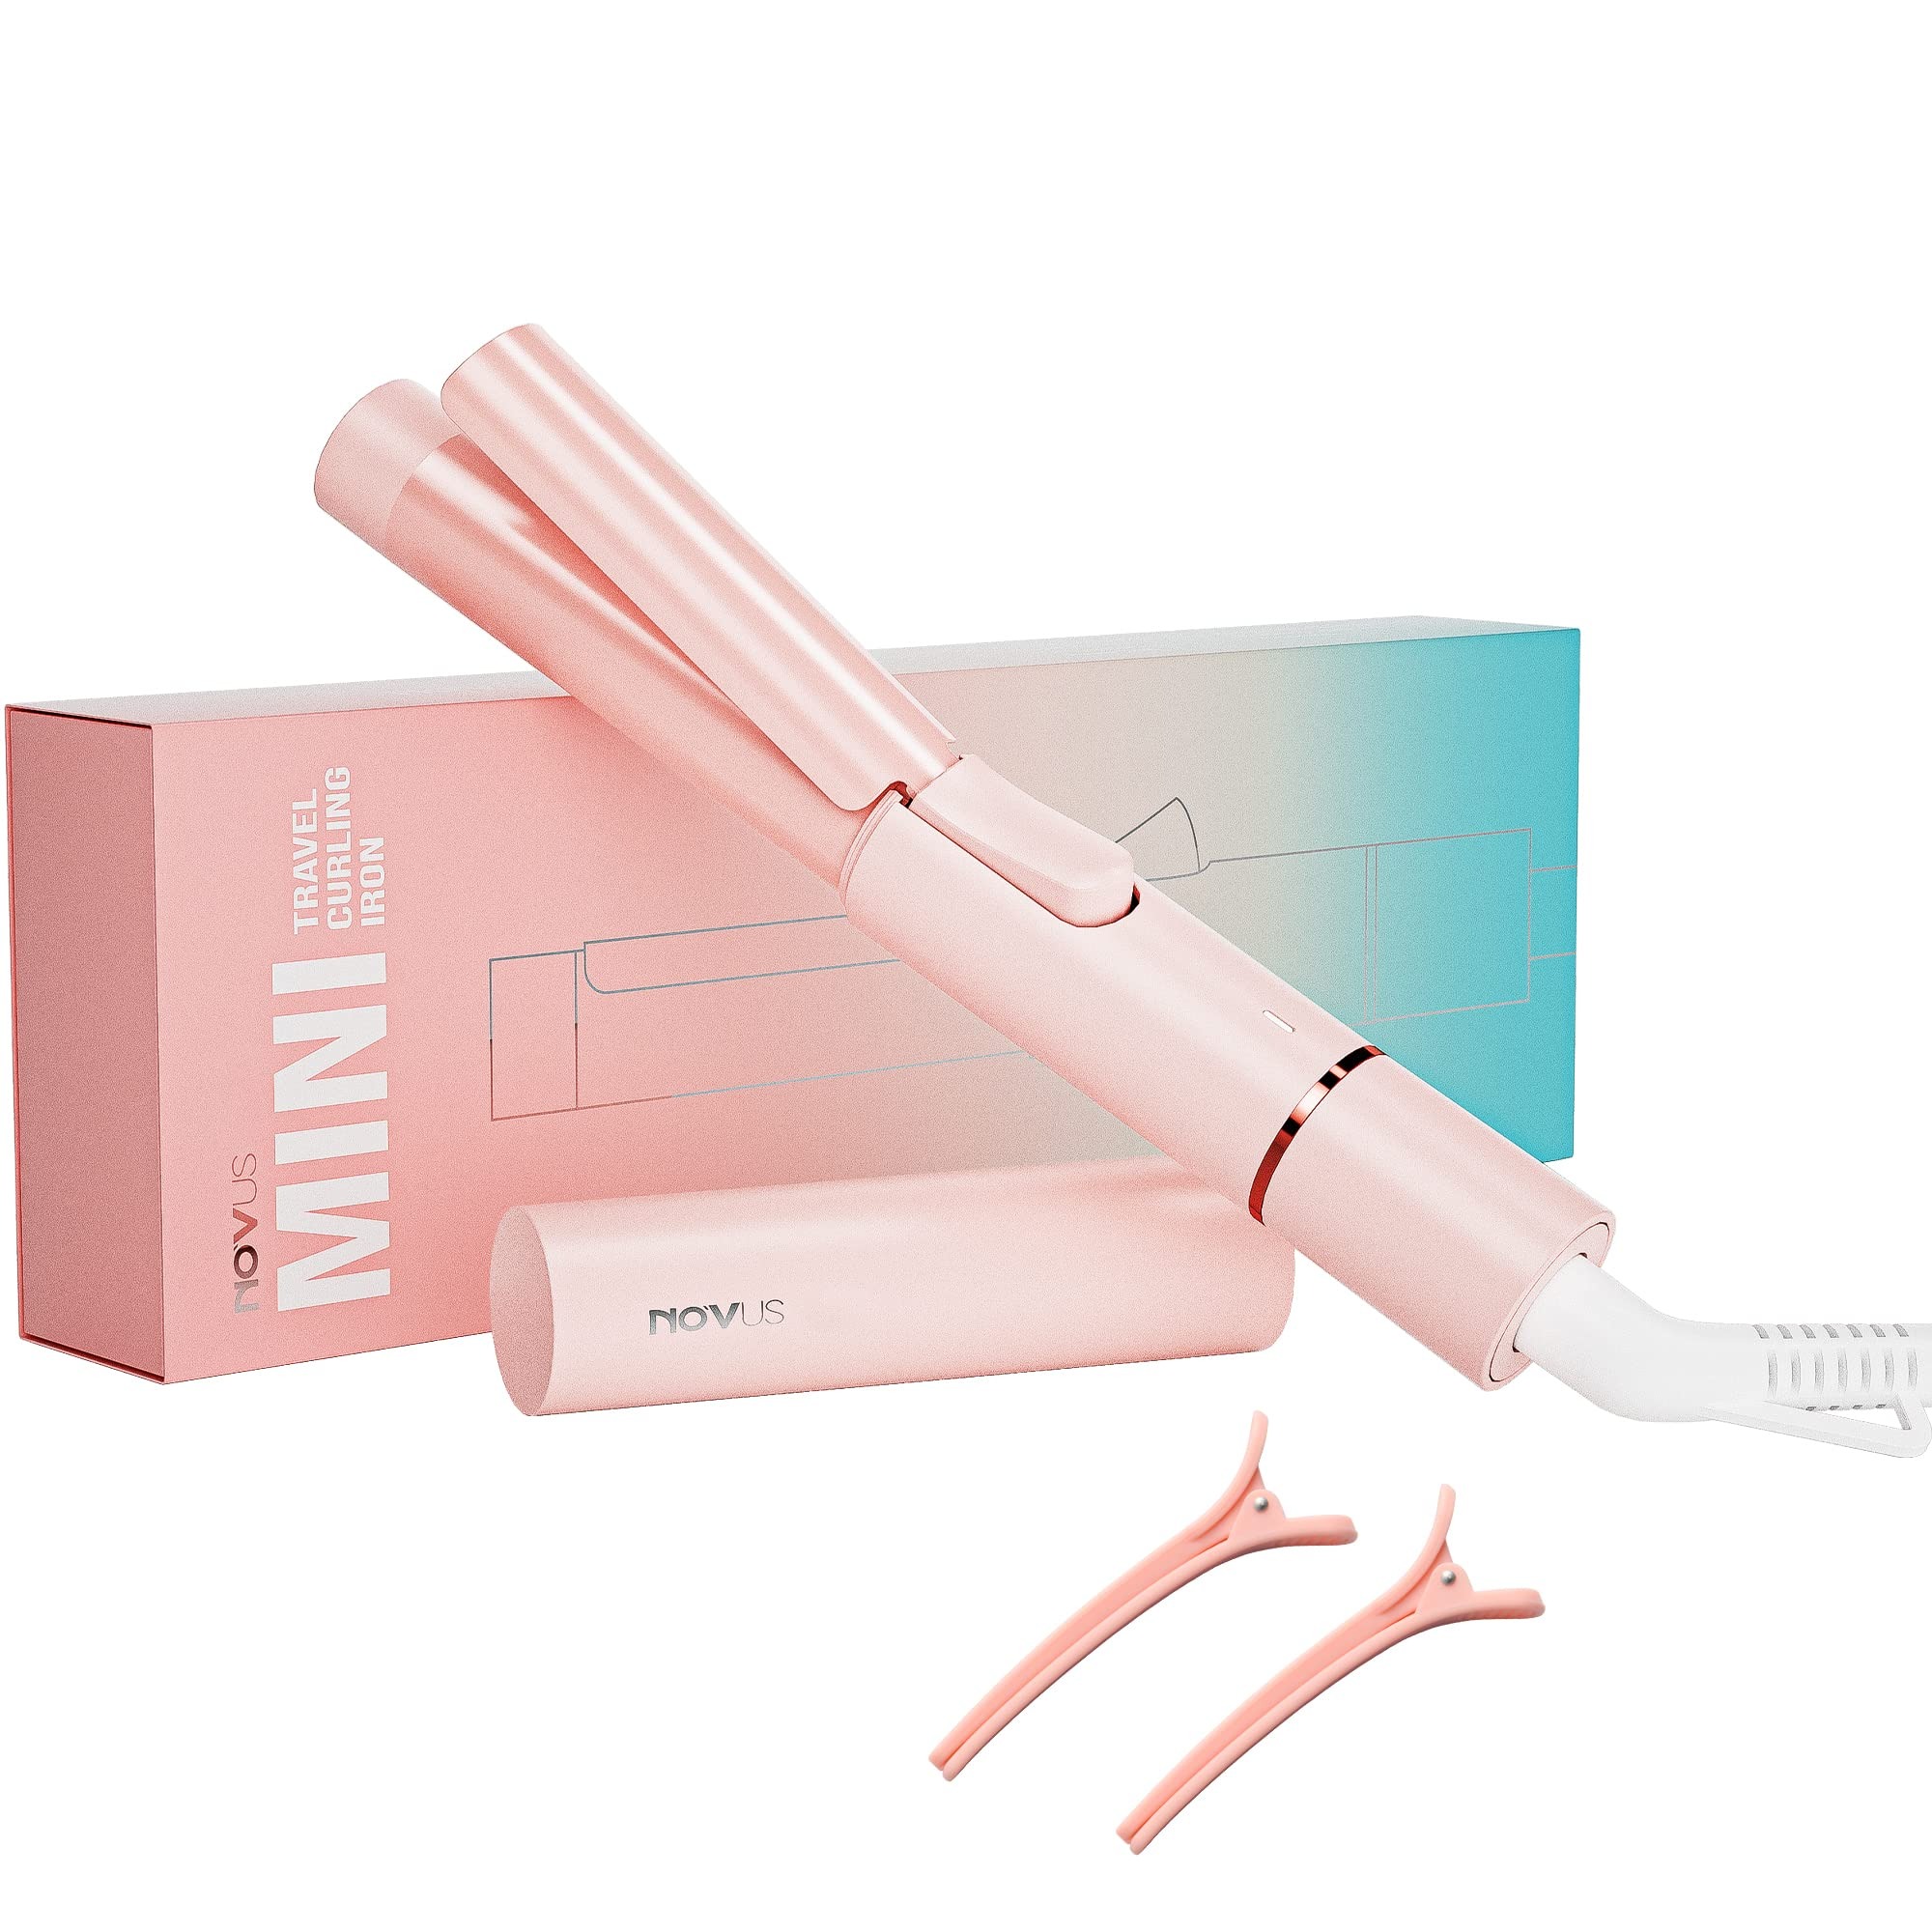
Finding the right big barrel curling iron can transform your hairstyling routine. These irons are essential for creating loose, glamorous waves that last all day. Below, we explore some of the top big barrel curling irons available.

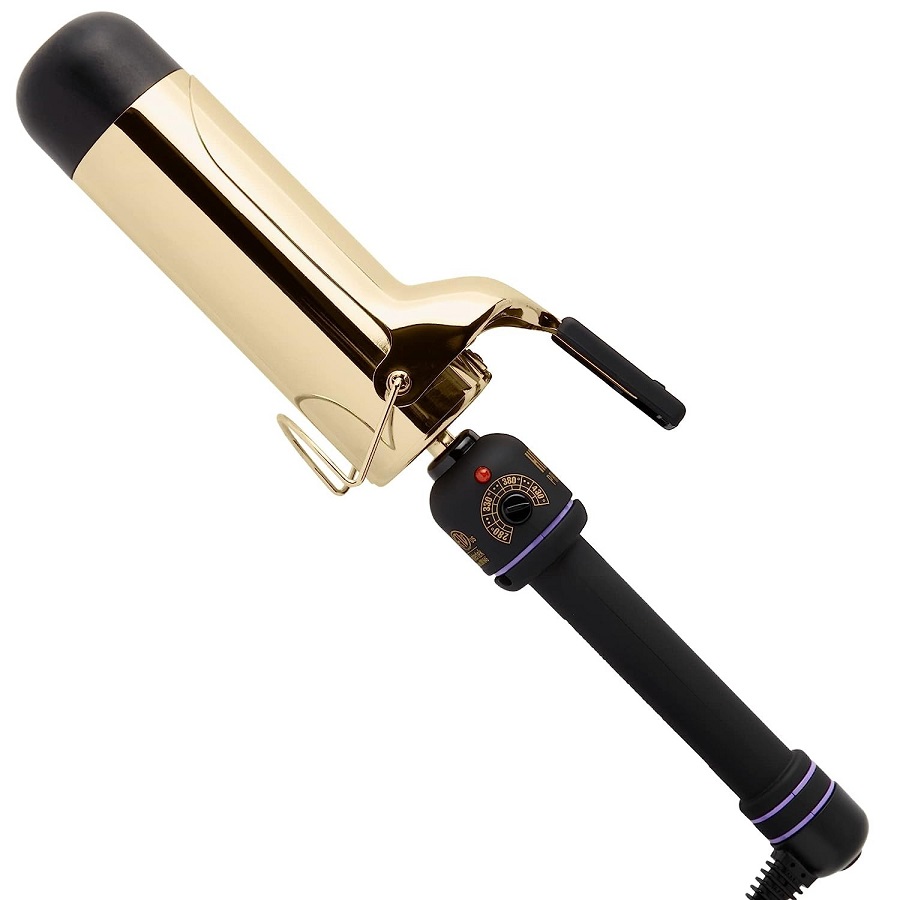
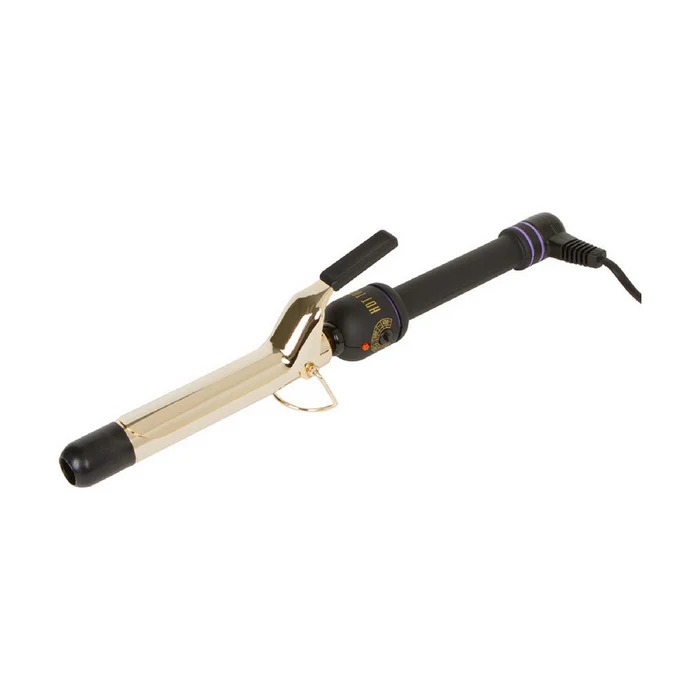
- Elite Gold Series – This curling iron heats up quickly and has multiple heat settings. Its big barrel ensures even heat distribution for perfect waves.
- CurlPro 3000 – Known for its durable construction, the CurlPro 3000 offers a range of temperatures and a smooth, ceramic barrel that minimizes hair damage.
- WavesMaker Deluxe – This model boasts ionic technology to reduce frizz and add shine to your waves. It’s great for those looking for a frizz-free finish.
When choosing a big barrel curling iron, consider the barrel size, heat settings, and additional features that cater to your hair’s needs. Remember, investing in a high-quality iron can lead to better styling results and healthier hair in the long run.
Step-by-Step Guide to Using a Big Barrel Curling Iron
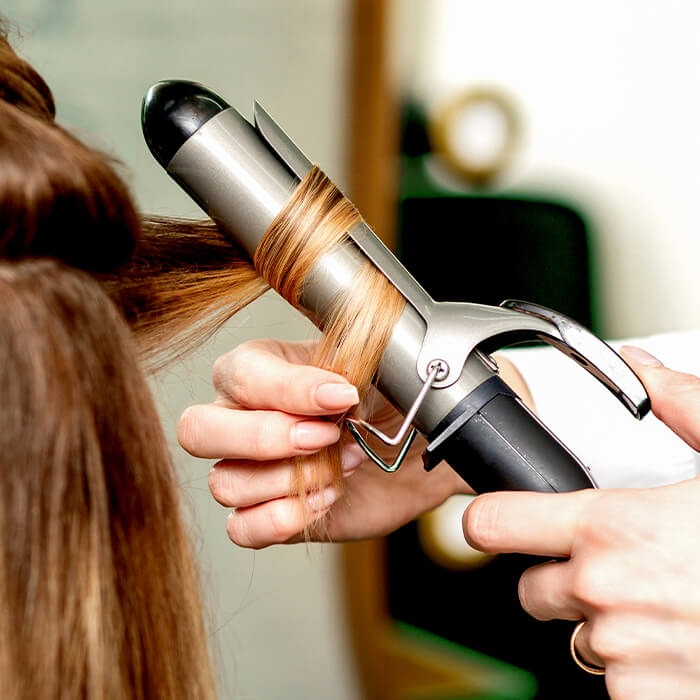
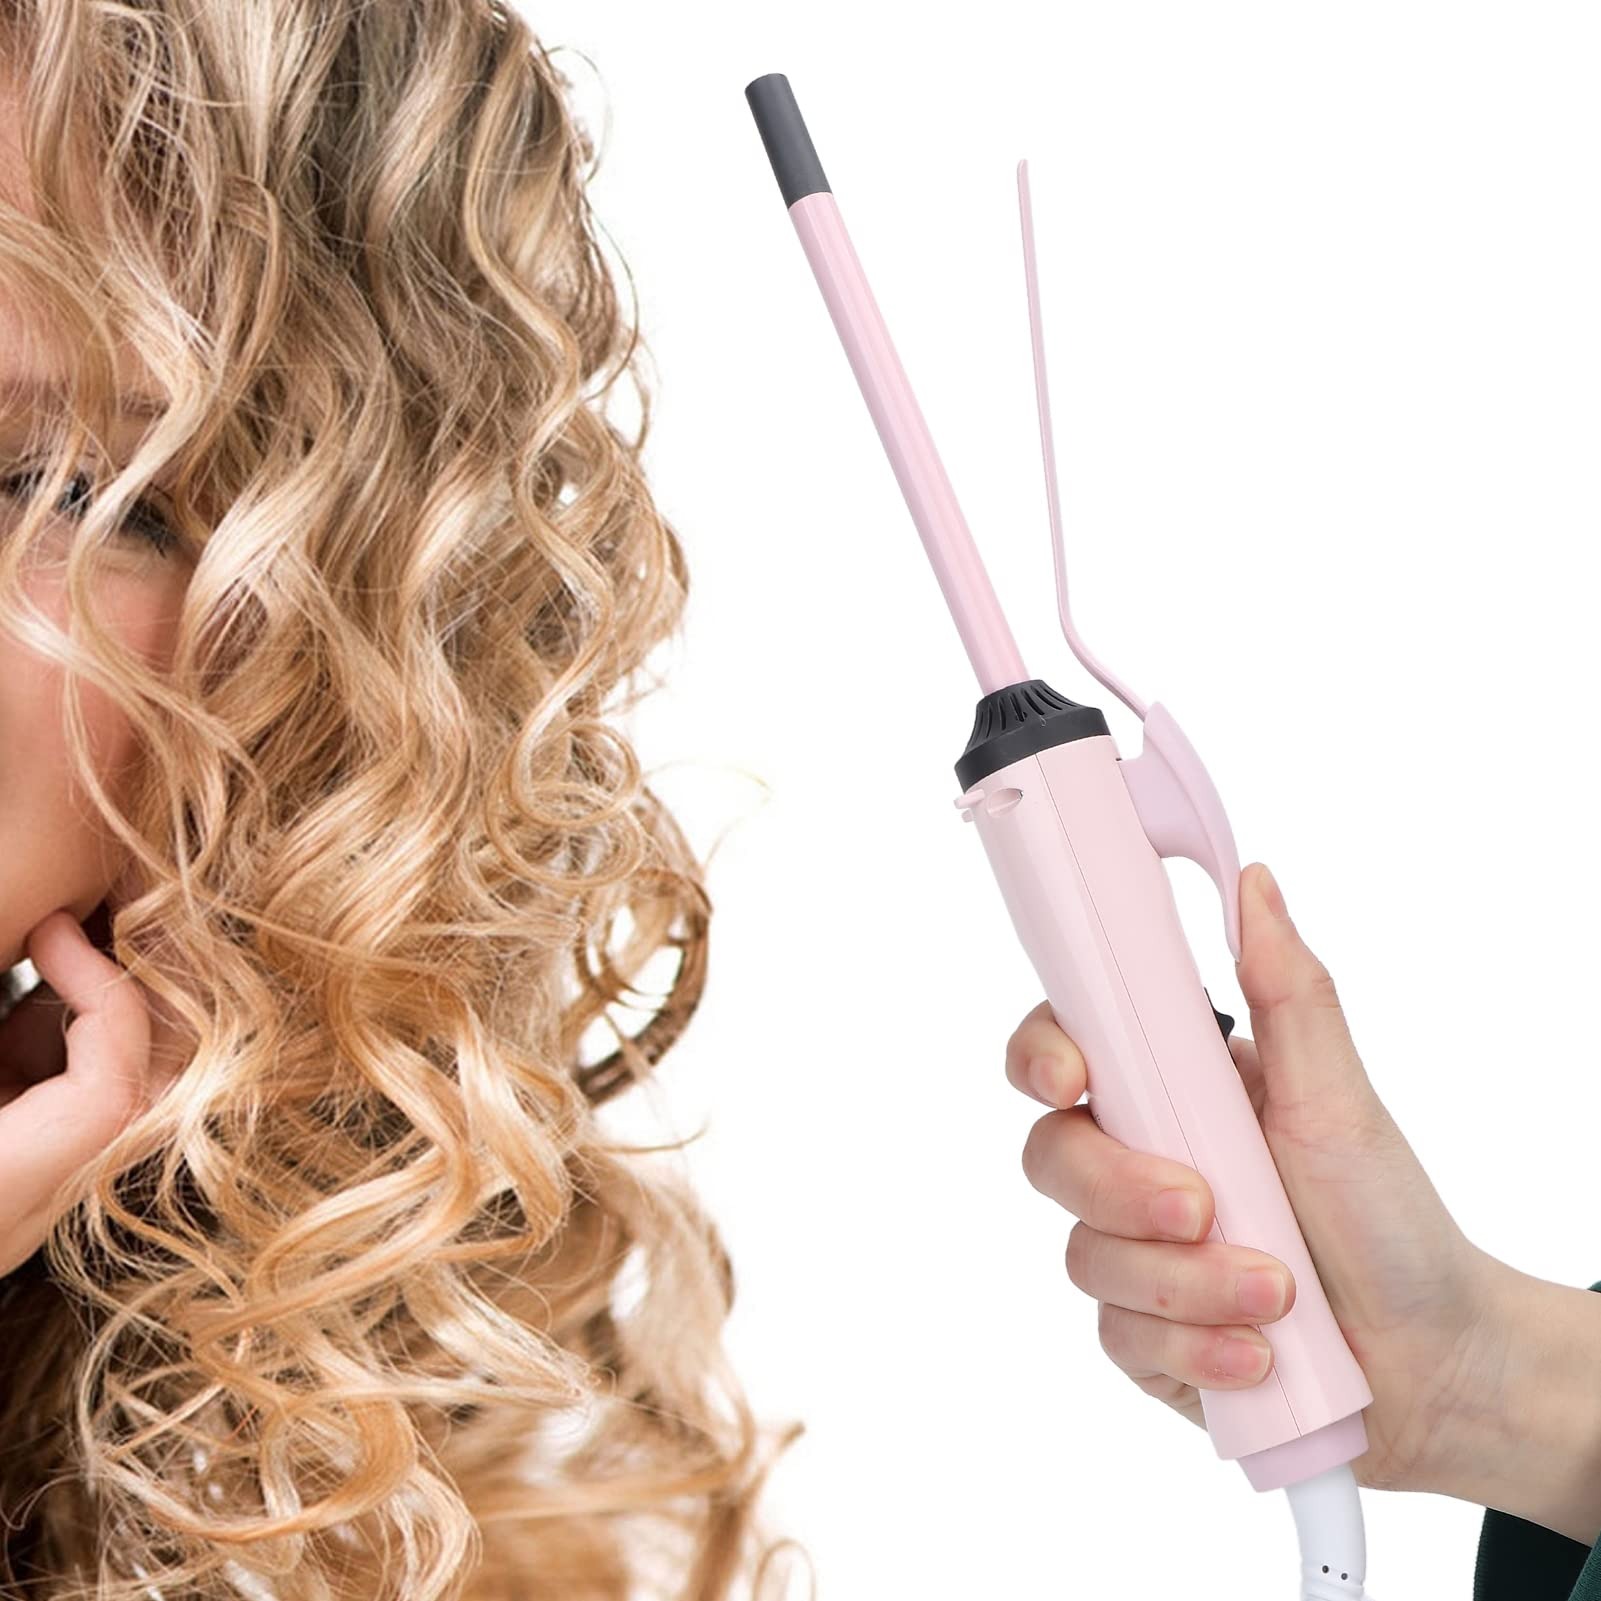
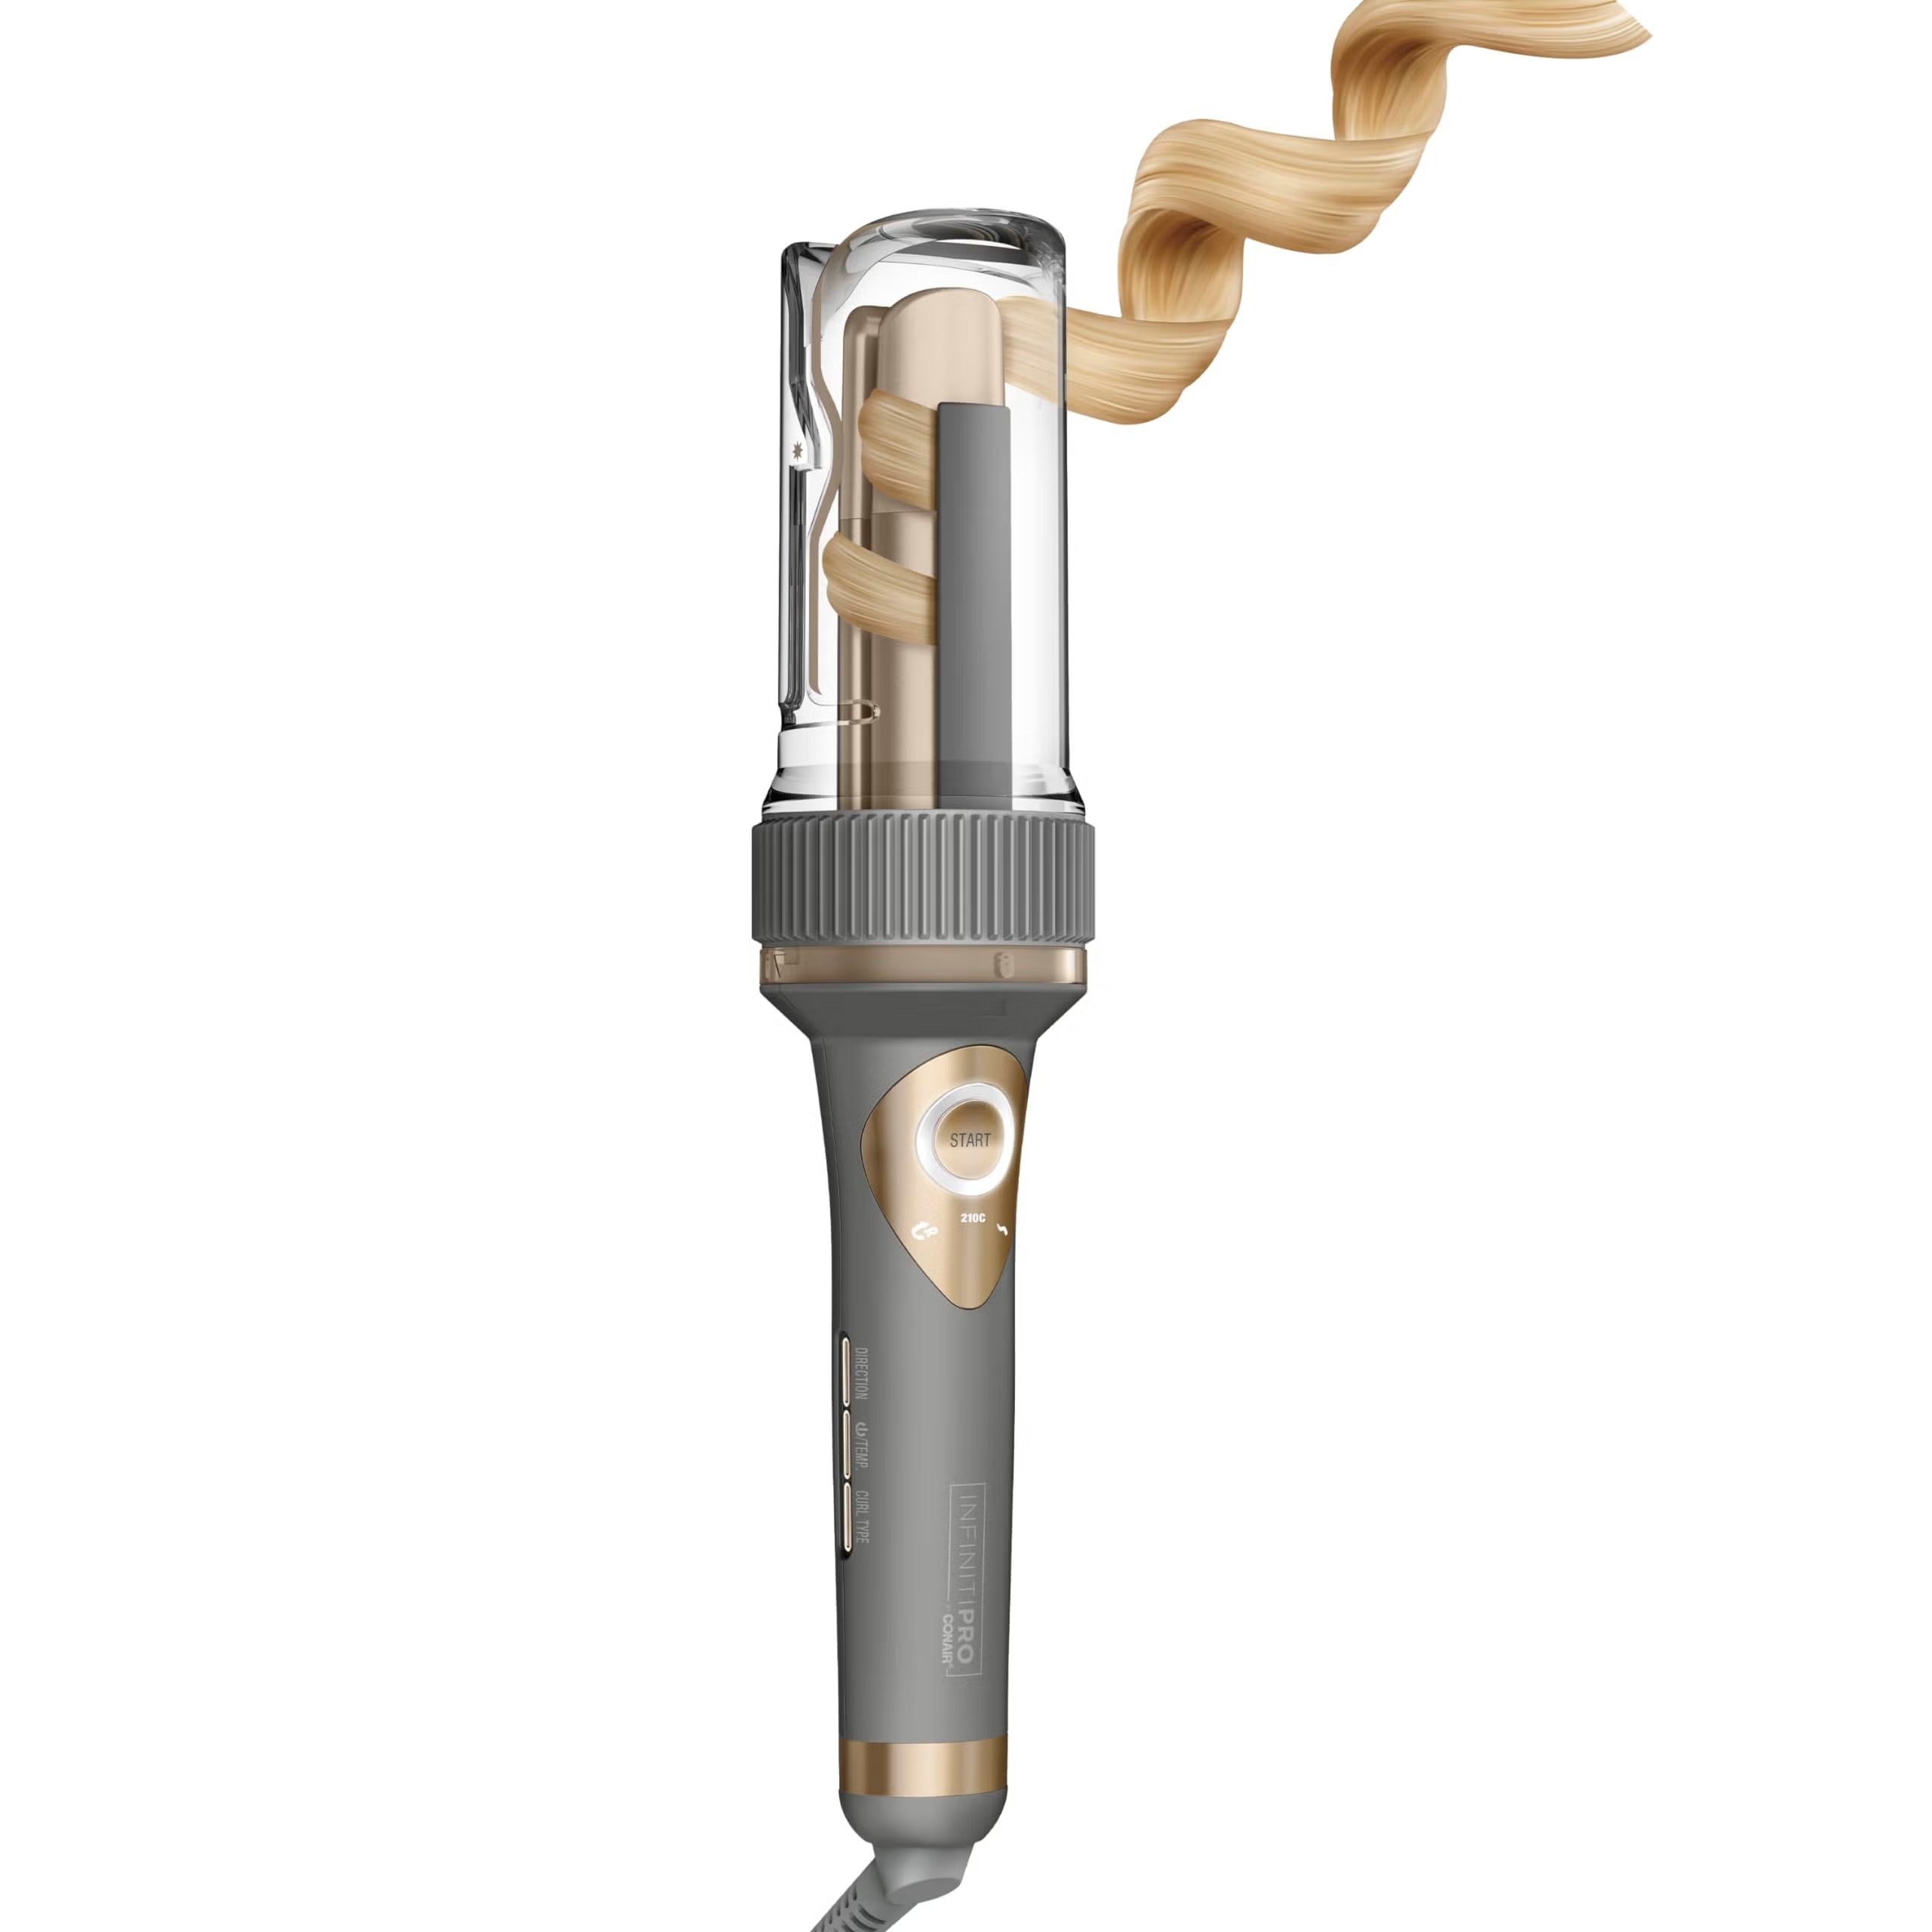
Using a big barrel curling iron can seem daunting at first. But with these simple steps, you’ll create flawless waves in no time. Let’s walk through the process from start to finish.
- Heat It Up – Start by plugging in your big barrel curling iron and setting it to the desired temperature. Wait a few minutes for it to heat up.
- Section Your Hair – Divide your hair into sections. Smaller sections make for tighter waves, while larger sections give a looser look.
- Apply Heat Protectant – Before curling, apply a heat protectant to your hair. This step helps prevent damage.
- Curl Your Hair – Take a section of hair and wrap it around the barrel. Hold for a few seconds, then release.
- Let Curls Cool – After releasing your hair from the curling iron, allow the curl to cool before touching it. This helps set the wave.
With practice, using a big barrel curling iron becomes quick and easy. Your waves will turn out beautifully, giving you a look that’s both glamorous and effortless.
Tips for Long-Lasting Waves
Creating waves that stay fresh all day requires some know-how beyond using a big barrel curling iron. Here are several tips to ensure your curls have longevity and that you step out looking fabulous from dawn to dusk.
- Prep with Mousse or Volumizing Spray – Starting with the right products gives your waves a fighting chance against drooping. Apply mousse or a volumizing spray to damp hair before drying. This adds grip which helps hold the curls longer.
- Avoid Over-Conditioning – Slippery, overly conditioned hair tends to drop curls faster. Limit how much conditioner you use prior to styling, especially near the roots.
- Cool Down – After releasing your hair from the iron, pin the curl up and let it cool. Cooling in the curled position sets the shape better.
- Skip Brushing – Instead of brushing out your curls, which can loosen them, use your fingers to gently separate and arrange your waves.
- Spray Wisely – Too much hairspray can weigh down waves, making them stiff. Aim for a flexible hold spray and use it sparingly.
By following these practical tips, you’ll lock in those perfect waves and enjoy a style that looks as good in the evening as it did when you first styled it.
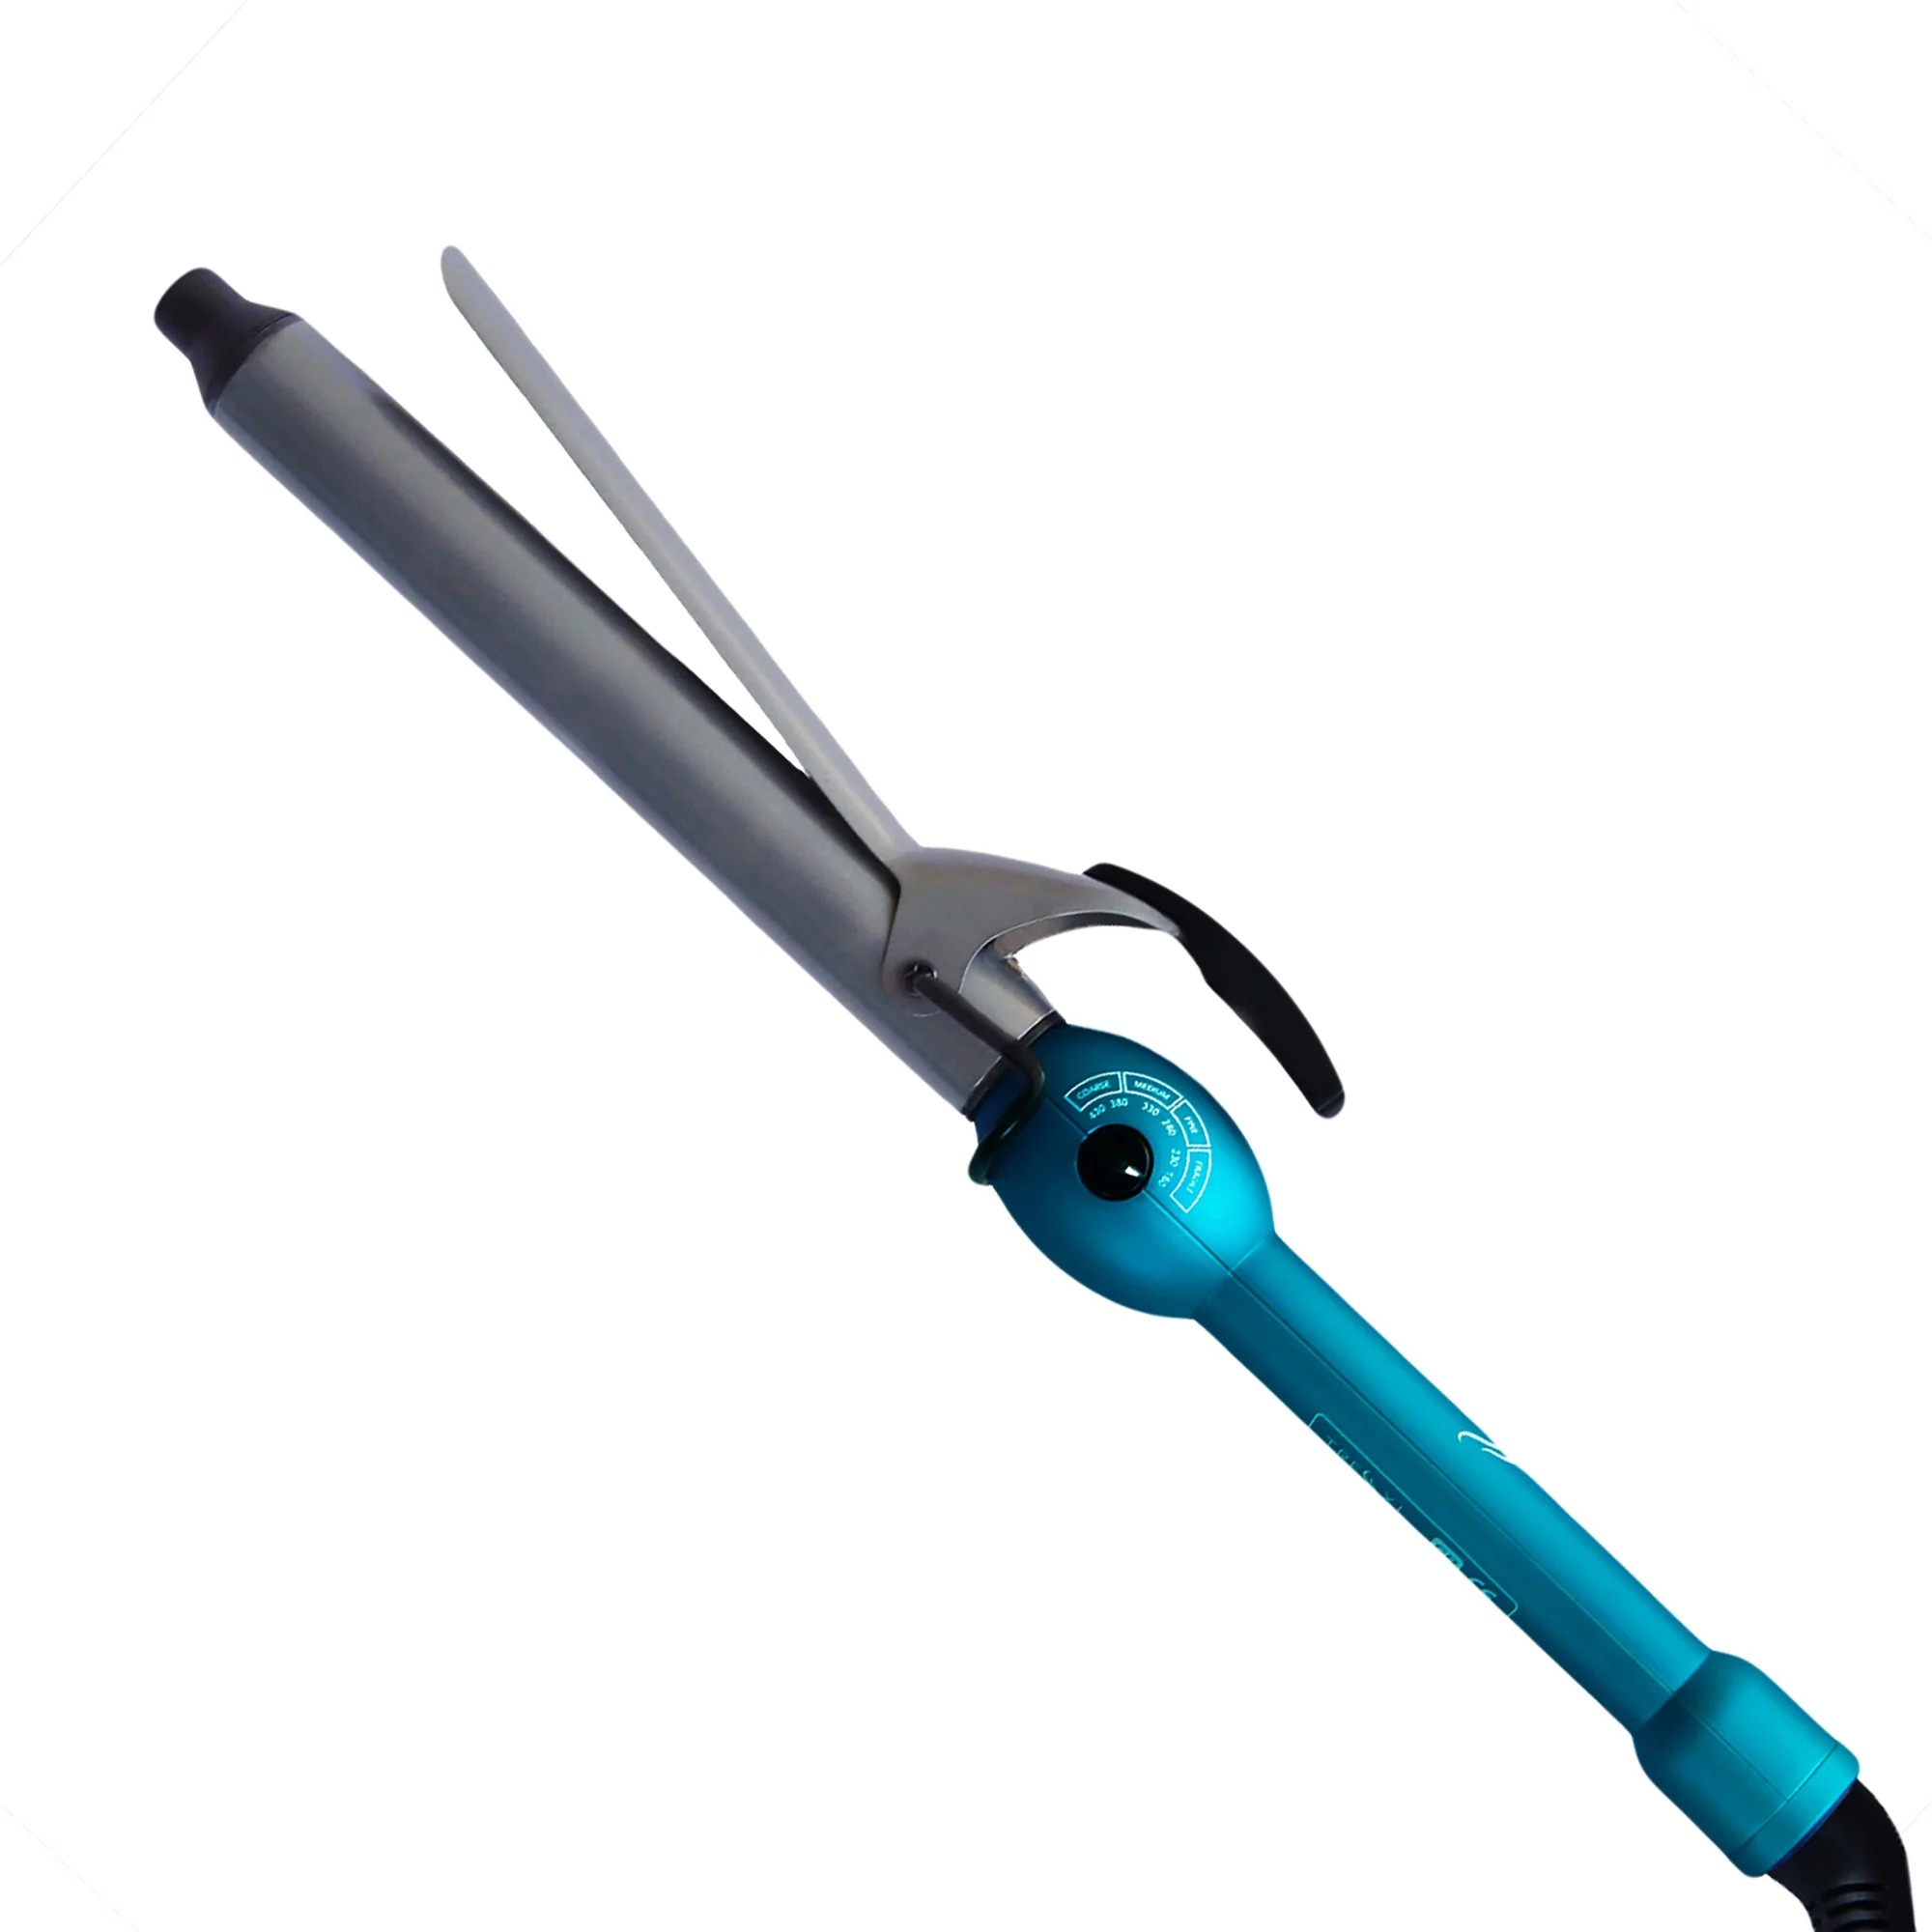
The Difference Between Big Barrel and Regular Curling Irons
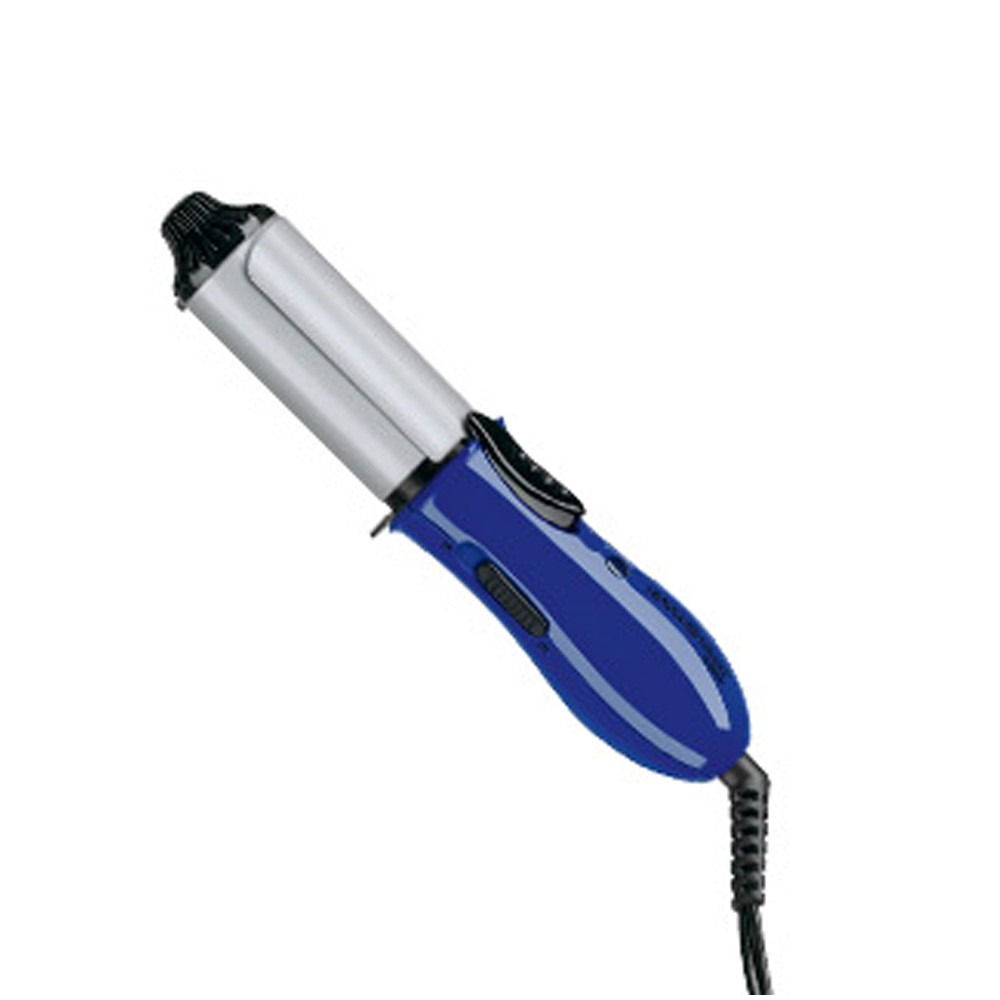
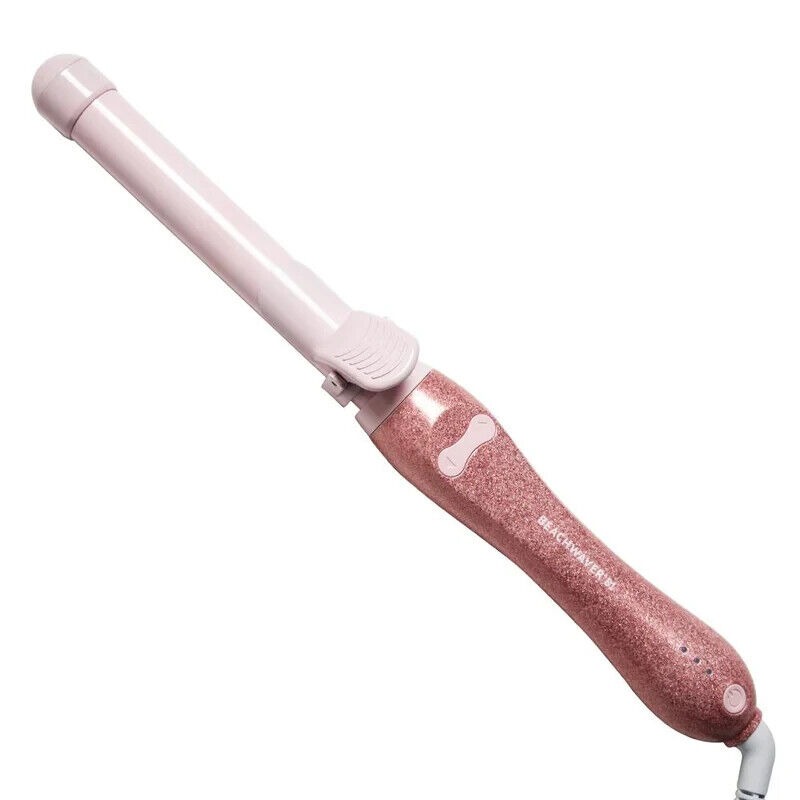
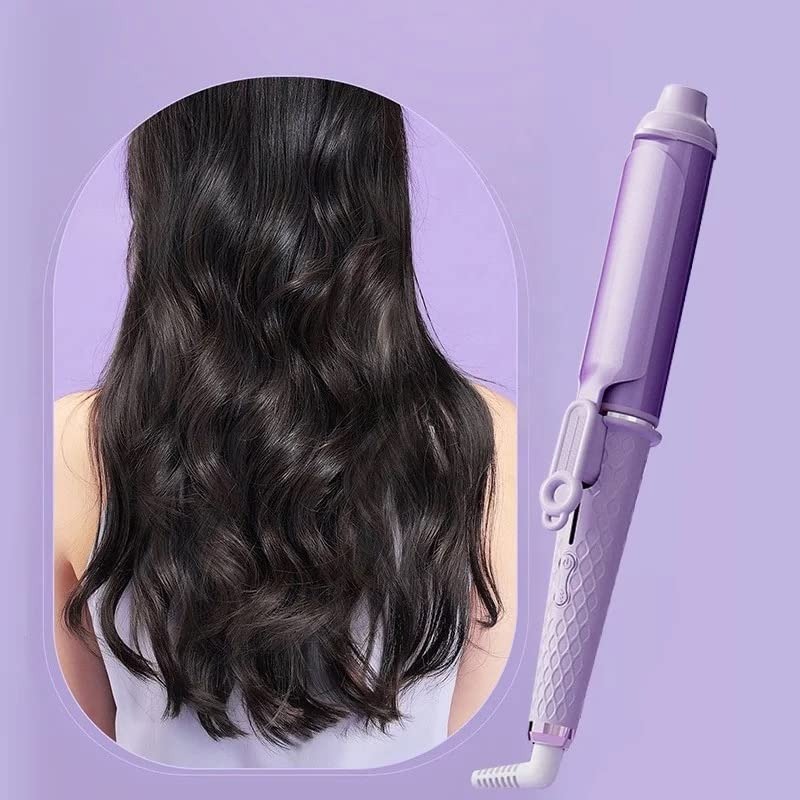
Understanding the difference between big barrel and regular curling irons is key to achieving your desired hairstyle. A big barrel curling iron generally refers to irons with a barrel diameter of one and a half inches or larger. This size is ideal for creating loose, flowing waves rather than tight curls. In contrast, regular curling irons typically have a barrel diameter that’s less than one and a half inches, perfect for more defined, spiral curls.
The primary differences between these two types of irons include:
- Barrel Size: Big barrel curling irons have wider barrels. They create larger waves.
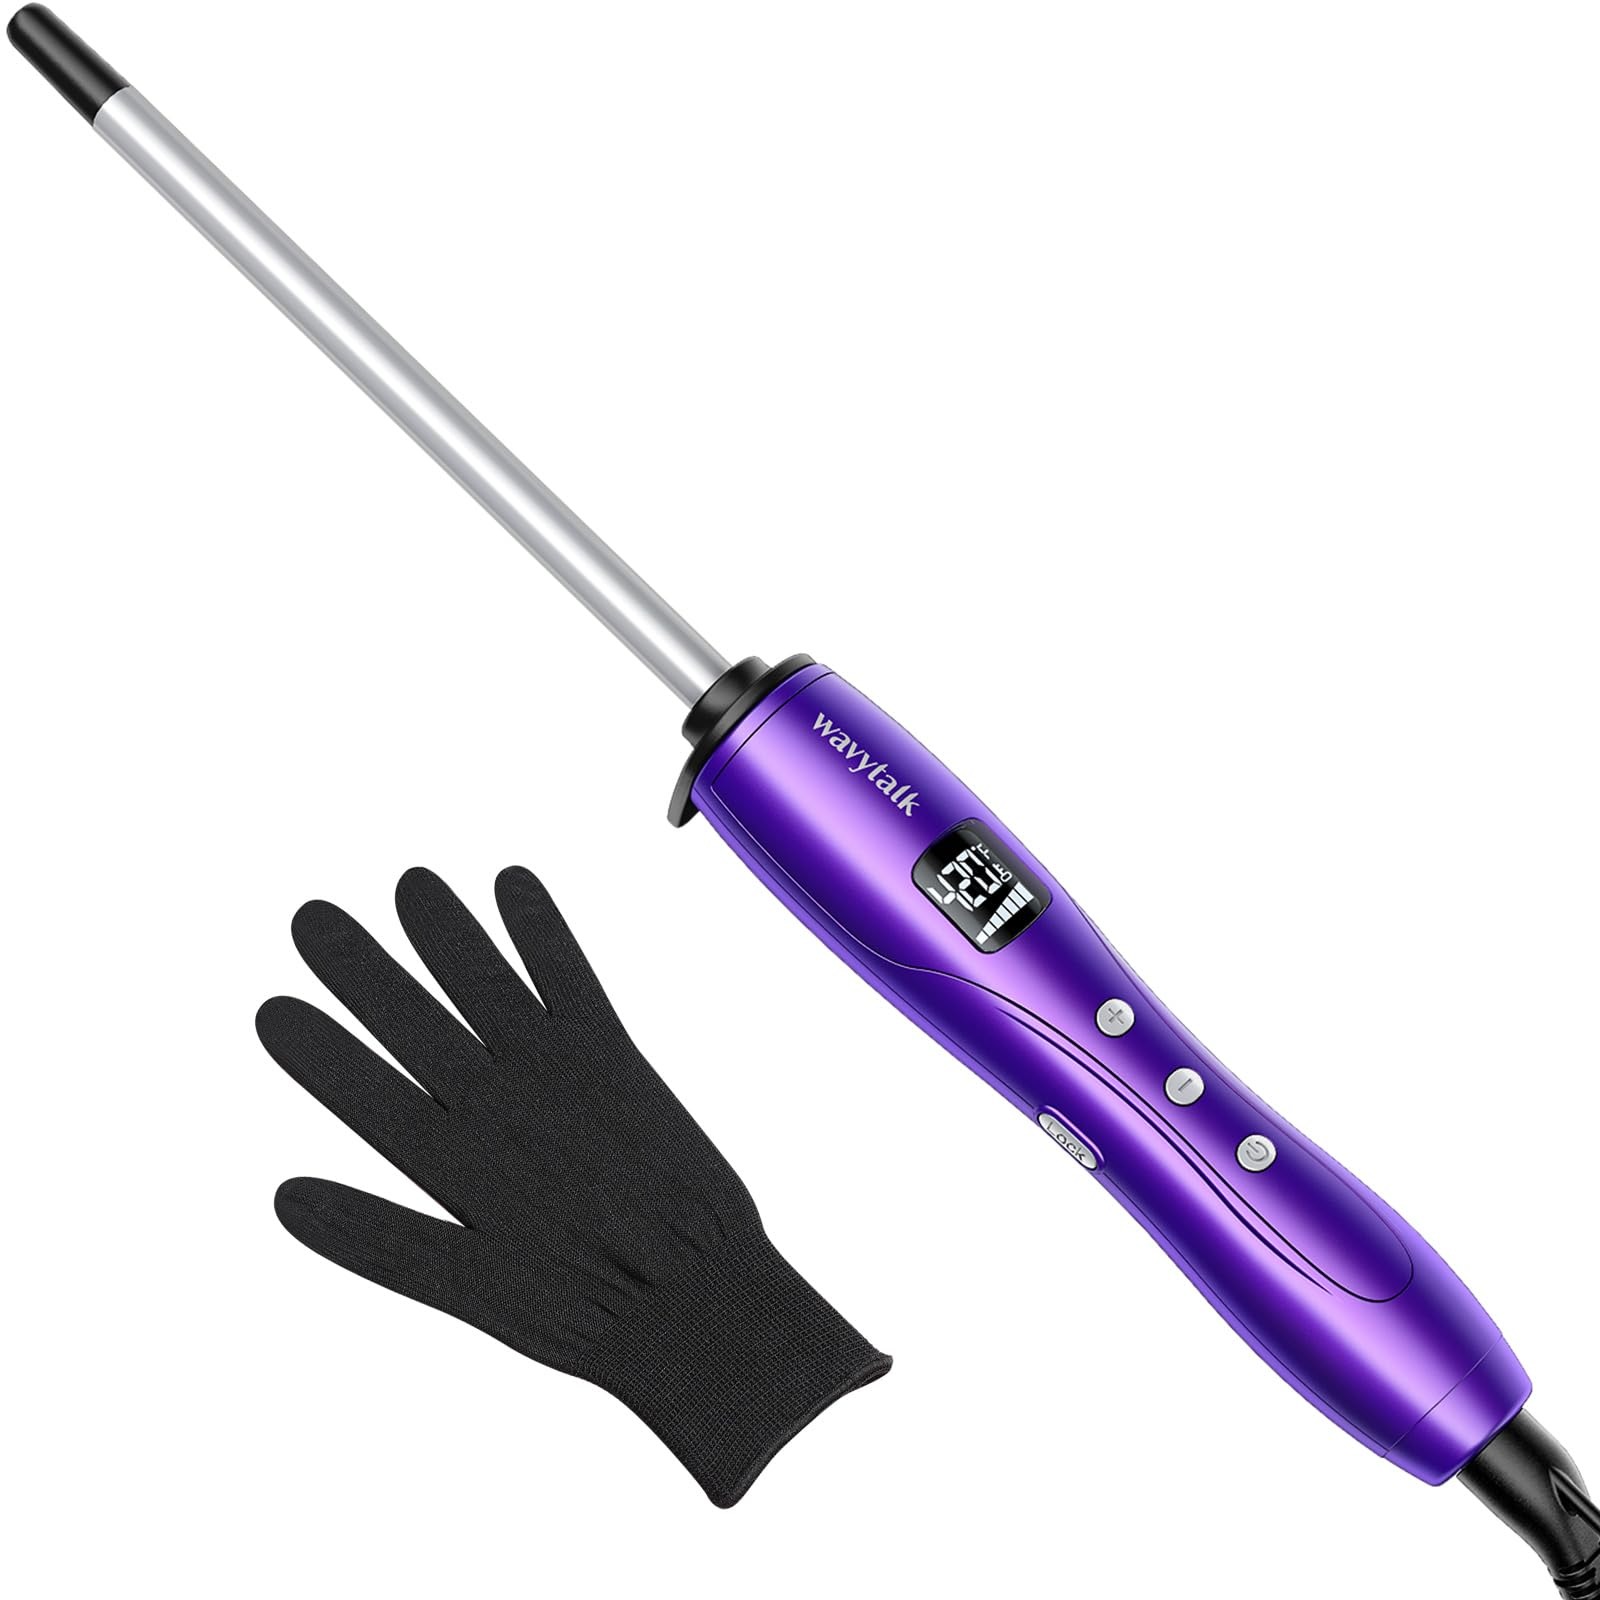
- Curl Tightness: Regular irons produce tighter curls; big barrels yield looser waves.
- Hair Length Suitability: Big barrel irons are better for long hair, offering a more uniform look.
- Heat Distribution: Wider barrels may provide a more even heat distribution due to their size.
These fundamental differences mean that your choice between a big barrel and a regular curling iron should depend on the type of curl you want and your hair length. Big barrels are your go-to for voluptuous waves and work best on longer locks, while regular-sized barrels excel at sculpting tighter curls and are versatile enough for various hair lengths.
Hair Preparation Before Using a Big Barrel Curling Iron
Prepping your hair correctly is essential for the best waves with a big barrel curling iron. It ensures that your hair holds the curls longer and reduces the risk of heat damage. To get your hair ready for styling, here are the key steps to follow:
- Start with Clean Hair – Wash your hair and make sure it’s free from oils and buildup. Clean hair curls better and stays styled longer.
- Dry Hair Thoroughly – Before using your big barrel curling iron, ensure your hair is entirely dry. Wet or damp hair won’t curl well and can be damaged by the heat.
- Apply a Heat Protectant – Use a good quality heat protectant spray or serum. This reduces heat damage and is a crucial step for healthy hair.
- Detangle Your Hair – Use a wide-toothed comb to gently detangle. This helps the big barrel curling iron glide smoothly through your hair.
- Choose the Right Products – If you have fine hair, a volumizing mousse can offer extra hold. For thick hair, a smoothing balm might work best.
By following these preparation steps, you’re setting the stage for beautiful waves that last. These preparatory actions can make a big difference in your styling routine, especially when using a big barrel curling iron.
Safety Precautions When Using Heat Tools
When styling with a big barrel curling iron, safety is paramount. Here are some key safety guidelines:
- Read the Manual – Familiarize yourself with the manufacturer’s instructions and recommendations.
- Check for Damage – Examine the curling iron for any exposed wires or damage before use.
- Use a Heat-Resistant Surface – Always rest your curling iron on a heat-resistant mat or surface.
- Avoid Wet Hair – Never use the iron on damp hair, as this can cause steam burns and hair damage.
- Protect Your Skin – Use a heat-resistant glove and be careful not to touch the hot barrel with your skin.
- Don’t Overheat – Select the appropriate temperature for your hair type to prevent heat damage.
By adhering to these safety tips, you can enjoy creating beautiful waves with your big barrel curling iron without compromising your safety or hair health.
Latest Trends in Curling and Styling with Big Barrel Irons
The hairstyle landscape is always changing, and big barrel curling irons are at the forefront of creating modern, chic waves. Here are the latest trends in curling and styling with a big barrel curling iron:
- Beachy Waves – Effortless, tousled waves are in. They give a relaxed vibe that’s perfect for any casual outing.
- Glamour Waves – For special events, glamour waves with a shiny finish make a bold statement.
- Soft Bends – Subtle bends in the hair, rather than full curls, offer a minimalist approach to styling.
- Textured Volume – Creating volume with texture is trending. It gives the hair a lively, dynamic look.
- Root Flicks – Adding a slight curl at the roots can lift the hair and add flair to straight styles.
- Curtain Bangs with Waves – Pairing waves with trendy curtain bangs combines two top trends in hairstyling.
The big barrel curling iron is not just for making waves; it’s a versatile tool for various looks. By staying updated with these trends, you can keep your hairstyle fresh and exciting.
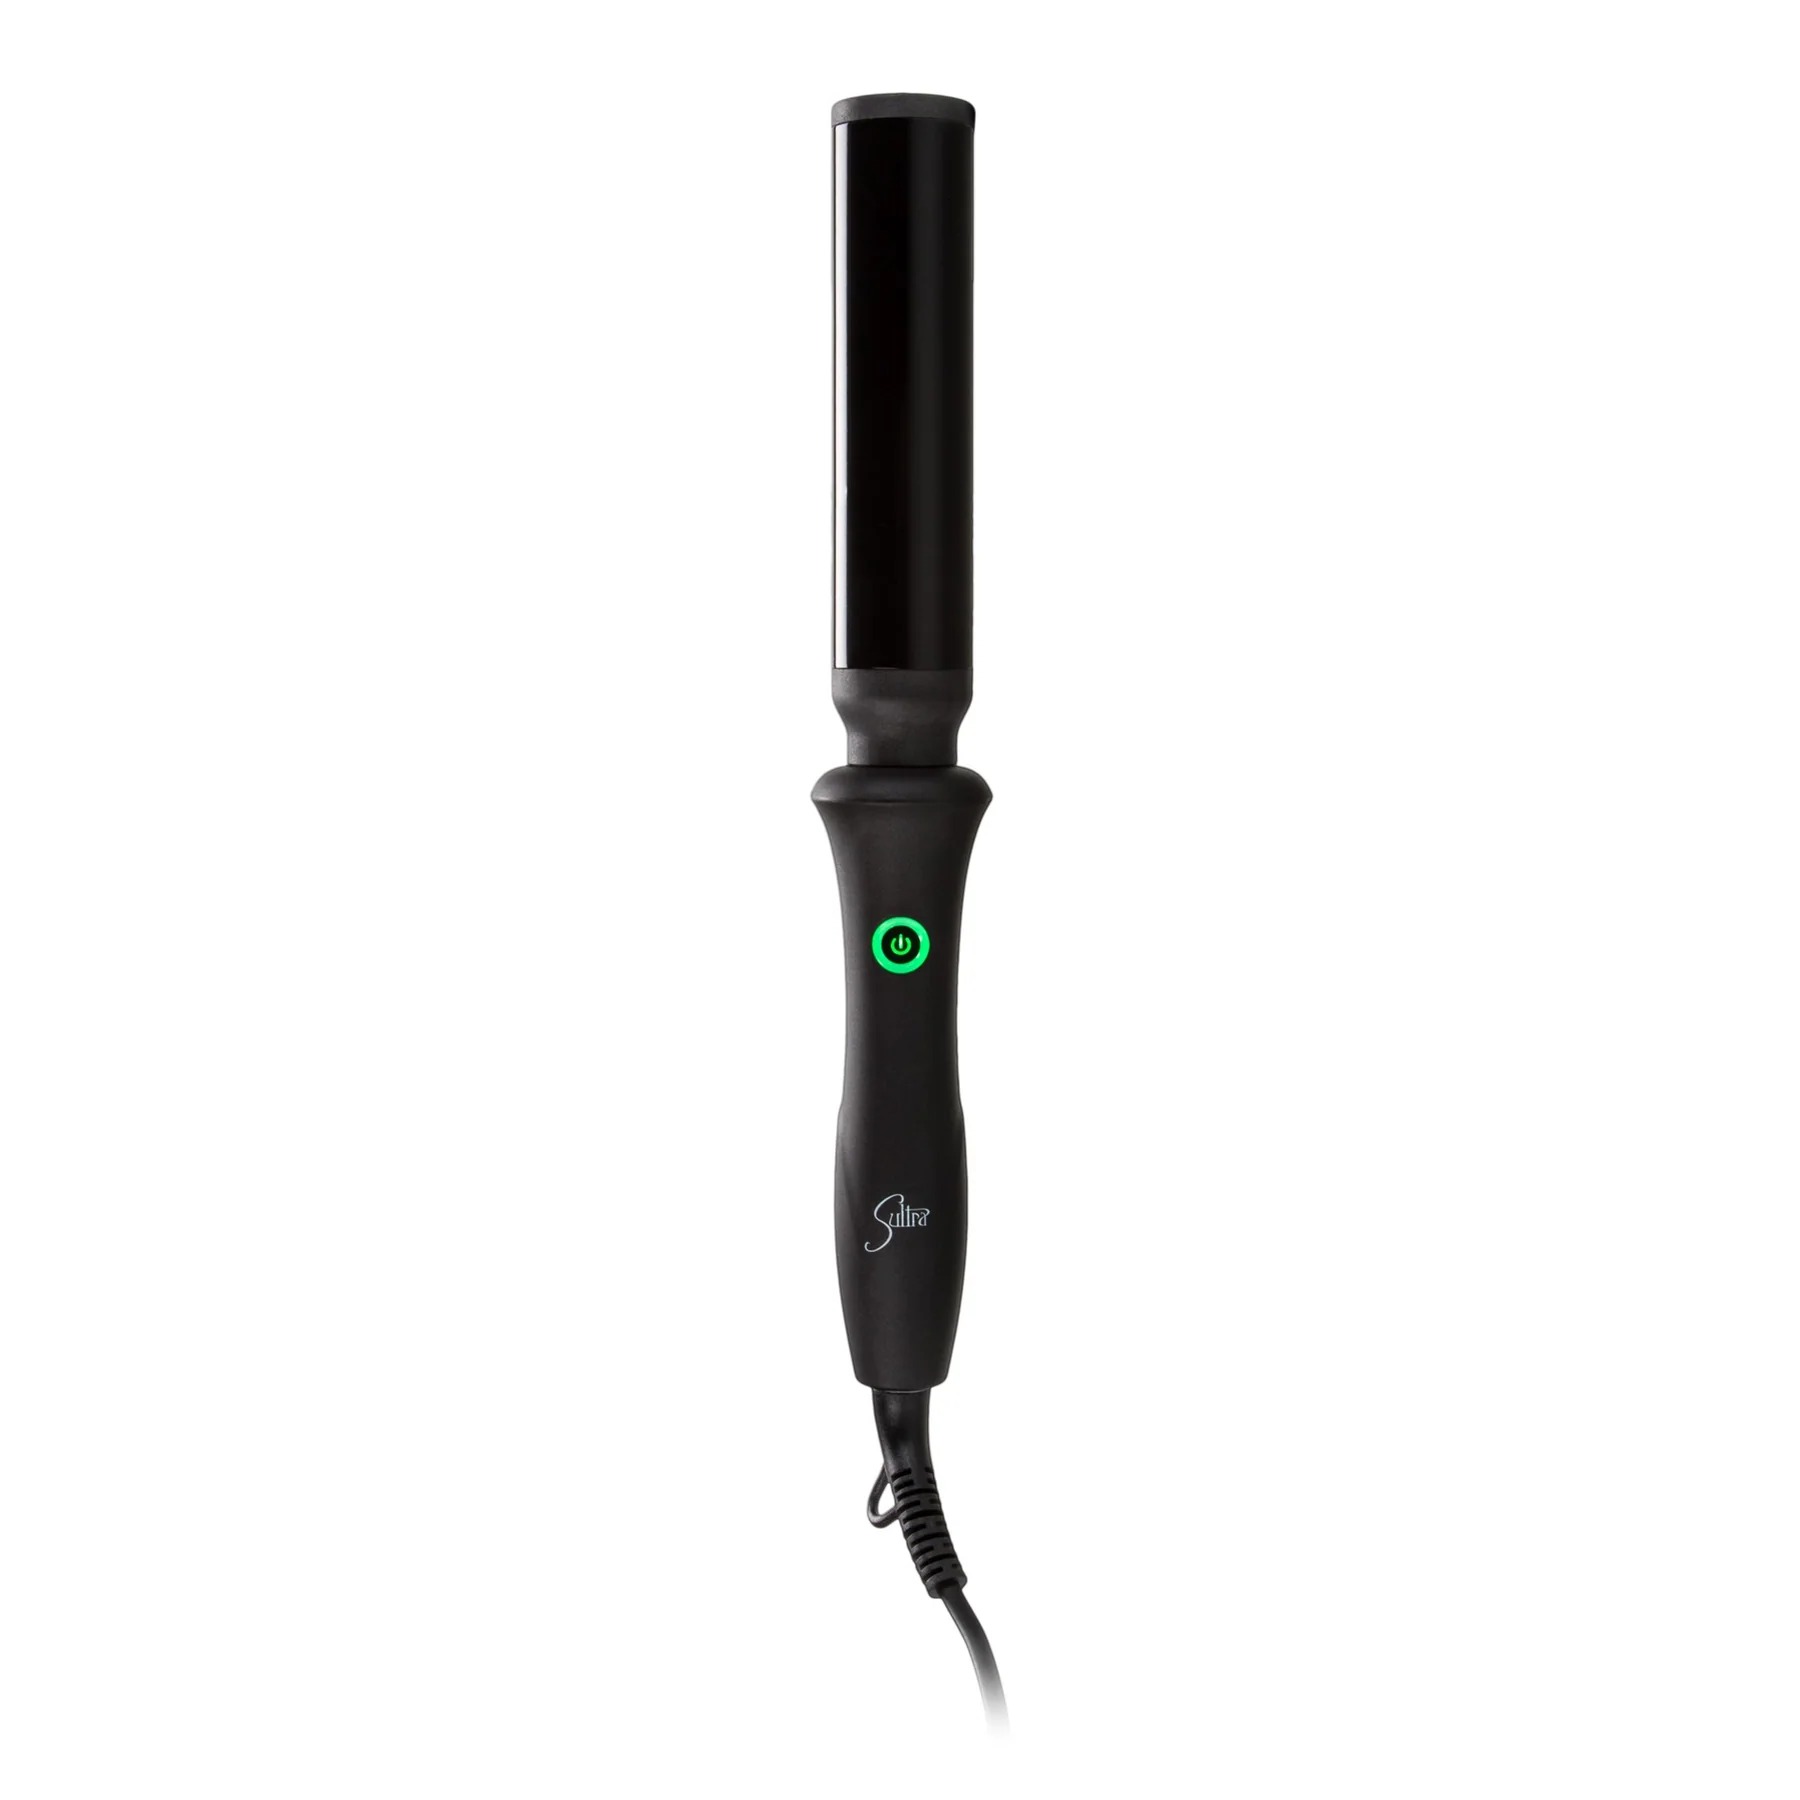
How to Choose the Right Big Barrel Curling Iron for Your Hair Type
Selecting the perfect big barrel curling iron for your hair involves several considerations. First and foremost, assess your hair type. Here are simplified guidelines:
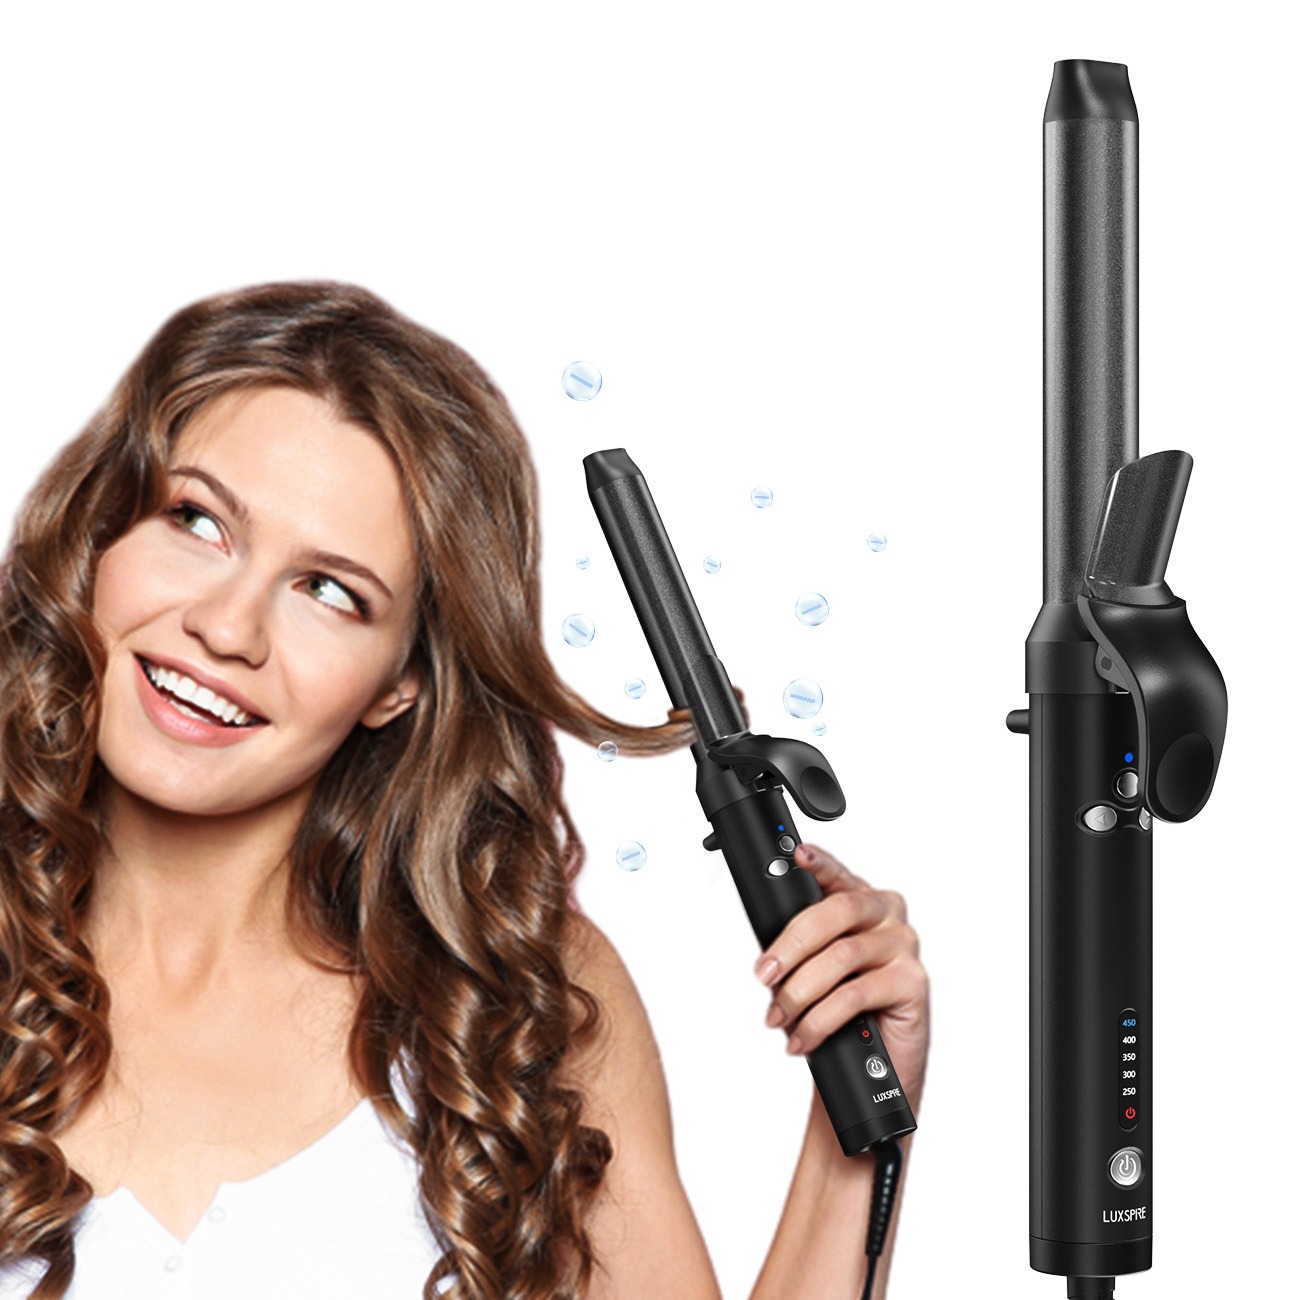
- For Fine Hair: Choose a curling iron with adjustable heat settings. Low temperatures can prevent damage.
- For Thick Hair: Look for high heat capacity. Thick hair often needs more heat to form lasting curls.
- For Long Hair: Opt for a curling iron with a longer barrel. It will curl more hair in one go.
- For Short Hair: While big barrels are for loose waves, ensure the barrel isn’t too large. Waves should still form.
Examine the material of the barrel. Ceramic barrels distribute heat evenly, reducing hot spots. Ionic technology can also prevent frizz, making it ideal for frizzy or static-prone hair.