Home Appliance
Revolutionary Hair Design with Hair Dryer Brush Straightener

The Evolution of Hair Styling Tools

In the quest for the perfect look, hair dryer brush straightener have come a long way. From the ancient combs crafted from bone to the high-tech devices of today, each era brought its own innovations. Traditional hot combs gave way to electric straighteners. Then blow dryers emerged, offering a new way to dry and style in one go.

hair dryer brush straightener

Key Features of Dryer Brush Straighteners

When picking the right hair dryer brush straightener, understanding its key features is crucial. These features not only contribute to the effectiveness of the device but also to the health and appearance of your hair.
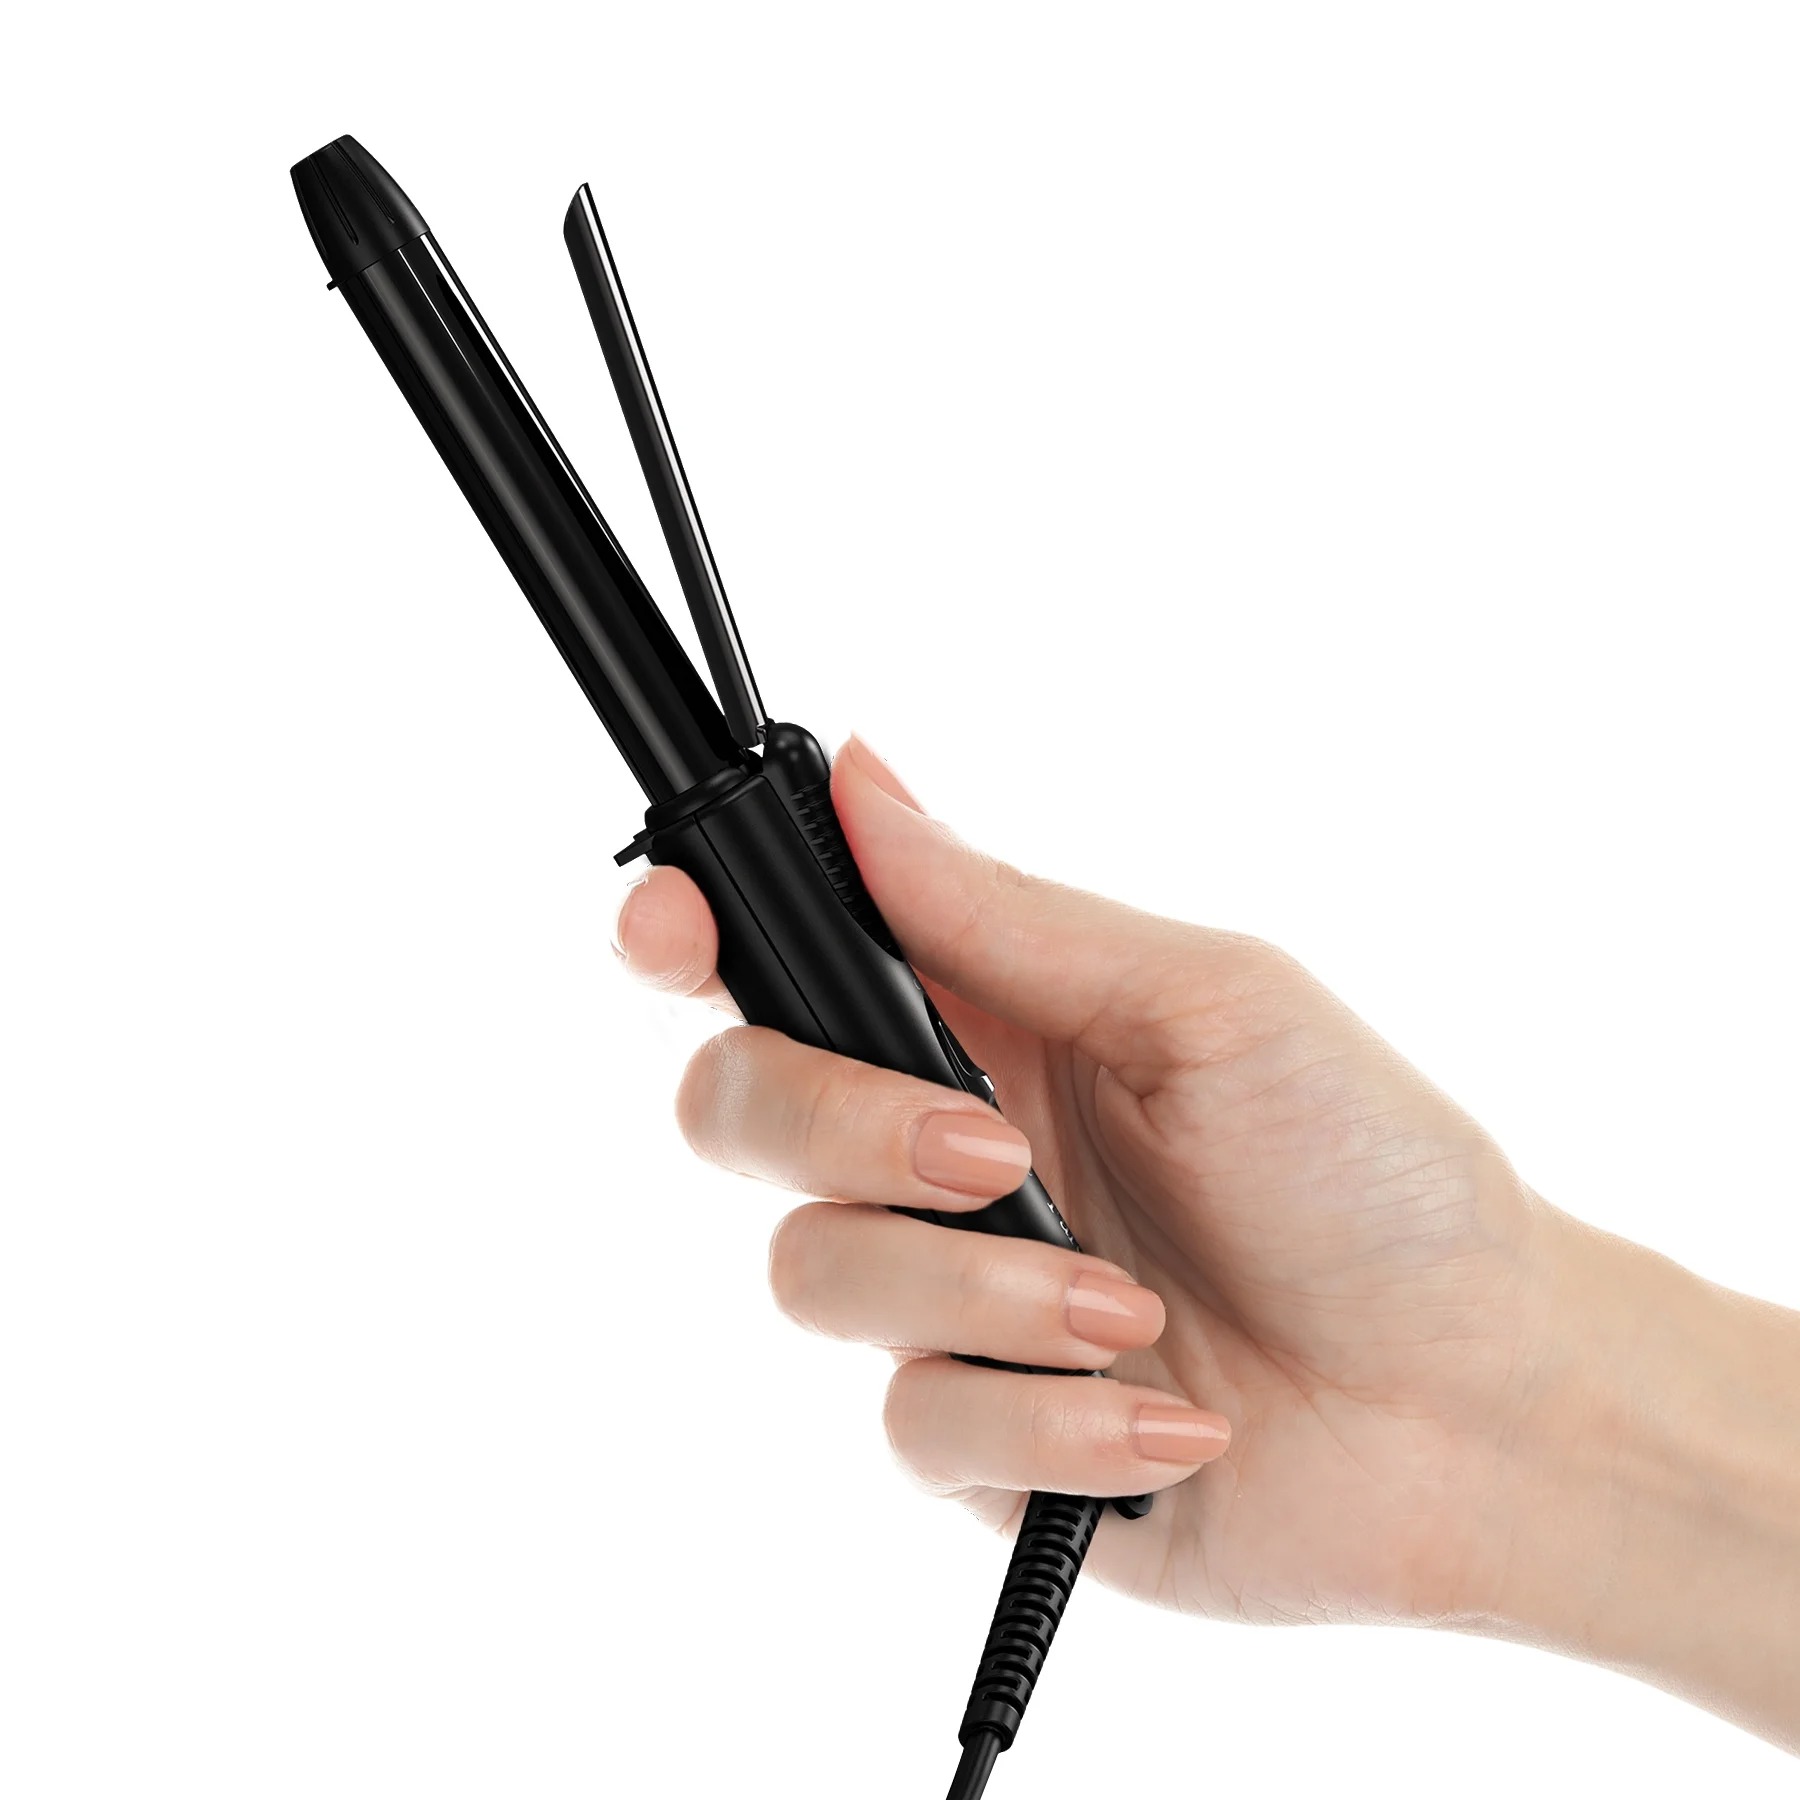
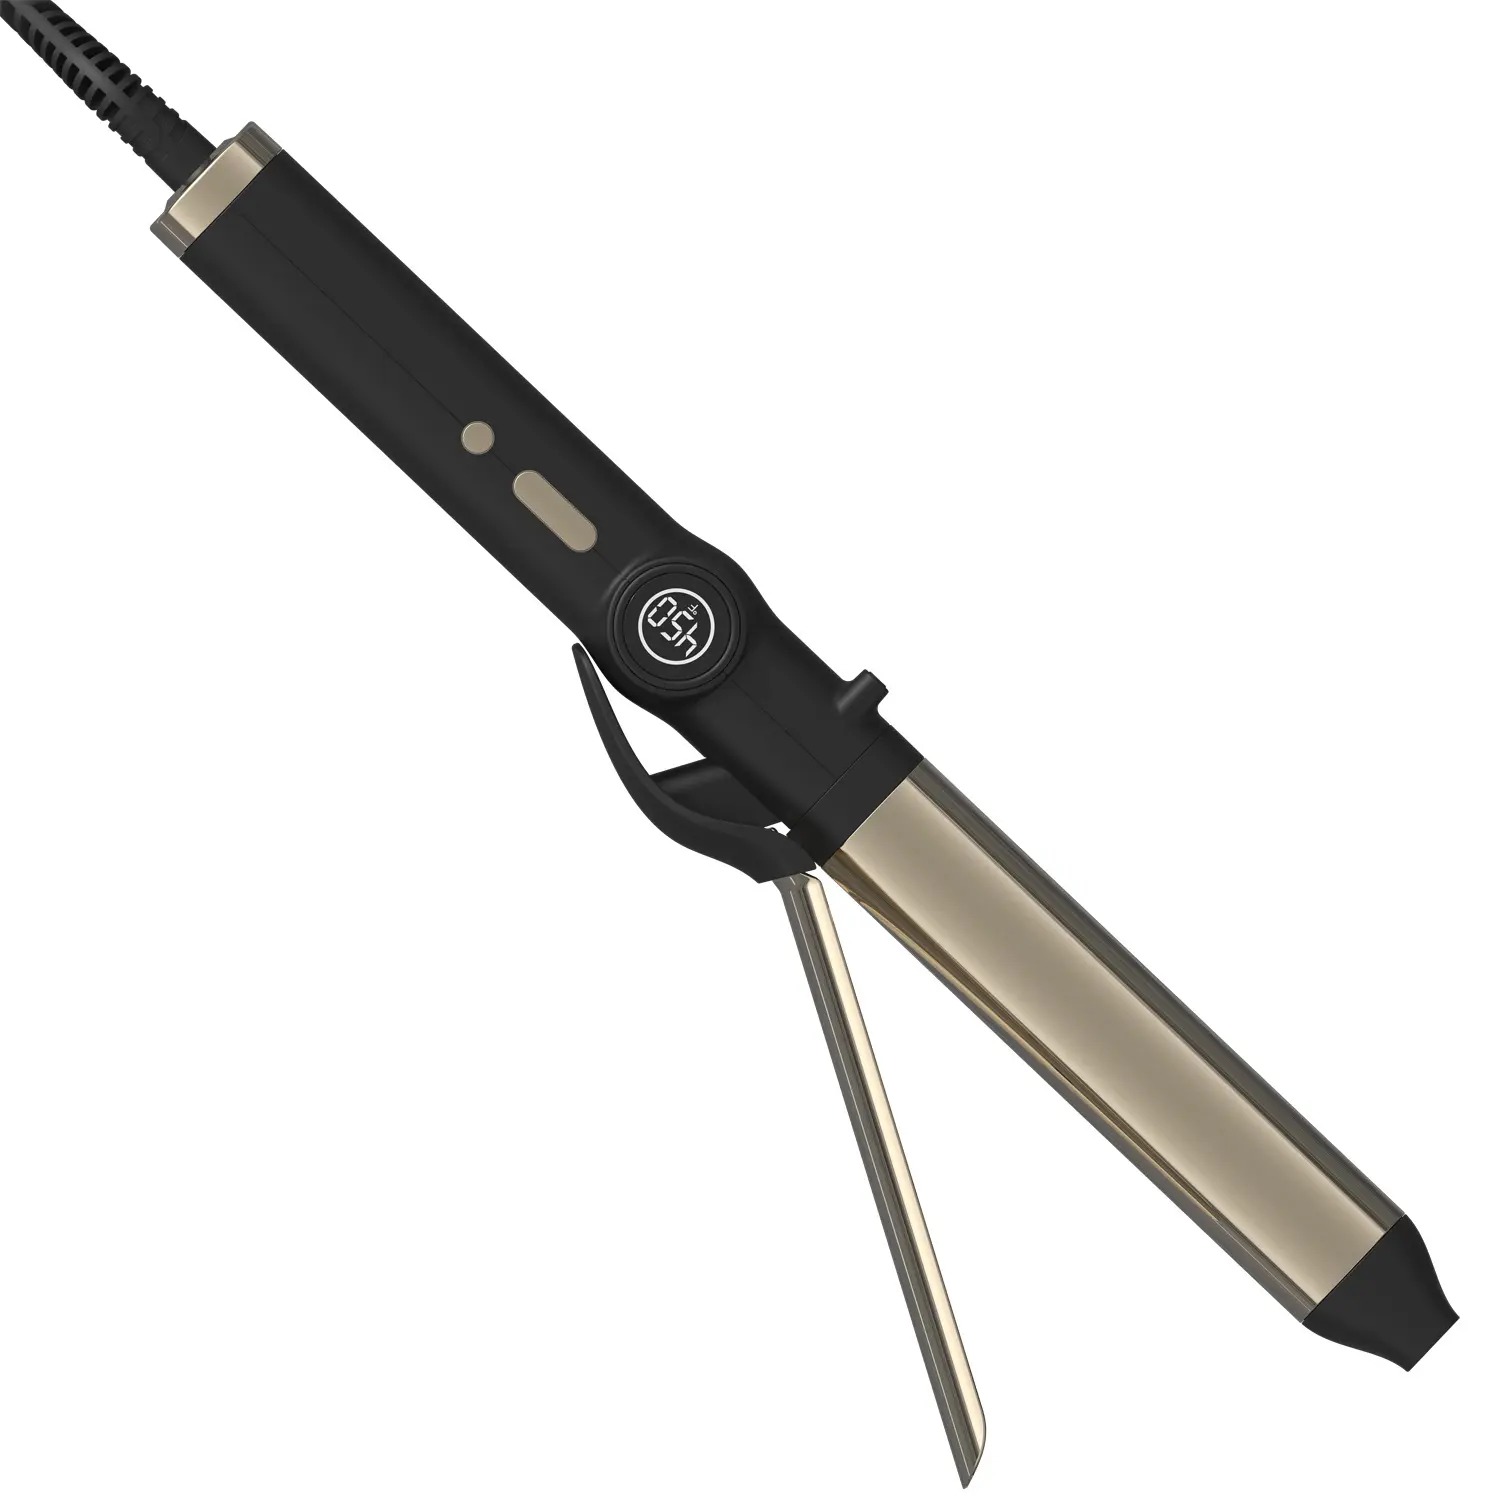
Ergonomic Design

An ergonomic design ensures comfort during use. Many models feature a lightweight build. They come with handles that fit well in your hand. This reduces the strain on your wrists during styling.

Adjustable Heat Settings

Heat control is vital for hair health. The best dryer brush straighteners come with multiple settings. This allows you to find the right temperature for your hair type. Lower heat for fine hair and higher heat for thick or coarse hair are essential choices.

Ionic Technology

Many of these tools now include ionic technology. This feature emits negative ions. They help reduce frizz by neutralizing the hair’s positive charge. As a result, hair looks smoother and shinier after styling.
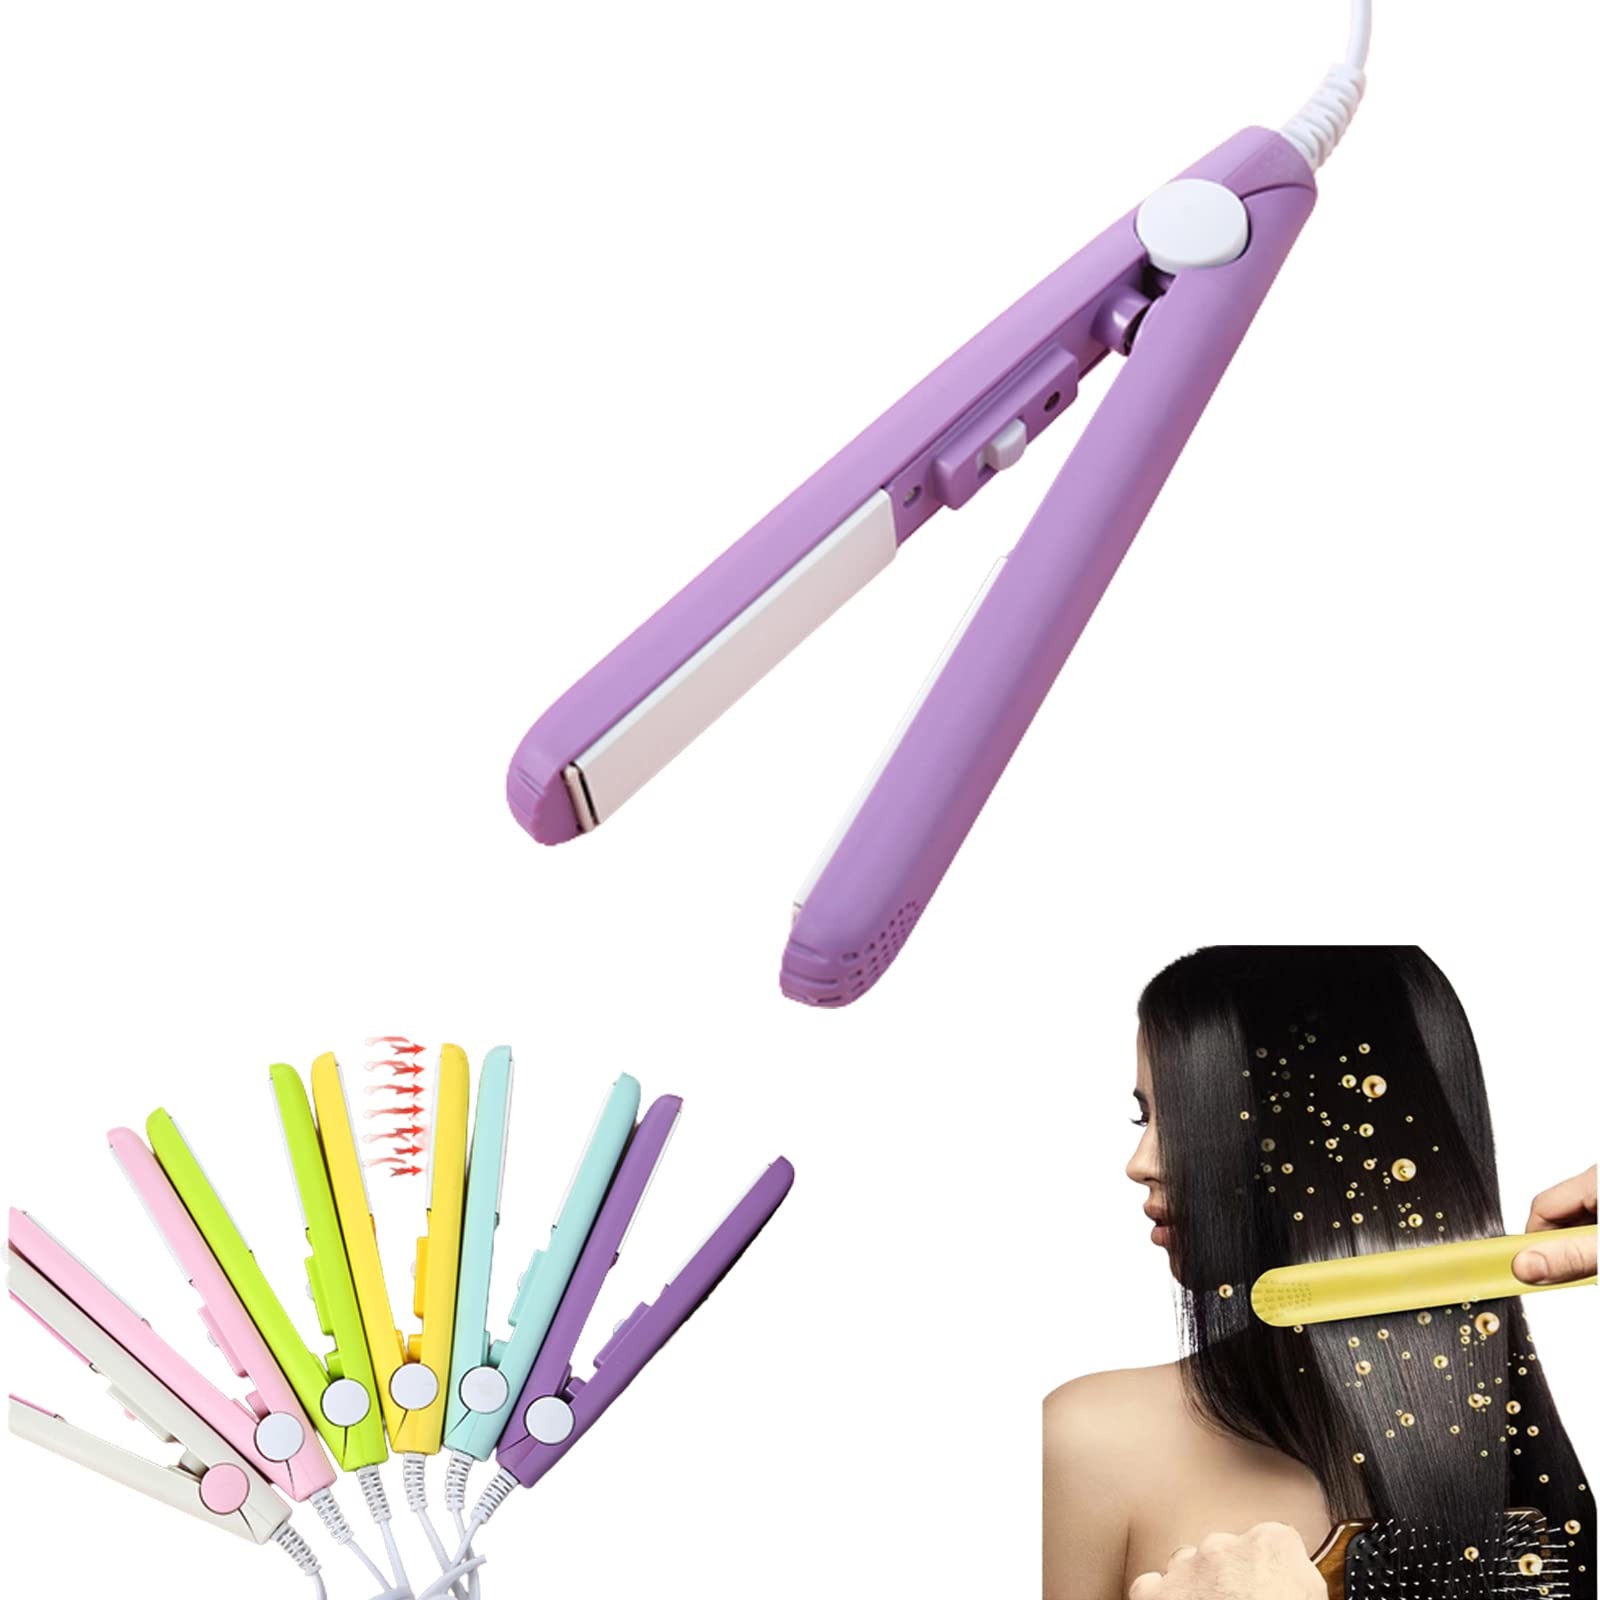
Ceramic Coating

Ceramic coatings provide even heat distribution. They prevent hot spots that can burn hair. These coatings also help to reduce heat damage over time.

Detangling Bristles

With these features in mind, the hair dryer brush straightener stands out as a modern marvel in home styling. It caters to various needs and comfort, which is what makes it a favorite among users looking for salon-quality results in the comfort of their homes.

How to Choose the Right Dryer Brush Straightener

Choosing the right hair dryer brush straightener can be daunting. But knowing what to look for can simplify the process. Here are the key factors you should consider:

Consider Your Hair Type

Your hair type is vital when selecting a straightener. Thin, fine hair needs lower heat settings. Coarse, thick hair may need higher heat. Look for a straightener that offers adjustable heat settings.

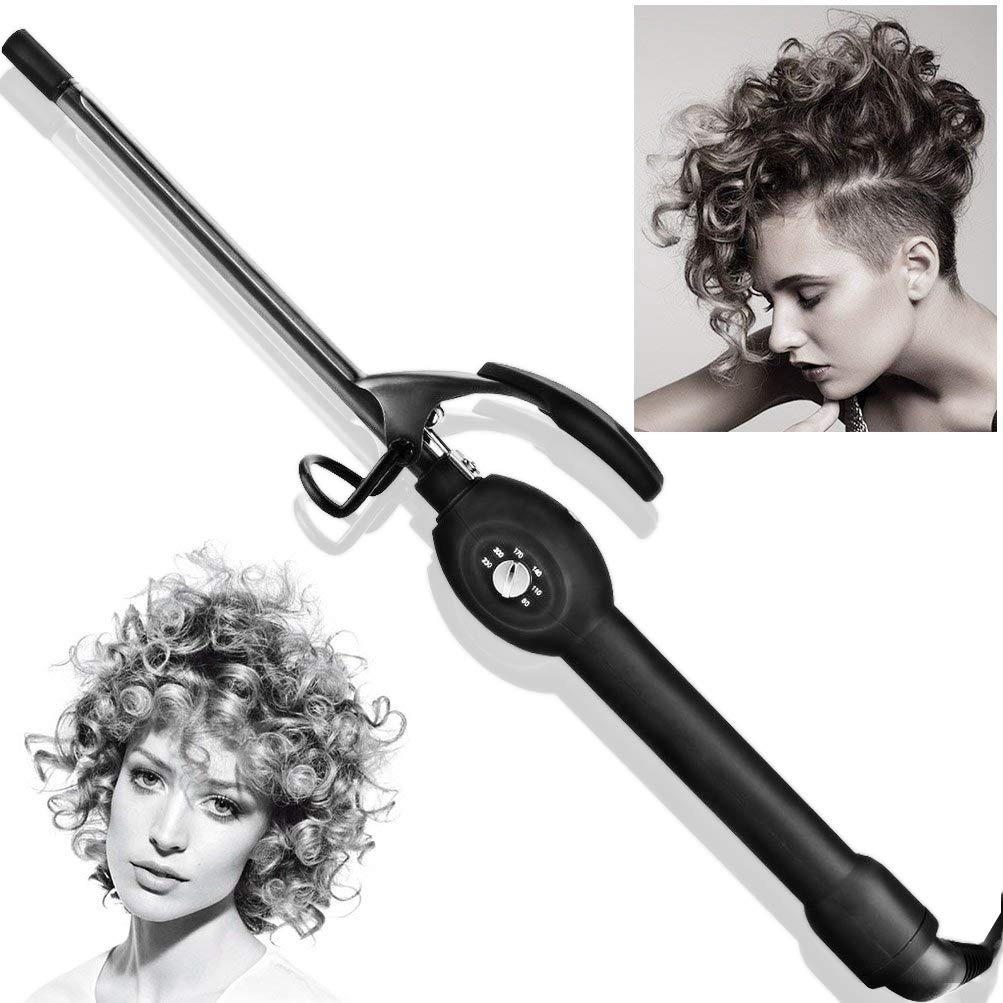
Check the Brush Size

The size of the brush impacts usability. Smaller brushes are better for short hair or getting close to the roots. Larger brushes work well on long, thick hair. Match the brush size to your hair length and volume.

Review the Bristle Type

The type of bristles can make a difference. Look for bristles that glide easily through your hair. They should detangle without pulling or breaking strands. Some straighteners have a mix of bristle types for better control.

Assess the Weight

A lightweight design is less tiring to hold. It makes the styling process more comfortable. Test the weight before buying if you can. This will help you feel if it’s good for longer use.

hair dryer brush straightener

Step-by-Step Guide to Using a Dryer Brush Straightener

Achieving smooth, styled hair with a hair dryer brush straightener is easy if you follow these steps:

Start with Damp Hair

Begin with hair that’s damp, not soaking wet. Towel-dry your hair gently after washing.

Apply Heat Protectant

Before styling, always use a heat protectant. It shields your hair from heat damage.

Section Your Hair

Divide your hair into sections. Use clips to hold them. This ensures even styling.

Adjust the Heat Setting

Pick the right heat setting for your hair type. Lower for fine hair; higher for thick.

Begin at the Roots

Start drying from the roots. Hold the brush close to the roots for volume.

Glide Downward

Slowly move the brush down the hair length. Ensure the bristles pass through smoothly.
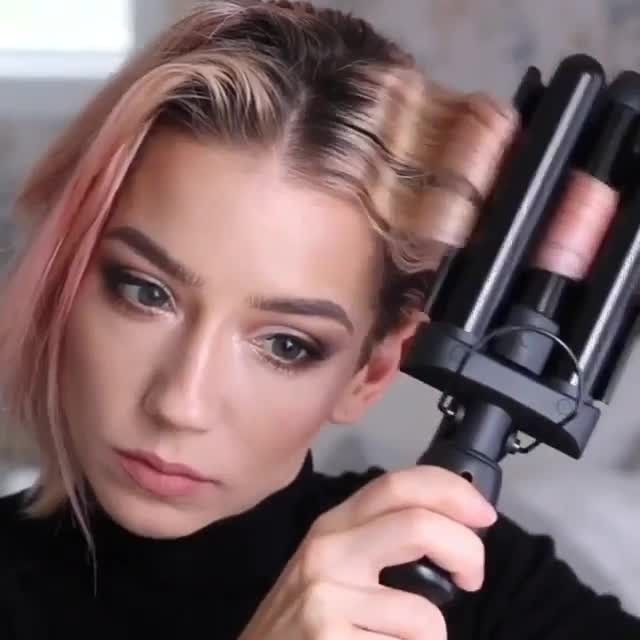
Roll the Ends

For a finished look, roll the ends inward or outward with the brush.

Top Dryer Brush Straighteners on the Market

With an understanding of what to look for in a hair dryer brush straightener, let’s review the top models currently making waves in the market. These devices are gaining praise for their performance, ease of use, and innovative features that cater to a wide range of hair types and styling needs.

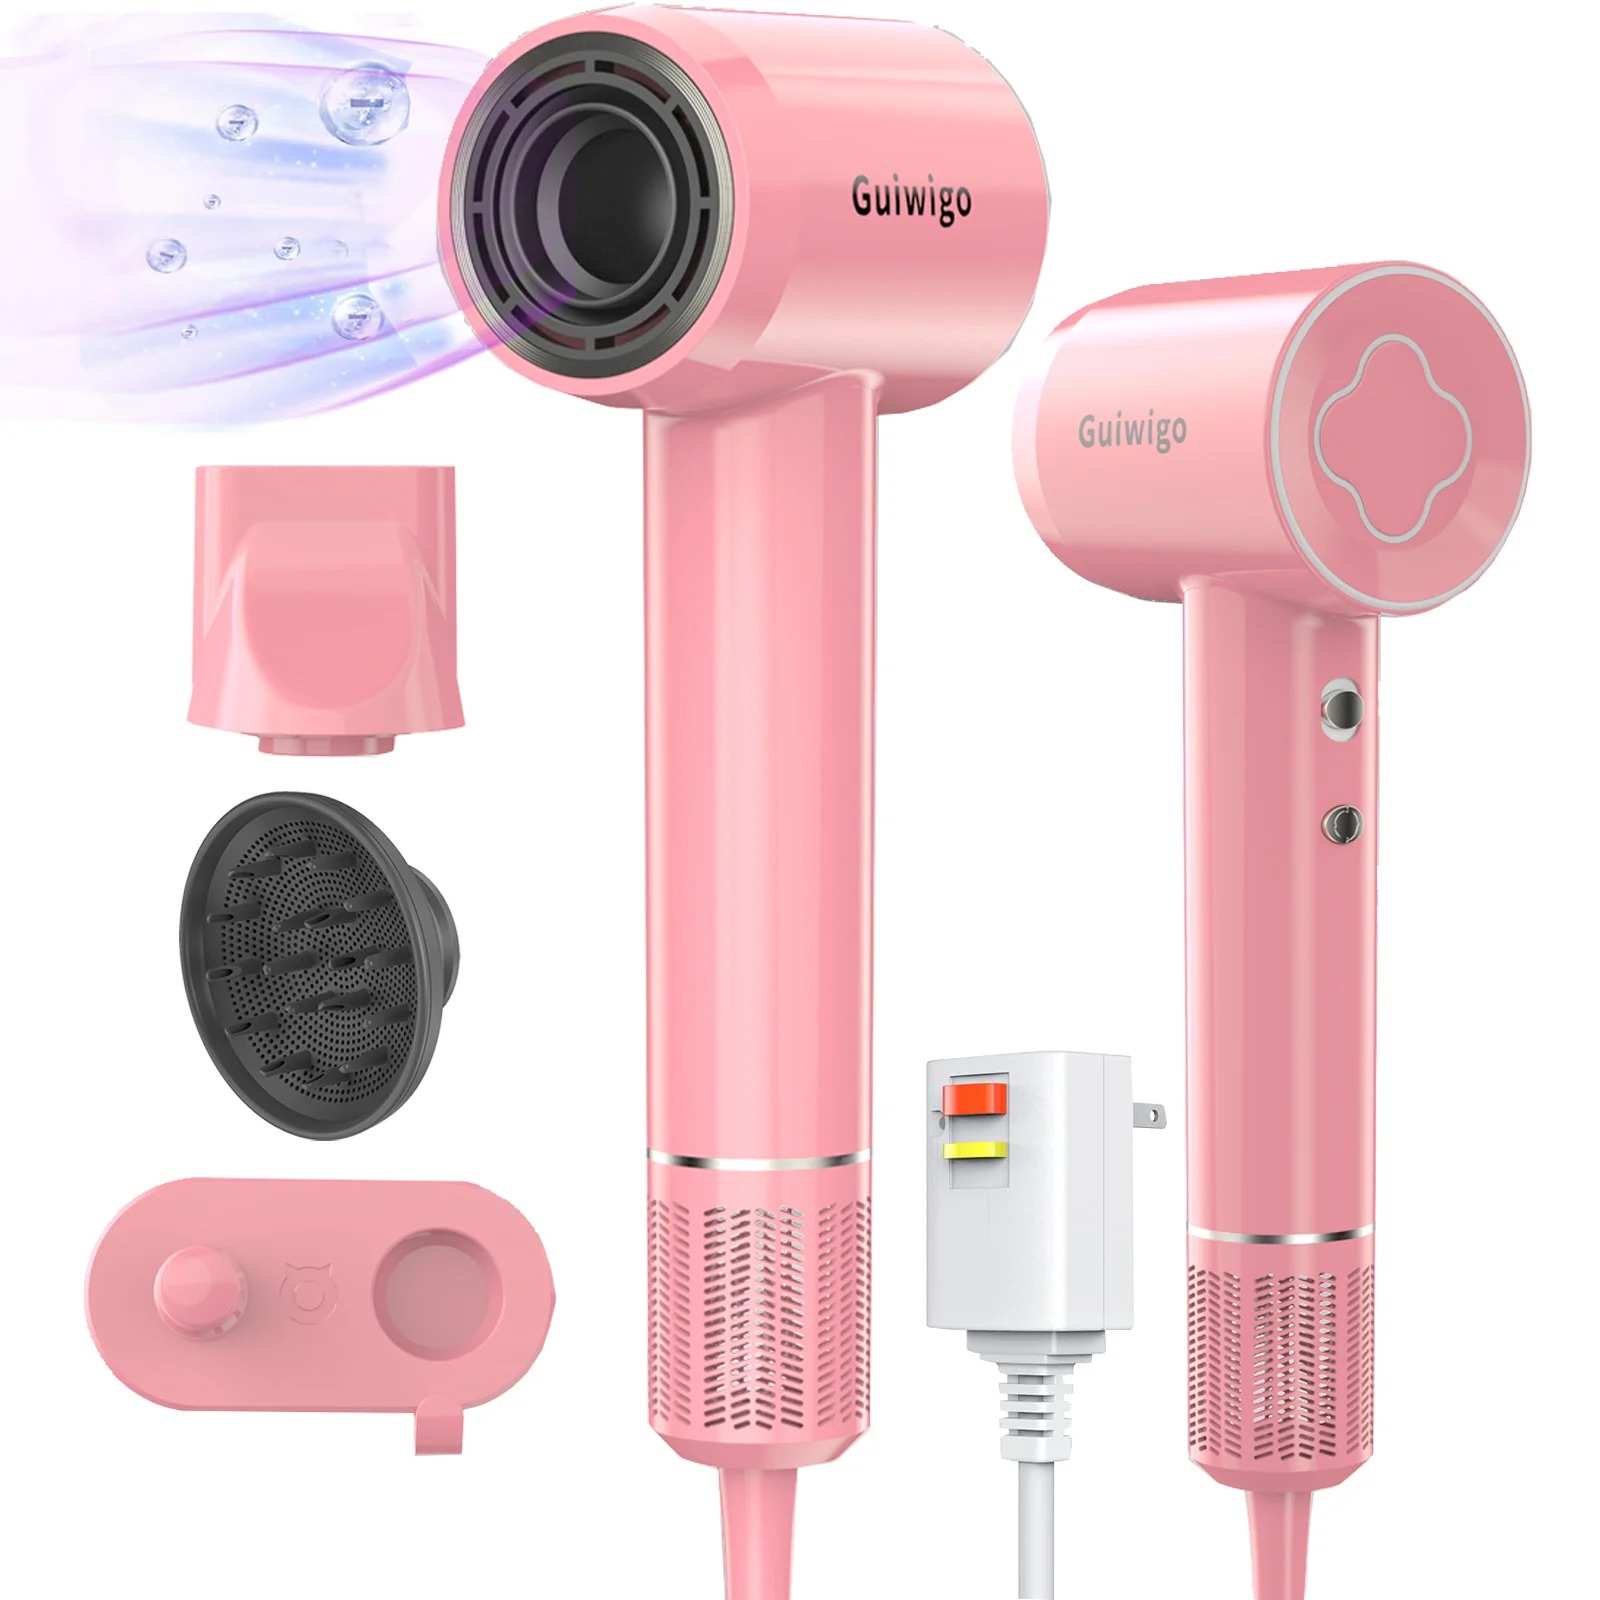
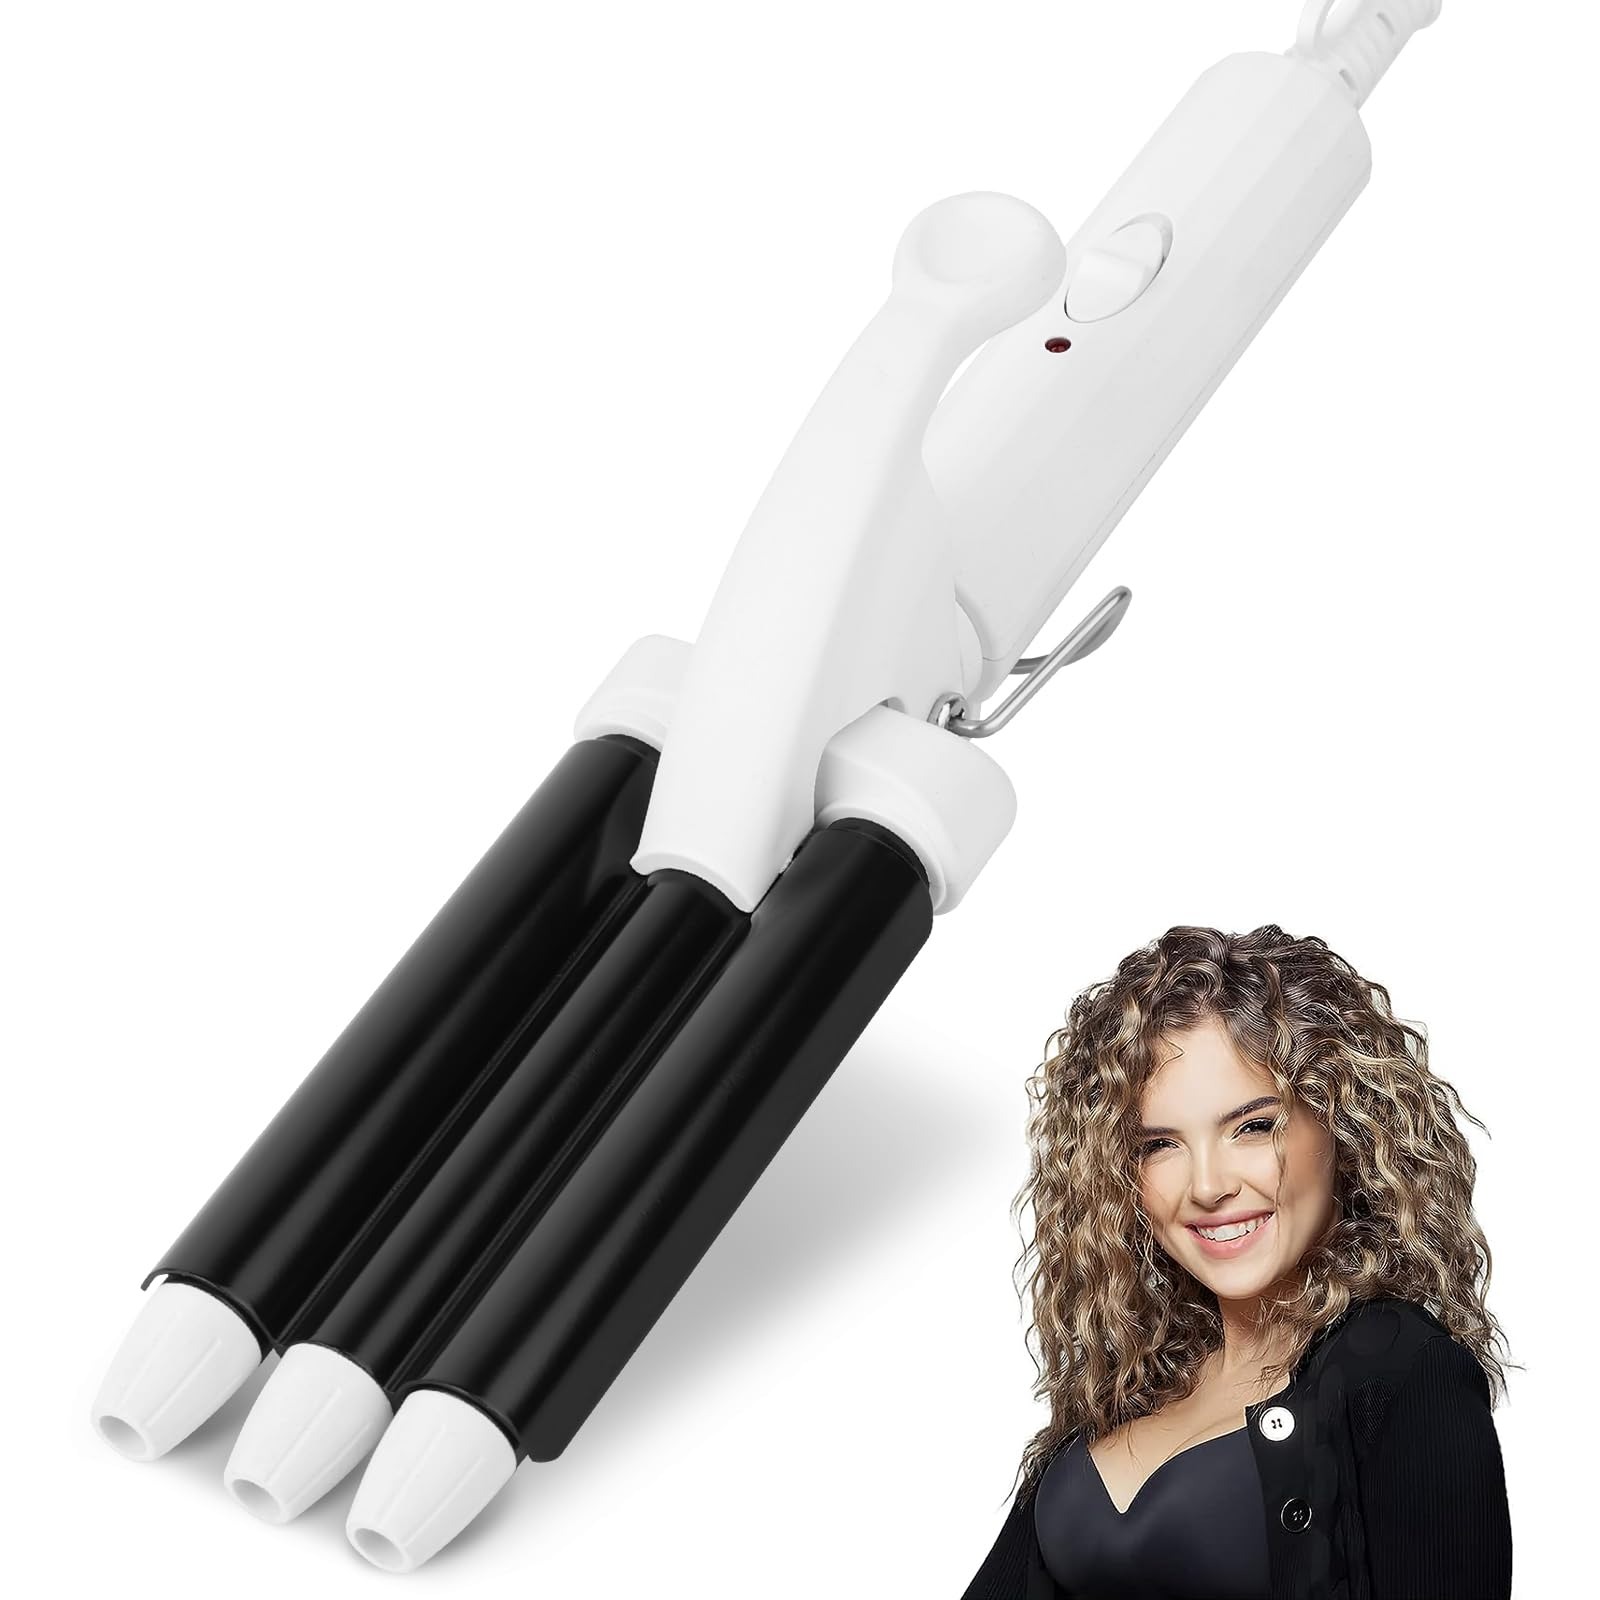
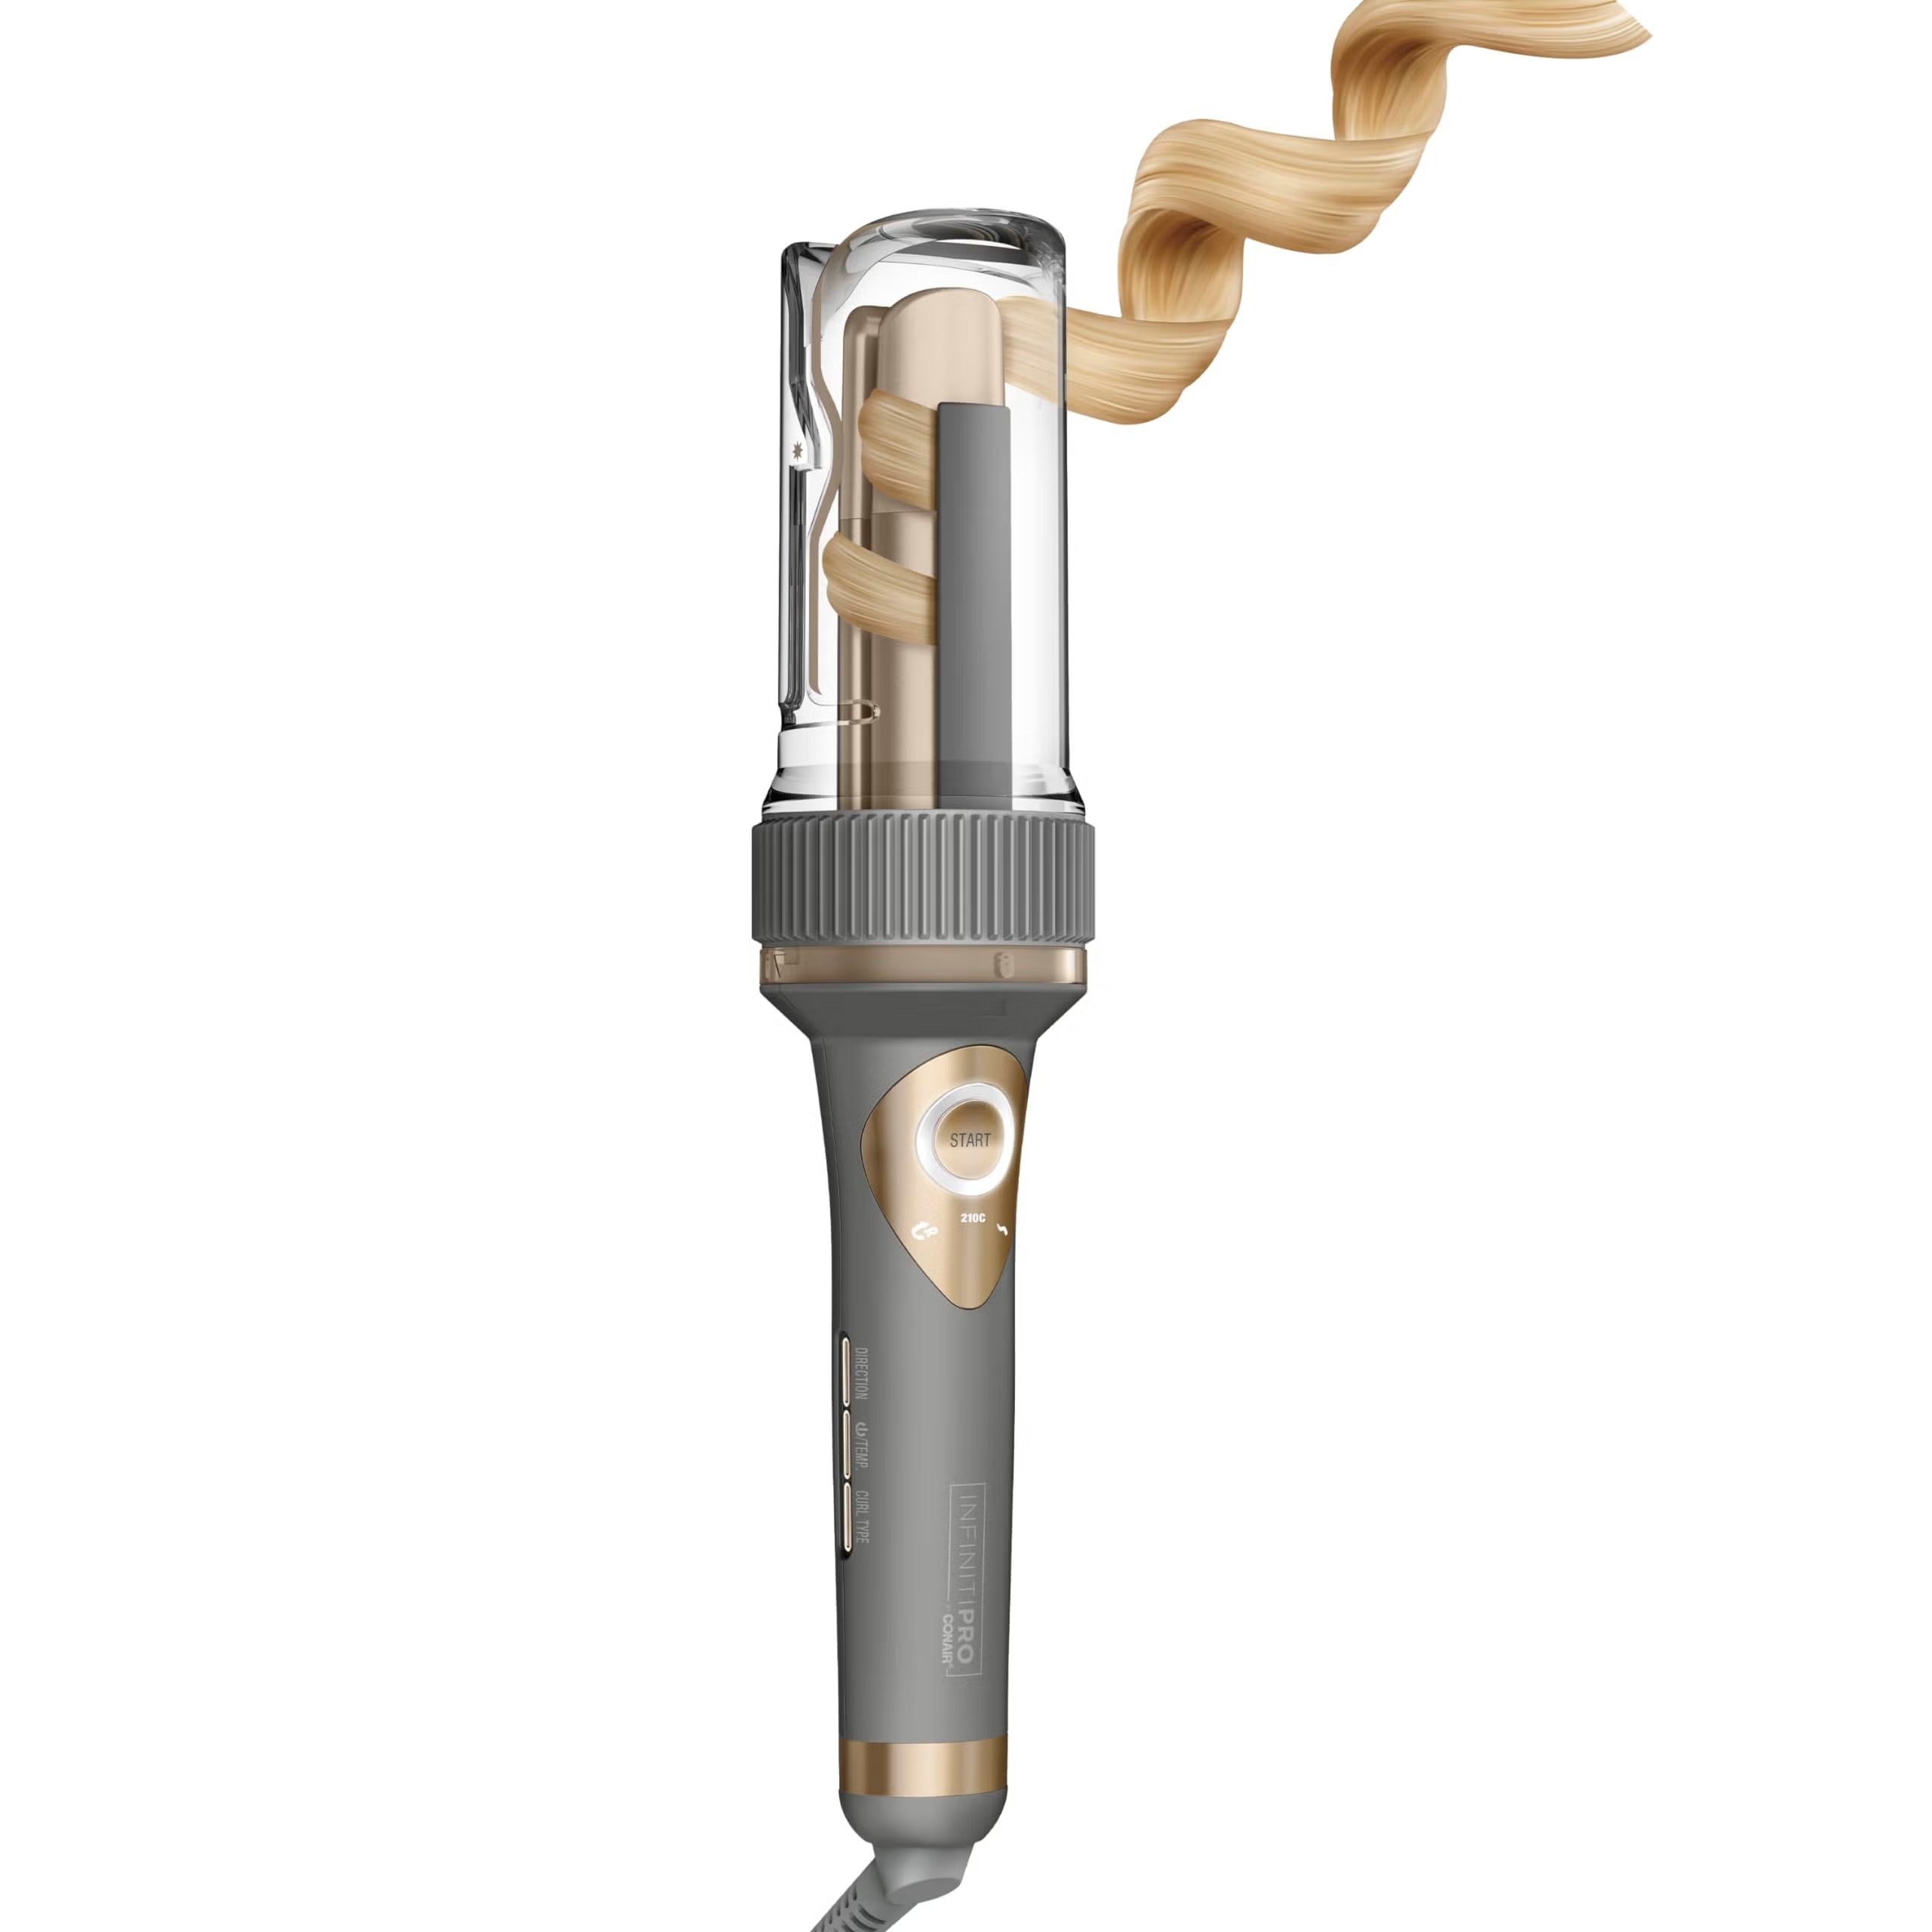
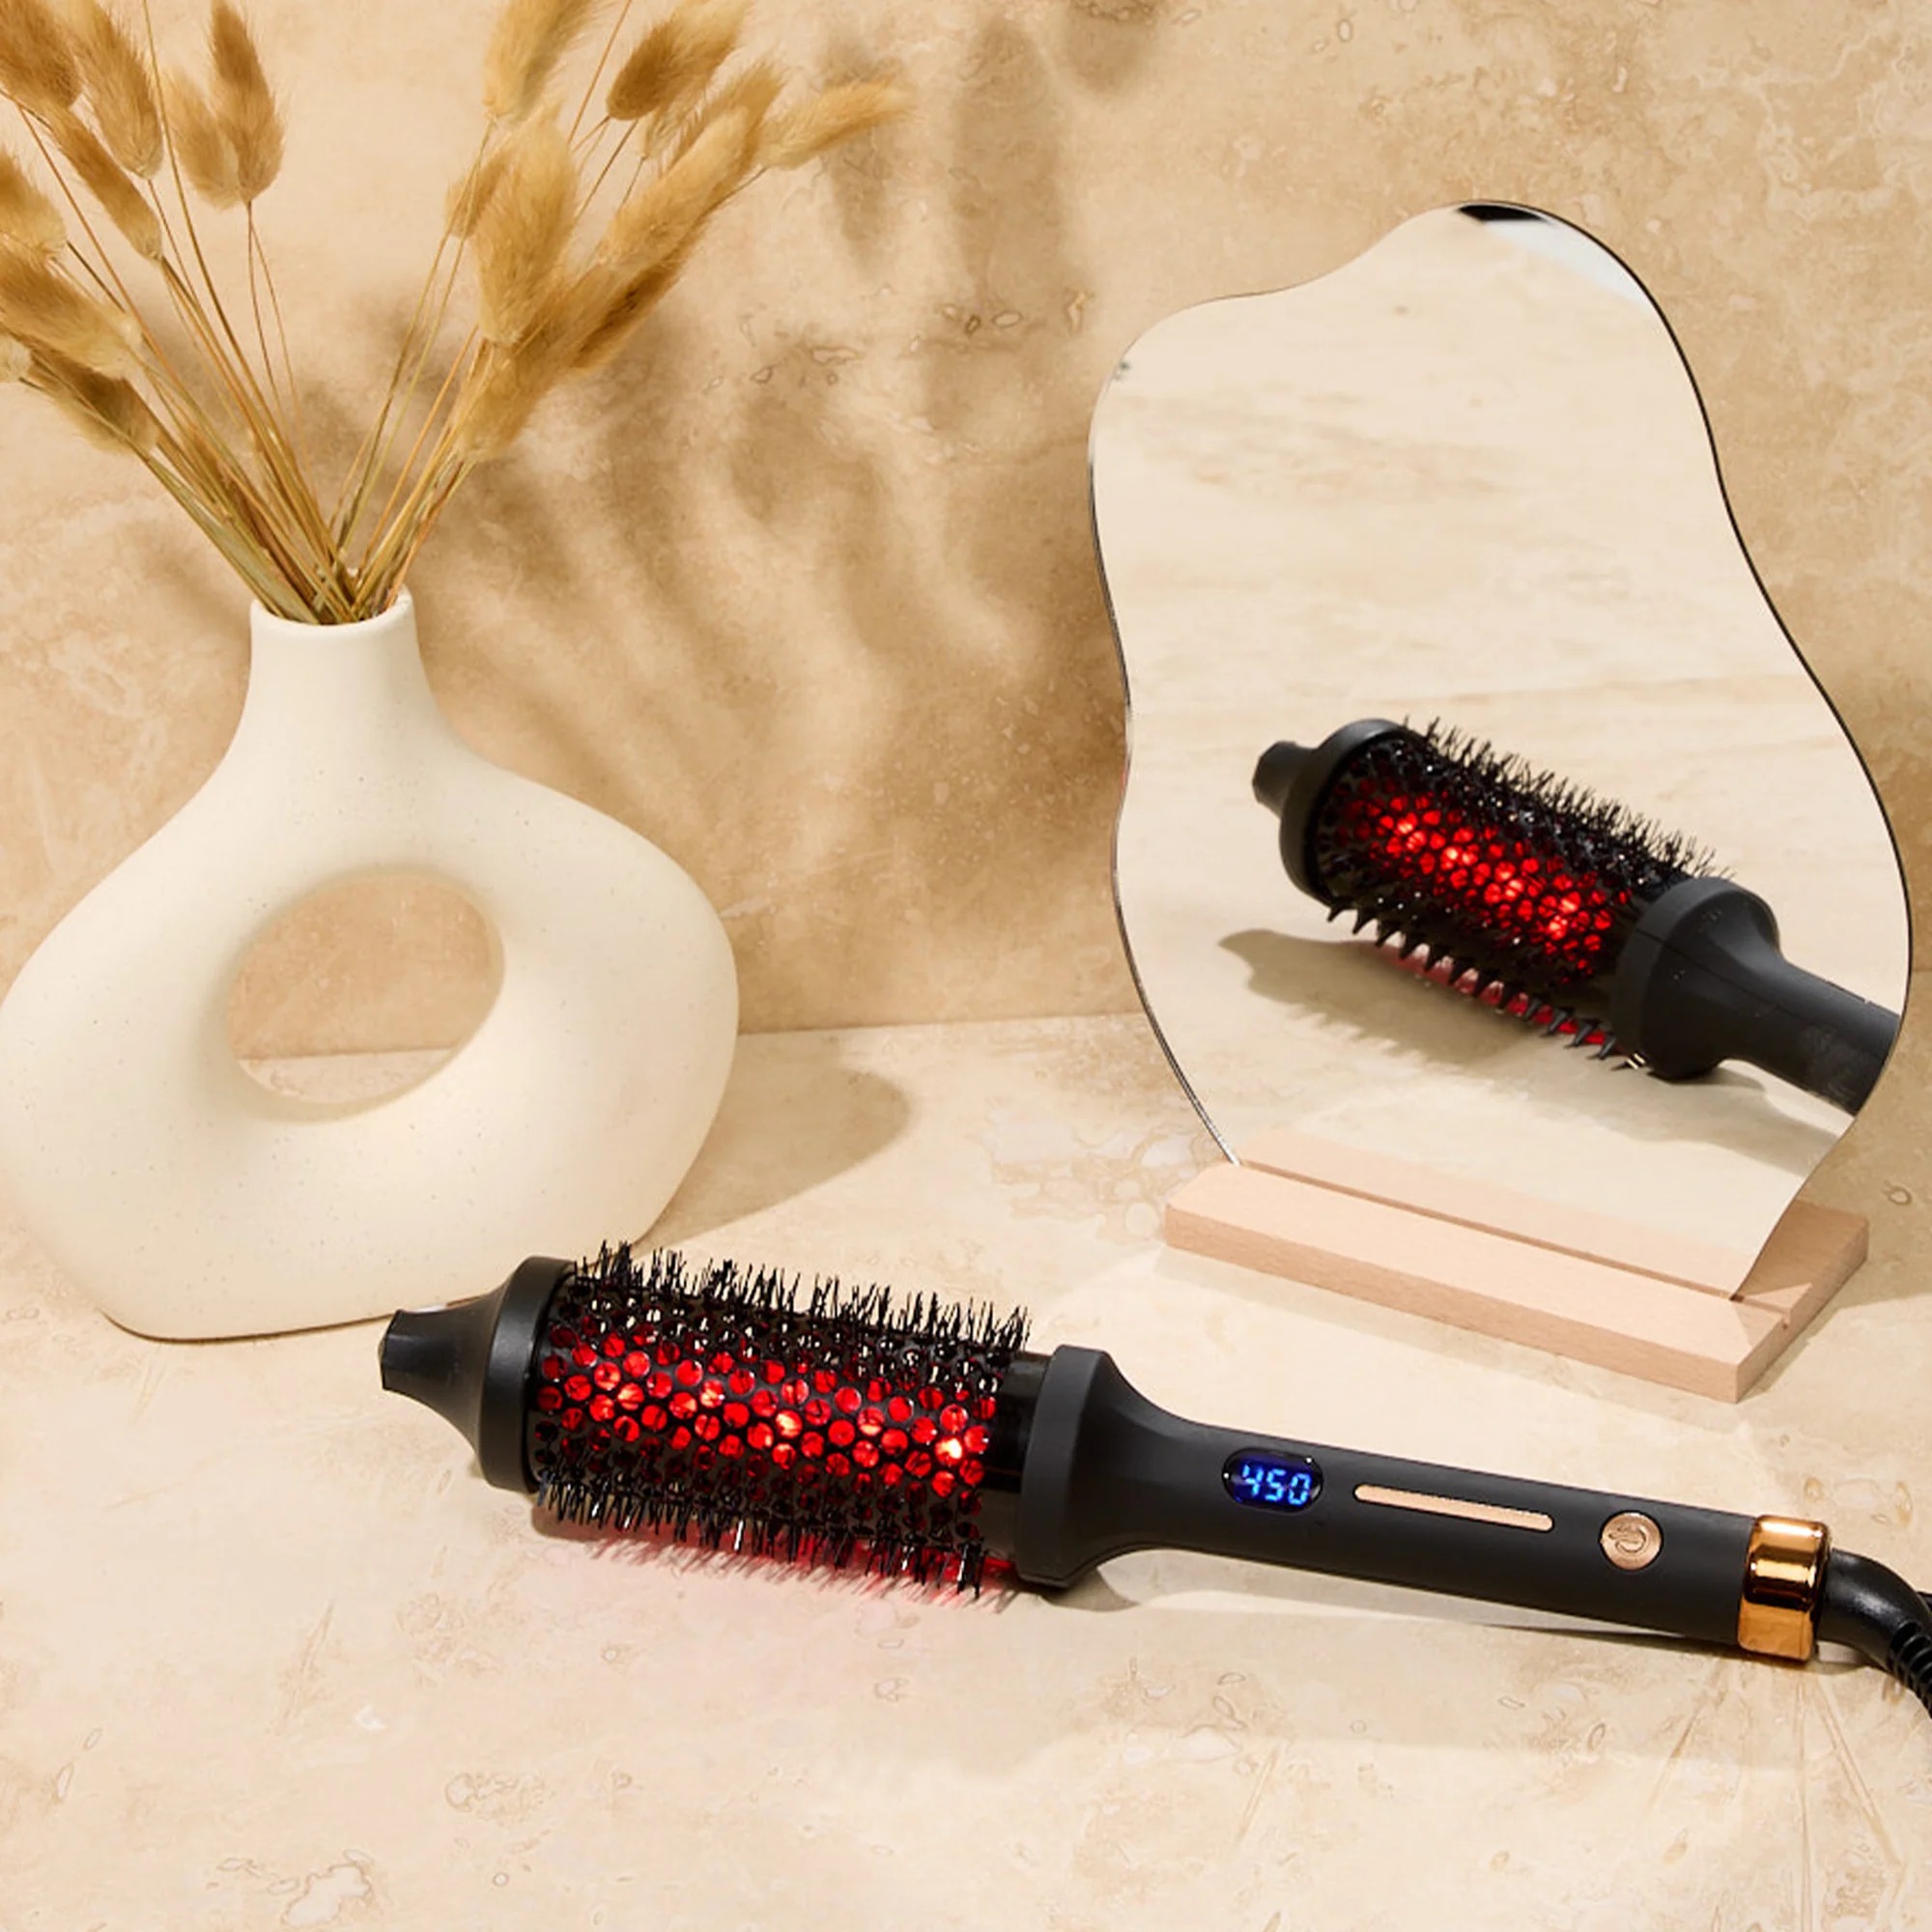
  • The All-in-One Wonder: This dryer brush straightener boasts a range of temperature settings, catering to delicate fine hair and robust thick locks alike. Its ionic technology ensures frizz-free results that shine.
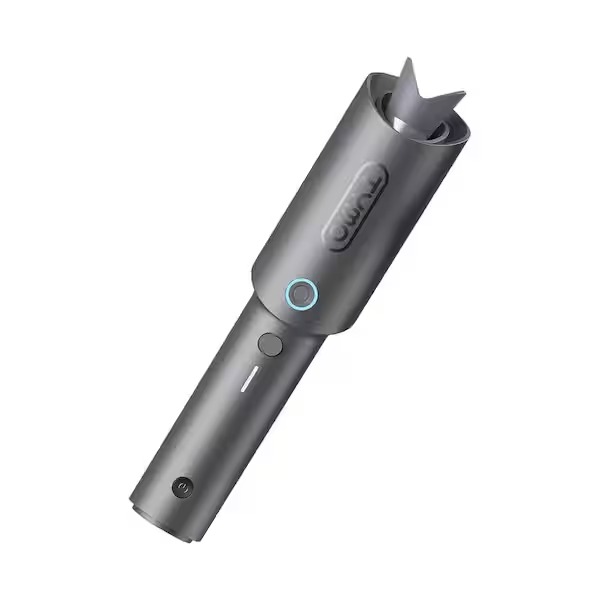
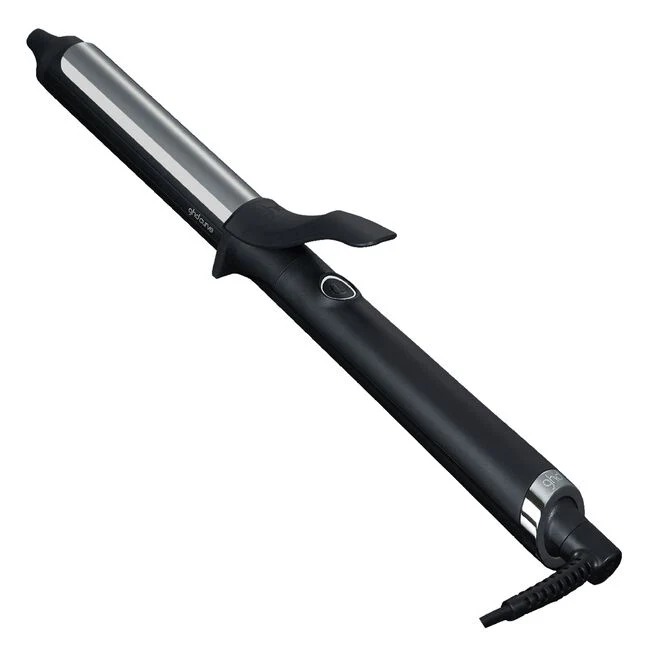
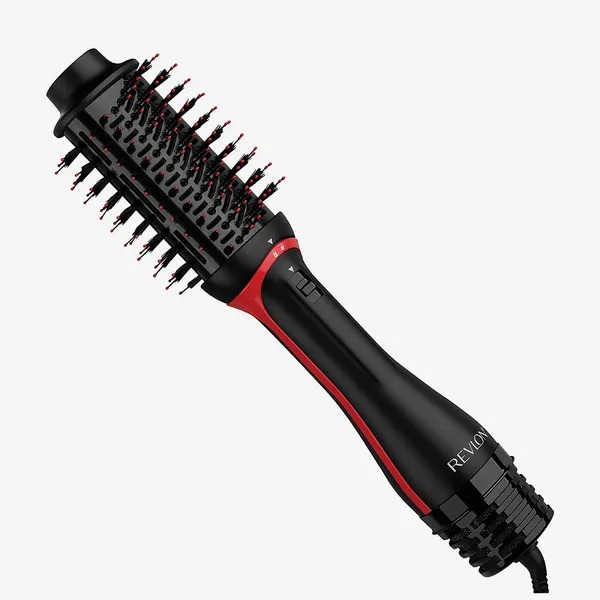
  • The Lightweight Champion: Users adore this model for its ergonomic design and incredibly light body, which makes styling a breeze even during lengthy sessions. The ceramic coating minimizes damage, and the adjustable heat settings give you control over styling.
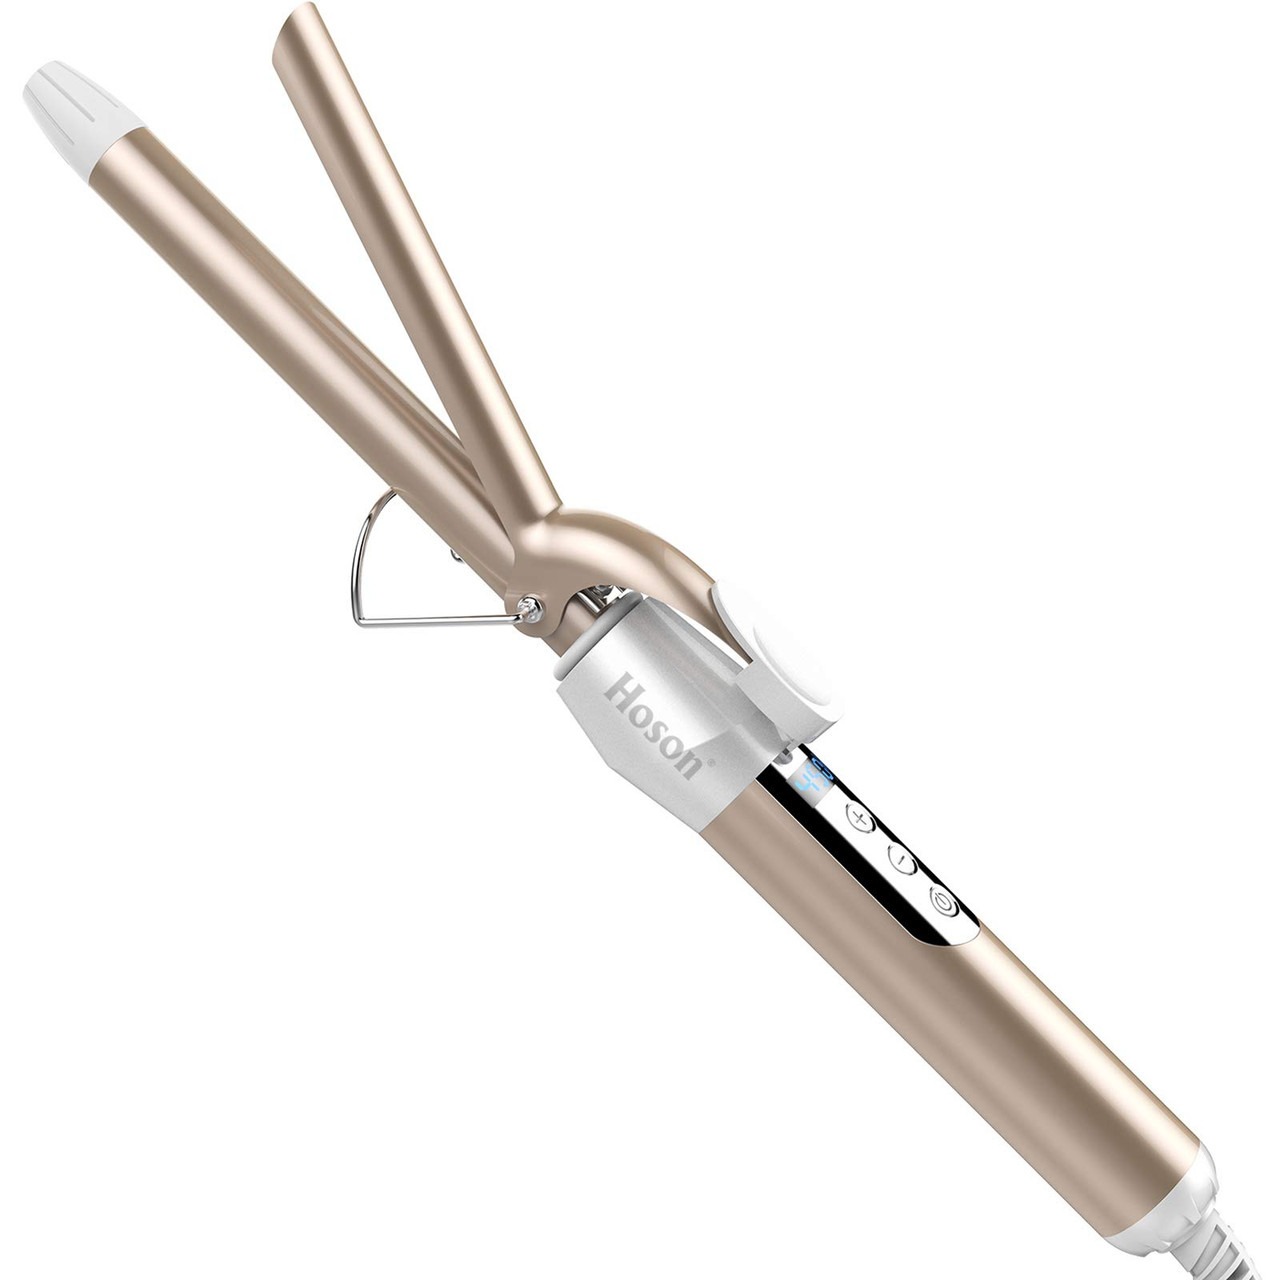
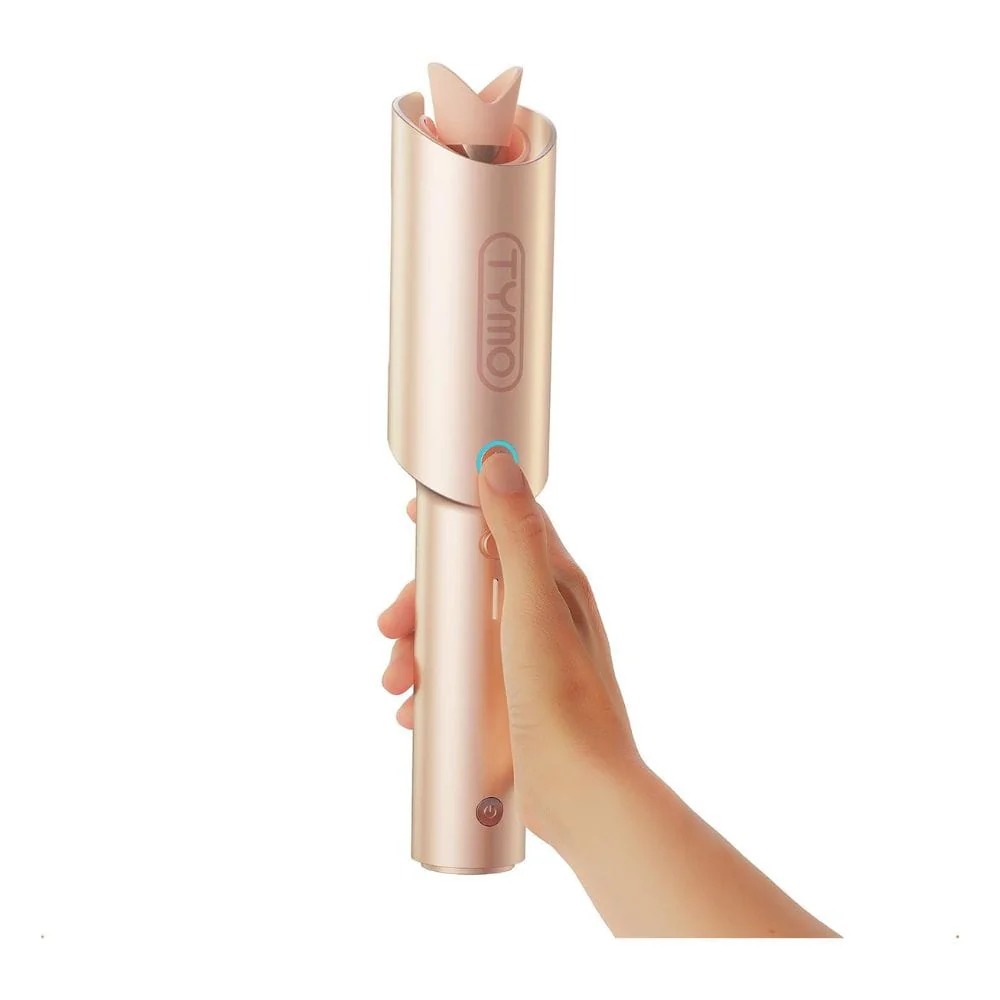
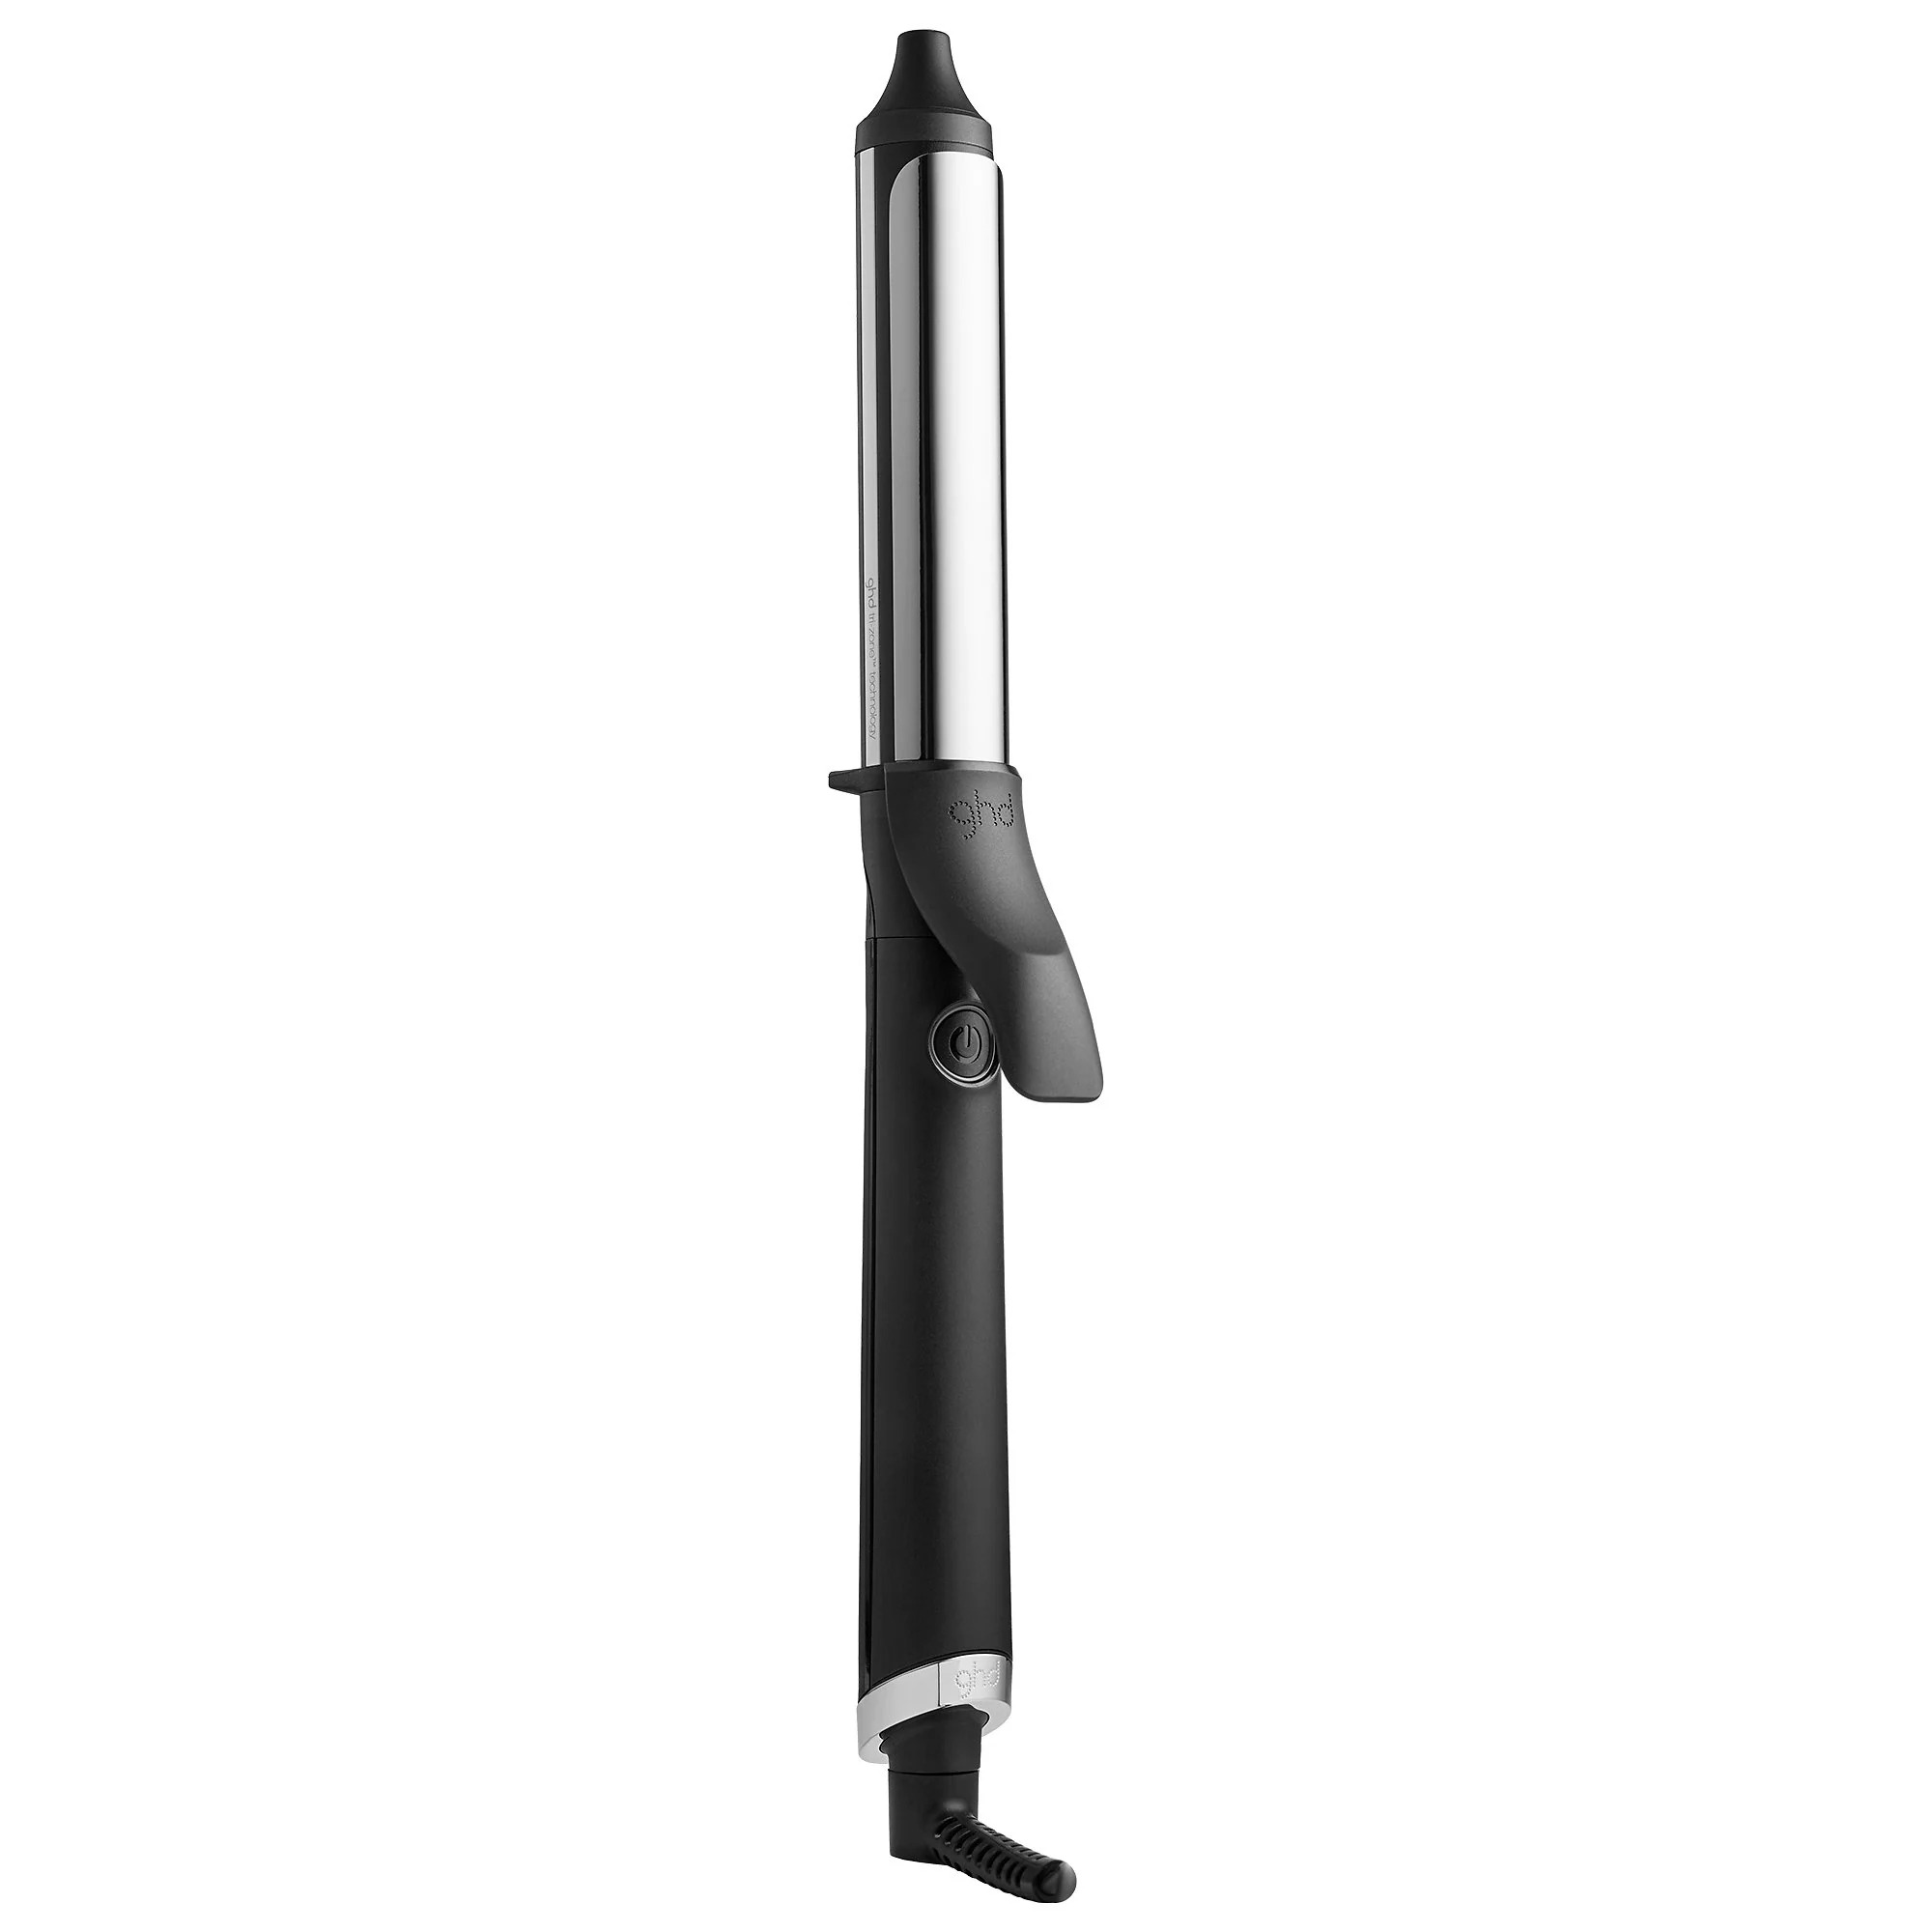
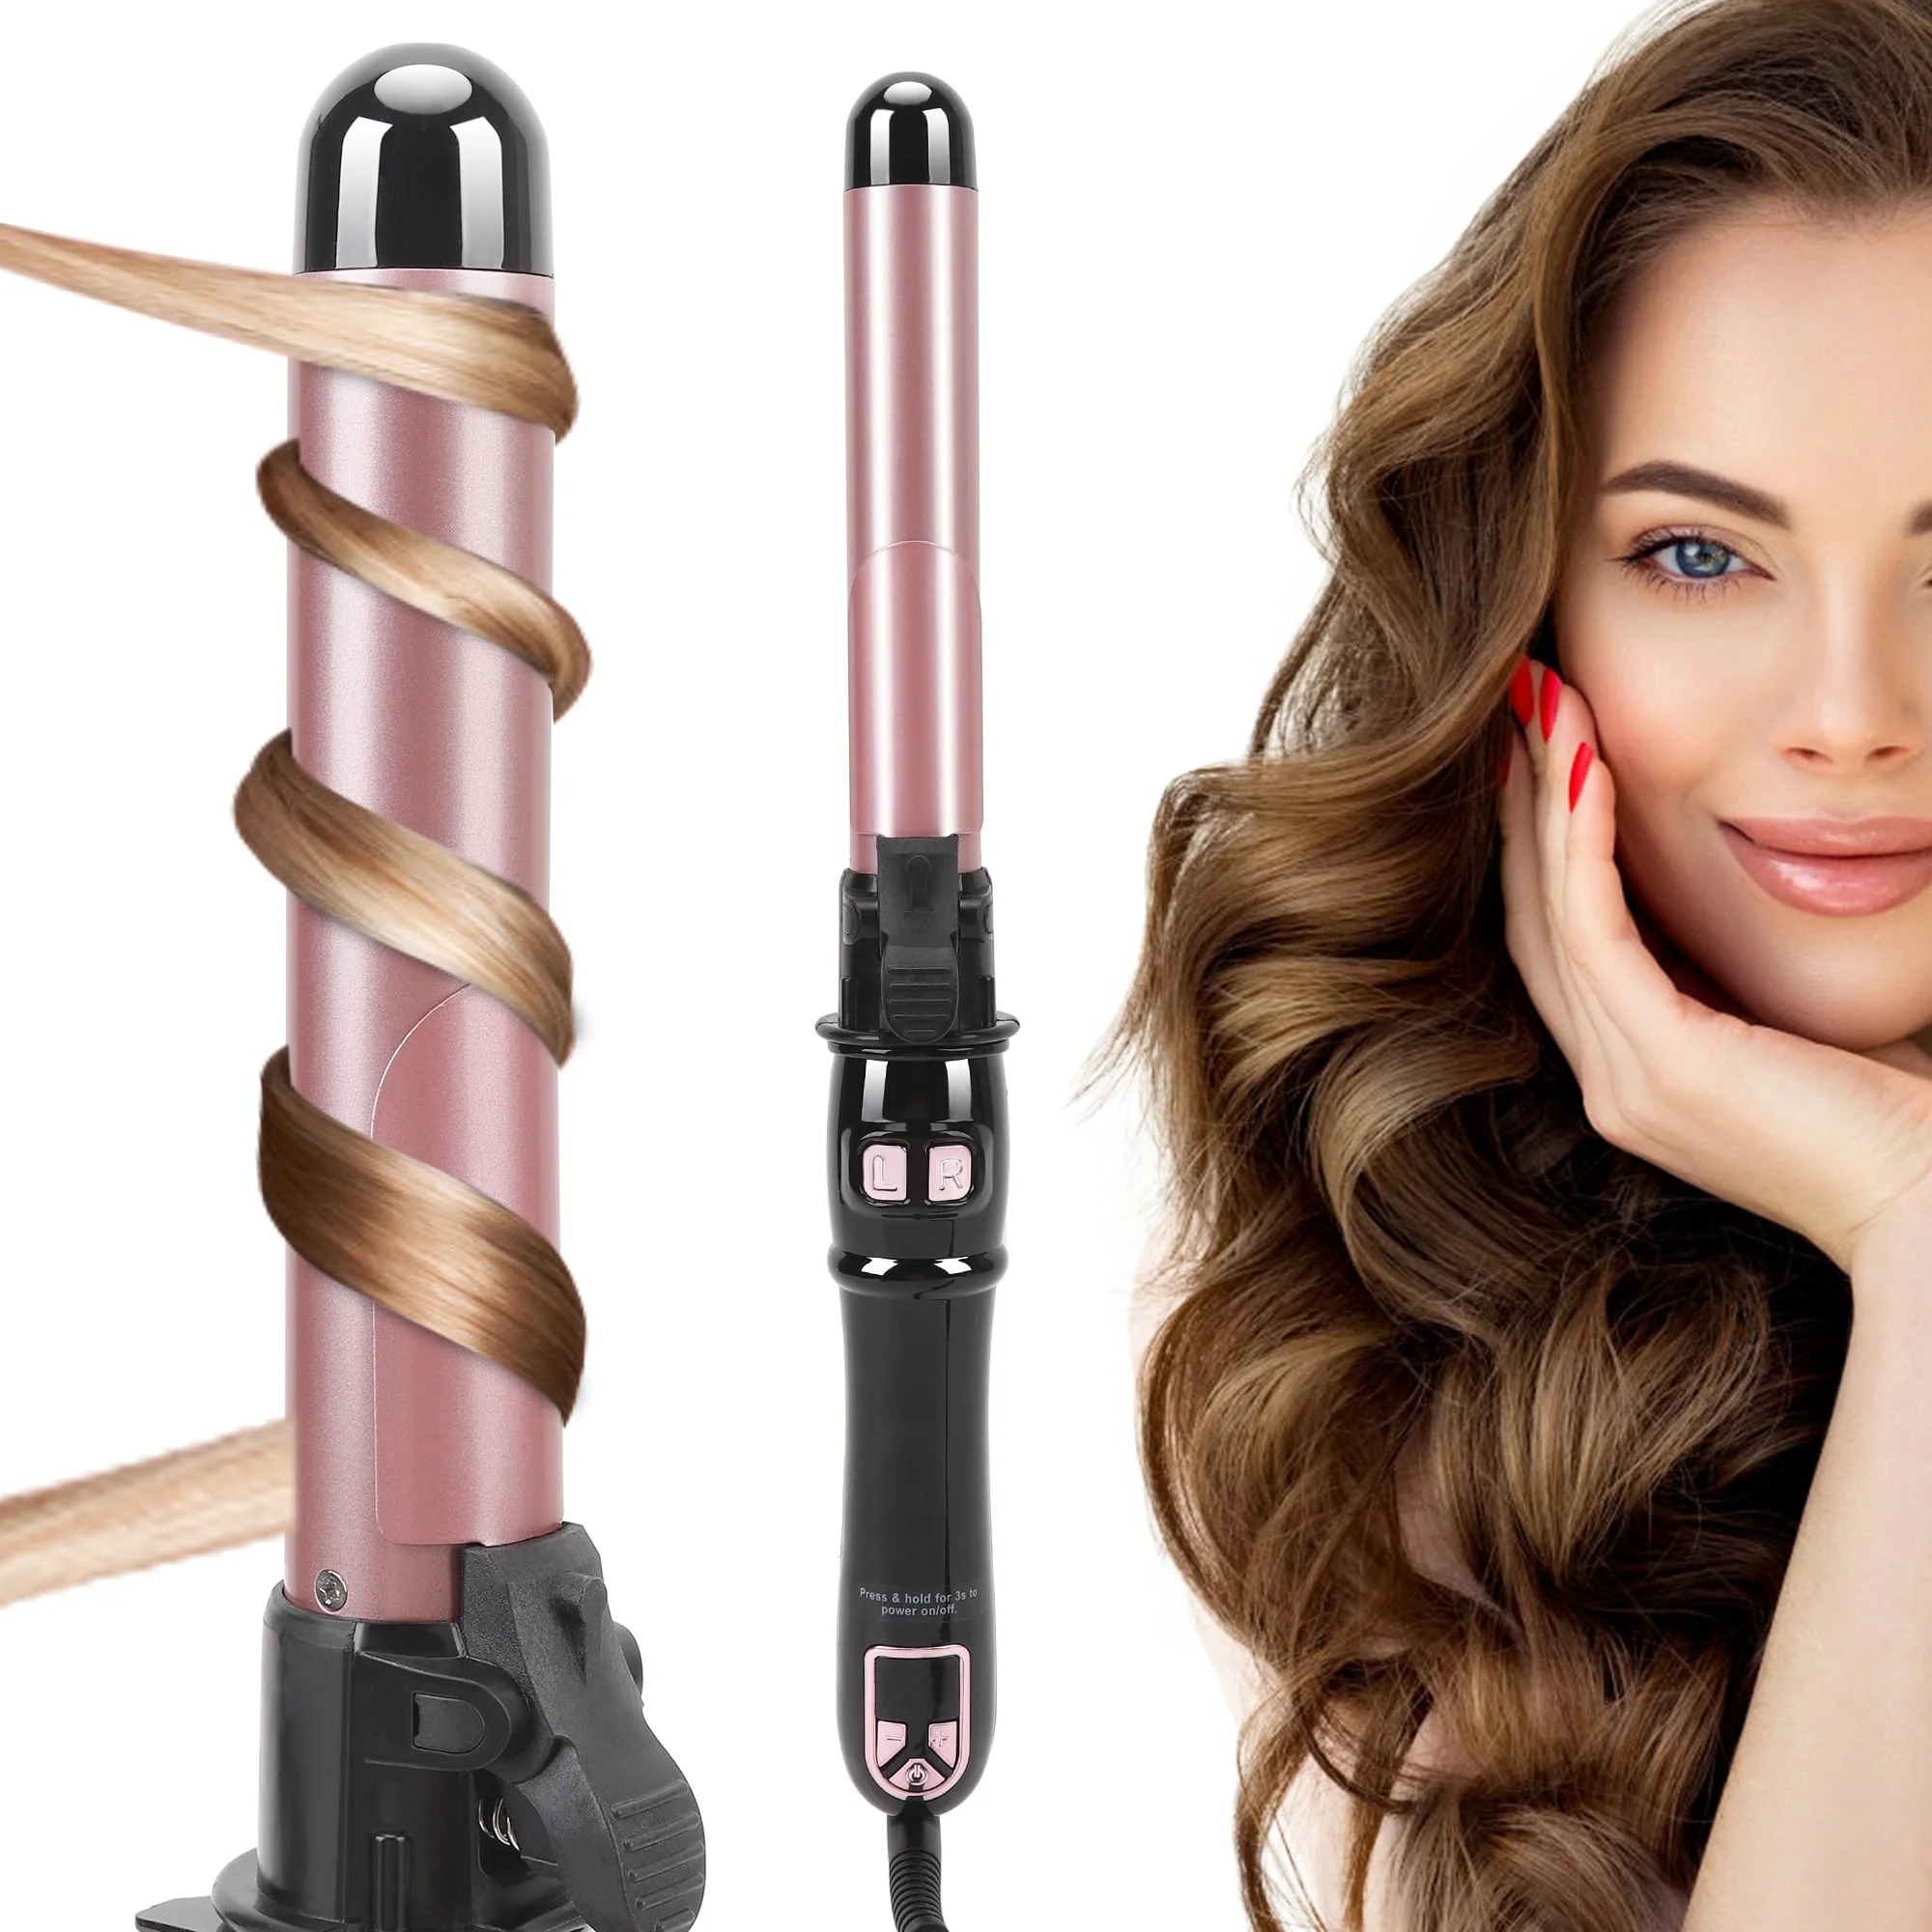
  • The Volumizing Maestro: Designed with a smaller brush head to get close to the roots, this device adds volume as it straightens. It’s perfect for those with shorter hairstyles or anyone looking to boost their look with lift and body.
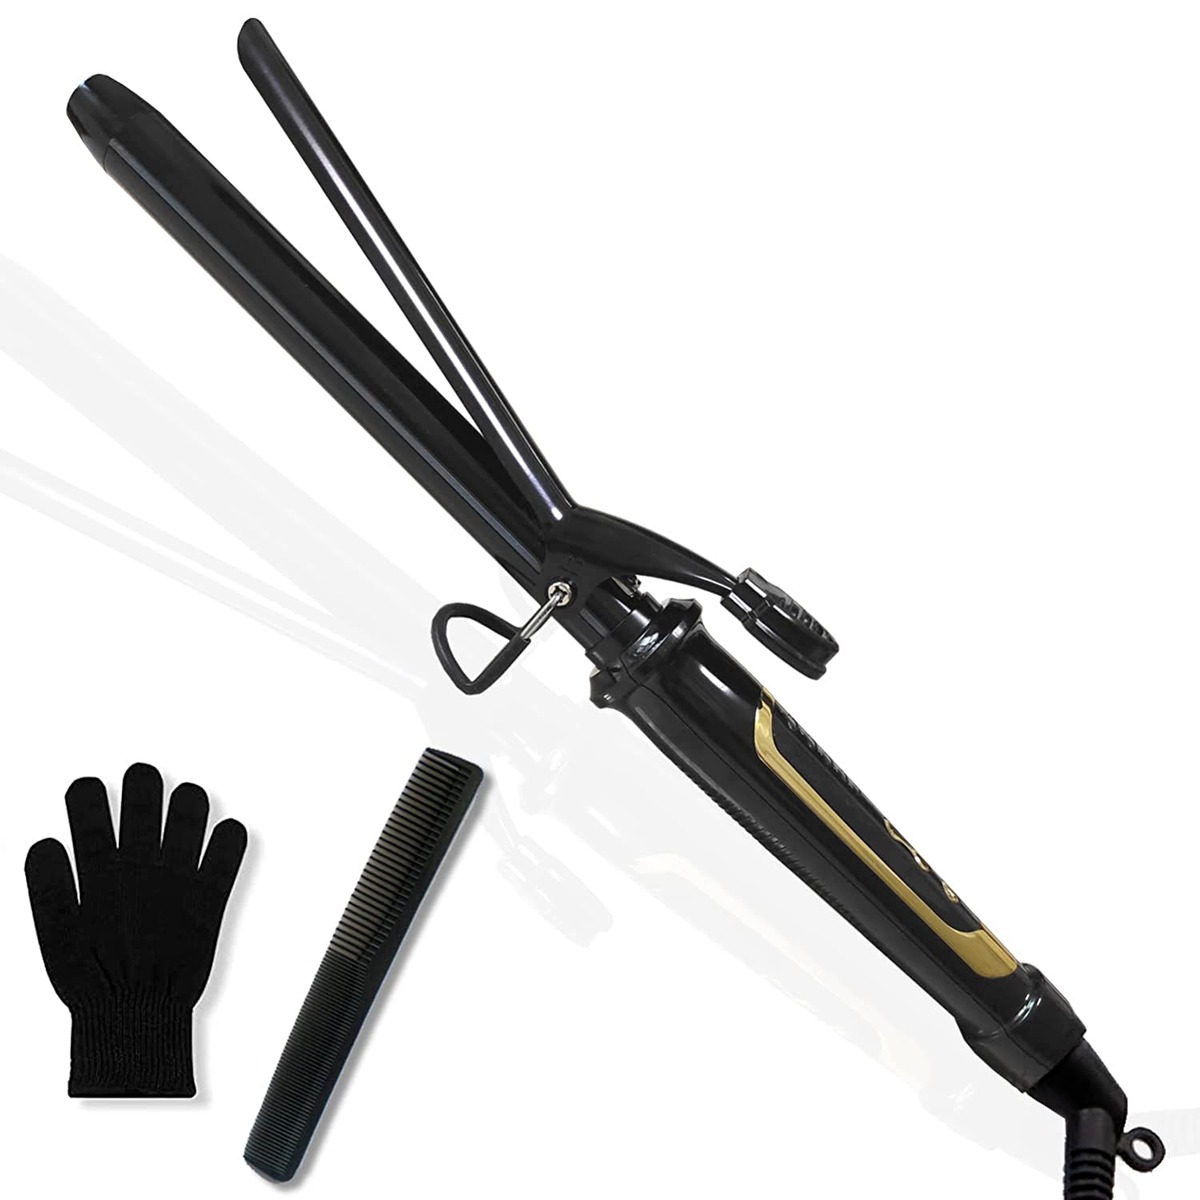
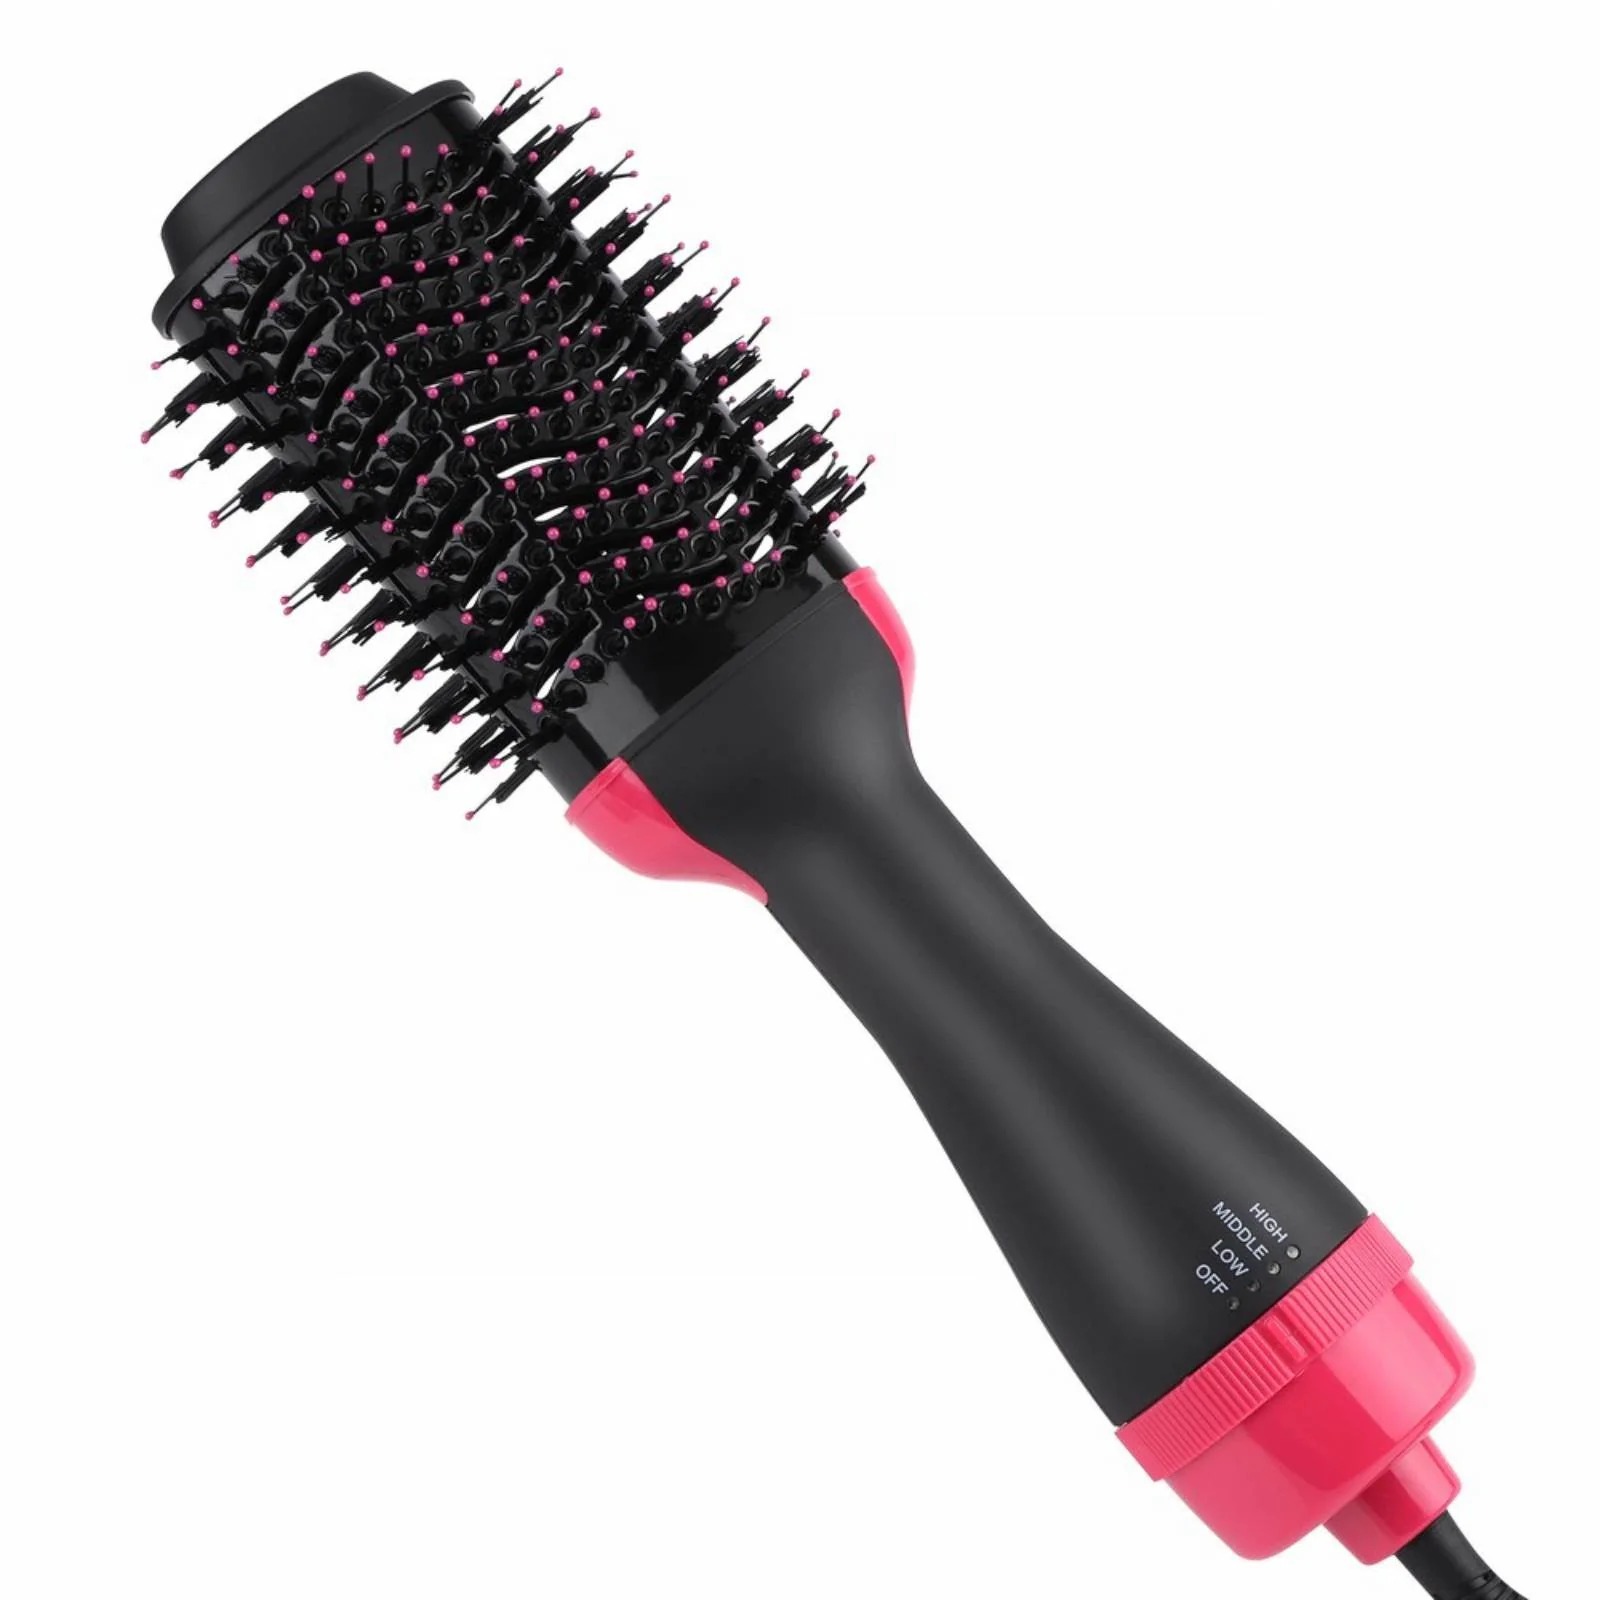
  • The Detangling Prodigy: Featuring a unique mix of bristles, this straightener glides through hair effortlessly, detangling and styling without tugging or breaking. It’s a lifesaver for those with hair that’s prone to knots.
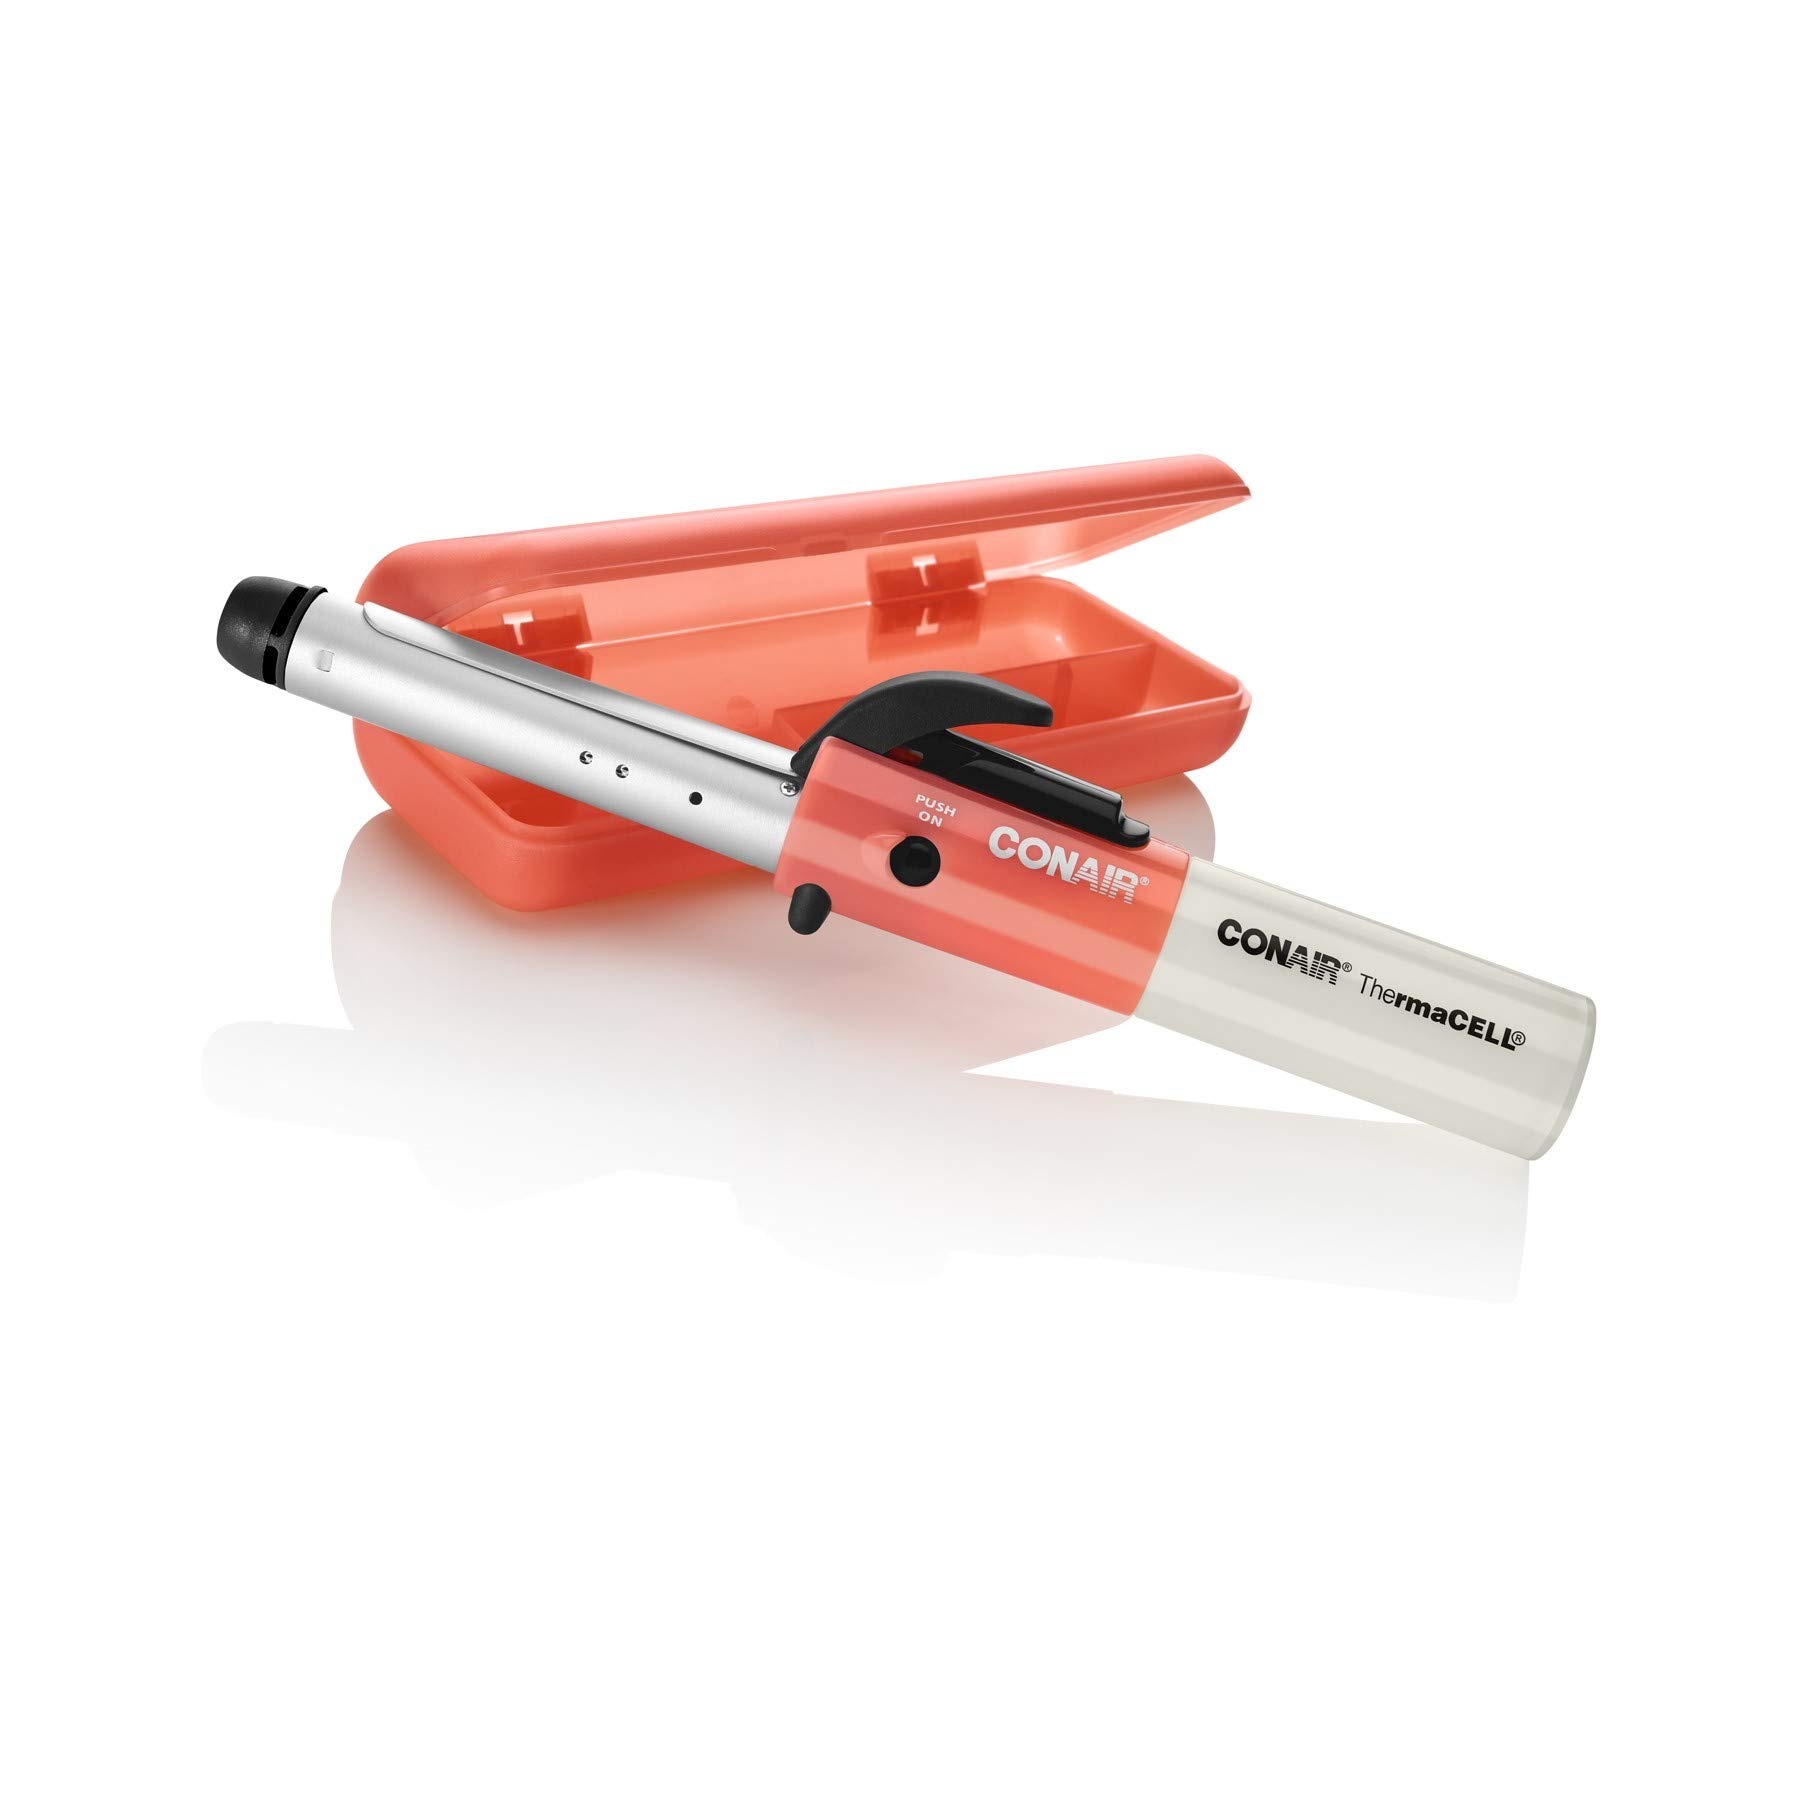
  • The Durability Powerhouse: Durability is as important as performance. This model has received strong reviews for its long-lasting build quality, ensuring it’s a valuable addition to your hair care toolkit for years to come.

These top-rated hair dryer brush straighteners not only help you achieve the desired style but also prioritize hair health. By choosing any of these, you’re sure to enjoy a superior hairstyling experience.

hair dryer brush straightener

Tips for Maintaining Your Dryer Brush Straightener

To keep your hair dryer brush straightener in top shape, follow these easy maintenance tips:

Clean Regularly

Wipe down your straightener after each use. Remove hair and product buildup from bristles.

Store Properly

When not in use, store your tool safely. Use a heat-resistant pouch or keep it in a dry area.

Handle with Care

Avoid dropping the straightener. Treat the cord gently to prevent fraying or damage.

Check for Wear and Tear

Inspect your straightener for any signs of wear. Replace it if any part seems faulty.

Use as Directed

Follow the manufacturer’s instructions. Do not use the straightener on very wet hair or near water.

By caring for your dryer brush straightener, you can extend its life and enjoy consistent salon-quality styles at home.

Common Mistakes to Avoid When Using a Dryer Brush Straightener

Using a hair dryer brush straightener can give you salon-like results at home. But, small mistakes can lead to less than perfect outcomes or even damage your hair. To ensure you get the best out of your styling tool, be aware of these common missteps:

Starting with Too Wet Hair

Don’t rush the drying process. Your hair should be damp, not dripping, when you start. Too wet, and you risk damage from excessive heat.

Skipping Heat Protectant

Always apply a heat protectant before using hot tools. It forms a barrier to shield your hair from high temperatures.

Using the Wrong Heat Setting

One size does not fit all when it comes to heat. Fine hair needs a lower setting. Thicker hair can handle more heat. Adjust accordingly.

Not Detangling First

Brush out knots before you begin. If you don’t, you risk breaking your hair as you style.

Styling in Large Sections

Work in small sections for even results. Large sections won’t dry or straighten as well. It takes longer overall.

Rushing the Process

Take your time. Quick passes don’t allow the heat to work. Slow, steady strokes will give you a smoother finish.

hair dryer brush straightener

The Future of Hair Styling: Innovations in Dryer Brush Technology

As we look ahead, dryer brush technology continues to advance. Here’s what we may expect:

Smart Temperature Control

Future devices might boast smarter heat sensors. They can adjust temps on the fly to suit hair types.

Eco-Friendly Options

We might see eco-friendly brushes made with sustainable materials. They could use less energy too.

Wireless Convenience

Cordless, rechargeable dryer brushes could be on the horizon. This would offer unmatched styling freedom.

Enhanced Durability

Upcoming models could feature more durable designs. They would last longer even with daily use.

Home Appliance
Ease Your Back – Benefits of Your Low Back Pain Heating Pad

Introduction to Heat Therapy for Back Pain

Low back pain heating pad is a time-tested method to ease back pain. It improves blood flow and relaxes muscles. This therapy works by dilating blood vessels. The dilation increases circulation, which helps stiffness and pain. Heat can also promote healing in the lower back muscles. It brings more oxygen and essential nutrients. These elements are crucial for repairing tissues. Sensory nerves release chemicals in response to heat, boosting circulation speed. Both applied heat and increased blood flow raise skin temperature. This helps in protecting the skin from burns.

low back pain heating pad

How Heating Pads Work to Alleviate Pain

Heating pads ease back pain effectively. They improve circulation and relax tight muscles. As heat dilates blood vessels, more blood reaches sore areas. This helps reduce pain. Heating pads deliver steady, controllable heat to your back. Applied heat soothes muscle spasms and heals damaged tissues. They’re convenient to use at home or while working. Heat sinks deep into muscles, promoting nutrient-rich blood flow. This supports recovery and eases discomfort. Heating pads often come with adjustable settings. They allow for controlled treatment intensity.

Recommended Usage of Heating Pads for Different Types of Back Pain

Heating pads can offer relief for various back pain types. How you use them matters. For new, sharp back pain, start with cold. Then switch to a heating pad after inflammation drops. Use it to loosen muscles and improve movement.

For ongoing back pain, use low-level heat over time. A heat wrap or electric pad fits well for this. It keeps warmth steady. This can help mend tissues and cut down pain.

After heavy exercise, use cold first. It reduces pain from muscle overuse. Later, use heat to help with recovery.

For intense pain, set the heating pad to low or medium. Do not let it sit too long. This can avoid skin damage.

Benefits of Continuous Low-Level Heat Therapy

Using a low-level, continuous heat therapy can have significant positive effects on chronic back pain management. This form of therapy is especially beneficial for long-term pain relief as it helps maintain a stable temperature that promotes healing over time. Here are key benefits you should consider:

  • Encourages blood flow: Constant low-level heat helps to keep blood vessels dilated, ensuring a steady flow of blood and nutrients to the affected area.
  • Reduces muscle tension: Sustained heat application helps to relax tense muscles, which can alleviate pain.
  • Enhances flexibility: Consistent warmth can increase suppleness in the back’s soft tissues, improving flexibility and range of motion.
  • Promotes healing: Steady heat supports the healing process by enhancing the delivery of essential nutrients to sore muscles.
  • Decreases pain recurrence: By keeping muscles relaxed, continuous heat reduces the chances of pain flaring up again.

Importantly, always start at a low setting to prevent skin irritation and follow the device’s instructions to avoid overexposure. By adhering to these principles, continuous low-level heat therapy can be a key ally in your fight against chronic low back pain.

low back pain heating pad

When to Use Heat vs. Ice Therapy

Choosing between heat and ice therapy can be crucial for back pain relief. Heat therapy is ideal for chronic stiffness and ongoing pain as it encourages blood flow and relaxes muscles. Ice therapy, however, is best used immediately after an injury or intense exercise as it reduces inflammation and numbs pain.

Using Heat Therapy

Use heat for chronic pain or stiffness. Apply a heating pad for muscle relaxation. It can also help before stretching or physical activities.

Using Ice Therapy

For new, sharp back pain or muscle soreness, start with ice. It’s best to apply it right after the injury or post-exercise. This helps reduce swelling and pain.

Safety Tips for Using Heating Pads

When using a low back pain heating pad, safety is paramount to prevent injury. Here are essential tips:

  • Start on Low: Begin with the lowest heat setting. Gradually increase as needed.
  • Time Limit: Use heating pads for short periods, typically 15 to 30 minutes.
  • Skin Protection: Place a cloth between your skin and the heating pad.
  • Avoid Sleeping: Never fall asleep with the pad on to prevent burns.
  • Pregnancy Caution: Pregnant? Use low settings and limit use to 15 minutes.
  • Damaged Skin: Do not use on injured or broken skin.
  • Proper Placement: Place the pad on affected areas only. Avoid direct contact with bones.
  • Auto Shut-Off: Choose pads with an auto shut-off feature for added safety.
  • Regular Checks: Inspect your heating pad often for signs of wear or damage.

By following these safety tips, you enhance the benefits of heat therapy while minimizing risks.

Alternative Heat Sources for Back Pain Relief

When considering heat therapy for easing back pain, heating pads are just one option among many. Let’s explore alternative heat sources that can offer similar benefits for back pain relief:

  • Warm baths: Submerging in a warm bath can envelop your whole body in soothing heat, which can help reduce muscle tension and promote relaxation.
  • Hot water bottles: Filled with hot water and sealed, these can be placed directly on the affected area to provide localized heat, just ensure a cloth is between the bottle and skin.
  • Microwavable heat packs: Often filled with materials like rice or special gels, these packs can be heated in a microwave and applied to sore spots on your back.
  • Adhesive heat wraps: These are handy for on-the-go heat therapy, sticking directly to your skin and providing consistent, low-level heat for hours.
  • Heated gel packs: These can be warmed up in the microwave and applied to the back to help ease pain and stiffness.

Each of these alternative heat sources can be effective in managing low back pain. They are especially beneficial for those who may not have access to electric heating pads or prefer more natural methods. It’s important to use these heat sources safely and responsibly, following the same general guidelines as for heating pads to avoid skin damage or burns.

low back pain heating pad

The Impact of Heat Therapy on Circulation and Muscle Repair

When it comes to low back pain heating pad and encouraging healing in the lower back, the effects of heat therapy on circulation and muscle repair are notable. Here’s how heat therapy works to benefit these crucial areas:

  • Improves Circulation: As heat opens up blood vessels, more blood can flow to the injury site. This enhanced circulation brings in more oxygen and nutrients, both essential for healing.
  • Promotes Muscle Repair: The increased blood flow also means more repair components, like white blood cells, can reach and repair damaged muscle tissues.
  • Relieves Muscle Stiffness: Heat therapy’s warming effect on tissues helps to decrease stiffness. This makes movement easier and less painful.
  • Speeds Up Recovery: With improved circulation and muscle relaxation, recovery from strains or sprains can be faster.
  • Optimizes Healing Environment: By maintaining a warm temperature, heat therapy creates an environment that is conducive to healing.

In summary, heat therapy’s role in enhancing circulation and assisting in muscle repair is vital. It serves as a bridge between injury and returning to normal function, providing a natural, therapeutic approach to pain relief and recovery.

Cost-Effectiveness and Natural Pain Relief with Heat Therapy

Heat therapy offers a budget-friendly option for pain relief. It avoids the costs associated with medications or medical treatments. Heat therapy is a non-invasive, natural method. It reduces the need for drugs, lessening potential side effects. Regular use of heat therapy can help manage chronic back pain. This decreases overall healthcare expenses.

Heat therapy provides multitier benefits. It is a comfort source and helps with back muscle relaxation. It also maintains muscle flexibility and enhances overall mobility. Including heat therapy in daily routines can lower back pain episodes. This minimizes the frequency of doctor visits or therapy sessions.

When compared to other treatments, heating pads stand out for their cost and simplicity. They are a one-time purchase. They provide long-term relief with proper care and usage. Combined with exercises or physical therapy, they help manage back pain comprehensively.

low back pain heating pad

Home Appliance
Choosing The Best Curling Iron for Short Hair – Styling Tools

Introduction to Curling Irons for Short Hair

Best curling iron for short hair requires a special approach. The right curling iron can make all the difference. It adds volume and texture in just minutes. This is not just about achieving curls. It’s also about the health of your hair. With the best curling iron for short hair, you avoid damage and maintain shine.

best curling iron for short hair

Factors to Consider When Choosing a Curling Iron

Choosing the best curling iron for short hair requires attention to several factors. Each feature plays a vital role in the efficacy and safety of your styling tool. Below, we delve into important aspects to keep in mind.

Barrel Size and Shape

The barrel’s size and shape directly impact the type of curl you can achieve. Smaller barrels, around 3/4 inch, create tighter curls perfect for short hair. Larger barrels may not work as well, as they are designed for longer hair.

Shapes also vary. A straight barrel suits uniform curls. A tapered barrel allows for diverse curl sizes. You might prefer spiral barrels for defined coils. Consider the looks you desire when selecting the barrel’s size and shape.

Temperature Settings and Heat Control

Heat settings are critical for hair health. Look for a curling iron with adjustable temperature. This allows you to find the optimal heat for your hair type. Fine hair often requires a lower temperature to avoid damage.

Additionally, irons with digital displays offer precise control. Good heat control minimizes hair damage. It also ensures consistent results every time you style your hair.

Material and Coating of the Curling Iron

The curling iron’s material can affect your hair’s health. Ceramic irons distribute heat evenly. They reduce the risk of overheating and are gentle on hair. Tourmaline-coated irons release negative ions. These smooth the hair cuticle. It results in less frizz and more shine.

Curling Iron Types and Their Advantages

Various curling irons suit different needs. Spring-loaded clamps are user-friendly, ideal for beginners. Clipless wands offer precision and can create natural-looking waves. Marcel irons give professionals more control but can be tricky for novices.

best curling iron for short hair

Popular Curling Iron Models for Short Hair

When shopping for the best curling iron for short hair, it’s helpful to know which models stand out. These popular tools are praised for their precision and ease of use. They cater to the unique challenges of styling shorter haircuts.

Top-Rated Curling Irons for Precision and Ease

Several curling irons have earned top marks for their performance on short hair. Look for a model with a slim barrel for tight curls. A model with a tapered barrel is ideal for versatile styling.

Some top contenders include:

  • The Mini Spring Curling Iron. Its small barrel size is perfect for short hair. It heats up fast and offers reliable temperature control.
  • The Compact Tapered Wand. This offers a variety of curl sizes without switching tools. It’s coated with ceramic to protect your hair as you style.

How to Use a Curling Iron on Short Hair Safely

Using a curling iron on short hair involves careful steps. You must ensure safety at all times. A good technique prevents hair damage. It locks in style effectively. Here’s a simple guide for safe curling.

Step-by-Step Guide to Curling Short Hair

  • Start with Dry Hair: Your hair should be completely dry. Wet hair can get damaged easily with heat.
  • Apply Heat Protectant: Spray a protection product evenly. It shields hair from potential heat damage.
  • Select the Right Temperature: Use the lowest heat setting that effectively curls your hair. This reduces harm.
  • Section Your Hair: Divide hair into manageable sections. Smaller sections are easier to curl and control.
  • Hold the Iron Correctly: Grip the handle, not the heated part, to avoid burns.
  • Curl from the Middle: Clamp hair midway, then twist. It creates a more natural look.

Practice these steps. Soon, curling your short hair will feel like second nature. Always watch out for the health of your hair. Keep your movements steady and precise. This will help you achieve the best curls while keeping your hair safe.

Maintenance and Care of Your Curling Iron

Proper maintenance ensures your best curling iron for short hair lasts longer. This includes cleaning and storage. Here’s how you can care for your tool.

Cleaning and Storing Your Curling Iron for Longevity

Clean your curling iron regularly to remove product build-up. Wait for it to cool, then wipe gently with a damp cloth. For tough residues, use rubbing alcohol on a cotton pad. Avoid water near the electrical parts.

Always unplug your iron after use. Coil the cord loosely to prevent damage. Store in a dry place, away from direct sunlight. A heat-resistant pouch is ideal for keeping your iron safe.

Additional Tips and Tricks for Curling Short Hair

Even with the best curling iron for short hair, some extra tips can enhance your styling experience. Employ these tricks and you can expect to add flair to your curls and simplify the process.

  • Prep Your Hair Properly: Beyond drying and heat protectants, apply a mousse or volumizing spray. These can boost curl hold.
  • Use the Right Clips: Separate hair with clips. This helps manage sections you’re not curling. Choose clips that won’t dent your hair.
  • Twist Before Curling: Twisting sections before you curl can create more texture and volume.
  • Alternate Curl Directions: For a more natural look, alternate the curling direction between sections.
  • Curl Away from the Face: Always curl the hair near your face away from it. This frames your face better.
  • Avoid Too Much Product: Don’t overdo it with hairspray or mousse before curling. It can make hair stiff and hard to curl.
  • Leave Ends Out: For a modern look, leave an inch or so of the ends out of the iron. This gives a more relaxed wave.

Implementing these additional tips can help you get the most out of your curling iron. With practice, you’ll craft gorgeous curls in no time while keeping your short hair looking healthy and vibrant.

best curling iron for short hair

Conclusion: Selecting the Best Curling Iron for Your Needs

Finding the best curling iron for short hair can be a game-changer for your style routine. Remember to consider the barrel size and shape that matches the curls you envision. Temperature control is vital for protecting your hair from heat damage. Also, the material and coating of the curling iron play a huge role in the health of your hair and should align with your hair type and styling needs.

Choose a curling iron that balances ease of use with the demands of short hair. Models with smaller barrels or tapered designs often work best. These tools should have a range of temperatures and a smooth, protective coating to maintain hair health during styling.

Safety when using a curling iron is crucial. Always follow proper steps such as using a heat protectant and selecting the right temperature. After each use, clean and store your tool to extend its life and keep it working at its best.

Don’t forget the additional tips like using the right clips and techniques for curling, which can greatly improve your results. With the right curling iron and the knowledge of how to use it effectively, you can enjoy a versatile range of styles for your short hair.

best curling iron for short hair

Home Appliance
What Is An Ionic Hair Dryer? – Benefits for Hair Dryers

Introduction to Ionic Hair Dryers

What is an ionic hair dryer? Ionic hair dryers have revolutionized hair care routines. Simply put, it’s a tool that uses negative ions to dry your hair. Unlike traditional hair dryers, these devices dry your hair faster. They also enhance the hair’s condition by locking in moisture and reducing frizz.

an ionic hair dryer

How Ionic Hair Dryers Work

Understanding how an ionic hair dryer works is vital if you are considering investing in one. At its core, the device employs a simple yet innovative mechanism. An ionic hair dryer generates millions of negative ions as it operates. Once you switch the hair dryer on, its internal system gets to work, breaking down water molecules on your hair.

The dryer’s negative ions attack the water molecules’ positive ions. This process efficiently separates water molecules, speeding up the drying time. The negative ions tend to also smooth out the hair cuticle by neutralizing static electricity. This means that instead of the hair shaft opening up and frizzing, it stays sleek and shiny.

To visualize this, think of the water on your hair as static and heavy. The ionic dryer introduces a flux of negative ions that collides with the positive ones, weakening the water’s grip on your hair. This process, not only quickly dries your hair but does so while preserving natural moisture, which is often stripped away by traditional hair dryers.

Key Benefits of Using an Ionic Hair Dryer

When weighing the advantages of an ionic hair dryer, it’s clear why they are celebrated in the hair care industry. Here are some key benefits:

  • Faster Drying Time: The core attraction is the reduced drying time. The negative ions break down water molecules, meaning hair dries more quickly.
  • Healthy Hair: They help maintain the hair’s natural moisture, leading to healthier, hydrated locks.
  • Reduced Frizz: Ionic hair dryers minimize static and frizz, making for a smoother hair texture.
  • Enhanced Shine: As they seal the hair cuticles, your hair appears shinier after drying.
  • Gentle on Hair: Less heat exposure means less damage. These hair dryers are gentler on your hair over time.
  • Energy Efficiency: With quick drying times, you use less energy, making these devices energy efficient.
  • Lightweight Design: Many ionic dryers are designed to be lightweight, reducing arm fatigue during use.
  • Versatility: Suitable for all hair types, from thin to thick, and adaptable for various styling needs.

Incorporating an ionic hair dryer into your routine can significantly enhance not just the look but also the health of your hair. If you’re pondering ‘what is an ionic hair dryer’ and its advantages, consider these benefits as a testament to their revolutionary impact on hair drying techniques.

an ionic hair dryer

Features to Look for in Ionic Hair Dryers

When shopping for an ionic hair dryer, several features enhance its performance and convenience. Here’s what to consider:

  • Multiple Heat Settings: Look for a model with various heat options. This flexibility lets you adjust heat levels to suit your hair type and condition.
  • Cool Shot Button: A cool shot feature seals your hairstyle and adds shine. It helps to set the final look after drying.
  • Attachments: Diffusers help spread heat evenly, which is great for curly hair. Concentrators focus the airflow for precise styling.
  • Wattage: Higher wattage means more power. A higher-powered dryer can dry hair faster, reducing heat damage.
  • Ergonomic Design: A comfortable grip and balanced weight distribution go easy on your hands and wrists.
  • Durability: Look for hair dryers that are well-built and durable. They should last longer, even with daily use.

By considering these features, you ensure a wise investment. An ionic hair dryer with these attributes will not only answer ‘what is an ionic hair dryer’ but also provide a superior and healthier hair drying experience.

Comparison: Ionic vs Traditional Hair Dryers

When exploring hair dryer options, weighing the benefits of ionic versus traditional models is crucial. Here’s how they stack up against each other:

  • Drying Time: Ionic hair dryers excel in rapid drying. Traditional dryers can take much longer.
  • Heat Damage: Ionic versions are less harsh, offering a cooler drying process. Traditional dryers may lead to more heat damage over time.
  • Frizz Control: Negative ions in ionic dryers help control frizz. With traditional dryers, managing frizz often requires extra products.
  • Hair Health: Ionic technology promotes moisture retention for healthier hair. Traditional drying can strip away moisture, leaving hair more vulnerable to damage.
  • Energy Consumption: Shorter drying times with ionic hair dryers mean less energy use. Older traditional models may be less energy-efficient.

When choosing between an ionic and traditional hair dryer, remember to consider your hair’s needs and your daily routine. If quick drying times, improved hair health, and energy efficiency are top priorities, what is an ionic hair dryer if not the ideal choice?

an ionic hair dryer

The Impact of Ionic Technology on Hair Health

The impact of ionic technology on hair health is profound. As we’ve discussed, ionic hair dryers offer several benefits that go beyond just drying your hair. Let’s break down the positive effects on hair health:

Preserving Natural Moisture

Ionic hair dryers make sure your hair retains its natural moisture. This technology prevents over-drying, which often leads to brittle strands.

Reducing Heat Damage

Less exposure to high heat means less damage. The ionic feature allows your hair to dry rapidly without relying solely on heat, making it a healthier choice.

Maintaining Healthy Hair Cuticles

Healthy hair cuticles reflect light, making your hair shine. The negative ions from the dryer work to keep the cuticles flat and smooth, enhancing gloss and smoothness.

Minimizing Static and Frizz

Frizz and static can be hair’s worst enemies. Ionic hair dryers neutralize static, leading to significantly less frizz, for a sleeker look.

Encouraging Faster Styling Routine

To sum it up, ‘what is an ionic hair dryer’ but a miracle device for preserving the integrity and health of your hair? Each use is an investment in the future of your hair, ensuring it remains as healthy and vibrant as possible. When choosing your next hair drying tool, remember the lasting impact ionic technology can have on your hair’s health.

Tips for Using an Ionic Hair Dryer Effectively

To get the most out of your ionic hair dryer, follow these straightforward tips:

  • Start with Lower Heat: Begin with a lower temperature setting. You can prevent heat damage this way.
  • Keep It Moving: Always keep the dryer moving. This action avoids focused heat that can harm hair.
  • Dry in Sections: Work with your hair in sections. This method ensures even drying and better styling.
  • Use the Cool Shot: Finish with the cool shot button. It locks in style and adds shine.
  • Keep the Dryer Clean: Regularly clean the filter. A clean device performs better and lasts longer.
  • Avoid Over-drying: Stop before hair is completely dry. Let your hair finish drying naturally.
  • Hold It Right: Keep the dryer at the correct angle. It’s best to aim the airflow down the hair shaft.
  • Stay at a Distance: Hold the dryer several inches away. This distance helps prevent heat damage.

By using these tips, you can maximize the benefits of ‘what is an ionic hair dryer’ while taking care of your hair.

Best Practices for Maintaining Your Ionic Hair Dryer

Ensuring your ionic hair dryer lasts long requires proper maintenance. Here are the best practices:

  • Read the Manual: Start by reading your hair dryer’s manual. Follow manufacturer guidelines for care.
  • Keep It Clean: Regularly remove lint and debris from the filter. This improves performance and longevity.
  • Store Carefully: Always unplug and store your hair dryer in a dry place. Avoid tangling the cord.
  • Handle with Care: Use and hold your dryer gently. Dropping it can damage internal components.
  • Inspect Regularly: Check for any damage or wear. Promptly repair or replace if needed.

By following these simple tips, you extend the life of ‘what is an ionic hair dryer’ and maintain its benefits. Proper care keeps your hair dryer functioning well and ensures you reap the rewards of ionic technology every time you style your hair.

an ionic hair dryer

Home Appliance
Travel-Friendly Dual Voltage Curling Iron – Modeling Method

What is Dual Voltage in Curling Irons

Understanding what dual voltage curling iron means is key, especially for travelers. A dual voltage curling iron can accept both 110-120V and 220-240V. This makes it versatile across different regions. How does it work? It has a switch or automatically adjusts to the voltage of the outlet it’s plugged into. No need for a converter, just a simple adapter for the plug shape. This feature is crucial for those who travel internationally. With dual voltage, you can style your hair anywhere without worry of damaging your curling iron or causing a safety hazard.

dual voltage curling iron

Benefits of Using a Dual Voltage Curling Iron

When you invest in a dual voltage curling iron, you unlock numerous benefits, especially as a traveler. Firstly, the most apparent advantage is convenience. You can use your curling iron in most countries without needing a voltage converter, which simplifies packing and cuts down on luggage weight. This also saves you the hassle and expense of purchasing different appliances for different regions.

Another key benefit is peace of mind. You don’t have to worry about voltage compatibility. Your curling iron auto-adjusts or switches to the local voltage, preventing damage to the device. No more fears of burning out your favorite hair tool while abroad. Safety is also enhanced because the correct voltage minimizes the risk of electrical mishaps.

Cost-efficiency is an added perk. Instead of buying multiple styling tools for travel, a dual voltage curling iron is a one-time purchase that suits all your hair styling needs globally. Think of it as a universal solution for your hair, no matter where your adventures take you.

Top Features to Look for in a Dual Voltage Curling Iron

When searching for the best dual voltage curling iron, certain features are key. Look for these top attributes to ensure a good fit for your travel lifestyle.

  • Universal Voltage Compatibility: Ensure the iron automatically adjusts to both 110-120V and 220-240V.
  • Adjustable Temperature Settings: This allows for heat control to suit different hair types and styles.
  • Lightweight Design: A lighter curling iron won’t weigh down your luggage, making it ideal for travel.
  • Compact Size: Choose a curling iron that fits easily into your travel bag or suitcase.
  • Quick Heat-Up Time: When traveling, you need a tool that gets hot fast for quick styling.
  • Durable Construction: Look for high-quality materials that withstand the rigors of travel.
  • Heat-Resistant Glove: Protect your hands from the high temperatures while styling.

These features will provide convenience, versatility, and safety for your styling needs abroad. With the right dual voltage curling iron, you can achieve perfect curls anywhere in the world.

Best Dual Voltage Curling Irons on the Market in 2025

When seeking the best dual voltage curling iron for your travels in 2025, several products stand out. These irons offer the perfect blend of functionality, innovation, and travel-friendly features. It’s important to identify curling irons that complement a jet-setting lifestyle while giving you those flawless curls or beachy waves—even when you’re on the other side of the globe.

dual voltage curling iron

The top dual voltage curling irons in 2025 have taken the market by storm. They demonstrate exceptional versatility and durability. Noteworthy are the ones with ceramic or tourmaline barrels, which distribute heat evenly and reduce frizz. They also tend to have a range of temperature settings, catering to different hair textures and styling needs.

Another standout feature is the inclusion of a digital display. This allows for precise temperature control, essential for protecting your hair from heat damage. Many of the top picks also sport a rapid heat-up function, which means you’re just minutes away from getting your hair done, even in a rush.

Look for models that offer a long, swivel power cord for ease of use. This feature can make styling your hair in cramped hotel bathrooms much more manageable. Additionally, quality travel cases and heat-resistant gloves often accompany the best dual voltage curling irons, enhancing safety and convenience.

How to Use a Dual Voltage Curling Iron Abroad

Using a dual voltage curling iron abroad is straightforward but requires some attention to detail. Here are steps to ensure you get the best results without any trouble:

  • Check the Voltage: Before you use your curling iron, confirm the local voltage. Dual voltage curling irons handle 110-120V and 220-240V, but it’s critical to know what you’re working with.
  • Adapter Plug: You’ll need an adapter for the plug type of your destination. Pack one that fits the local outlets to connect your iron safely.
  • Switch to the Correct Voltage: If your curling iron has a voltage switch, set it to the voltage you’ll be using. Auto-adjusting models do this for you.
  • Heat Settings: Use the adjustable temperature settings to protect your hair and get the right style. Start with a lower setting and increase as needed.
  • Styling Time: Heat up your iron, and you’re ready to style. Remember, rapid heat-up times get you out the door faster.

By following these steps, you ensure safe and effective use of your dual voltage curling iron while abroad. Pair this process with the right dual voltage curling iron, and enjoy beautiful hair anywhere you travel.

Safety Tips for Traveling with Your Curling Iron

Traveling with a dual voltage curling iron means extra attention to safety. Here are some tips to keep you and your hairstyling tool safe on the go.

  • Check for Damage: Before each trip, inspect your curling iron for loose parts or exposed wires. Don’t use it if it’s damaged.
  • Dry Conditions: Use your curling iron in dry areas. Avoid bathrooms where steam and moisture are high.
  • Unattended Equipment: Never leave a plugged-in curling iron unattended. Always turn it off if not in use.
  • Avoid Overheating: Don’t cover your curling iron with clothes or other items. It needs space to cool down.
  • Plug Safety: Insert and remove the plug from outlets gently. Forceful handling can damage the plug or socket.
  • Heat-Resistant Pouch: Store the curling iron in a heat-resistant pouch, especially if it’s still warm.

By following these safety tips, you can ensure that your dual voltage curling iron is always ready for your next adventure. This will help you maintain both your curling iron and your hairstyle, no matter where you find yourself.

dual voltage curling iron

The Future of Hair Styling Tools: Innovations in Dual Voltage Technology

The beauty industry constantly evolves. Innovations in dual voltage technology bring the future closer. Let’s explore what lies ahead for hair styling tools.

  • Smart Technology Integration: Expect smart features in curling irons. Examples include Bluetooth connectivity and app controls. They’ll make styling preferences more personalized and convenient.
  • Eco-Friendly Options: Sustainability is key. Future dual voltage curling irons may offer eco-friendly materials. They would minimize the environmental impact while maintaining high performance.
  • Enhanced Safety Features: Safety will get smarter. Look for advanced auto-shutoff capabilities and heat regulation technology. These features will prioritize user safety and prevent accidents.
  • Improved Heating Elements: The quality of heat matters. Innovations could introduce new, efficient heating elements. These would provide consistent temperatures and reduce hair damage from heat.

The dual voltage curling iron has come a long way. As we look to 2025 and beyond, these innovations aim to enhance travel-friendliness, sustainability, and overall user experience. Dual voltage technology is not just about convenience—it’s about a better, smarter way to care for your hair, wherever you are.

Packing Tips: Protecting Your Curling Iron on the Go

Packing your dual voltage curling iron requires thought to prevent damage. First, let it cool completely. This prevents heat damage to your luggage’s contents. Next, wrap the curling iron in bubble wrap or a soft towel. This adds a protective layer against bumps and drops.

dual voltage curling iron

Home Appliance
Curling Iron for Short Hair – Make Your Hairstyle Unique

Selecting the Right Curling Iron for Short Hair

Choosing the perfect curling iron for short hair can transform your styling routine. The two key factors include understanding the barrel size as it relates to hair length and evaluating the materials from which the curling iron is made.

curling iron for short hair

Understanding Barrel Size and Hair Length

For short hair, the barrel size of your curling iron is crucial. Smaller barrels typically work best for shorter lengths. A good rule of thumb is to opt for a barrel size ranging between 0.5 to 1 inch. This size allows for tighter curls and better control when styling shorter strands. Larger barrels may not be as effective, as they are designed for longer hair and create looser waves.

Evaluating Curling Iron Materials

When it comes to materials, curling irons come in various types. Ceramic irons distribute heat evenly and are less damaging. They help reduce frizz, making them ideal for fine or damaged hair. Tourmaline curling irons emit negative ions, which reduce static and leave the hair looking smooth. Titanium irons heat up quickly and offer high heat transfer, which is perfect for thick and coarse hair. Always consider your hair’s texture and health when selecting a curling iron material. Each material has its benefits, so choose one that aligns with your hair’s needs.

Preparing Your Hair for Curling

Before you start curling your short hair, preparation is key. Proper preparation not only protects your hair but also ensures that the curls will hold better and last longer. Here’s how to get your hair ready for curling.

Importance of Heat Protection

First and foremost, shield your hair from the high temperatures of a curling iron for short hair. High heat can cause damage, so it’s crucial to use a heat protection spray or serum. Apply the product evenly throughout your dry hair, focusing on the ends. This step helps to keep your hair healthy and reduces the chance of heat-induced breakage.

Hair Sectioning Techniques

To achieve the best results with your curling iron for short hair, sectioning your hair is a must. Start by dividing your hair into manageable sections with clips. Smaller sections are easier to curl and allow for more precise styling. Use a fine-toothed comb to detangle each section before you curl. This ensures smooth curls that are free from tangles and knots.

curling iron for short hair

Mastering the Curling Technique

Achieving flawless curls with a curling iron for short hair involves technique as much as it does the right tool. Mastering the motion and method can make the difference between average and stunning curls. Keep your movements consistent for uniform curls, and be patient as you work around your head.

Holding the Iron for Perfect Curls

To get perfect curls, the way you hold your curling iron is key. Hold the iron vertically for tight ringlets or horizontally for looser waves. Always start from the root and work your way down to the tips. Clasp hair firmly but gently, and twist the iron away from your face to create a natural look. This method reduces the chance of kinks and ensures the heat is distributed evenly.

Creating Different Curl Types

Different curl types can add texture and volume to your short hair. Use a smaller barrel curling iron for short hair to craft tight spirals or define natural curls. For beachy waves, wrap larger sections around the iron and release quickly. Experiment with the angle and wrapping technique to vary the tightness and direction of your curls. Remember, the longer you hold the hair on the iron, the tighter the curl will be. Release hair gently to retain the curl’s shape. Pair your curling technique with the right finishing products for a lasting result.

Short Hair Curling Do’s and Don’ts

Navigating the dos and don’ts when using a curling iron for short hair ensures style success.

Addressing Common Mistakes

Avoid common mistakes to ensure your short hair looks its best when curled. First, don’t skip heat protection. It shields hair from damage. Secondly, not using the right barrel size can make curls fall flat. Choose a barrel between 0.5 and 1 inch for short hair. Additionally, do not rush the curling process. Take time to work on small sections for even curls. Lastly, avoid holding the iron too long on your hair, as it might cause burns or overly tight curls.

Tips for Long-Lasting Curls

To keep your curls intact all day, follow these tips. Start with dry, well-prepped hair. Moisture can undo curls quickly. Use a strong-hold hairspray after curling to set the style. Also, let curls cool before touching them to help set the shape. If possible, curl your hair a day after washing. Natural oils can help curls hold better. Remember, a little patience goes a long way in achieving long-lasting, beautiful curls with your curling iron for short hair.

Styling Curls for Different Short Haircuts

Short haircuts like pixie cuts and bobs each have their unique charm. Styling them with a curling iron for short hair can add volume and elegance, enhancing these haircuts.

Pixie Cut Styling

Pixie cuts can seem challenging to curl due to their length. But with the right curling iron for short hair, creating texture is easy. Aim for a small barrel iron to add subtle waves or tight curls. Lift at the roots while curling for added volume. Work with smaller sections and twist the hair slightly away from the face. This gives a soft, dynamic look to your pixie cut. Be gentle and quick to avoid damaging the short strands.

Bob and Lob Styling

For bobs and lobs, versatility in curling is key. Use a curling iron for short hair to create different styles. You can opt for classic curls by holding the iron horizontally. This gives a timeless, elegant wave. For a more modern twist, curl random sections vertically. This creates playful, beachy waves. Remember to curl away from the face for a flattering, open look.

curling iron for short hair

Maintenance and Care for Curled Short Hair

Proper care after styling is vital for maintaining healthy curls and hair. Here’s your guide to after-curl care.

Post-Curling Hair Care Tips

After curling your short hair, it’s important to follow certain steps to maintain the look and health of your curls. Firstly, wait for your hair to cool down before touching or combing through to avoid ruining the curls. Apply a light-weight leave-in conditioner or oil to replenish moisture. Avoid washing your hair immediately; waiting a day can help curls set.

Cleaning and Storing Your Curling Iron

Keeping your curling iron for short hair clean ensures its longevity and performance. When the iron cools, wipe down the barrel with a damp cloth to remove product residue. If buildup persists, use a non-abrasive cleaner designed for curling irons. For storage, ensure the cord is neatly wrapped without kinks, and keep the iron in a dry place. Protect the iron from damage by storing it in a padded pouch or drawer away from other tools.

Finishing Touches for a Polished Look

Once you’ve curled your short hair with your curling iron, it’s time for final touches. These steps make your style look complete and more refined.

Using the Right Hair Products

Select hair products that enhance and hold your curls without weighing them down. Mousses and gels are great for defining curls. A light mist of flexible-hold hairspray will set your style but still allow for movement. For extra gloss, apply a tiny amount of shine serum. Just remember, a little goes a long way, especially with short hair.

Accessories and Embellishments for Short Curls

Add flair to your curled short hair with accessories. Headbands and decorative clips bring a playful element. Choose sleek bobby pins for a more sophisticated look. When selecting embellishments, consider the occasion. Simpler, understated pieces work well for daytime, while sparkle or floral designs stand out for events.

curling iron for short hair

Home Appliance
Creating Perfect Beach Waves with a Beach Waves Curling Iron

Choosing the Right Curling Iron for Beach Waves

Choosing the right tool is vital for achieving perfect beach waves curling iron. Here is what to look for:

  • Barrel Size: The ideal barrel size for beach waves usually ranges between 1 and 1.5 inches. A larger barrel creates looser waves, while a smaller one gives tighter curls.
  • Material: Look for curling irons with ceramic or tourmaline barrels. These materials distribute heat evenly, reducing the chance of hair damage.
  • Temperature Settings: Opt for an iron with adjustable temperature settings. This allows you to set the right heat level for your hair type, preventing excessive damage.

Investing in the right beach waves curling iron will make the process easier and help ensure your beach waves look natural and effortless. Ensure to integrate these features based on your hair’s needs for the best results.

beach waves curling iron

Preparing Your Hair for Styling

Before you start creating beach waves with a curling iron, preparing your hair is key. Proper preparation can make styling smoother and help protect your hair. Here’s how to get your hair ready for those perfect beachy waves:

  • Wash and Condition: Clean hair works best for curling. Use a moisturizing shampoo and conditioner to prevent frizz and add shine.
  • Apply Heat Protectant: Always use a heat protectant spray or serum before heat styling. This step will shield your strands from potential heat damage.
  • Dry Thoroughly: Your hair should be completely dry before curling. Blow dry it using a round brush to add volume and make it more manageable.
  • Detangle: Run a wide-tooth comb through your hair to remove any knots. Smooth hair will curl more easily and look neater.

By following these preparatory steps, you’ll ensure that your hair is in the best possible condition to be styled into beautiful beach waves with your curling iron.

Step-by-Step Guide to Creating Beach Waves

Achieving the perfect beach waves with a curling iron involves a series of steps. Follow this guide to ensure your waves come out beautifully every time:

  • Heat Up Your Iron: Start by heating your curling iron to the right temperature for your hair type. Too hot, and you risk damage; too cool, and your waves may not hold.
  • Section Your Hair: Divide your hair into sections with clips. This makes it easier to curl your hair in manageable pieces.
  • Wrap Hair Around the Iron: Take a section of hair and wrap it around the barrel. Leave the ends out slightly for a more natural look.
  • Hold, Then Release: Hold your hair around the iron for a few seconds, then release gently. Don’t tug or pull to avoid creases.

By adhering to these steps, you’ll be able to create gorgeous beach waves that look like you’ve just stepped off the sand. Remember to distribute your ‘beach waves curling iron’ strokes evenly for a more natural and consistent pattern.

beach waves curling iron

Tips for Long-Lasting Beach Waves

To ensure your beach waves have longevity, consider these tips:

  • Cool Down: After curling, let your waves cool off before touching or styling further. This setting phase is crucial.
  • Avoid Touching: Hands in hair can cause frizz. Try not to touch your waves too much.
  • Use Light Hairspray: A light hold hairspray can maintain the look without stiffness. Spray it from a distance.
  • Dry Shampoo: On non-wash days, use dry shampoo for added texture and volume that supports the waves.
  • Sleep on Silk: Silk pillowcases reduce friction and can keep your waves intact overnight.
  • Refresh with a Curling Iron: To perk up waves on day two or three, lightly re-curl any limp sections.

By following these strategies, your beach waves created with a curling iron can last longer and continue to give you that breezy, beachy look. Remember to use products sparingly — less is often more when it comes to maintaining your waves.

Common Mistakes to Avoid for Perfect Waves

When crafting beach waves with a curling iron, sidestep these common pitfalls for the best results:

  • Overheating the Iron: Excessive heat can damage hair. Always use the curling iron on the recommended settings.
  • Skipping Heat Protectant: Neglecting a heat protectant before styling is risky. It’s crucial to shield your hair to prevent damage.
  • Forgetting to Section Hair: Not sectioning your hair can lead to uneven waves. Make sure to separate your hair into manageable portions before you begin.
  • Curling for Too Long: Holding hair on the iron too long can fry your strands. Keep an eye on the time and release hair gently.
  • Uniform Curls: Curling all sections in the same direction can look artificial. For a natural effect, alternate the curling direction.

By avoiding these missteps, you’ll be on your way to achieving natural-looking, long-lasting beach waves with your curling iron. Remember to be gentle with your hair throughout the process to maintain its health and shine.

How to Finish and Set Your Beach Waves

After using your beach waves curling iron, finishing and setting your hairstyle is key for lasting beauty. Here’s how to complete your look with finesse:

  • Cool Down: Let your waves cool for a few minutes. Cool hair sets better.
  • Use Fingers to Separate: Gently run your fingers through your hair. Separate the waves for a natural look.
  • Apply Texture Spray: Spritz a texture spray for definition. Avoid heavy products that can weigh hair down.
  • Final Hold with Hairspray: Use a flexible hold hairspray to set your style. This helps your waves last all day.
  • Touch-up as Needed: If any waves fall flat, use your curling iron to re-curl them lightly.

Remember to evenly apply products and avoid touching the hair too much to prevent frizz. By following these finishing touches, your beach waves will have the lasting hold and natural movement they deserve.

beach waves curling iron

Beach Waves for Different Hair Lengths and Types

Achieving beach waves that look stunning regardless of hair length or type is possible with the right technique and tools. Here’s what you need to know to tailor your approach:

  • Short Hair: For bob or pixie cuts, use a smaller barrel curling iron to create tighter waves. This gives the illusion of more volume.
  • Medium-Length Hair: A 1 to 1.5-inch barrel is ideal for shoulder-length hair. It creates the perfect balance between loose and defined waves.
  • Long Hair: With long locks, you have the freedom to use a larger barrel for flowing waves. Just make sure to wrap more hair around the iron for even results.
  • Fine Hair: Lower the heat setting on your beach waves curling iron. Fine hair curls easily but is also more prone to damage.

Regardless of your hair type or length, always use a heat protectant and set the temperature to match your hair’s needs. Experiment with different sections and waves’ directions to find the look that suits you best.

Accessories and Products to Enhance Your Beach Waves

To make your beach waves stand out, use the right accessories and styling products. Here’s a list of essentials:

  • Clips and Hair Ties: Secure sections while curling. Keep them handy for effortless styling.
  • Heat Protectant Spray: A must before heat styling. It prevents damage from your beach waves curling iron.
  • Texture Spray: Adds grip and definition to waves. Use it after curling for enhanced texture.
  • Sea Salt Spray: Mimics the natural effect of saltwater. Spritz it on for that authentic beach look.
  • Volumizing Mousse: Apply to roots before drying. It gives lift and body to your waves.
  • Light Hairspray: Holds your style without stiffness. A quick spray can maintain your waves all day.

By incorporating these products and accessories, you can create beach waves that are both beautiful and durable. Just remember to use products that work well with your hair type and the beach waves curling iron you have chosen for optimal results.

beach waves curling iron

Home Appliance
Effortless Styling with the Latest Cordless Curling Iron

Exploring the Benefits of Cordless Curling Irons

The transition to cordless curling iron offers several advantages that have greatly appealed to styling enthusiasts. Here are the key benefits you can enjoy with a cordless curling iron:

cordless curling iron

  • Mobility and Convenience: Without the need to be near an electrical outlet, you can style your hair anywhere, be it your bathroom, bedroom, or while traveling.
  • Time-Saving: Cordless curling irons often heat up quickly, allowing for faster styling and saving precious minutes during your morning routine.
  • Safety: The absence of cords reduces the risk of tripping or tangling, making your styling process safer overall.
  • Versatility: Many cordless models are designed to be multi-functional, enabling you to create various hairstyles with a single tool.
  • Sleek Design: Cordless curling irons typically feature modern, compact designs that are easy to handle and store in small spaces.

Embracing a cordless curling iron could revolutionize your hair styling routine, offering greater freedom and flexibility. Although they may have some limitations, such as battery life, the pros of using a cordless curling iron generally outweigh any cons. As you consider making the switch, remember to keep an eye out for quality models that provide the features most important to you.

How Cordless Curling Irons Compare to Traditional Models

Making the switch to a cordless curling iron from a traditional model can be a game-changer for your hair styling routine. Let’s delve into some of the key comparisons:

  • Portability: The most obvious difference is portability. A cordless curling iron offers the freedom to style your hair without being tethered to a power outlet, unlike traditional models.
  • Heat-up Time: Cordless curling irons typically heat up fast, cutting down on the wait time compared to some corded options.
  • Safety: Going cordless means saying goodbye to tripping over wires or getting entangled while styling. This is a major safety improvement over corded versions.
  • Flexibility in use: With a traditional curling iron, you’re stuck wherever there’s an outlet. Cordless options let you style your hair from anywhere, even if there’s no power source nearby.

Ultimately, each type of curling iron has its unique advantages. Cordless models shine with their convenience and safety, while traditional irons are dependable for prolonged use. When deciding, consider your styling habits and which features align better with your needs.

Top Features to Look for in a Cordless Curling Iron

When scouting for the best cordless curling iron, it’s crucial to understand the features that stand out. Here are the top attributes to consider when making your selection:

  • Rapid Heat-up Time: Look for an iron that heats up swiftly. This will save you time and streamline your styling routine.
  • Adjustable Temperature Settings: Different hairstyles and hair types require various heat settings. Adjustable controls are essential for precise styling.
  • Battery Life: The longer the battery life, the better. You want a curling iron that holds a charge for several uses, especially if you travel.
  • Battery Indicator: A clear indicator lets you know when it’s time to recharge. This feature helps avoid unexpected power run-outs.
  • Ceramic or Tourmaline Barrels: These materials help distribute heat evenly. They also minimize hair damage by producing negative ions.

Each feature plays a pivotal role in determining the performance and convenience of your cordless curling iron. By focusing on these key aspects, you’ll be better equipped to choose an iron that meets your styling needs and enhances your daily routine.

cordless curling iron

Most Popular Cordless Curling Iron Brands

When you are in the market for a cordless curling iron, brand reputation can play a huge role. The most beloved brands combine quality, innovation, and customer satisfaction. Here is a list of popular brands known for their top-notch cordless curling irons:

  • Dyson: Dyson stands out with high-tech features and cutting-edge design. Their cordless irons are often lightweight, powerful, and boast long battery life.
  • Conair: A trusted name in hair care, Conair offers affordable cordless options that are user-friendly and reliable. They’re known for durability and versatility.
  • CHI: CHI excels at providing professional-grade tools. Their cordless irons often feature advanced technology like ceramic plates for even heating.
  • GHD: Renowned for premium hair styling tools, GHD’s cordless curling irons promise sleek results with minimal hair damage.

These brands dominate the market because they consistently release cordless curling irons that meet consumer needs. Whether you are looking for something high-end or more budget-friendly, there is a brand that fits your requirements.

Safety Tips for Using Cordless Curling Irons

Safety should always be a top priority when using any heat styling tool, especially cordless curling irons. Here’s how to use these devices safely:

  • Read the Manual: Before you start, read the user guide. Each model is different.
  • Test the Temperature: Don’t apply the hot iron directly to your hair. Test it on a small section first.
  • Avoid Water: Never use a curling iron near water to prevent electric shock.
  • Handle with Care: The barrel gets extremely hot. Hold the iron by the handle only.
  • Do Not Overcharge: Follow the manufacturer’s instructions for charging. Overcharging may lead to battery damage.
  • Use on Dry Hair: Apply the iron only to dry hair to prevent hair damage.

By following these simple safety tips, you can enjoy your cordless curling iron without any mishaps. Remember, taking a moment to focus on safety can prevent accidents and ensure a pleasant styling experience.

How to Achieve Different Curls with Cordless Irons

Achieving various curl types with a cordless curling iron is an art form. To get different looks, consider these tips:

  • For Tight Curls: Choose a small barrel. Wrap small sections of hair tightly around the iron. Hold for a few seconds before releasing.
  • For Loose Waves: Opt for a larger barrel. Wrap larger sections of hair. Hold briefly then let go for a relaxed wave.
  • For Voluminous Curls: Hold the iron vertically. Wrap hair sections around the barrel, starting near the root. This gives lift and fullness.
  • For Beachy Waves: Twist hair before wrapping it around the iron. This technique creates a more natural, tousled look.

Each of these methods will help you master the use of your cordless curling iron to achieve just the right style. Be sure to practice and experiment to find the best techniques for your hair type.

cordless curling iron

Maintaining Your Cordless Curling Iron for Longevity

To enjoy your cordless curling iron for years, proper maintenance is key. Follow these steps for optimal care:

  • Regular Cleaning: Wipe the barrel after each use with a soft, damp cloth. Ensure it’s cool and unplugged.
  • Battery Care: Recharge the battery as needed. Don’t wait for it to fully drain before charging.
  • Storage: Store in a cool, dry place. Avoid places with moisture or direct sunlight.
  • Protective Cover: Use the cover provided to shield the barrel from damage when not in use.
  • Avoid Drops: Handle your iron with care. Dropping it can damage the barrel or internal components.
  • Check for Damage: Inspect your iron regularly for signs of wear. Look for loose parts or exposed wires.

By respecting these maintenance guidelines, your cordless curling iron will remain a reliable tool in your beauty arsenal.

Cordless Curling Irons: Price vs Quality

When shopping for a cordless curling iron, the price and quality are two factors to weigh carefully. Here’s what to keep in mind:

  • Assess the Features: A higher price often means more features. Does the model have adjustable heat settings, a long battery life, or dual voltage options? These contribute to the iron’s quality and justify the cost.
  • Materials Matter: Quality cordless curling irons usually have ceramic or tourmaline barrels. These materials protect your hair and ensure even heating. Usually, higher-quality materials will raise the price.
  • Brand Reputation: Established brands might charge more but also often offer better quality and warranties. Investing in a reputable brand can lead to a longer-lasting curling iron.

Look for a cordless curling iron that offers the best combination of price and quality, based on your styling needs and frequency of use. Remember, paying a bit more upfront for a quality product often leads to better performance and durability, saving money in the long run.

cordless curling iron

Home Appliance
Mastering the 1 Inch Curling Iron – Tips for Perfect Curls

Selecting the Right 1 Inch Curling Iron

Selecting the perfect 1 inch curling iron can be a game-changer for your hairstyles. With the right tool, you can create smooth, long-lasting curls that showcase your hair’s beauty. Here’s how to choose the best one for your hair needs.

1 inch curling iron

Types of 1 Inch Curling Irons

When shopping for a 1 inch curling iron, you’ll find various types each with unique benefits:

  • Spring Clamp Irons: These are user-friendly and great for beginners. The clamp holds hair in place as you curl.
  • Marcel Irons: Preferred by professionals, Marcel irons offer greater control but require more skill.
  • Clipless Wands: They create natural-looking waves and eliminate creases caused by clamps.
  • Tapered Wands: Ideal for versatile curls, from tight ringlets to loose waves, based on where you wrap your hair.

Be mindful of your skill level and the styles you desire when choosing among these types.

What to Look for in a Quality Curling Iron

A quality 1 inch curling iron should possess the following features:

  • Adjustable Heat Settings: This ensures you can find the perfect temperature for your hair type.
  • Ceramic or Tourmaline Barrels: They distribute heat evenly, minimizing damage and frizz.
  • Swivel Cord: It allows for easy maneuvering without tangling the cord.
  • Auto Shut-off: For safety, the iron should turn off automatically after a period of non-use.

Selecting the right 1 inch curling iron with the needed features helps you achieve the perfect curls while taking care of your hair. Remember to maintain the tool and always use it properly to keep your hair healthy and stylish.

Prepping Your Hair for Curling

To get the best results with your 1 inch curling iron, prepping your hair is essential. Proper preparation not only protects your hair but also ensures that your curls will hold better and look more defined.

Washing and Conditioning

Start with clean hair. Use a gentle shampoo and conditioner that match your hair type. This step removes any build-up that can weigh your hair down and prevents your curls from taking shape. Keep your hair hydrated, but avoid heavy products that can make your hair too slippery for curling.

1 inch curling iron

Applying Heat Protectant

Before you apply any heat to your hair, it’s crucial to use a heat protectant. This product forms a barrier between your hair and the curling iron, minimizing heat damage. Apply it evenly throughout your hair, concentrating on the ends which are more prone to damage.

The Importance of Completely Dry Hair

Ensure your hair is completely dry before curling. Wet or damp hair won’t curl properly and can be damaged easily when exposed to high heat. You can let it air dry or use a blow dryer, but be sure it’s fully dry to get smooth, long-lasting curls with your 1 inch curling iron.

The Basics of Using a 1 Inch Curling Iron

Getting the hang of using your 1 inch curling iron is the foundation for fabulous curls. Here’s a step-by-step guide to help you master the basics.

Heating Up Your Iron

Before you start curling, your iron needs to be hot enough. Turn on your 1 inch curling iron to the right temperature for your hair. Thin or fine hair requires a lower setting to prevent damage, while thick hair can handle higher heat. Wait until it’s fully heated – most irons have a light that indicates when they’re ready.

Sectioning Your Hair

Dividing your hair into sections is key for even curls. Start by parting your hair in the middle or on one side, depending on your preference. Clip up the top half of your hair, leaving the bottom layer down. Work in small, manageable sections for the best results. This method ensures you don’t miss any strands and your curls look uniform.

Holding the Curling Iron Properly

The right grip on your 1 inch curling iron means you can curl without hassle. Hold the iron with your dominant hand and use the other hand to wrap your hair around the barrel. Keep the iron vertical for longer, looser curls or horizontal for tighter, bouncier curls. Don’t rush; a steady hand leads to better-shaped curls. Make sure you don’t touch the hot barrel to avoid burns.

Techniques for Perfect Curls

Achieving the perfect curls with a 1 inch curling iron takes practice and technique. Below are some of the most effective methods to help you get those enviable curls.

The Classic Wrap Method

The classic wrap method is a go-to for many. Start by taking a small section of hair. Open the clamp of your curling iron. Wrap the section around the barrel from the base to the tip. Close the clamp and hold for a few seconds. Release the clamp and gently pull the iron out. You’ll have a classic, bouncy curl.

Creating Waves with a Curling Iron

For a wavy look, take larger sections of hair. Wrap these loosely around the 1 inch curling iron. Instead of clamping, hold the hair against the barrel with your fingers. Wear a heat glove to prevent burns. Keep the iron in place for less time than with classic curls. This creates soft waves instead of tight curls.

How to Make Your Curls Last Longer

Creating perfect curls with a 1 inch curling iron is just the beginning. Making them last throughout the day or night is key. Here are tips to ensure your curls stay in place longer.

Setting with Hairspray

After curling your hair, set your curls with a light mist of hairspray. Not too much, just enough to hold. Choose a hairspray that offers flexibility without stiffness. Spray from a distance to cover all your curls evenly.

Using the Right Hair Products

The right products can make a difference. Look for mousses or gels that are designed to enhance and hold curls. Apply them before you start curling. This prep step adds texture and grip, making curls last longer.

1 inch curling iron

Caring for Your 1 Inch Curling Iron

Proper care for your 1 inch curling iron ensures it lasts longer and works well.

Cleaning Your Iron

Regular cleaning is key for your curling iron’s performance. After each use, unplug the iron and let it cool. Gently wipe the barrel with a damp cloth to remove residue. Avoid using abrasive materials that can scratch and damage the surface.

Proper Storage

Store your 1 inch curling iron in a cool, dry place. Use a heat-resistant pouch or mat. This keeps it safe and protects other surfaces. Ensure the cord is loosely coiled to prevent damage.

Advanced Styling Tips

Once you’ve mastered the basics of using your 1 inch curling iron, you can explore advanced styling tips. These tips will help you create a variety of curl types and adapt your look for special events.

Creating Different Types of Curls

Achieving different curl types with a 1 inch curling iron is all about technique:

  • Spiral Curls: For dramatic spirals, twist each hair section before wrapping it around the iron.
  • Beachy Waves: Angle the iron away from your face and twist hair sections in alternate directions.
  • Volume Curls: Curl hair away from the scalp, starting close to the roots, to add lift and volume.

Experiment with your curling method to find the types of curls that fit your style best.

Styling Curls for Different Occasions

Curls can match any occasion with the right approach:

  • Casual outings: Looser waves give a laid-back vibe. Don’t fuss too much over perfection.
  • Formal events: Use neat, defined curls or elegant spirals for a polished look.
  • Work settings: Opt for subtle waves or soft curls for a professional appearance.

Adjust your curling techniques to suit the event and convey the desired level of formality.

1 inch curling iron

Home Appliance
Beach Wave Curling Iron – Styling Tips for Perfect Waves

Choosing the Right Curling Iron for Beach Waves

When creating the beach wave curling iron, selecting the appropriate beach wave curling iron is crucial. The barrel size mainly influences the wave’s shape and size. Typically, for loose beach waves, a barrel that is 1 to 1.5 inches in diameter works best. It offers a good balance between defined curls and natural-looking waves.

beach wave curling iron

Prepping Your Hair for Styling

Before creating the perfect beach waves with your beach wave curling iron, hair preparation is key. A solid prep lays the groundwork for a stunning hairstyle and prevents damage.

Start by washing your hair with a nourishing shampoo and conditioner. This step removes any built-up products and oils. Clean hair holds style better and will help your beach waves last longer.

Next, gently towel-dry your hair to remove excess water. Avoid rubbing your hair vigorously as this can cause frizz and breakage. Instead, blot or squeeze your hair with the towel.

Apply a heat protectant evenly through your damp hair. This product is essential to shield your hair from the high temperatures of the curling iron. It helps prevent split ends and keeps your hair healthy.

Step-by-Step Guide to Creating Beach Waves

Now that you’ve chosen your beach wave curling iron and prepped your hair, it’s time to dive into the styling process. Crafting the perfect beach waves can be simple with the right technique. Here’s a step-by-step guide to help you achieve those effortless-looking waves.

1. Section Your Hair

Begin by dividing your hair into sections. Smaller sections ensure even heat distribution. Clip away the top layers and start with the bottom ones.

2. Heat the Curling Iron

Turn on your beach wave curling iron. Set it to the appropriate temperature for your hair type. Wait for it to heat up.

3. Wrap Hair Around the Barrel

Take a section of hair and wrap it around the curling iron’s barrel. Avoid overlapping the hair to prevent uneven waves. Hold for a few seconds.

4. Release and Repeat

Gently release the hair. Let it fall into a wave. Move to the next section and repeat the curling process. Alternate the curl direction for a more natural look.

beach wave curling iron

Temperature Settings for Different Hair Types

Choosing the correct temperature on your beach wave curling iron is crucial for achieving ideal waves without damaging your hair. Different hair types require unique heat settings to effectively curl while maintaining hair health.

  • Fine Hair: Fine hair is sensitive and can easily suffer damage from high temperatures. Set your iron between 250-300 degrees Fahrenheit to create gentle waves without fry.
  • Medium/Normal Hair: This hair type can handle a bit more heat. Position your beach wave curling iron between 300-350 degrees Fahrenheit for effective curling that won’t sap moisture.
  • Thick Hair: Thick hair may resist curling at lower temperatures. Turn up the heat to 350-400 degrees Fahrenheit for firm beach waves. However, consistently avoid exceeding 400 degrees to prevent damage.
  • Treated or Damaged Hair: If your hair is colored or chemically treated, it’s likely more fragile. Use a lower temperature, similar to fine hair settings, and increase gradually if needed.

Always start at the lower end of the temperature range recommended for your hair type and increase gradually if necessary. This approach will help you find the sweet spot for creating perfect waves while preserving hair integrity.

Tips for Long-Lasting Beach Waves

Achieving beach waves that last requires a few expert tips. Stick to these guidelines and your beach waves will stay intact from sunrise to sunset.

Use Quality Hair Products

Start with high-quality hair products. Apply a mousse or sea salt spray before you curl. These provide texture and help hold the waves.

Don’t Overlook Hairspray

After curling, use a lightweight hairspray. It will set your waves without making them stiff. Look for one that’s humidity-resistant.

Avoid Touching Your Hair Too Much

Resist the urge to touch your hair. Oils and moisture from your hands can cause the waves to fall out. Let them set and don’t fiddle with them.

Consider Overnight Styles

For waves that last, try overnight braids or buns. These styles create natural-looking waves without heat. Just brush them out lightly in the morning.

Wrap Hair Loosely

When curling, wrap hair loosely around the beach wave curling iron. Tight curls tend to drop faster. Gentle waves have better longevity.

Common Mistakes to Avoid When Using a Curling Iron

Creating the perfect beach waves with your beach wave curling iron might seem simple, but common mistakes can lead to less-than-ideal results and potential hair damage. Here are some pitfalls to steer clear of during your styling routine.

  • Not Using a Heat Protectant: Skipping this crucial step exposes your hair to potential heat damage. Always apply a heat protectant before styling.
  • Setting the Heat Too High: Excessive heat can harm your hair, especially if it’s fine or treated. Use the right temperature setting for your hair type.
  • Curling Wet Hair: Your hair should be completely dry before curling. Damp hair won’t hold the wave and could be damaged.
  • Clamping Too Tightly: Applying too much pressure with the clamp creates creases. Instead, hold the hair gently around the barrel.
  • Holding the Iron for Too Long: Keep the iron in your hair for just a few seconds. Overdoing it can fry your strands.

By avoiding these common errors, you’ll ensure your beach waves turn out beautifully and your hair stays healthy.

beach wave curling iron

Aftercare and Maintenance for Your Beach Wave Hairstyle

After crafting your perfect beach waves with a beach wave curling iron, proper aftercare is vital. This ensures that your hairstyle continues to look fresh and your hair remains in good health. Below are some aftercare and maintenance tips to keep your beach waves looking their best.

Use a Silk Pillowcase

Swap your cotton pillowcase for a silk one. Silk reduces friction, which helps prevent your waves from getting frizzy or flattened while you sleep.

Apply a Lightweight Oil or Serum

A little bit of lightweight hair oil or serum can go a long way. Use it to add shine and tame any flyaways. Just be sure not to use too much, as it can weigh down your waves.

Refresh with a Curl Reviving Spray

On the days following your initial styling, revive your waves with a curl-enhancing spray. This helps redefine the waves and add bounce back into your hair.

Avoid Over-Washing Your Hair

Frequent washing can loosen your waves faster. Try to extend the time between washes. Use dry shampoo to absorb excess oil at the roots.

The Best Products to Enhance Your Beach Waves

To elevate your beach waves, quality products are key. Here are some top picks for that extra oomph.

Mousse for Volume and Hold

A good volumizing mousse can lift your roots and give your waves body. Apply it to damp hair before drying.

Sea Salt Spray for Texture

Sea salt spray adds the perfect beachy texture. Spray it on dry hair and scrunch for a tousled look.

Heat Protectant for Safety

Never skip the heat protectant. It guards against heat damage. Use it on damp hair before styling with your beach wave curling iron.

Curl Enhancing Spray for Definition

To define your waves, a curl enhancing spray works wonders. Spritz it on before and after curling for more pronounced waves.

beach wave curling iron