Creating Your DIY Microwave Heating Pad: Relief and Comfort
Introduction to DIY Heating Pad Benefits
Creating a DIY microwave heating pad has multiple advantages for health and comfort. These heating pads offer a simple, cost-effective solution for providing warmth and easing discomfort in muscles and joints. Unlike commercial heating pads, a homemade version puts you in control of the materials and the level of heat it will provide, ensuring a more personalized experience.
Here are some of the key benefits of using a DIY microwave heating pad:
- Natural Pain Relief: The heat from a rice-filled pad can penetrate sore muscles, easing aches and reducing stiffness.
- Comfort and Warmth: These pads can be used to warm up cold beds or provide comfort on chilly evenings.
- Stress Reduction: Adding essential oils such as lavender can offer aromatherapy benefits, helping to relieve tension and promote relaxation.
- Eco-Friendly: By upcycling materials like pillowcases, creating a DIY pad is a sustainable choice.
- Versatility: DIY pads can also serve as cold packs when stored in the freezer, providing relief for injuries or hot weather.
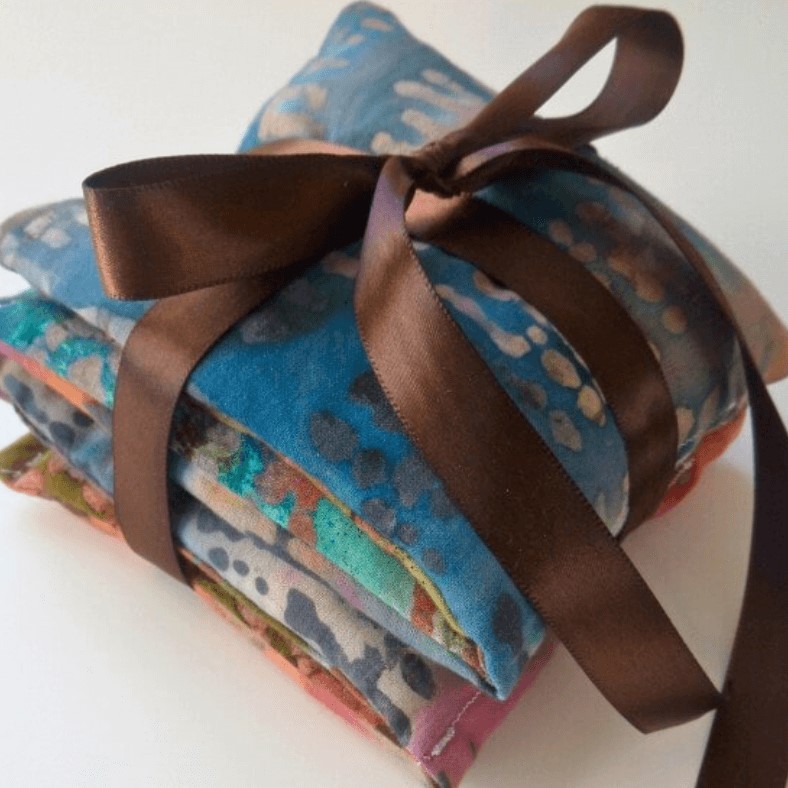
- Customizable: You can tailor the size, shape, and scent to suit your preferences or create thoughtful, personalized gifts.
Overall, making your own microwave heating pad is a fun project that yields a functional item with diverse uses around the home. Plus, it’s a thoughtful, handmade gift that recipients will appreciate for its utility and personal touch.
Essential Materials for Your Microwave Heating Pad
To start your DIY microwave heating pad, gather the right materials. Here’s what you’ll need:
- Clean, 100% cotton fabric: An old pillowcase is perfect, especially if it’s 100% cotton. Cotton withstands heat well.
- Thread: Choose sturdy, 100% cotton thread because it won’t melt in the microwave.
- Sewing machine or needle: For stitching the pad, although hand-sewing works too.
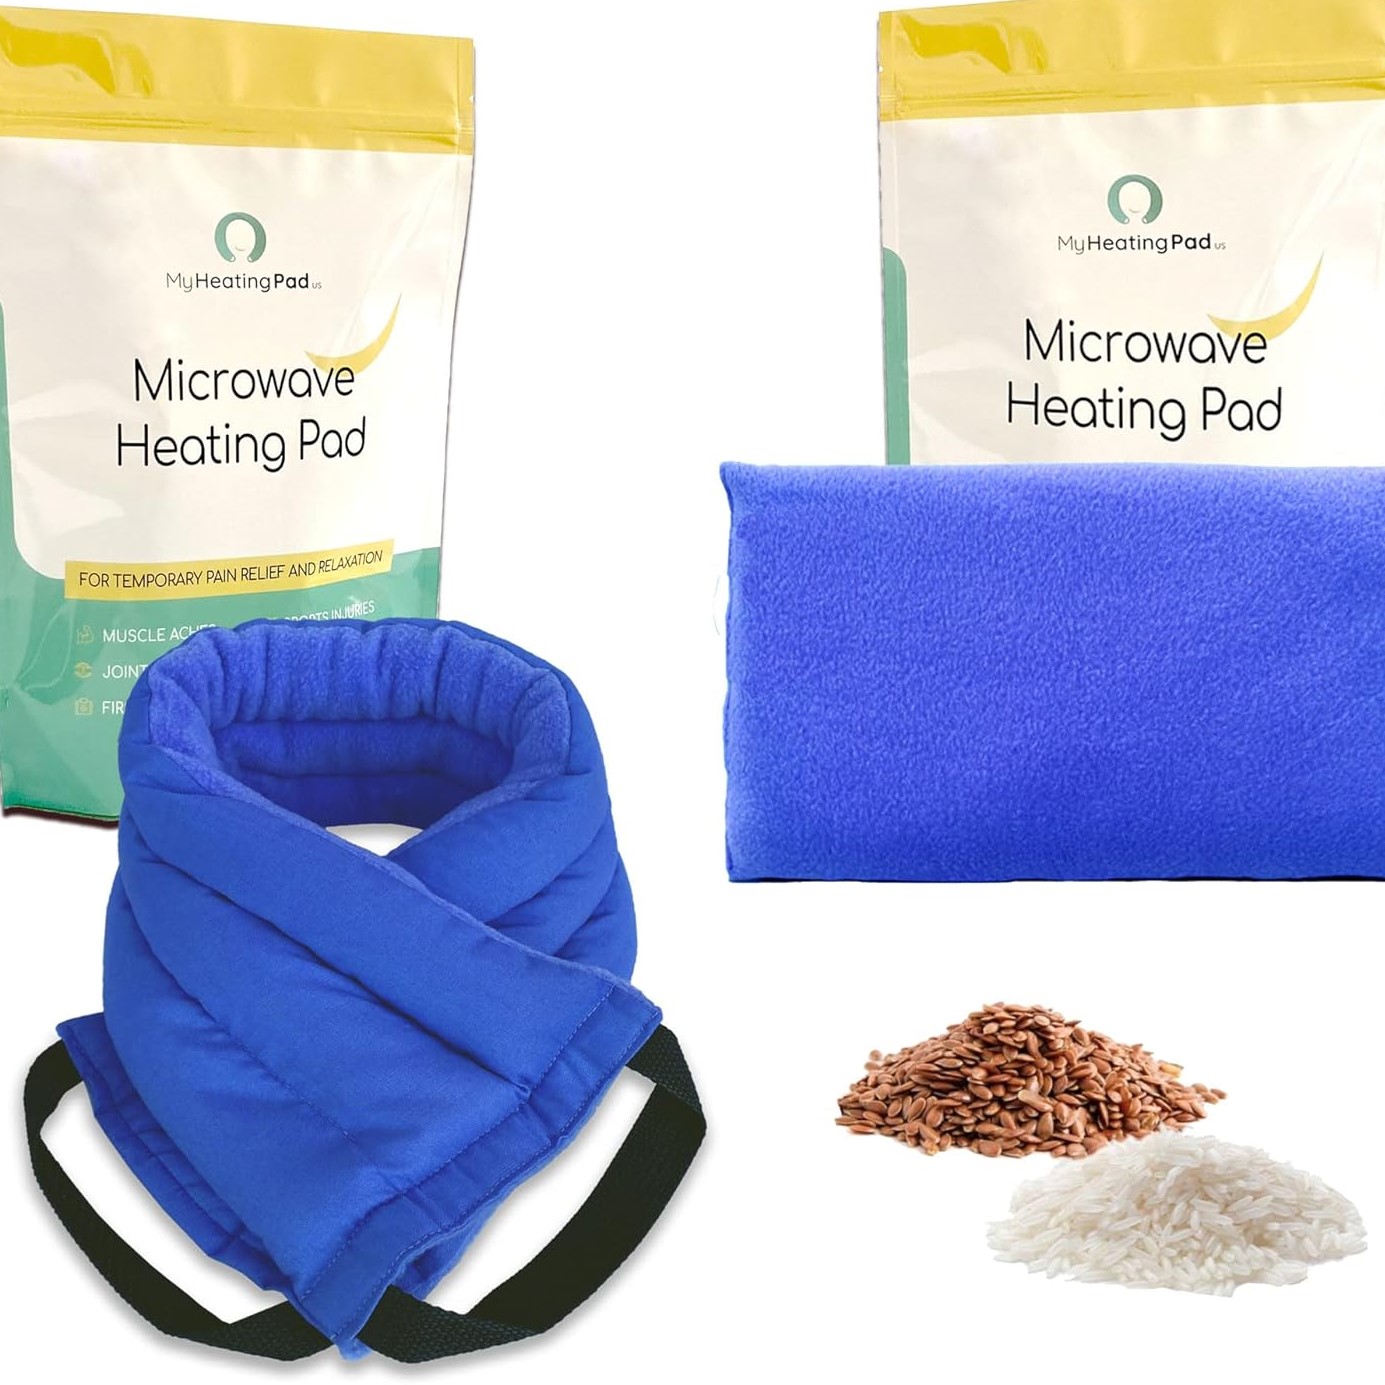
- Rice: Dry, uncooked rice is ideal for filling. About 8 to 10 cups should do.
- Measuring tape and scissors: For measuring and cutting your fabric to size.
- Straight pins: To hold fabric in place while sewing.
- Essential oils (optional): Add scents like lavender for aromatherapy benefits. Use about 15 to 20 drops.
Choose cotton fabric in a pattern or color you love. Make sure the fabric is clean to start. Thick thread will keep the rice inside, and avoid melting. A sewing machine makes the work faster, but you can sew by hand if needed. Rice works well for heat retention and is easy to find. Measure and cut the fabric evenly with tape and scissors. Pins will keep everything aligned as you sew. Essential oils add a nice touch, but they’re optional. Use them if you like a scented pad.
Step-by-Step Sewing Instructions
Making your own microwave heating pad is easy with these simple sewing steps. Here’s how to create one:
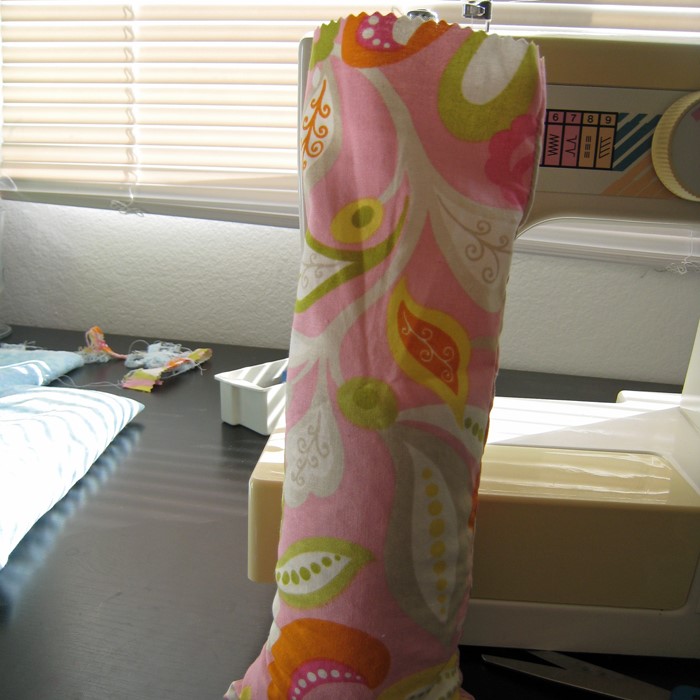
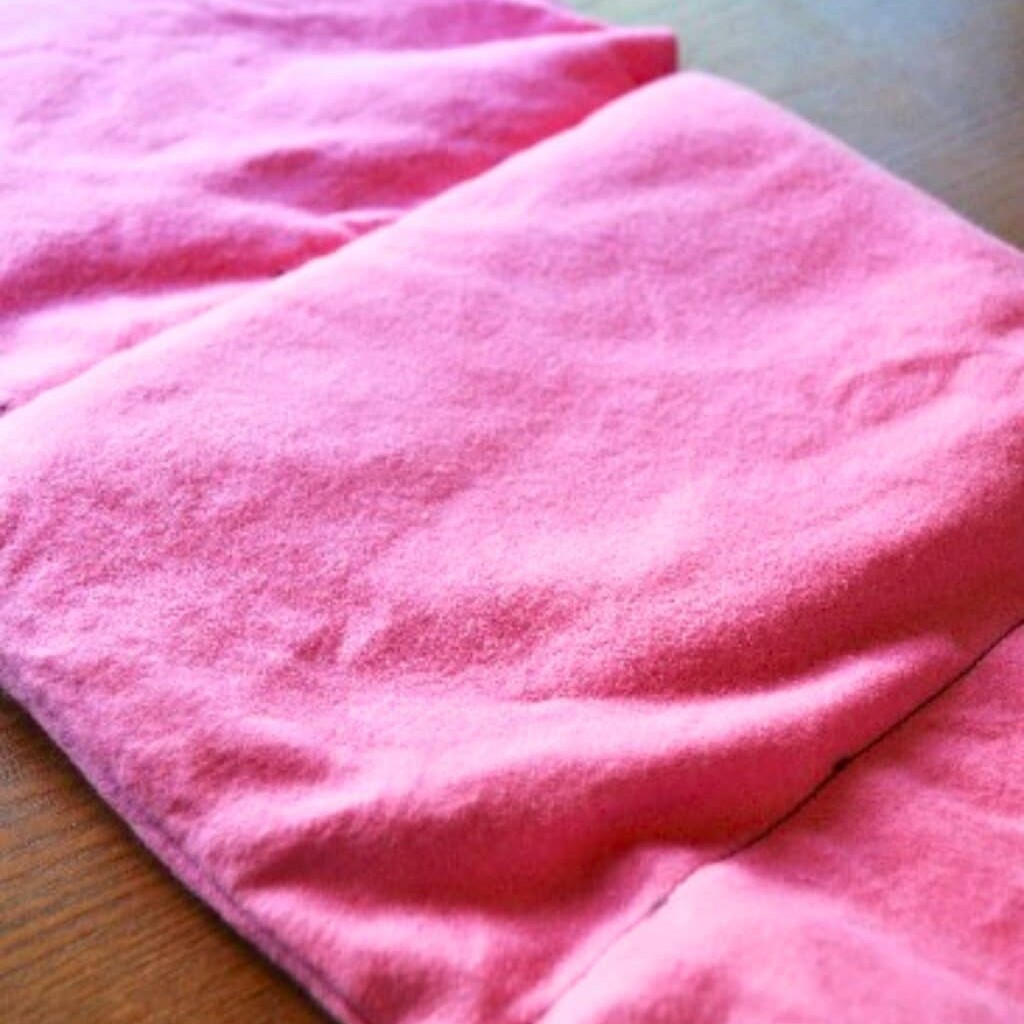
- Cut Fabric to Size: Use your measuring tape and scissors to cut the cotton fabric. An old pillowcase works great for this. Cut a rectangle that’s 12 inches wide and 20 inches long.
- Create an ‘Envelope’: If you’re using a pillowcase, turn it inside out. Sew up three sides if using fabric, leaving one side open.
- Hem the Open Edge: Fold down the top 1 inch of the open side and pin it in place. Straight stitch around the top to hem it, making sure not to sew it shut.
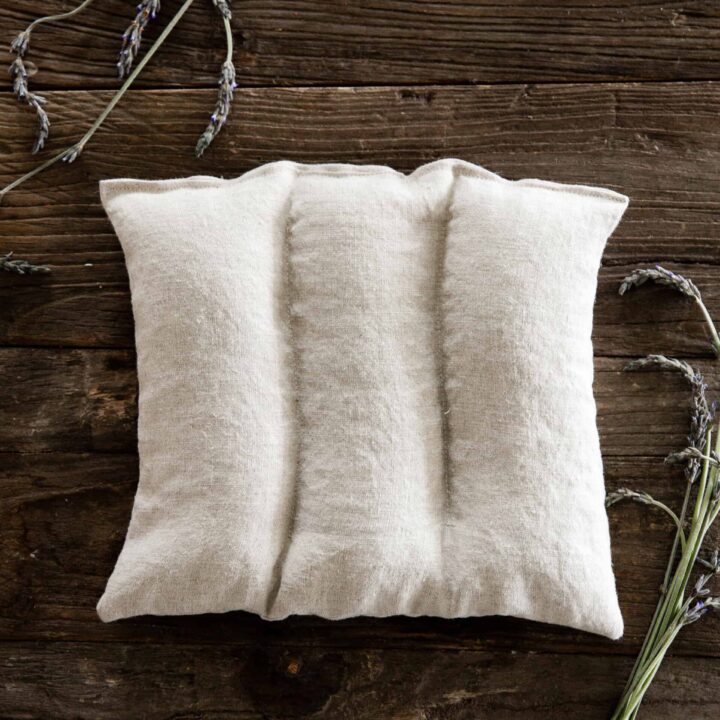
- Divide into Pockets: Measure the length of your pad. Find the center and use pins to mark it. Then, measure and mark two more lines to divide the pad into four equal sections.
- Sew the Pockets: Sew along the lines you’ve marked, creating four pockets. This keeps the rice from shifting too much.
- Finishing Touches: After filling the pad with rice, sew the open edge closed. A zigzag stitch adds strength and style.
Now, you have a wonderful, self-made microwave heating pad, ready for heating or cooling as needed. Remember to add rice carefully and not to overfill the pockets to maintain flexibility. With these instructions, you’ll have a cozy pad in no time!
Adding Rice and Essential Oils
Now that you’ve crafted the shell of your heating pad, it’s time to fill it. Here’s what to do:
- Measure the Rice: Calculate how much rice you’ll need for each pocket. Usually, 2 to 2.5 cups per pocket strikes a good balance. It allows the pad to stay flexible while retaining enough heat or cold.
- Select Your Essential Oils: If desired, pick your favorite essential oils to enhance the experience. Lavender is excellent for relaxation, but feel free to choose others like eucalyptus or peppermint.
- Mixing: In a bowl, pour your measured rice. Add the essential oils — about 20 drops in total is a good start. This brings a therapeutic scent to your heating pad.
- Fill the Pockets: Carefully spoon the fragrant rice into each pocket. Don’t overfill; the rice should have some room to move. Once your pockets are filled, distribute the rice evenly by shaking and patting the pad.
- Check for Evenness: Before closing, ensure each pocket has an even amount of rice. Adjust if necessary. You want the pad to lie flat and flexible against your skin.
- Enjoy the Benefits: Once filled, your DIY microwave heating pad not only provides warmth but also the soothing effects of aromatherapy, thanks to the essential oils.
Adding rice and essential oils is a crucial step in creating a DIY microwave heating pad that’s tailored to your needs. With the right balance, your heating pad will be a perfect companion for relaxation or pain relief.
 Closing the Heating Pad Safely
To finish your DIY microwave heating pad, you must close it properly. This will keep the rice in and ensure a long life for your heating pad. Here are steps to seal your pad:
- Fold and Pin: After filling, fold the open edge of the fabric inward. Use pins to hold it in place.
- Sew the Edge: Sew along the pinned edge with a straight stitch. Be sure to backstitch at both ends for strength.
- Double Check for Holes: Examine the seam you’ve sewn. Look for any gaps where rice might escape.
- Add Reinforcement: For extra durability, sew a zigzag stitch over the straight stitch.
- Remove Pins: Once the sewing is complete, carefully remove all the straight pins.
- Test Your Pad: Gently shake the pad and press it to make sure no rice leaks out.
By following these steps, you’ll ensure that your DIY heating pad is safe to use. It will stay intact during microwave heating or freezing for cold use. Properly closing your heating pad is key to its effectiveness and safety.
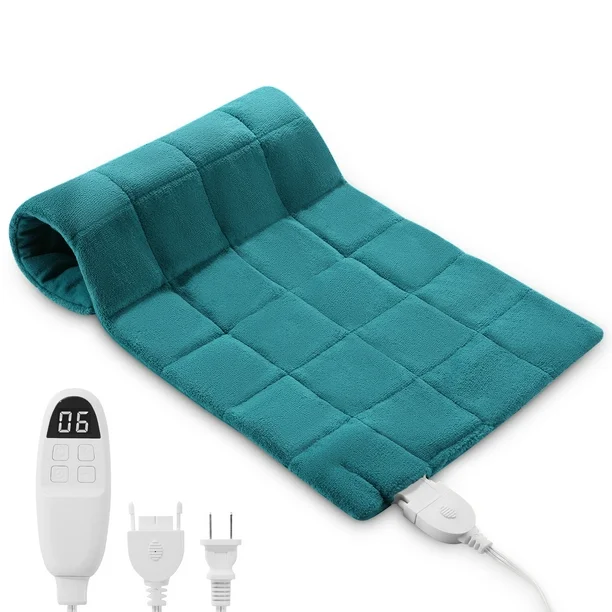
How to Properly Heat Your DIY Pad in the Microwave
To ensure your DIY microwave heating pad works effectively, follow these heating guidelines:
- Start with Less Time: Begin by microwaving the pad for just two minutes. Microwaves vary in power, so it’s better to start with less time and add more as needed.
- Check the Warmth: After heating, carefully touch the pad to check its warmth. You want it comfortably warm, not hot enough to burn.
- Add Time if Necessary: If the pad isn’t warm enough, heat it for additional 30-second intervals. Always check the temperature after each interval.
- Shake the Pad: This distributes the heat evenly across the rice. Ensure no areas are too hot.
- Do a Safety Test: Before using it on your skin, make sure the pad is not steaming. Overly hot or steamy pads can cause burns.
- Never Overheat: Do not exceed four minutes total heating time. Overheating can scorch the rice and ruin your pad.
- Use a Fabric Cover: If available, use a cover over your heating pad. It helps distribute heat and keeps your skin safe.
By following these steps, you will prolong the life of your heating pad and ensure your safety. Enjoy the cozy warmth and relief it provides.
Multi-functional Use: Heating and Cooling
Your DIY microwave heating pad is not just for warmth. It has multi-functional use for both heating and cooling, providing versatile relief depending on your needs. When you need warmth, microwave it; for cooling, just place it in the freezer. Here’s how it works:
- Heating: Microwave your pad for relief from sore muscles or to warm up during colder nights. It’s perfect for areas that need heat therapy.
- Cooling: Store the pad in the freezer to help with bruises, swelling, or to cool down on hot days. It acts like a cold pack.
The beauty of a DIY pad is that you can switch between hot and cold therapy. It’s convenient for a range of situations, from easing pain to providing comfort. Plus, a home-made pad is easy to make multiple, so you always have one ready for heating or cooling as needed. Remember to always check the temperature and never overheat, to ensure safe use.
Creative Variations and Personalized Touches
When making your DIY microwave heating pad, the possibilities for personalization are endless. Here are some creative ideas to make your heating pad uniquely yours:
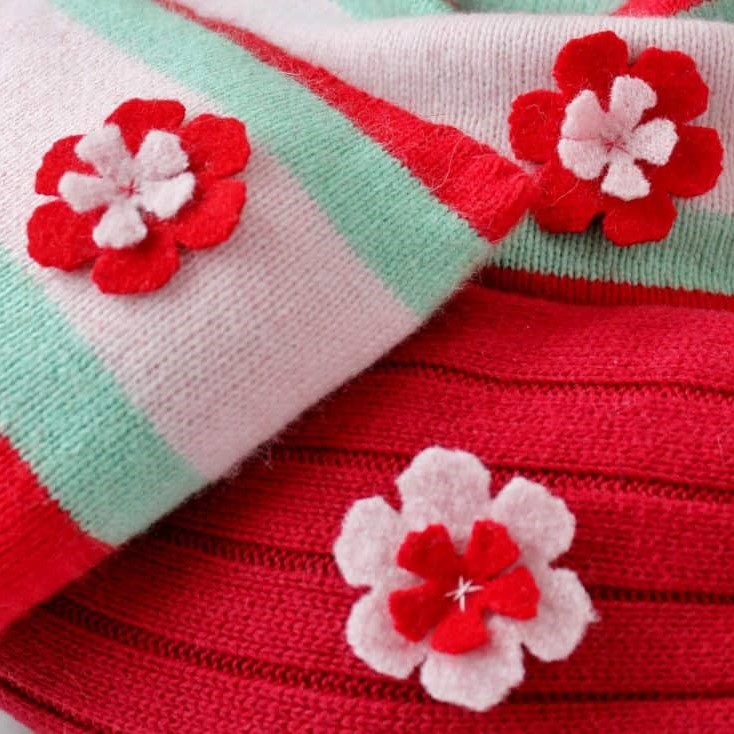
- Choose Fun Fabrics: Experiment with different colors and patterns to match your style or decor.
- Size Customization: Create several sizes. Small ones are great for the eyes or headaches, large ones for back pain.
- Add A Loop: Sew in a fabric loop. This makes it easy to hang for storage.
- Removable Covers: Make covers that can be washed. It will keep your heating pad clean and fresh.
- Scent Variations: Try different essential oils. Mix and match scents like peppermint, eucalyptus, or rose.
- Shape It Up: Instead of rectangles, cut shapes like hearts or animals for a fun twist.
- Layer Fabrics: Use multiple fabric layers for more insulation. It will keep the heat longer.
- Rice Alternatives: Mix in some dried lavender, flax seeds, or even cherry pits with the rice.
These touches not only add a personal flair but can enhance the overall experience of using your microwave heating pad. Moreover, they make thoughtful, customized gifts for friends and family. Remember to keep it fun and reflective of your own taste and comfort needs.
 Precautions and Care for Your Homemade Heating Pad
Taking care of your DIY heating pad ensures its longevity and safety. Here are some precautions and tips:
- Avoid Water: Never wash the heating pad. Rice and other fillers can get damaged.
- Watch for Wear: Inspect the pad regularly. Look for tears or weak seams that can leak rice.
- Heat Evenly: Always shake the pad after microwaving. This spreads the warmth.
- No Overheating: Heat for short periods. Check the warmth often. Never heat more than four minutes.
- Stay Dry: Keep your pad in a dry place. Moisture can spoil the rice filler.
- Be Careful with Oils: If you use oils, they can be flammable. Use only a few drops.
- Freshen Up: If your pad starts to smell, you can’t wash it, but you can sprinkle with baking soda, leave for an hour, then shake it out.
- Time to Replace?: If the pad smells burnt or shows much wear, make a new one.
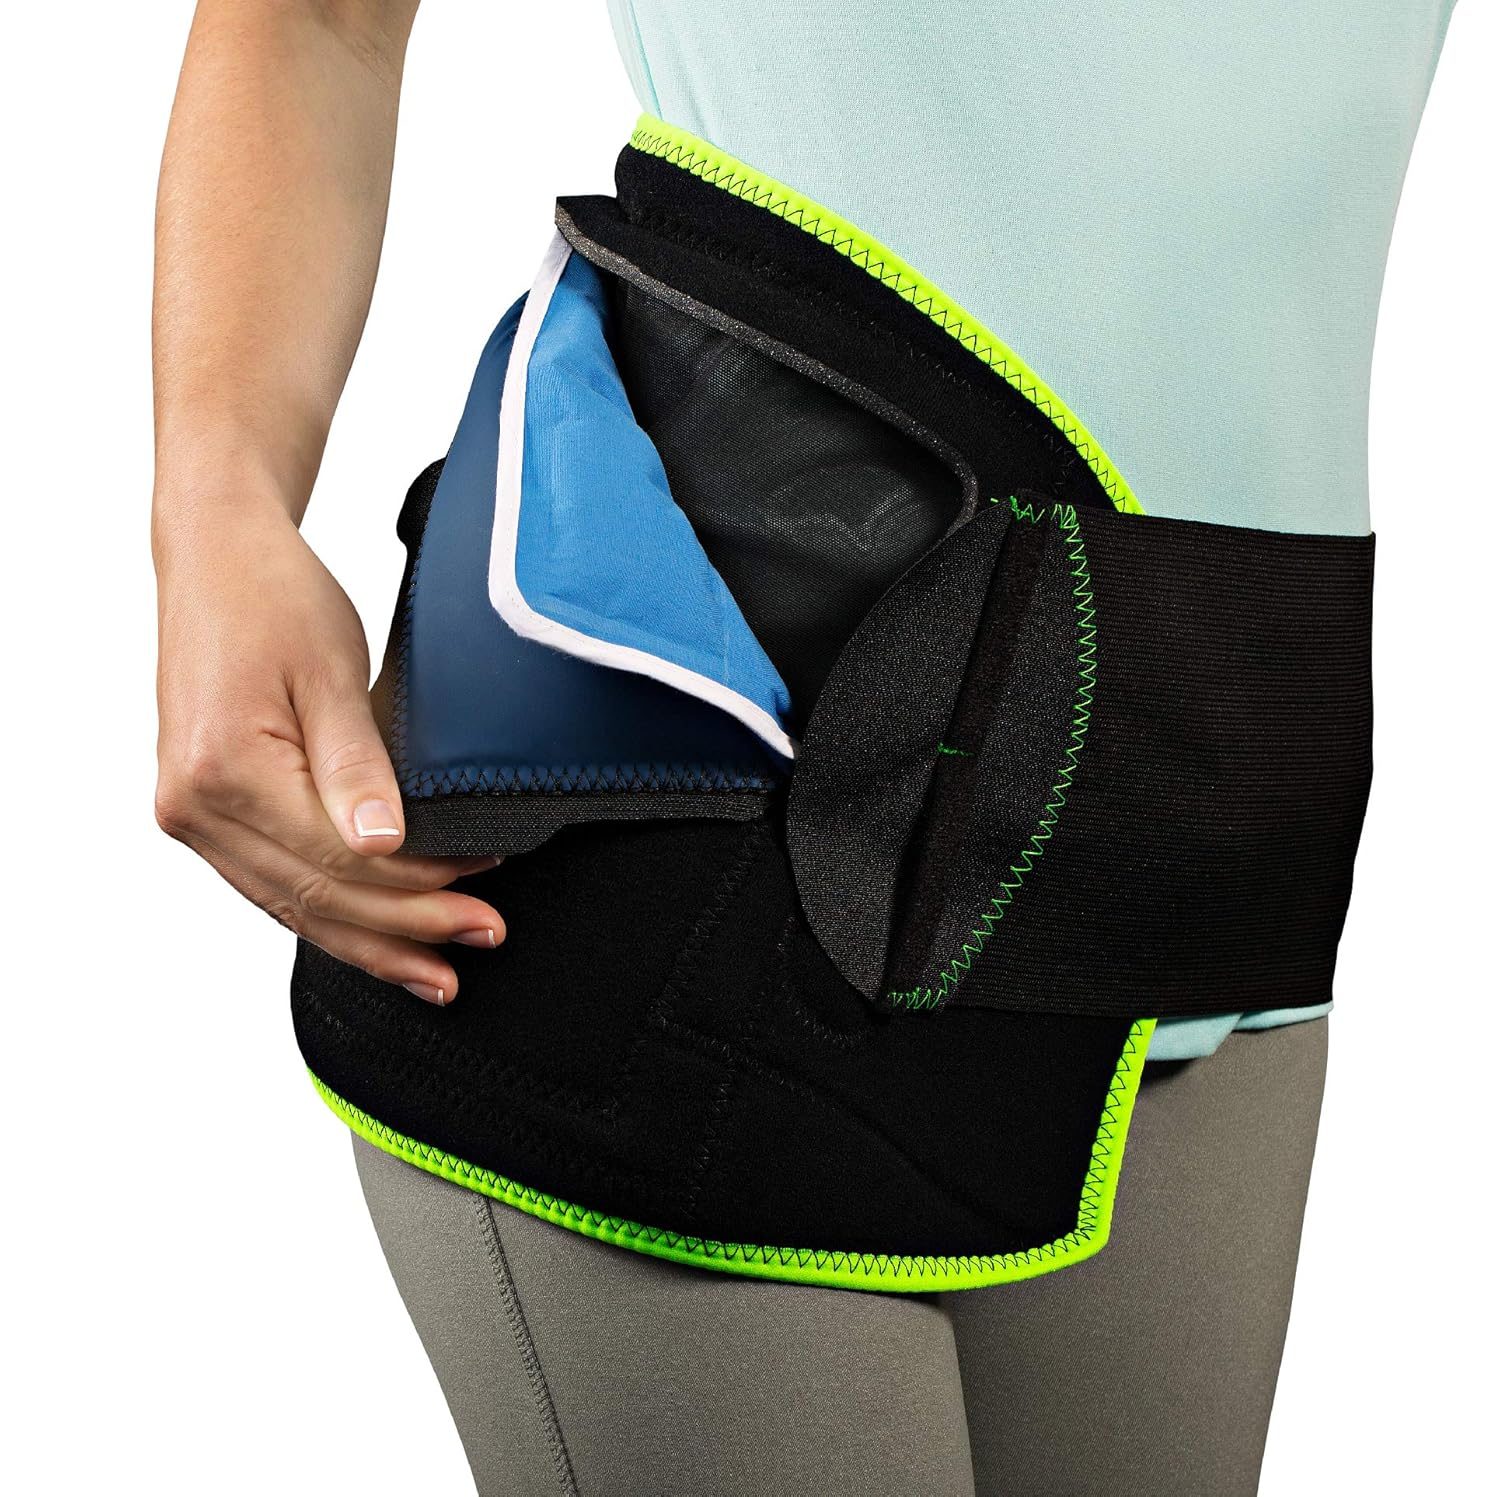
- Cold Use: For using as a cold pack, wrap the pad in a bag before freezing. This prevents moisture from damaging it.
- Prevent Burns: Test the temperature before placing it on your skin.
Caring for your homemade heating pad is simple. Just keep it dry, check for damage, and avoid overloading the oils. With these tips, your pad will be a lasting comfort. Remember to make a new one if needed.
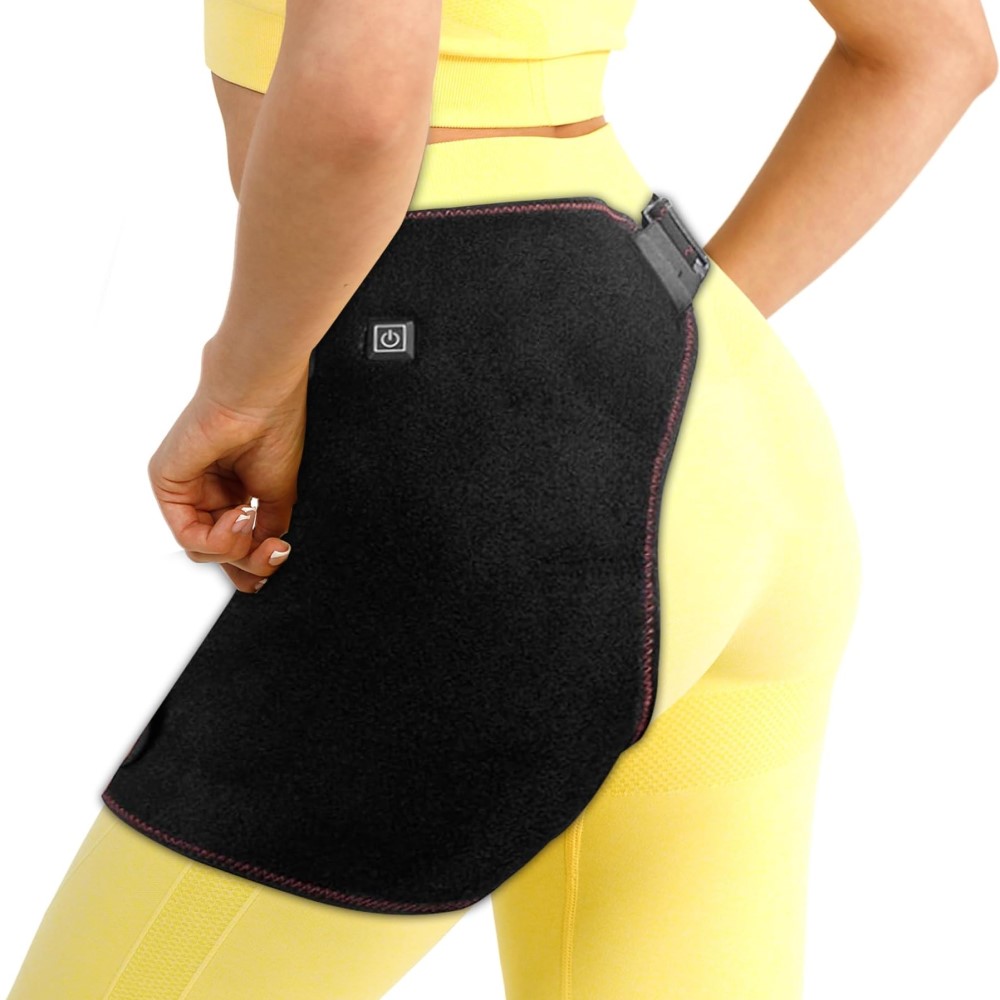
 Benefits of Using a Heating Pad for Hip Pain

 Step-by-Step Instructions on Making a Heating Pad
 Common Conditions Alleviated by Moist Heat Pads
 Tips for Using Vibrating Heating Pads Safely and Effectively
 How to Use a Moist Heating Pad Safely
 Expert Opinions on Heat Therapy During Pregnancy
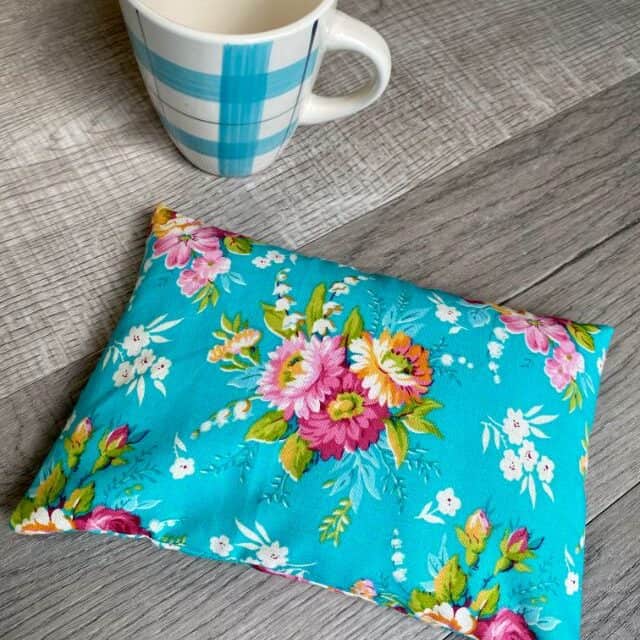
 Safety Tips for Using DIY Heating Pads