Mastering the 1 Inch Curling Iron – Tips for Perfect Curls
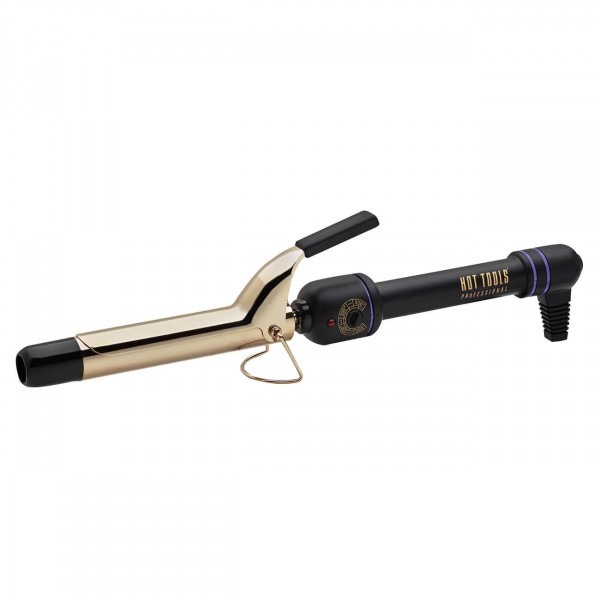
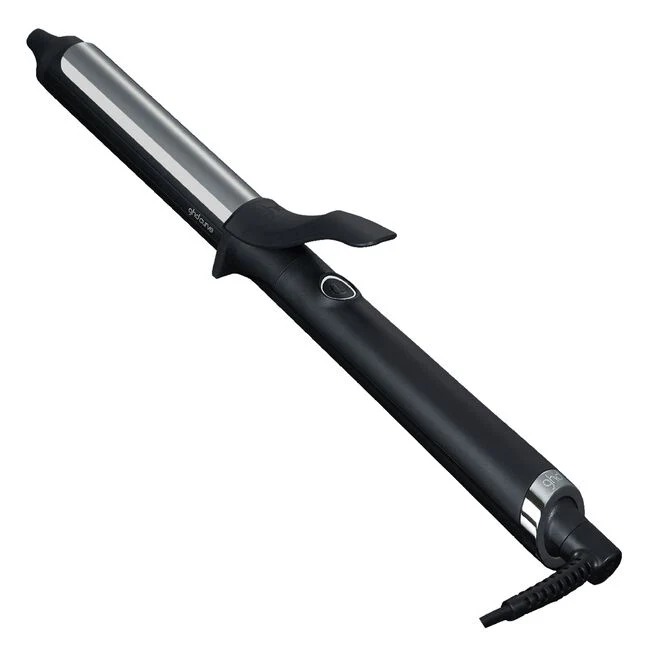
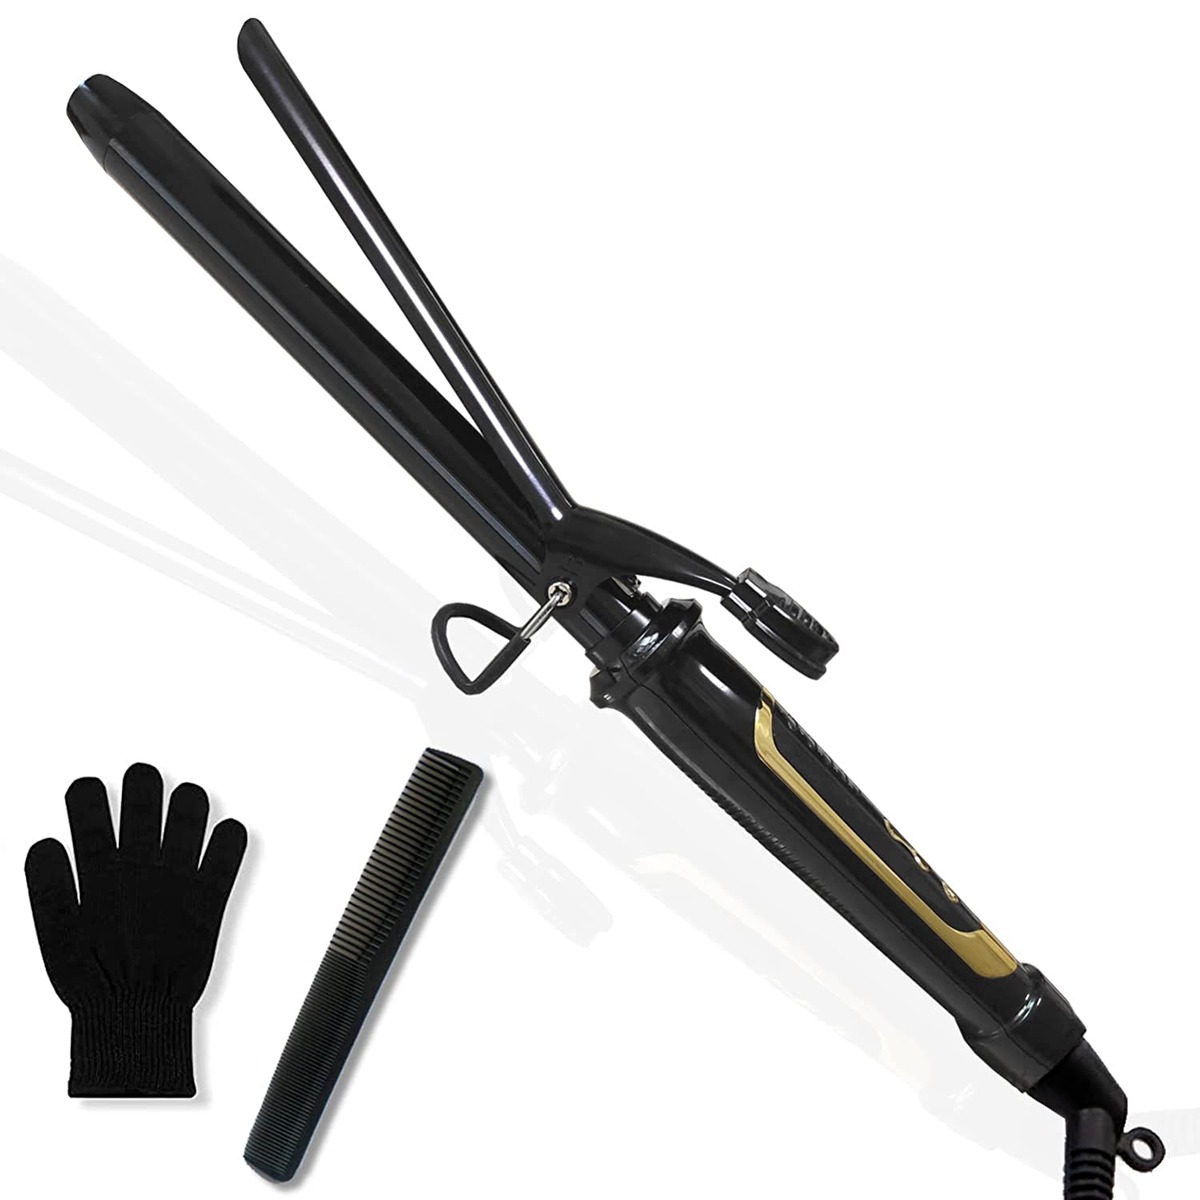
Selecting the Right 1 Inch Curling Iron
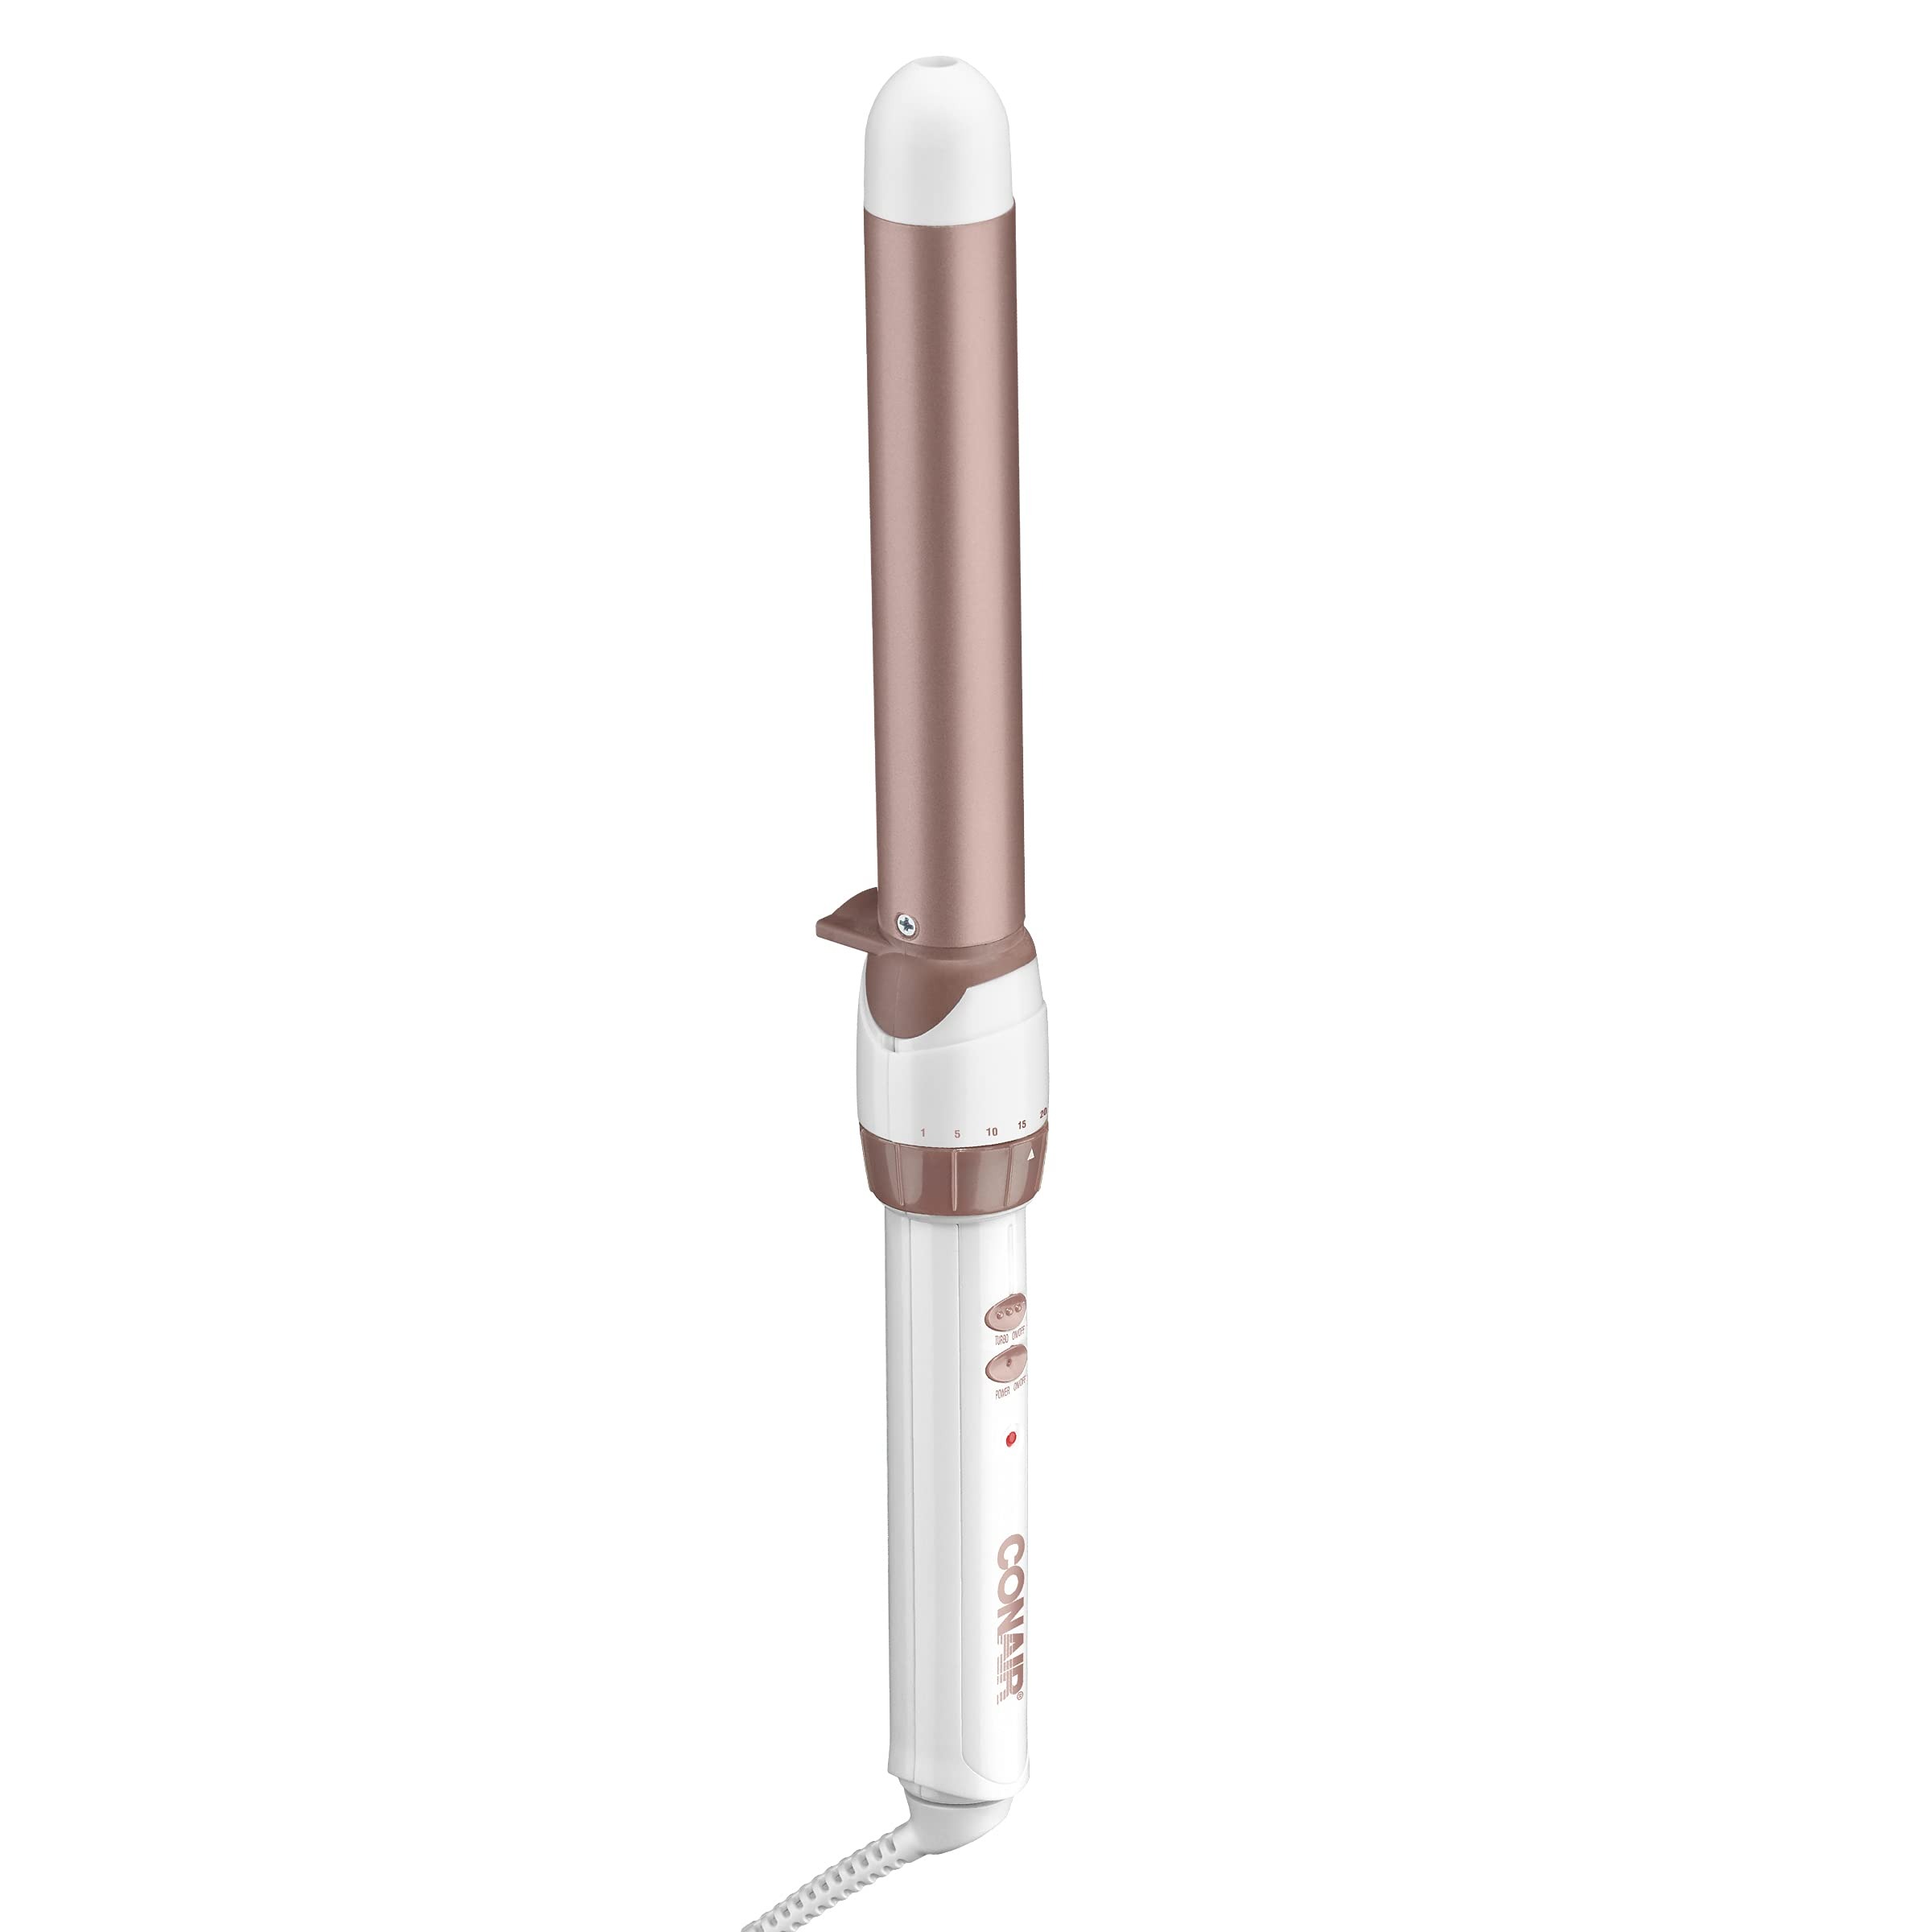
Selecting the perfect 1 inch curling iron can be a game-changer for your hairstyles. With the right tool, you can create smooth, long-lasting curls that showcase your hair’s beauty. Here’s how to choose the best one for your hair needs.
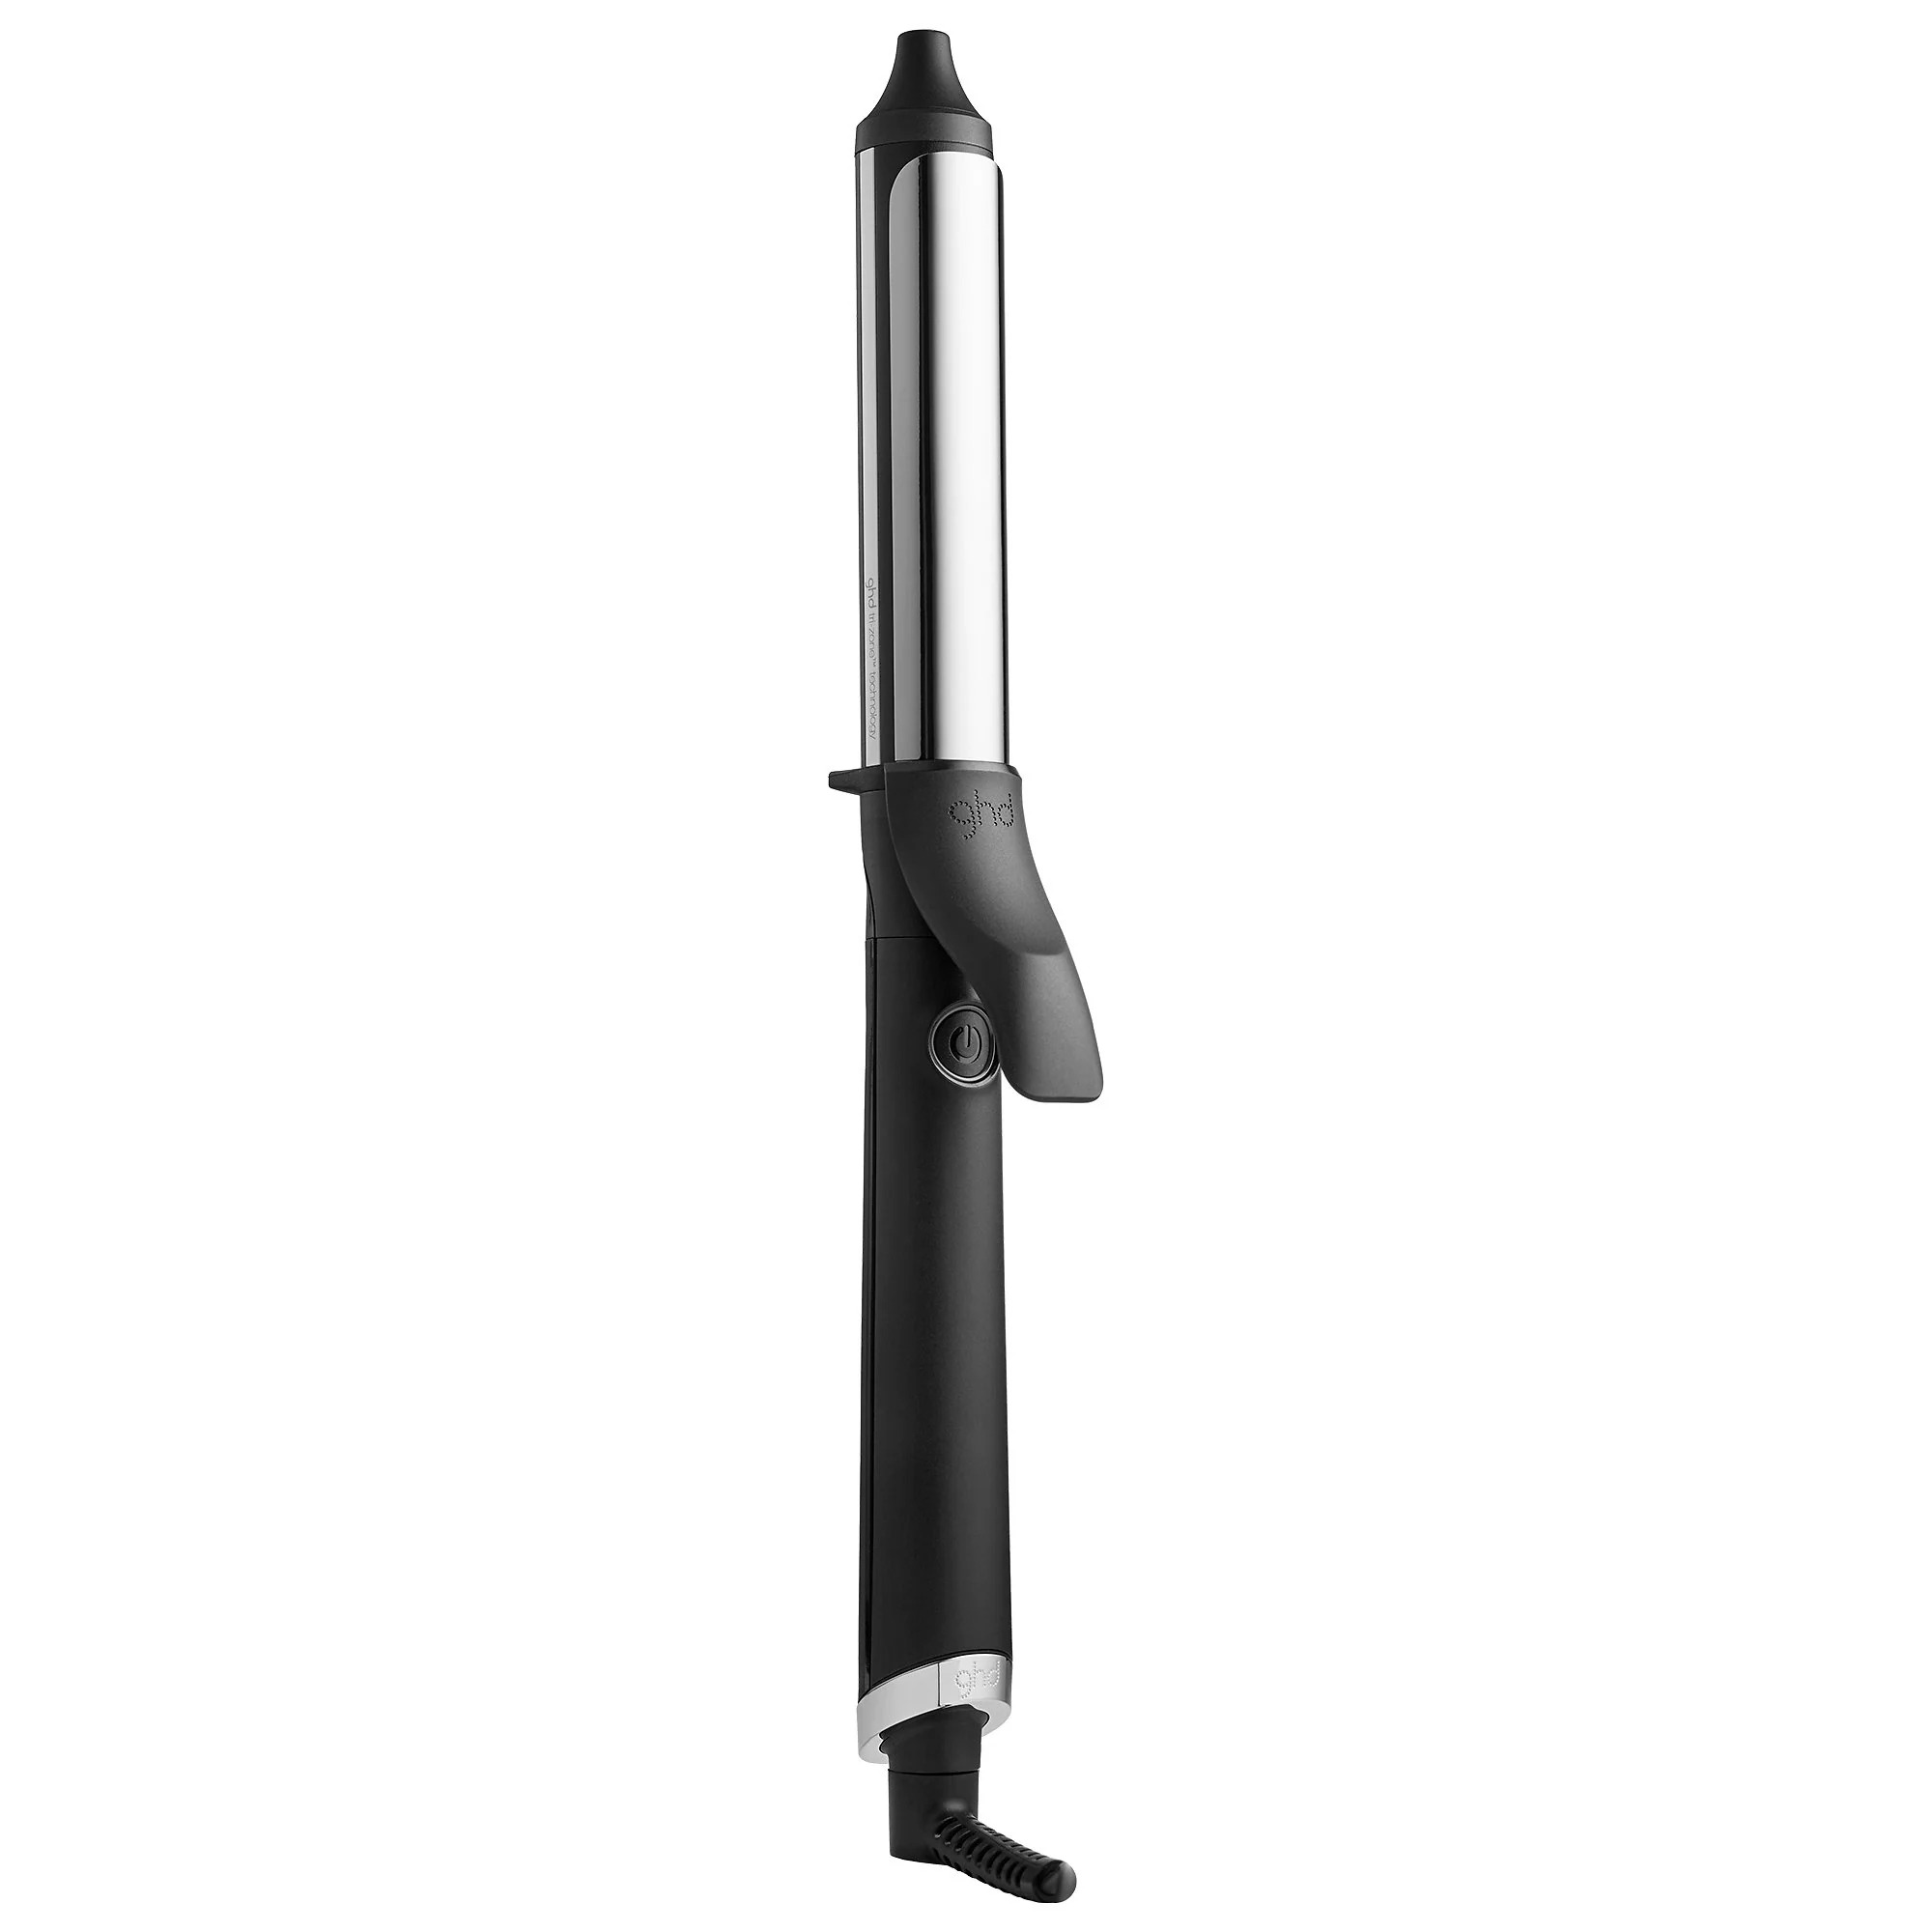
Types of 1 Inch Curling Irons
When shopping for a 1 inch curling iron, you’ll find various types each with unique benefits:
- Spring Clamp Irons: These are user-friendly and great for beginners. The clamp holds hair in place as you curl.
- Marcel Irons: Preferred by professionals, Marcel irons offer greater control but require more skill.
- Clipless Wands: They create natural-looking waves and eliminate creases caused by clamps.
- Tapered Wands: Ideal for versatile curls, from tight ringlets to loose waves, based on where you wrap your hair.
Be mindful of your skill level and the styles you desire when choosing among these types.
What to Look for in a Quality Curling Iron
A quality 1 inch curling iron should possess the following features:
- Adjustable Heat Settings: This ensures you can find the perfect temperature for your hair type.
- Ceramic or Tourmaline Barrels: They distribute heat evenly, minimizing damage and frizz.
- Swivel Cord: It allows for easy maneuvering without tangling the cord.
- Auto Shut-off: For safety, the iron should turn off automatically after a period of non-use.
Selecting the right 1 inch curling iron with the needed features helps you achieve the perfect curls while taking care of your hair. Remember to maintain the tool and always use it properly to keep your hair healthy and stylish.
Prepping Your Hair for Curling
To get the best results with your 1 inch curling iron, prepping your hair is essential. Proper preparation not only protects your hair but also ensures that your curls will hold better and look more defined.
Washing and Conditioning
Start with clean hair. Use a gentle shampoo and conditioner that match your hair type. This step removes any build-up that can weigh your hair down and prevents your curls from taking shape. Keep your hair hydrated, but avoid heavy products that can make your hair too slippery for curling.
Applying Heat Protectant
Before you apply any heat to your hair, it’s crucial to use a heat protectant. This product forms a barrier between your hair and the curling iron, minimizing heat damage. Apply it evenly throughout your hair, concentrating on the ends which are more prone to damage.
The Importance of Completely Dry Hair
Ensure your hair is completely dry before curling. Wet or damp hair won’t curl properly and can be damaged easily when exposed to high heat. You can let it air dry or use a blow dryer, but be sure it’s fully dry to get smooth, long-lasting curls with your 1 inch curling iron.
The Basics of Using a 1 Inch Curling Iron
Getting the hang of using your 1 inch curling iron is the foundation for fabulous curls. Here’s a step-by-step guide to help you master the basics.
Heating Up Your Iron
Before you start curling, your iron needs to be hot enough. Turn on your 1 inch curling iron to the right temperature for your hair. Thin or fine hair requires a lower setting to prevent damage, while thick hair can handle higher heat. Wait until it’s fully heated – most irons have a light that indicates when they’re ready.
Sectioning Your Hair
Dividing your hair into sections is key for even curls. Start by parting your hair in the middle or on one side, depending on your preference. Clip up the top half of your hair, leaving the bottom layer down. Work in small, manageable sections for the best results. This method ensures you don’t miss any strands and your curls look uniform.
Holding the Curling Iron Properly
The right grip on your 1 inch curling iron means you can curl without hassle. Hold the iron with your dominant hand and use the other hand to wrap your hair around the barrel. Keep the iron vertical for longer, looser curls or horizontal for tighter, bouncier curls. Don’t rush; a steady hand leads to better-shaped curls. Make sure you don’t touch the hot barrel to avoid burns.
Techniques for Perfect Curls
Achieving the perfect curls with a 1 inch curling iron takes practice and technique. Below are some of the most effective methods to help you get those enviable curls.
The Classic Wrap Method
The classic wrap method is a go-to for many. Start by taking a small section of hair. Open the clamp of your curling iron. Wrap the section around the barrel from the base to the tip. Close the clamp and hold for a few seconds. Release the clamp and gently pull the iron out. You’ll have a classic, bouncy curl.
Creating Waves with a Curling Iron
For a wavy look, take larger sections of hair. Wrap these loosely around the 1 inch curling iron. Instead of clamping, hold the hair against the barrel with your fingers. Wear a heat glove to prevent burns. Keep the iron in place for less time than with classic curls. This creates soft waves instead of tight curls.
How to Make Your Curls Last Longer
Creating perfect curls with a 1 inch curling iron is just the beginning. Making them last throughout the day or night is key. Here are tips to ensure your curls stay in place longer.
Setting with Hairspray
After curling your hair, set your curls with a light mist of hairspray. Not too much, just enough to hold. Choose a hairspray that offers flexibility without stiffness. Spray from a distance to cover all your curls evenly.
Using the Right Hair Products
The right products can make a difference. Look for mousses or gels that are designed to enhance and hold curls. Apply them before you start curling. This prep step adds texture and grip, making curls last longer.
Caring for Your 1 Inch Curling Iron
Proper care for your 1 inch curling iron ensures it lasts longer and works well.
Cleaning Your Iron
Regular cleaning is key for your curling iron’s performance. After each use, unplug the iron and let it cool. Gently wipe the barrel with a damp cloth to remove residue. Avoid using abrasive materials that can scratch and damage the surface.
Proper Storage
Store your 1 inch curling iron in a cool, dry place. Use a heat-resistant pouch or mat. This keeps it safe and protects other surfaces. Ensure the cord is loosely coiled to prevent damage.
Advanced Styling Tips
Once you’ve mastered the basics of using your 1 inch curling iron, you can explore advanced styling tips. These tips will help you create a variety of curl types and adapt your look for special events.
Creating Different Types of Curls
Achieving different curl types with a 1 inch curling iron is all about technique:
- Spiral Curls: For dramatic spirals, twist each hair section before wrapping it around the iron.
- Beachy Waves: Angle the iron away from your face and twist hair sections in alternate directions.
- Volume Curls: Curl hair away from the scalp, starting close to the roots, to add lift and volume.
Experiment with your curling method to find the types of curls that fit your style best.
Styling Curls for Different Occasions
Curls can match any occasion with the right approach:
- Casual outings: Looser waves give a laid-back vibe. Don’t fuss too much over perfection.
- Formal events: Use neat, defined curls or elegant spirals for a polished look.
- Work settings: Opt for subtle waves or soft curls for a professional appearance.
Adjust your curling techniques to suit the event and convey the desired level of formality.