Creating Perfect Beach Waves with a Beach Waves Curling Iron
Choosing the Right Curling Iron for Beach Waves
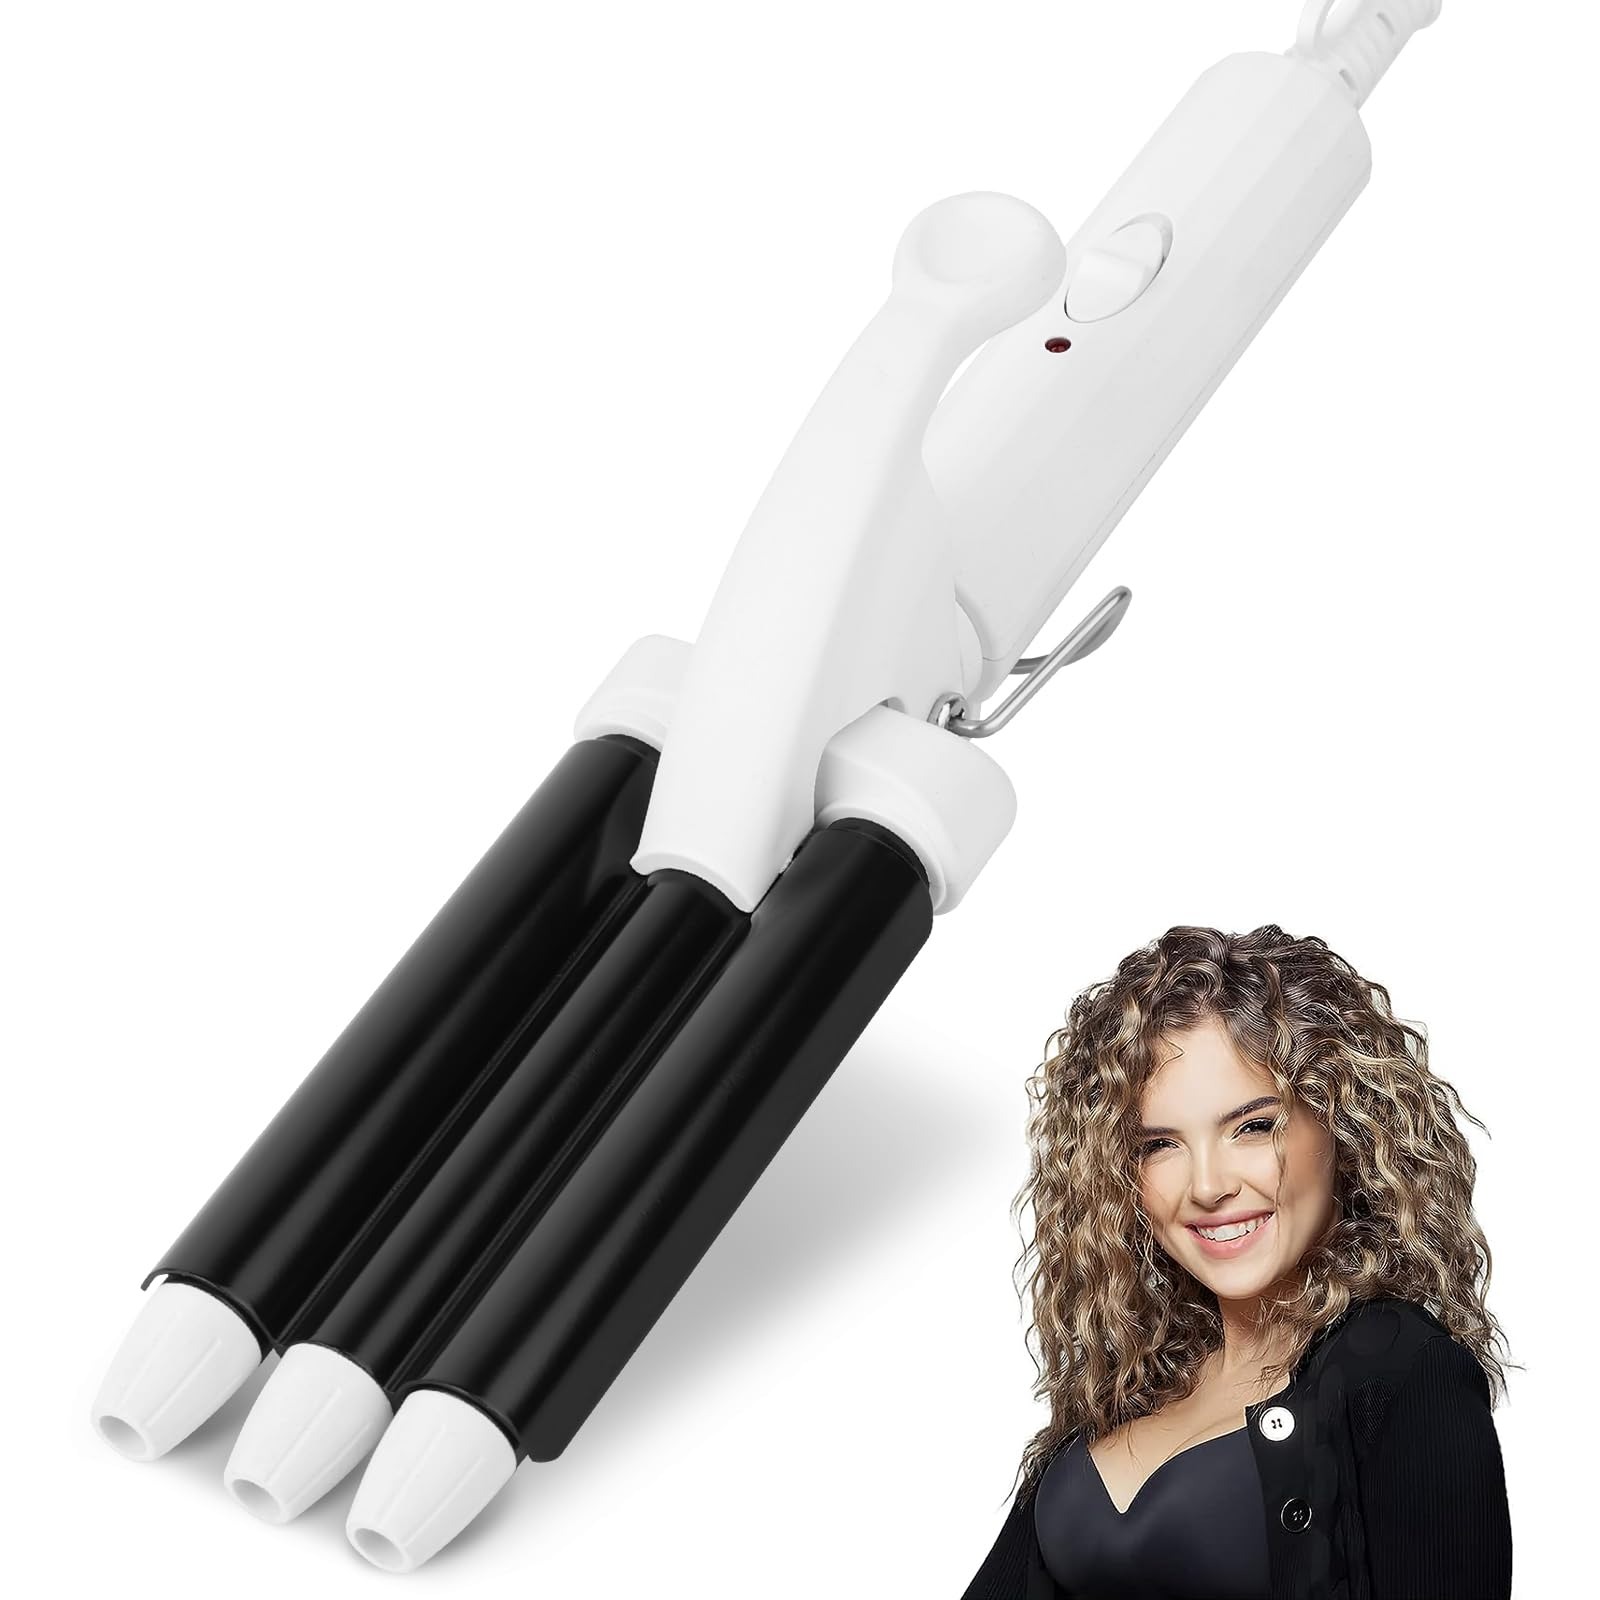
Choosing the right tool is vital for achieving perfect beach waves curling iron. Here is what to look for:
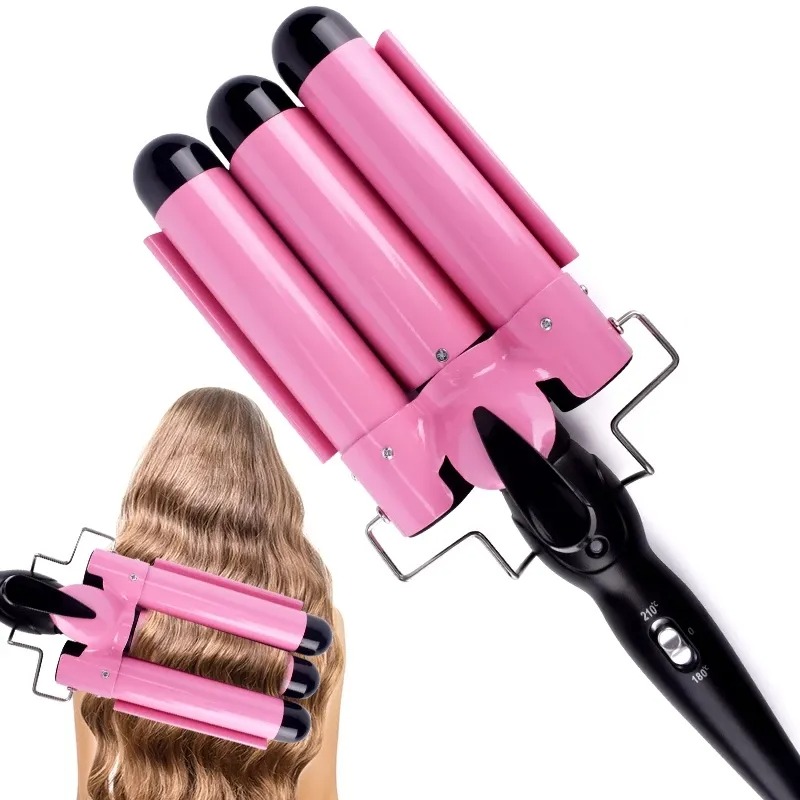
- Barrel Size: The ideal barrel size for beach waves usually ranges between 1 and 1.5 inches. A larger barrel creates looser waves, while a smaller one gives tighter curls.
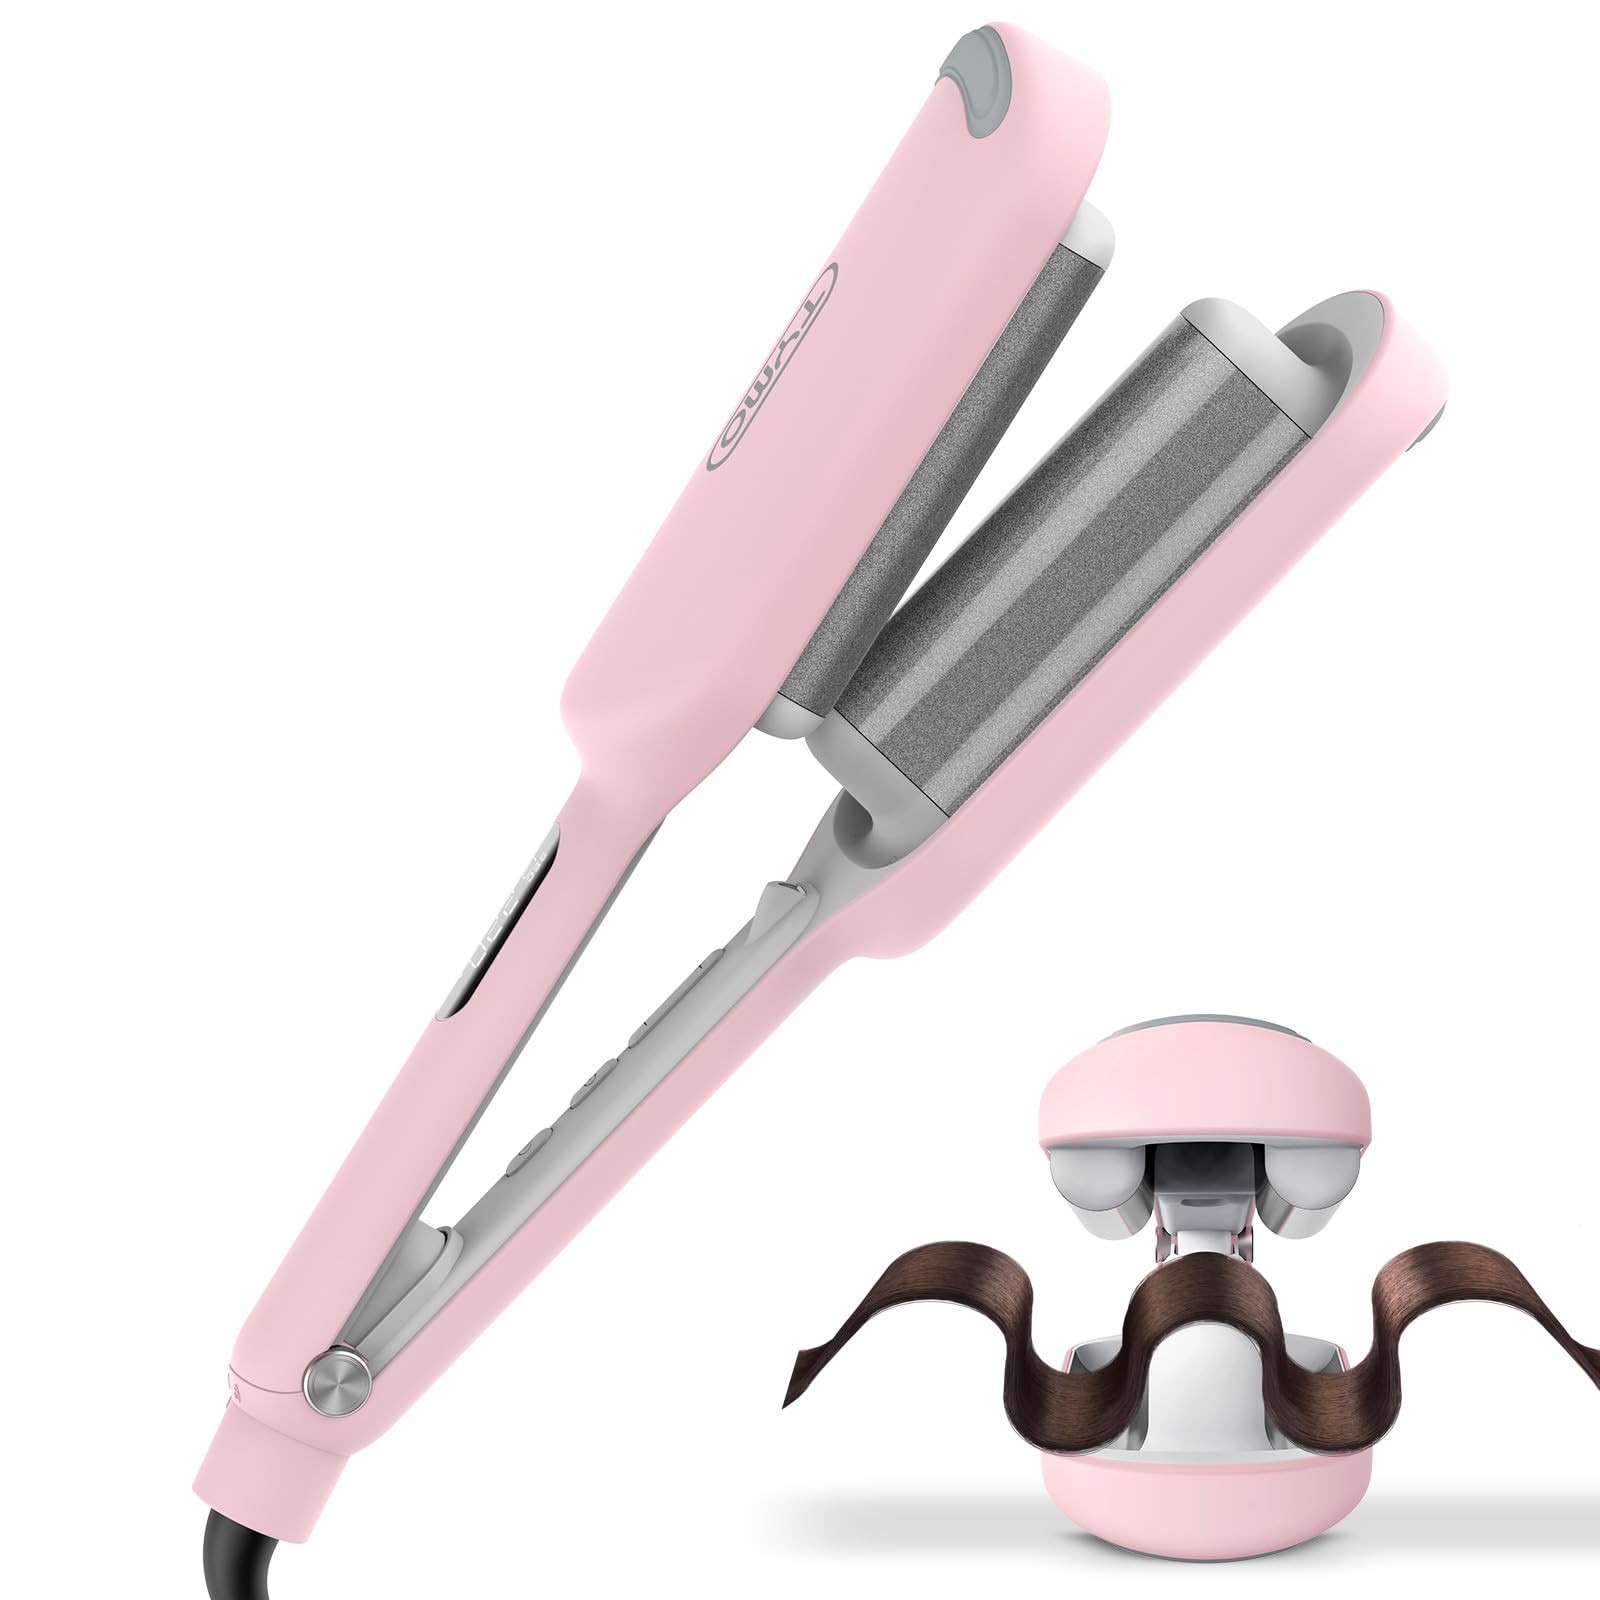
- Material: Look for curling irons with ceramic or tourmaline barrels. These materials distribute heat evenly, reducing the chance of hair damage.
- Temperature Settings: Opt for an iron with adjustable temperature settings. This allows you to set the right heat level for your hair type, preventing excessive damage.
Investing in the right beach waves curling iron will make the process easier and help ensure your beach waves look natural and effortless. Ensure to integrate these features based on your hair’s needs for the best results.
Preparing Your Hair for Styling
Before you start creating beach waves with a curling iron, preparing your hair is key. Proper preparation can make styling smoother and help protect your hair. Here’s how to get your hair ready for those perfect beachy waves:
- Wash and Condition: Clean hair works best for curling. Use a moisturizing shampoo and conditioner to prevent frizz and add shine.
- Apply Heat Protectant: Always use a heat protectant spray or serum before heat styling. This step will shield your strands from potential heat damage.
- Dry Thoroughly: Your hair should be completely dry before curling. Blow dry it using a round brush to add volume and make it more manageable.
- Detangle: Run a wide-tooth comb through your hair to remove any knots. Smooth hair will curl more easily and look neater.
By following these preparatory steps, you’ll ensure that your hair is in the best possible condition to be styled into beautiful beach waves with your curling iron.
Step-by-Step Guide to Creating Beach Waves
Achieving the perfect beach waves with a curling iron involves a series of steps. Follow this guide to ensure your waves come out beautifully every time:
- Heat Up Your Iron: Start by heating your curling iron to the right temperature for your hair type. Too hot, and you risk damage; too cool, and your waves may not hold.
- Section Your Hair: Divide your hair into sections with clips. This makes it easier to curl your hair in manageable pieces.
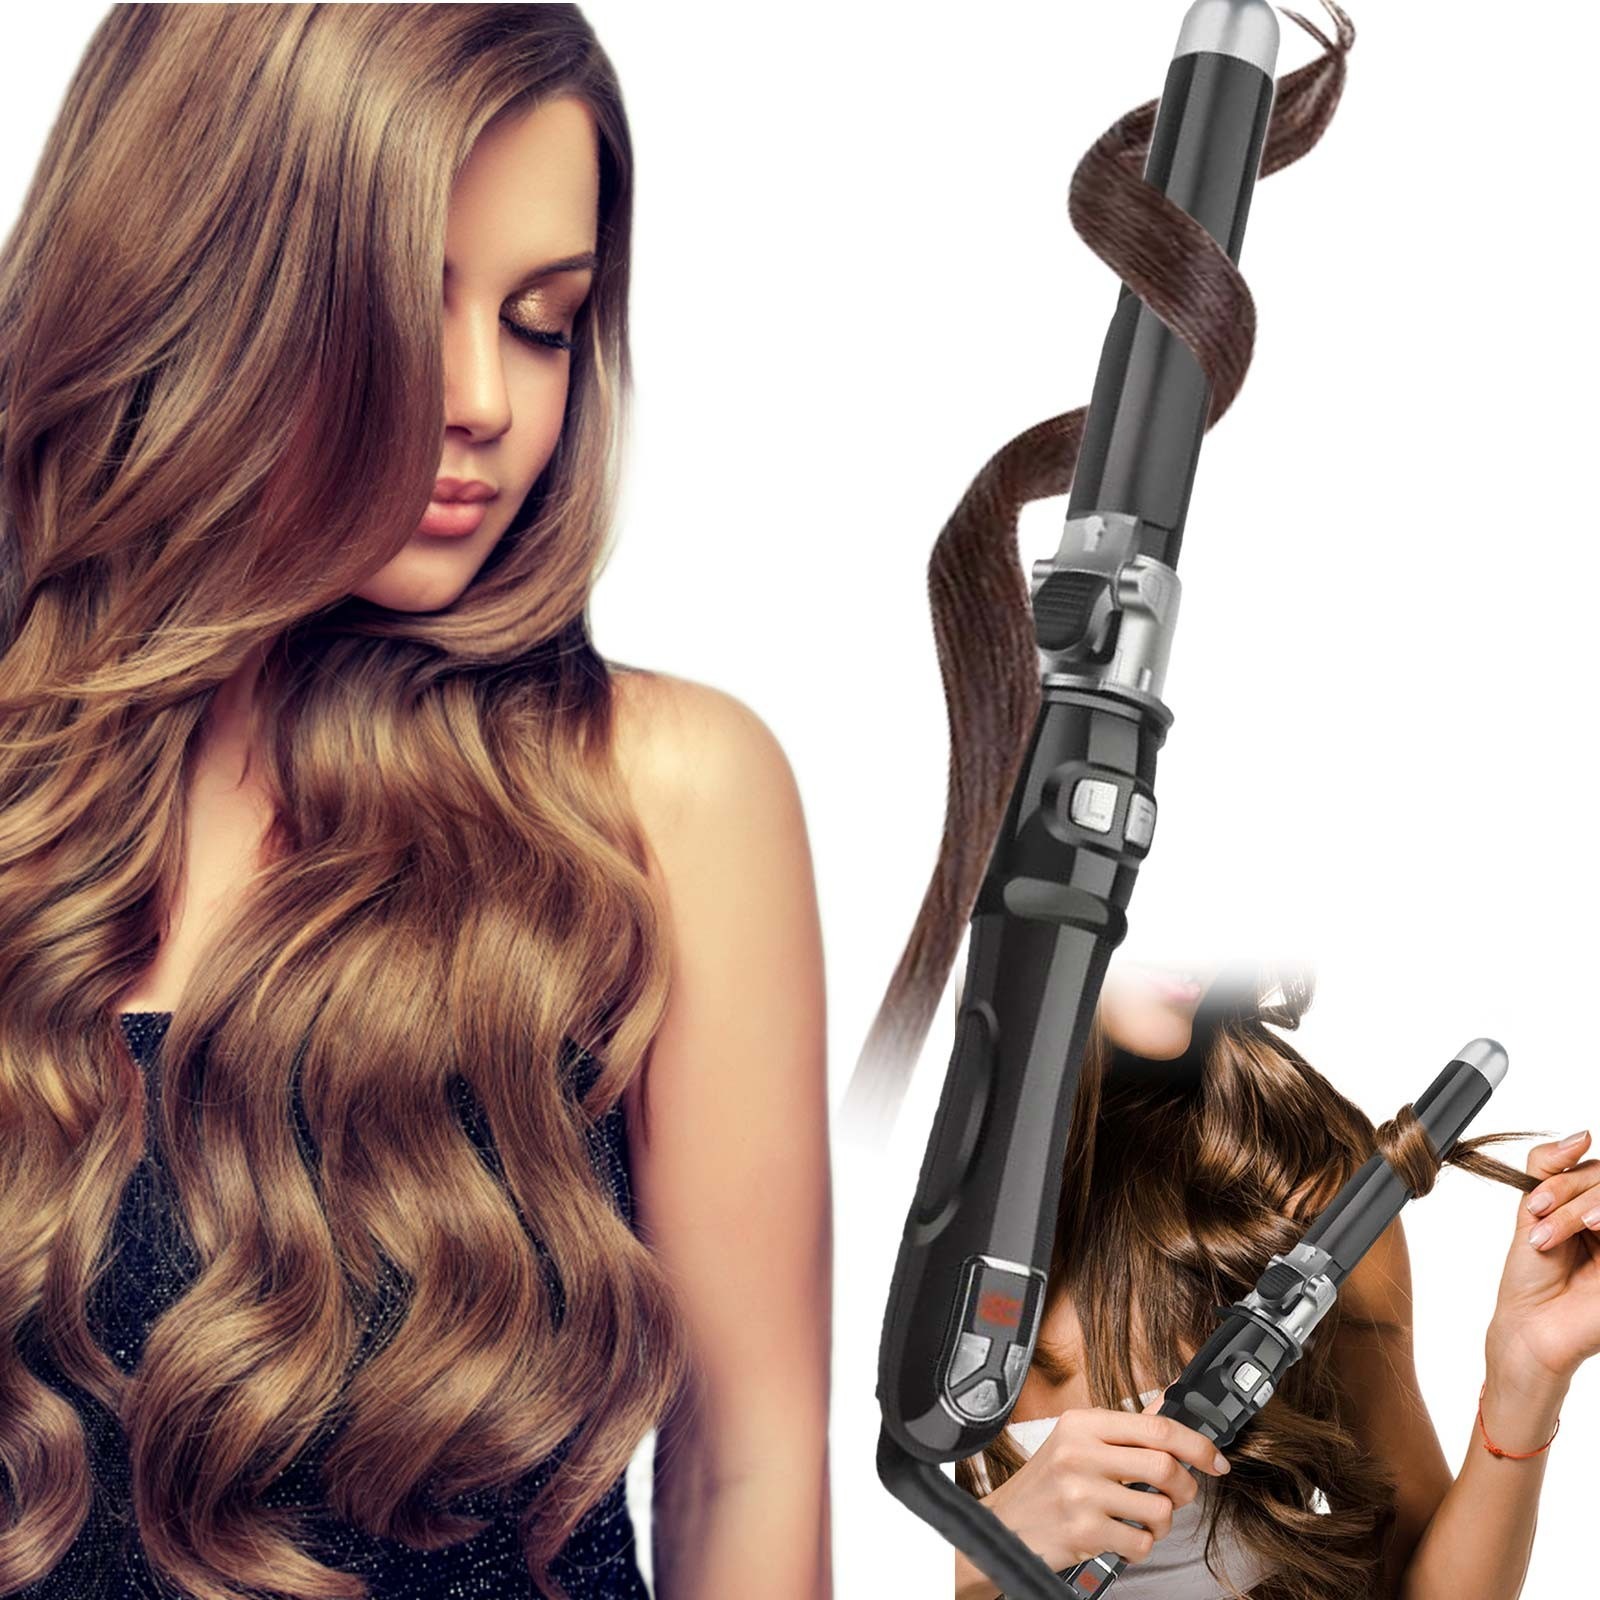
- Wrap Hair Around the Iron: Take a section of hair and wrap it around the barrel. Leave the ends out slightly for a more natural look.
- Hold, Then Release: Hold your hair around the iron for a few seconds, then release gently. Don’t tug or pull to avoid creases.
By adhering to these steps, you’ll be able to create gorgeous beach waves that look like you’ve just stepped off the sand. Remember to distribute your ‘beach waves curling iron’ strokes evenly for a more natural and consistent pattern.
Tips for Long-Lasting Beach Waves
To ensure your beach waves have longevity, consider these tips:
- Cool Down: After curling, let your waves cool off before touching or styling further. This setting phase is crucial.
- Avoid Touching: Hands in hair can cause frizz. Try not to touch your waves too much.
- Use Light Hairspray: A light hold hairspray can maintain the look without stiffness. Spray it from a distance.
- Dry Shampoo: On non-wash days, use dry shampoo for added texture and volume that supports the waves.
- Sleep on Silk: Silk pillowcases reduce friction and can keep your waves intact overnight.
- Refresh with a Curling Iron: To perk up waves on day two or three, lightly re-curl any limp sections.
By following these strategies, your beach waves created with a curling iron can last longer and continue to give you that breezy, beachy look. Remember to use products sparingly — less is often more when it comes to maintaining your waves.
Common Mistakes to Avoid for Perfect Waves
When crafting beach waves with a curling iron, sidestep these common pitfalls for the best results:
- Overheating the Iron: Excessive heat can damage hair. Always use the curling iron on the recommended settings.
- Skipping Heat Protectant: Neglecting a heat protectant before styling is risky. It’s crucial to shield your hair to prevent damage.
- Forgetting to Section Hair: Not sectioning your hair can lead to uneven waves. Make sure to separate your hair into manageable portions before you begin.
- Curling for Too Long: Holding hair on the iron too long can fry your strands. Keep an eye on the time and release hair gently.
- Uniform Curls: Curling all sections in the same direction can look artificial. For a natural effect, alternate the curling direction.
By avoiding these missteps, you’ll be on your way to achieving natural-looking, long-lasting beach waves with your curling iron. Remember to be gentle with your hair throughout the process to maintain its health and shine.
How to Finish and Set Your Beach Waves
After using your beach waves curling iron, finishing and setting your hairstyle is key for lasting beauty. Here’s how to complete your look with finesse:
- Cool Down: Let your waves cool for a few minutes. Cool hair sets better.
- Use Fingers to Separate: Gently run your fingers through your hair. Separate the waves for a natural look.
- Apply Texture Spray: Spritz a texture spray for definition. Avoid heavy products that can weigh hair down.
- Final Hold with Hairspray: Use a flexible hold hairspray to set your style. This helps your waves last all day.
- Touch-up as Needed: If any waves fall flat, use your curling iron to re-curl them lightly.
Remember to evenly apply products and avoid touching the hair too much to prevent frizz. By following these finishing touches, your beach waves will have the lasting hold and natural movement they deserve.

Beach Waves for Different Hair Lengths and Types
Achieving beach waves that look stunning regardless of hair length or type is possible with the right technique and tools. Here’s what you need to know to tailor your approach:
- Short Hair: For bob or pixie cuts, use a smaller barrel curling iron to create tighter waves. This gives the illusion of more volume.
- Medium-Length Hair: A 1 to 1.5-inch barrel is ideal for shoulder-length hair. It creates the perfect balance between loose and defined waves.
- Long Hair: With long locks, you have the freedom to use a larger barrel for flowing waves. Just make sure to wrap more hair around the iron for even results.
- Fine Hair: Lower the heat setting on your beach waves curling iron. Fine hair curls easily but is also more prone to damage.
Regardless of your hair type or length, always use a heat protectant and set the temperature to match your hair’s needs. Experiment with different sections and waves’ directions to find the look that suits you best.
Accessories and Products to Enhance Your Beach Waves
To make your beach waves stand out, use the right accessories and styling products. Here’s a list of essentials:
- Clips and Hair Ties: Secure sections while curling. Keep them handy for effortless styling.
- Heat Protectant Spray: A must before heat styling. It prevents damage from your beach waves curling iron.
- Texture Spray: Adds grip and definition to waves. Use it after curling for enhanced texture.
- Sea Salt Spray: Mimics the natural effect of saltwater. Spritz it on for that authentic beach look.
- Volumizing Mousse: Apply to roots before drying. It gives lift and body to your waves.
- Light Hairspray: Holds your style without stiffness. A quick spray can maintain your waves all day.
By incorporating these products and accessories, you can create beach waves that are both beautiful and durable. Just remember to use products that work well with your hair type and the beach waves curling iron you have chosen for optimal results.