Home Appliance
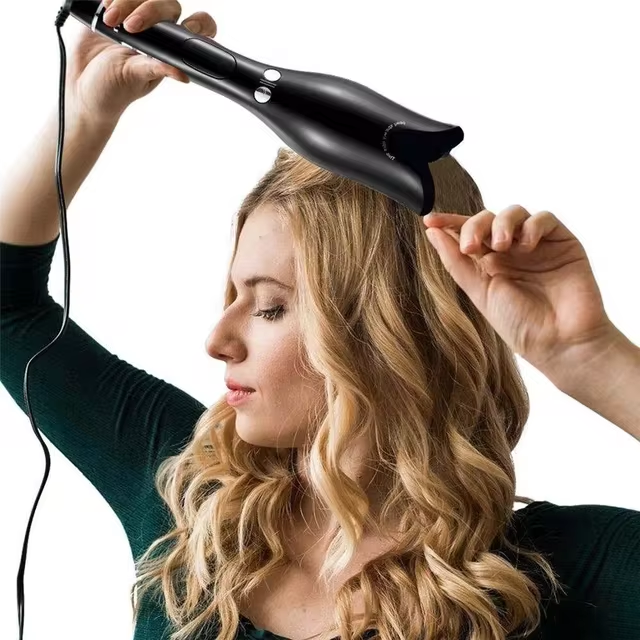
Effortless Styling with the Latest Cordless Curling Iron

Exploring the Benefits of Cordless Curling Irons

The transition to cordless curling iron offers several advantages that have greatly appealed to styling enthusiasts. Here are the key benefits you can enjoy with a cordless curling iron:

cordless curling iron

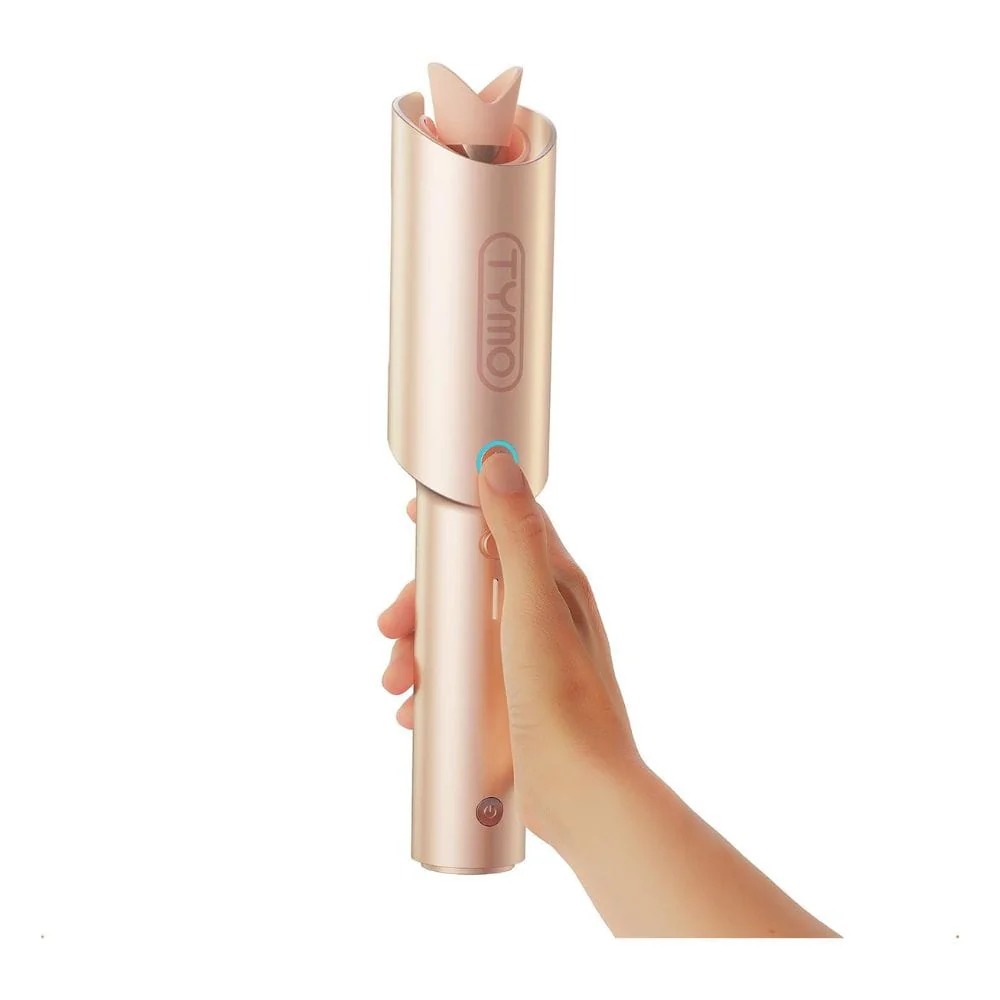
  • Mobility and Convenience: Without the need to be near an electrical outlet, you can style your hair anywhere, be it your bathroom, bedroom, or while traveling.
  • Time-Saving: Cordless curling irons often heat up quickly, allowing for faster styling and saving precious minutes during your morning routine.
  • Safety: The absence of cords reduces the risk of tripping or tangling, making your styling process safer overall.
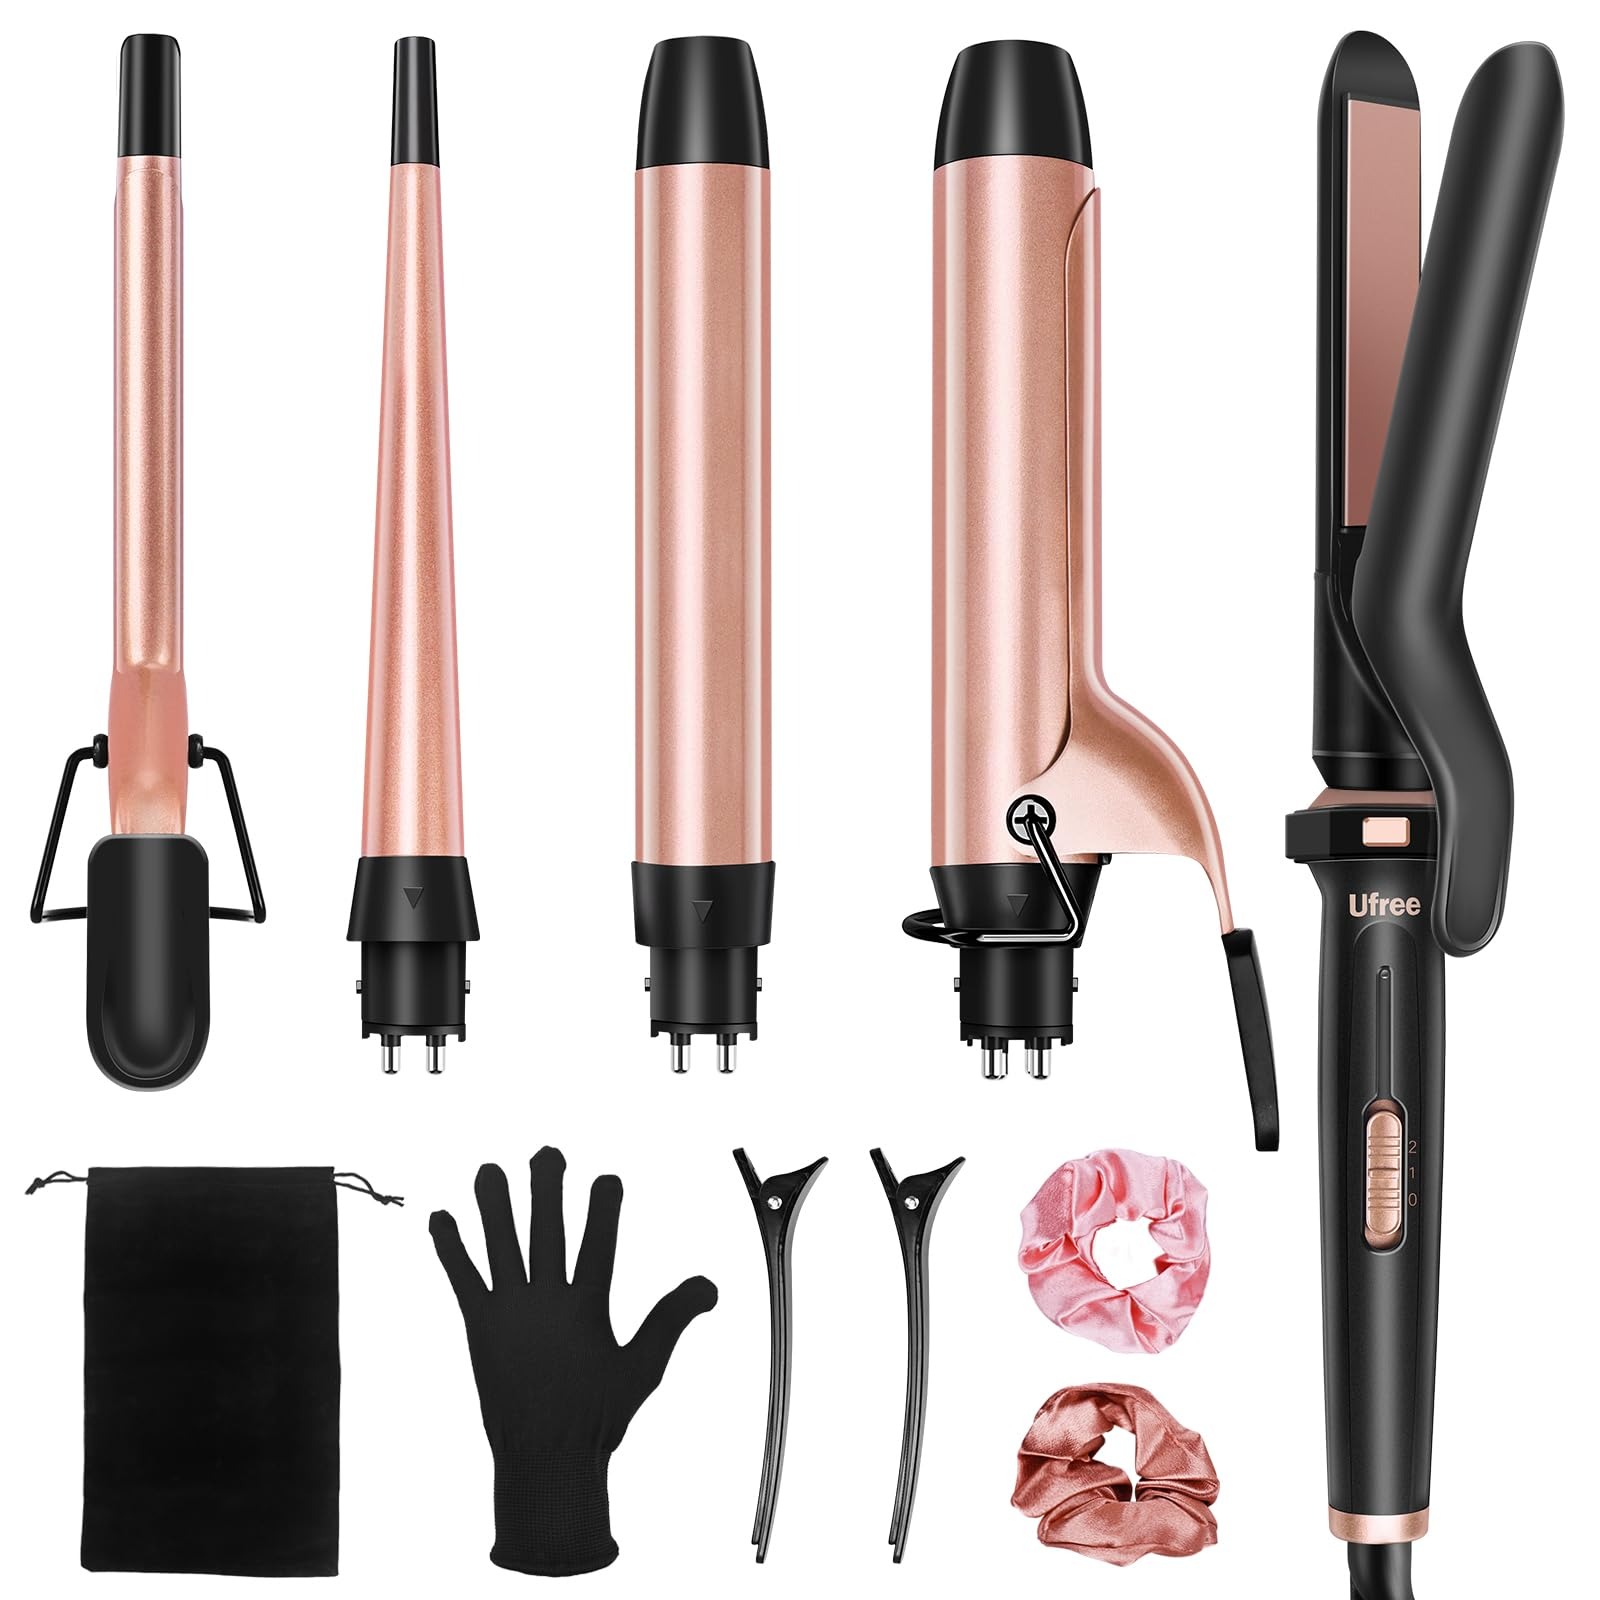
  • Versatility: Many cordless models are designed to be multi-functional, enabling you to create various hairstyles with a single tool.
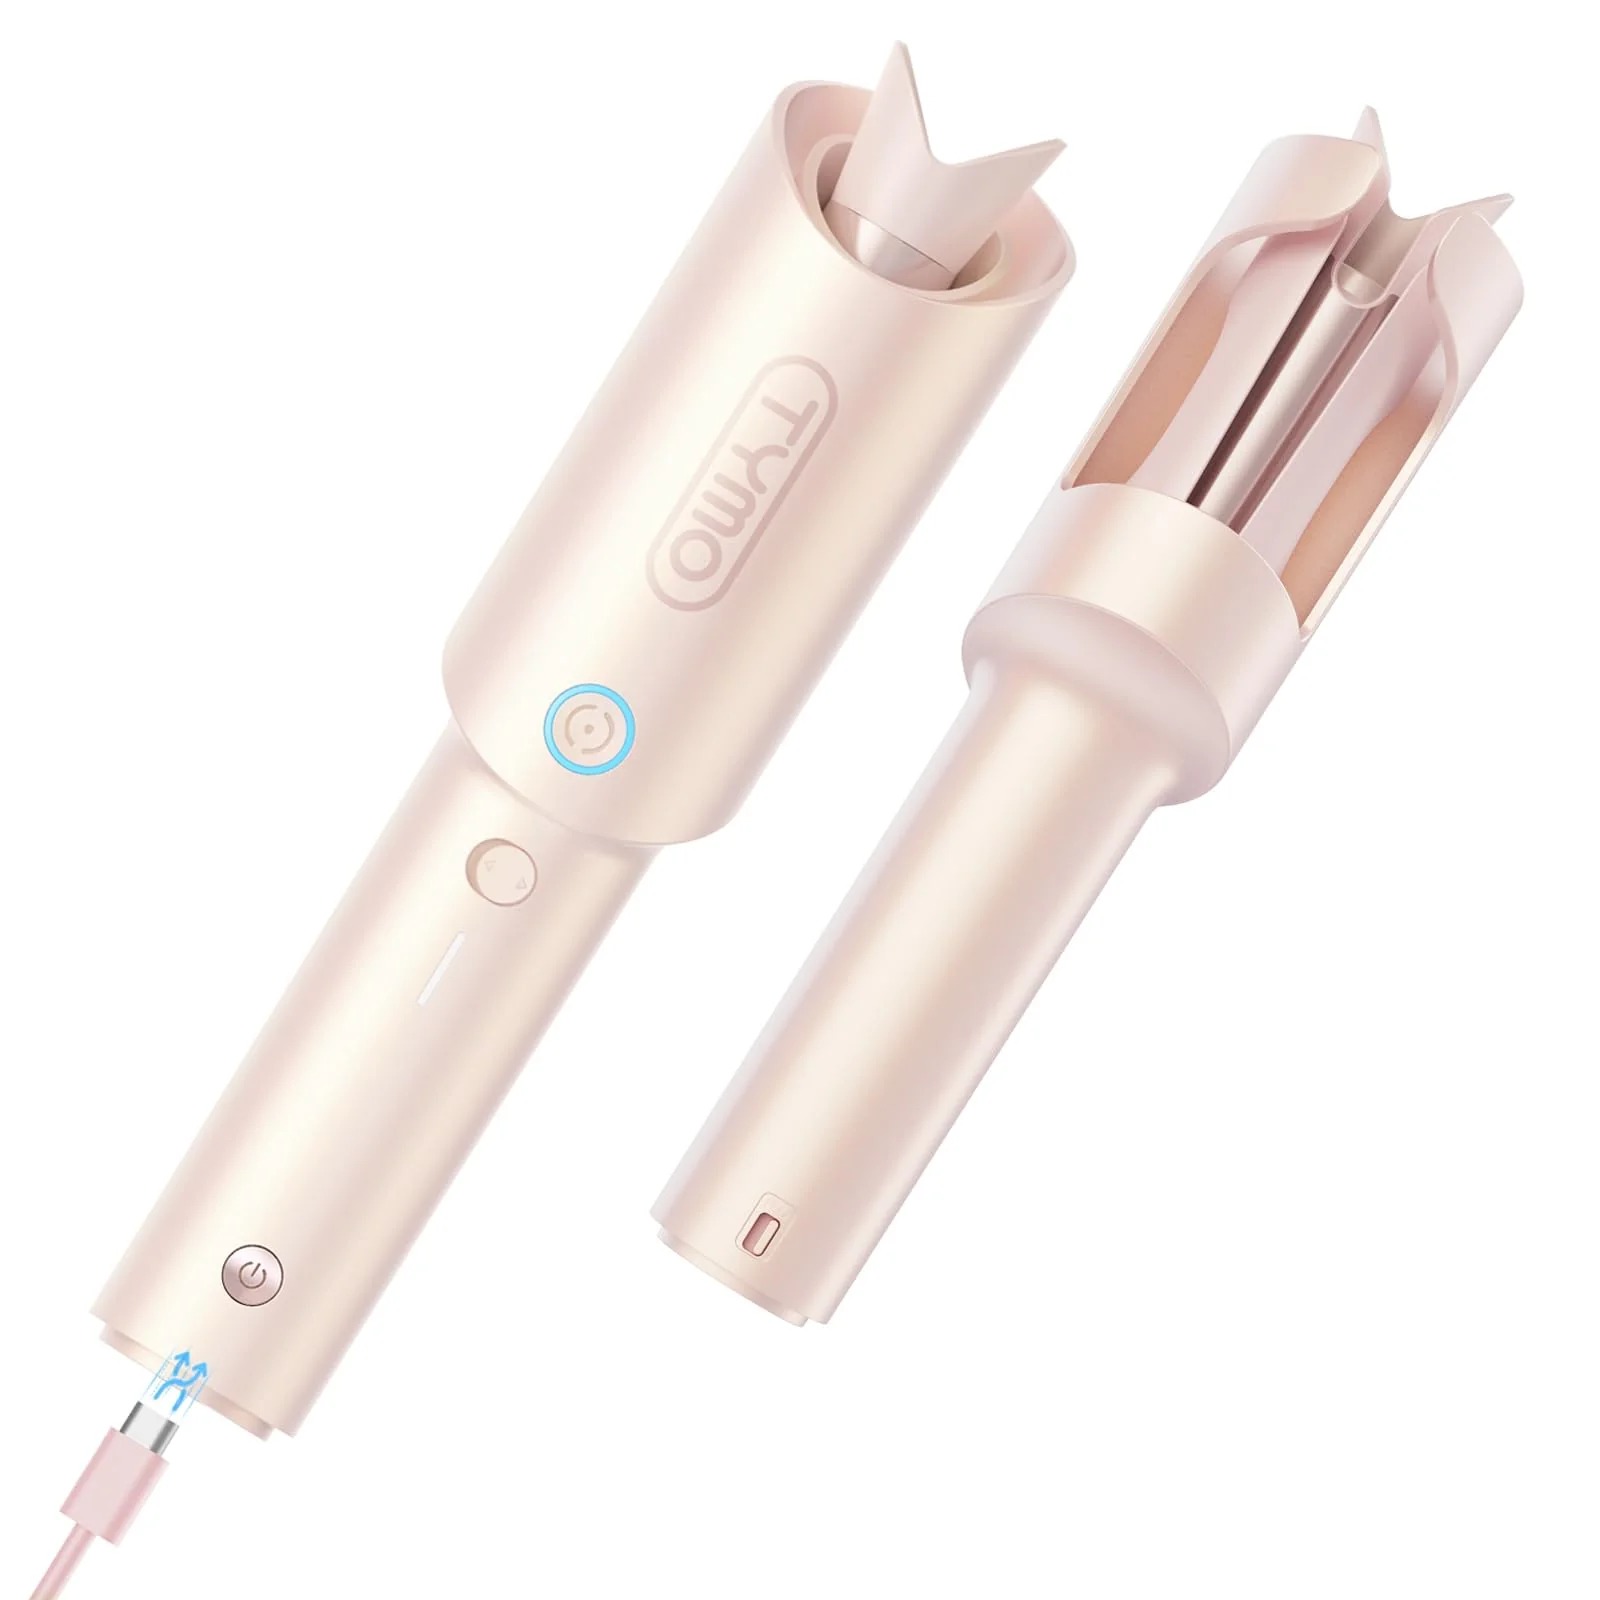
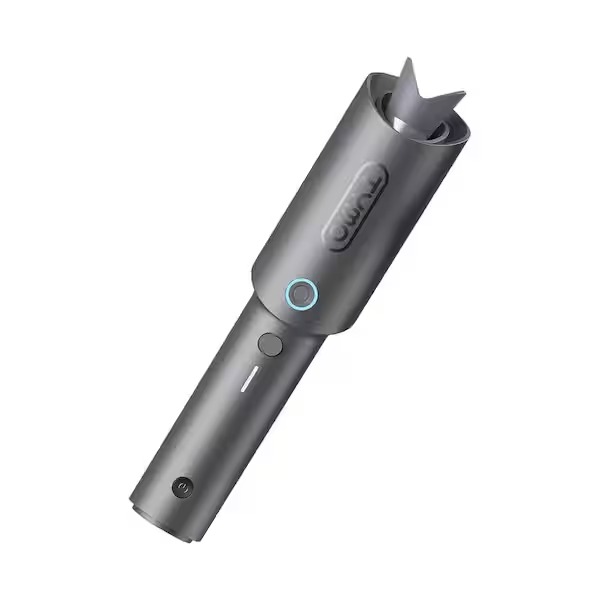
  • Sleek Design: Cordless curling irons typically feature modern, compact designs that are easy to handle and store in small spaces.

Embracing a cordless curling iron could revolutionize your hair styling routine, offering greater freedom and flexibility. Although they may have some limitations, such as battery life, the pros of using a cordless curling iron generally outweigh any cons. As you consider making the switch, remember to keep an eye out for quality models that provide the features most important to you.

How Cordless Curling Irons Compare to Traditional Models

Making the switch to a cordless curling iron from a traditional model can be a game-changer for your hair styling routine. Let’s delve into some of the key comparisons:

  • Portability: The most obvious difference is portability. A cordless curling iron offers the freedom to style your hair without being tethered to a power outlet, unlike traditional models.
  • Heat-up Time: Cordless curling irons typically heat up fast, cutting down on the wait time compared to some corded options.
  • Safety: Going cordless means saying goodbye to tripping over wires or getting entangled while styling. This is a major safety improvement over corded versions.
  • Flexibility in use: With a traditional curling iron, you’re stuck wherever there’s an outlet. Cordless options let you style your hair from anywhere, even if there’s no power source nearby.

Ultimately, each type of curling iron has its unique advantages. Cordless models shine with their convenience and safety, while traditional irons are dependable for prolonged use. When deciding, consider your styling habits and which features align better with your needs.

Top Features to Look for in a Cordless Curling Iron

When scouting for the best cordless curling iron, it’s crucial to understand the features that stand out. Here are the top attributes to consider when making your selection:

  • Rapid Heat-up Time: Look for an iron that heats up swiftly. This will save you time and streamline your styling routine.
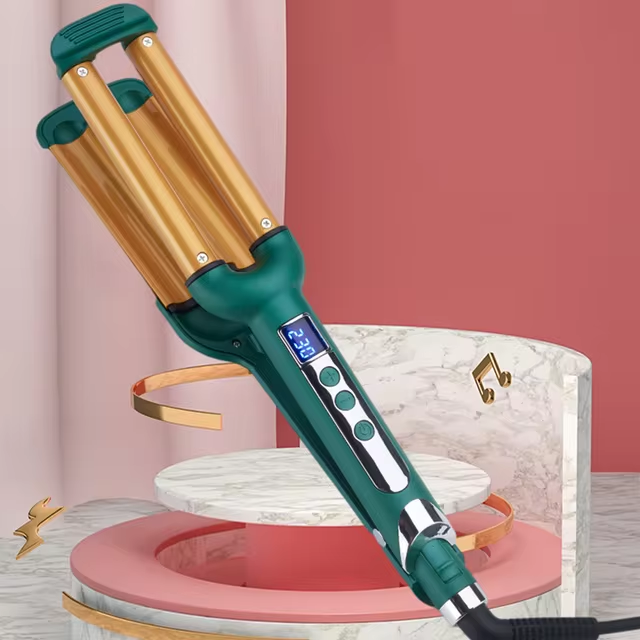
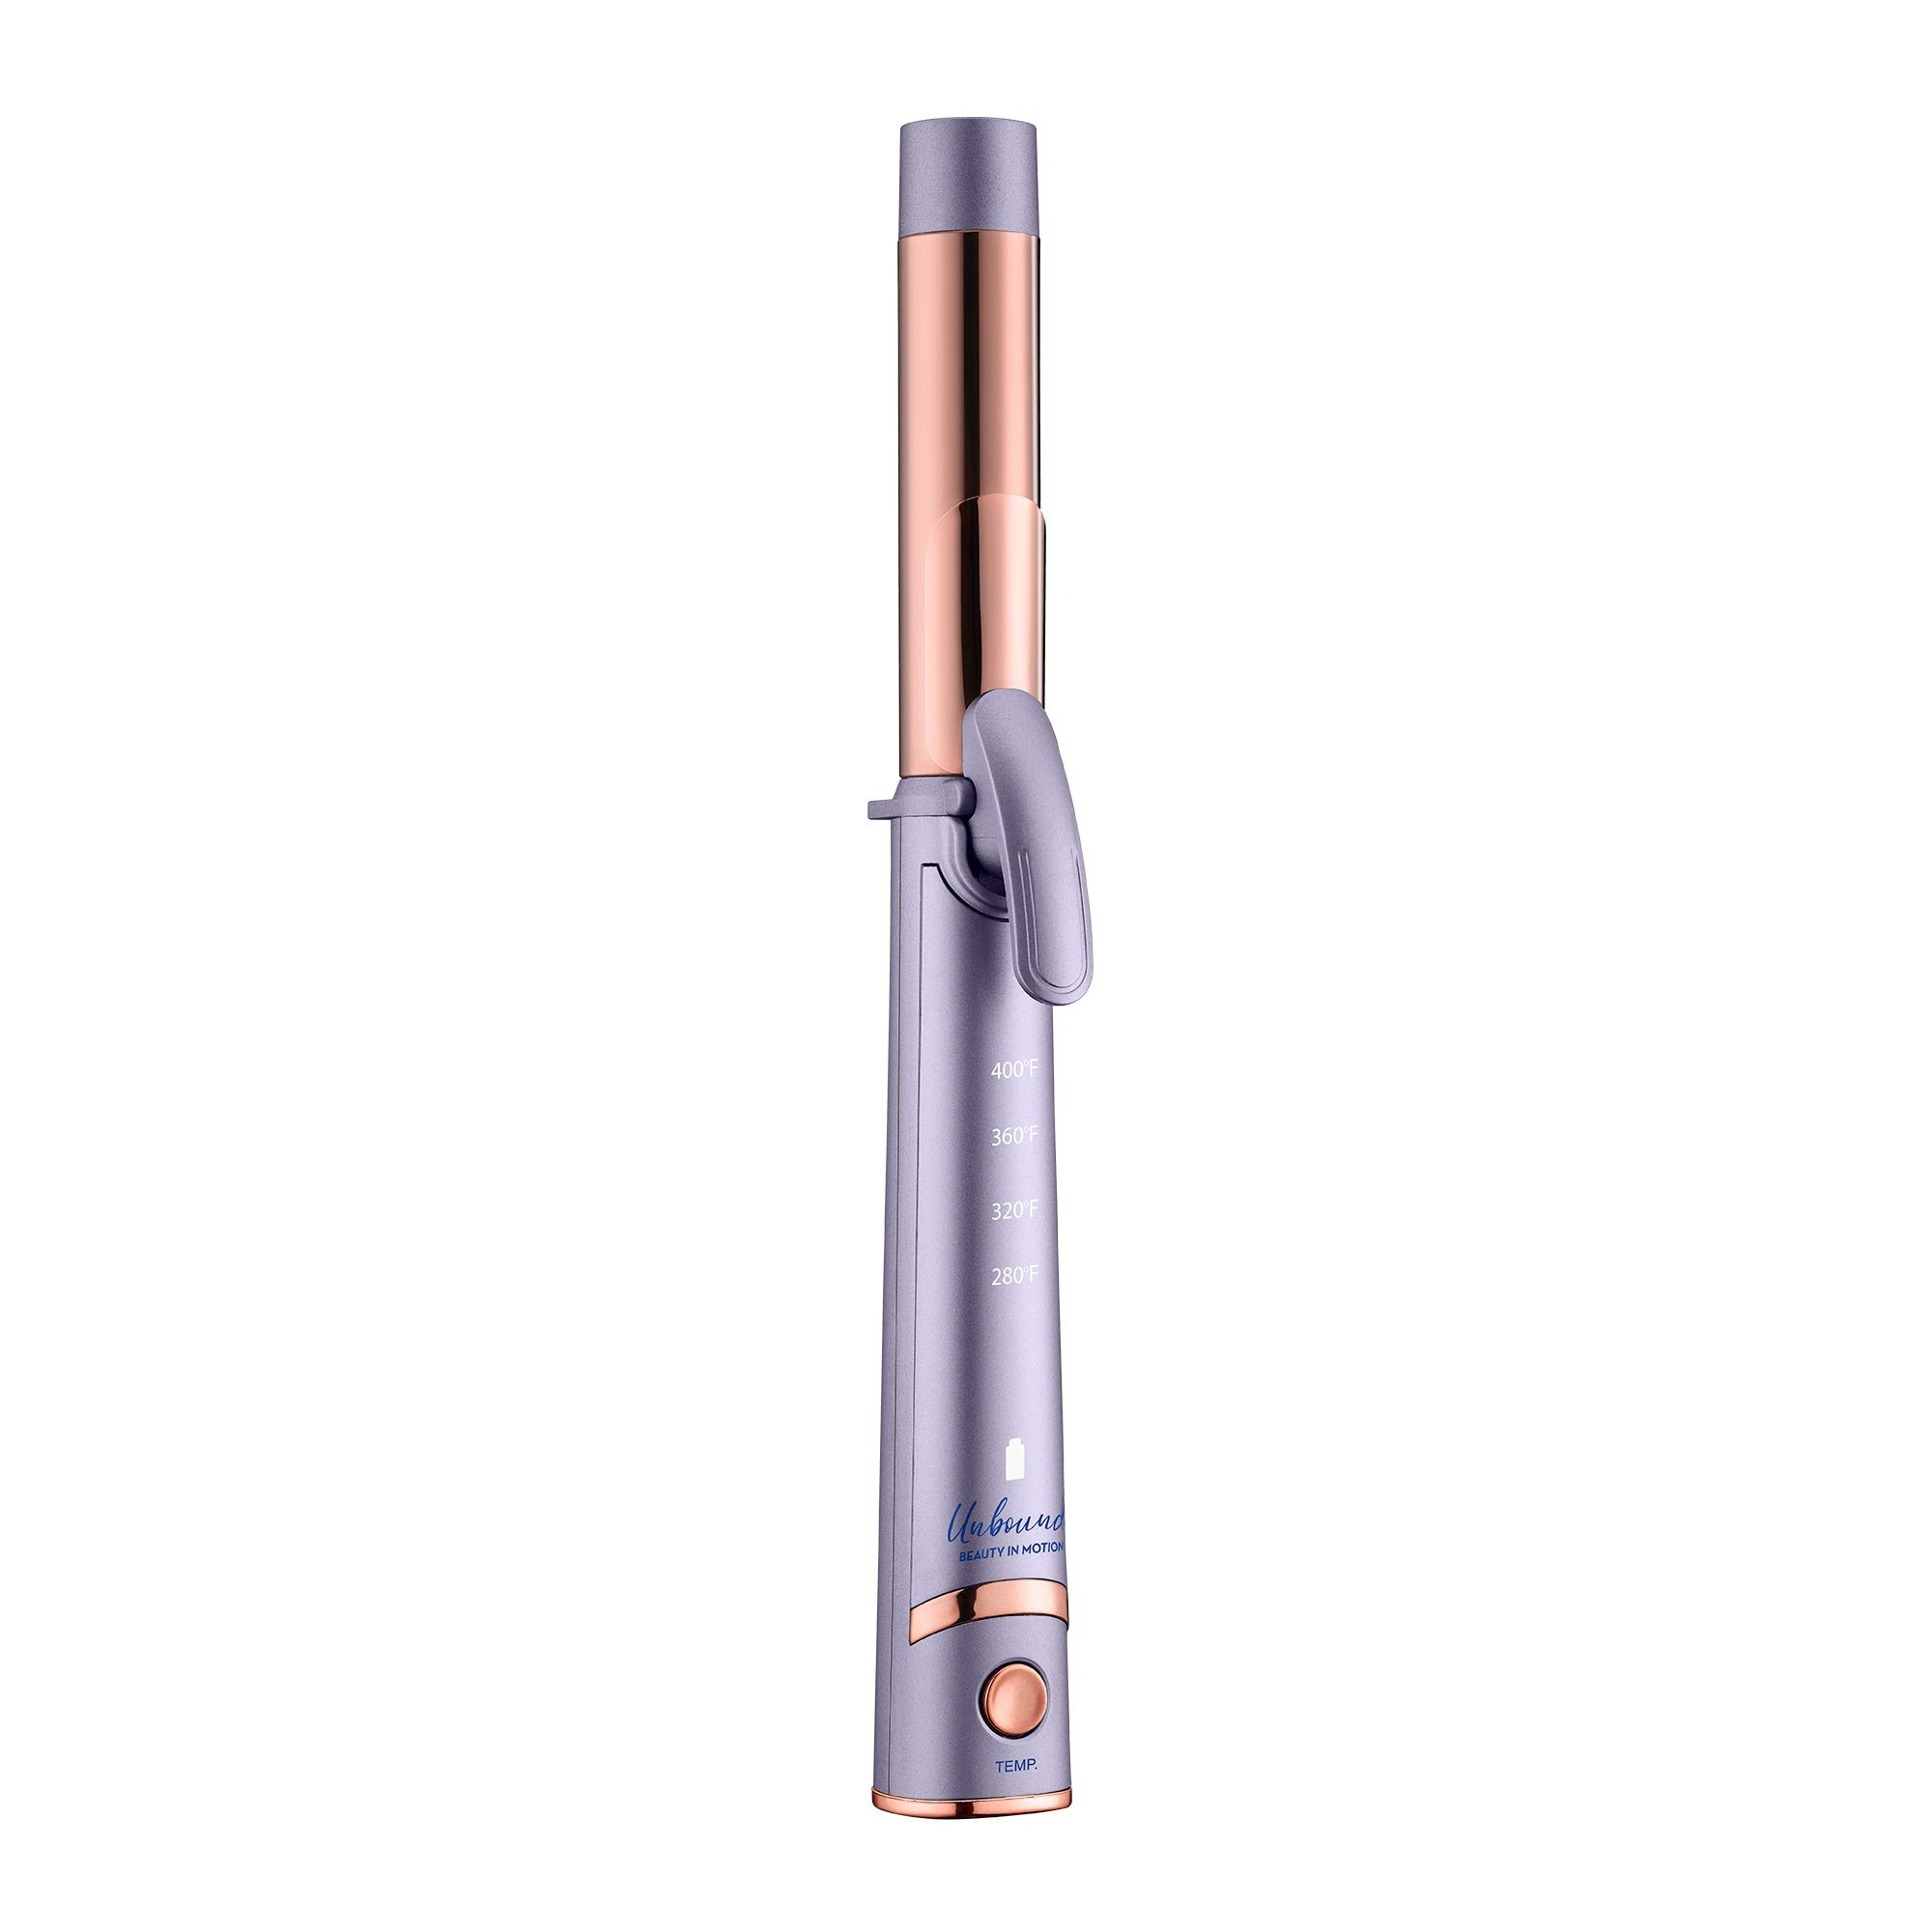
  • Adjustable Temperature Settings: Different hairstyles and hair types require various heat settings. Adjustable controls are essential for precise styling.
  • Battery Life: The longer the battery life, the better. You want a curling iron that holds a charge for several uses, especially if you travel.
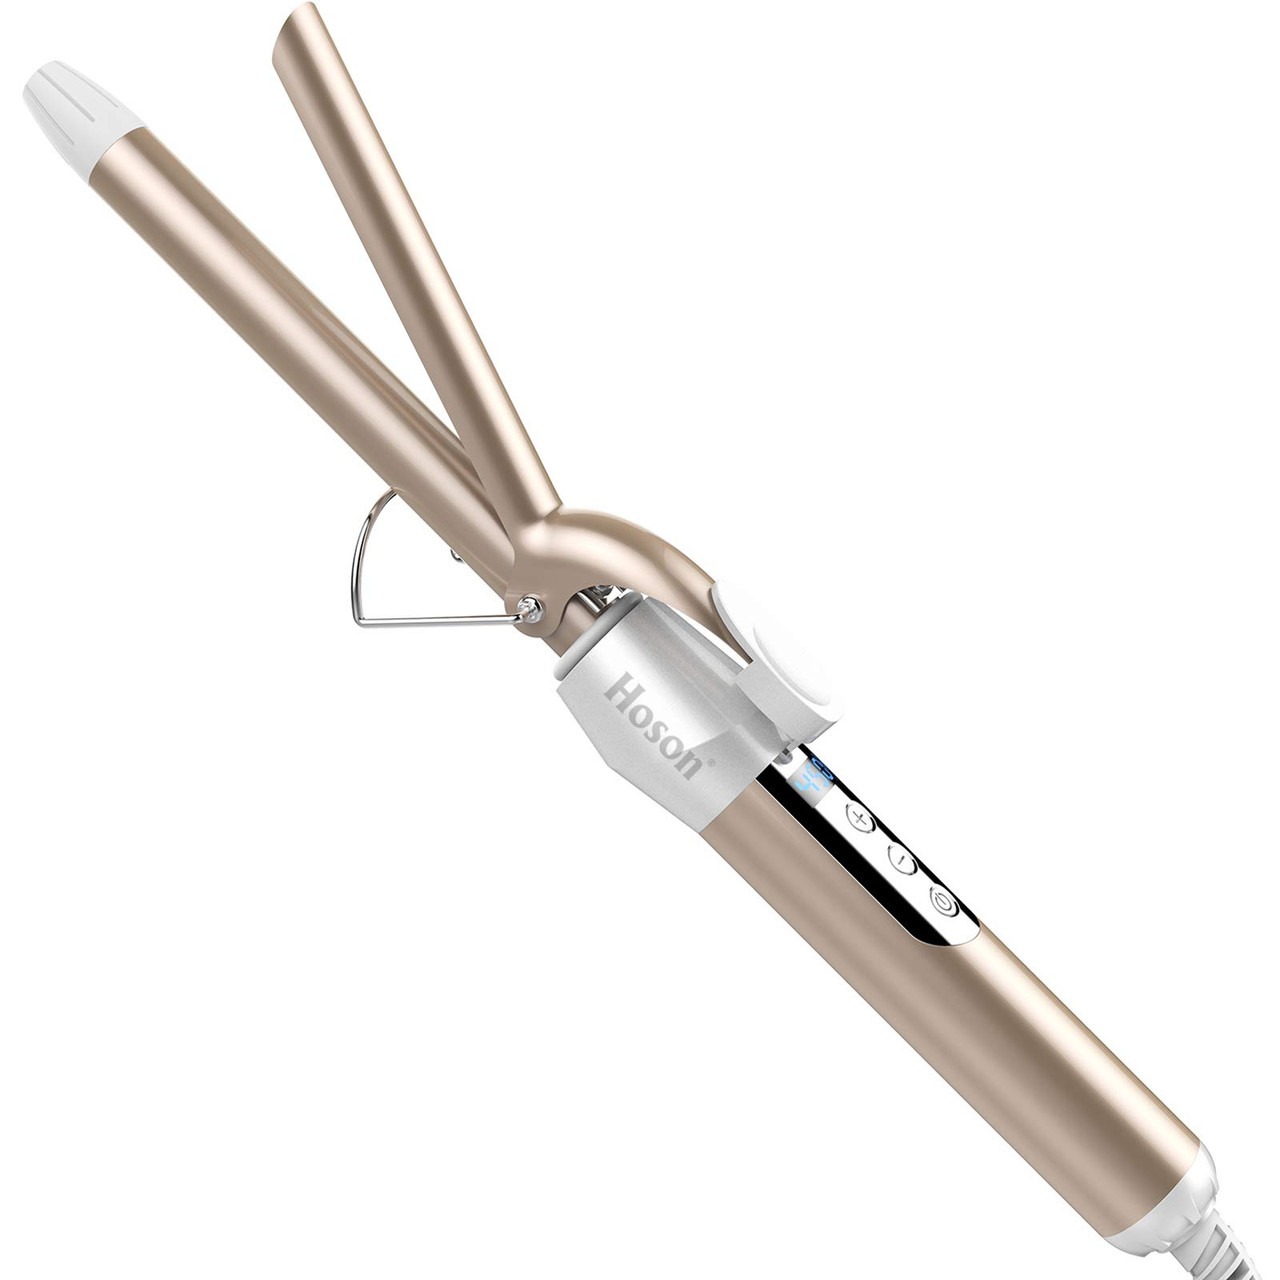
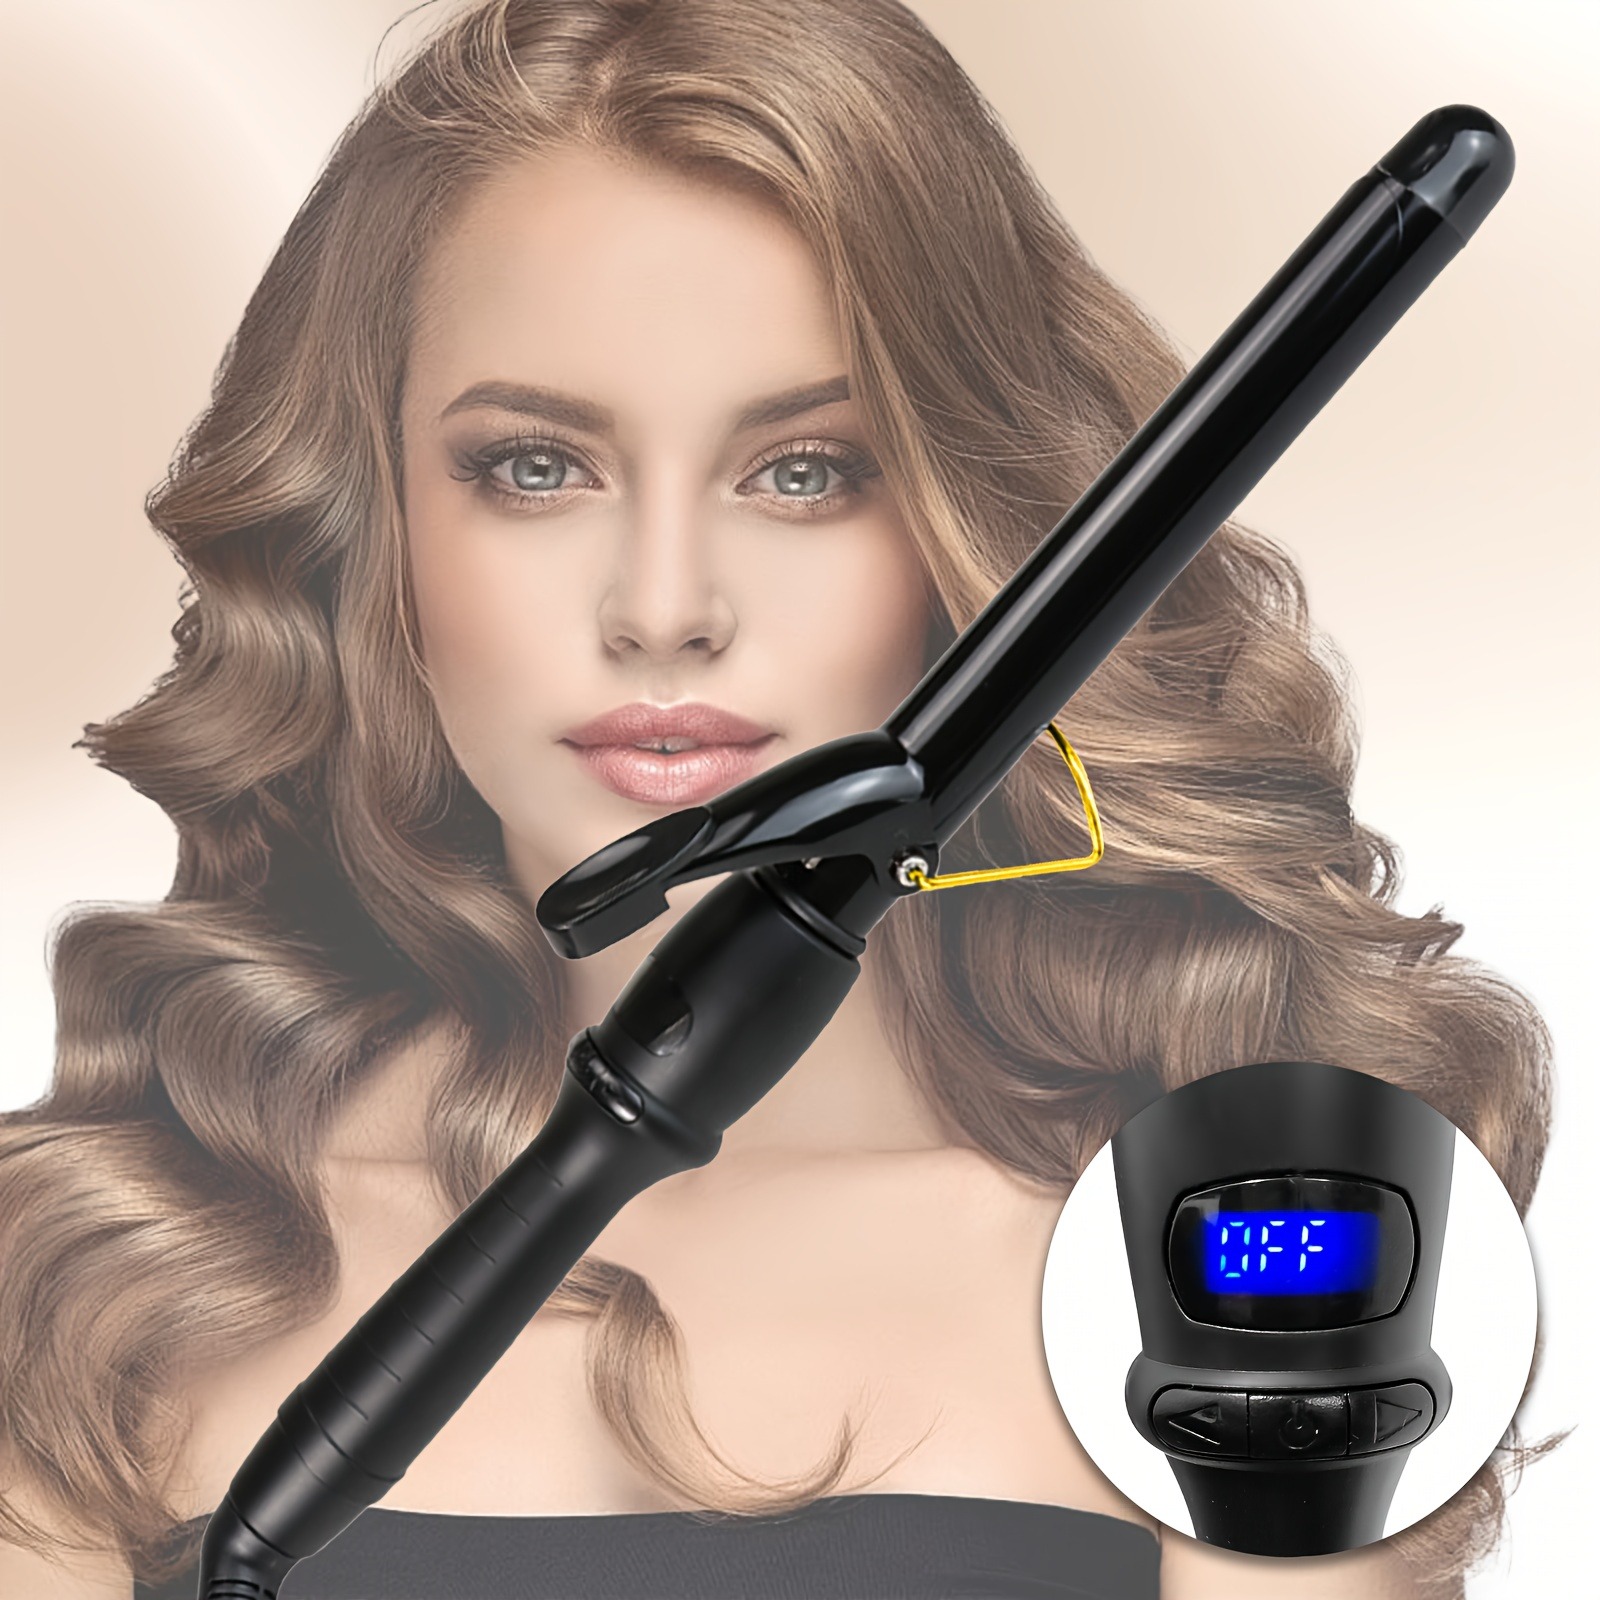
  • Battery Indicator: A clear indicator lets you know when it’s time to recharge. This feature helps avoid unexpected power run-outs.
  • Ceramic or Tourmaline Barrels: These materials help distribute heat evenly. They also minimize hair damage by producing negative ions.

Each feature plays a pivotal role in determining the performance and convenience of your cordless curling iron. By focusing on these key aspects, you’ll be better equipped to choose an iron that meets your styling needs and enhances your daily routine.

cordless curling iron

Most Popular Cordless Curling Iron Brands

When you are in the market for a cordless curling iron, brand reputation can play a huge role. The most beloved brands combine quality, innovation, and customer satisfaction. Here is a list of popular brands known for their top-notch cordless curling irons:

  • Dyson: Dyson stands out with high-tech features and cutting-edge design. Their cordless irons are often lightweight, powerful, and boast long battery life.
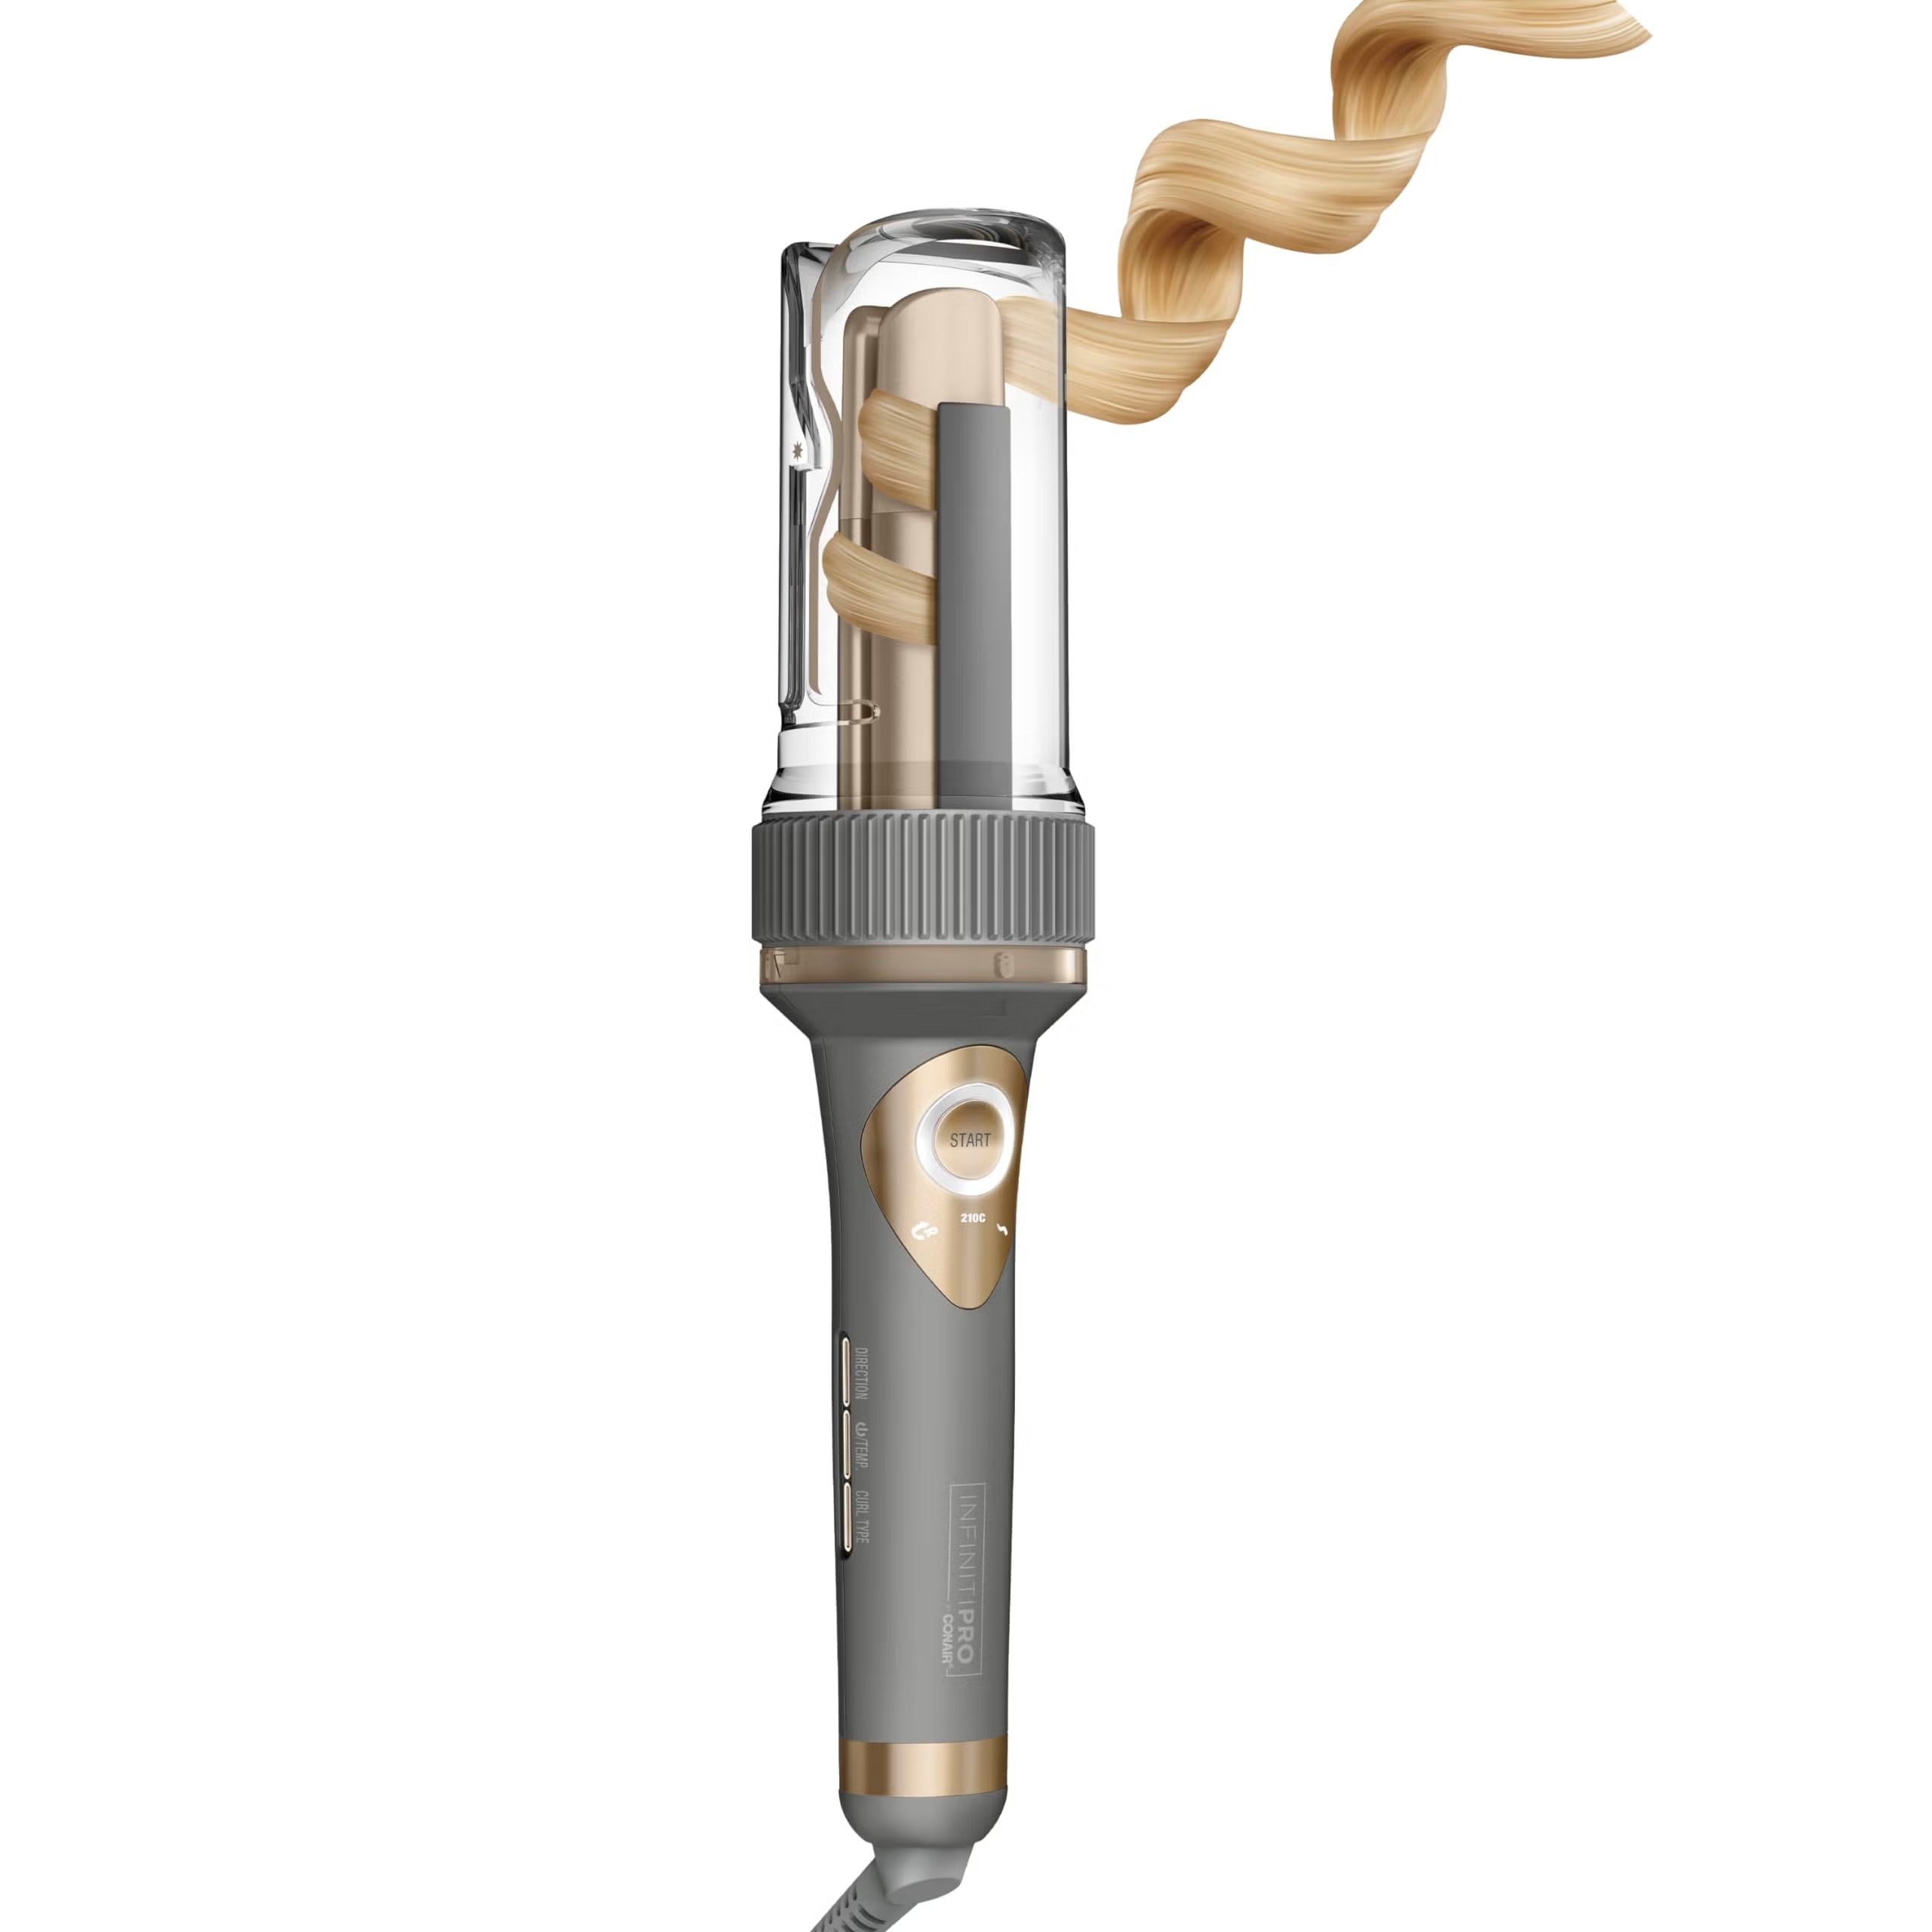
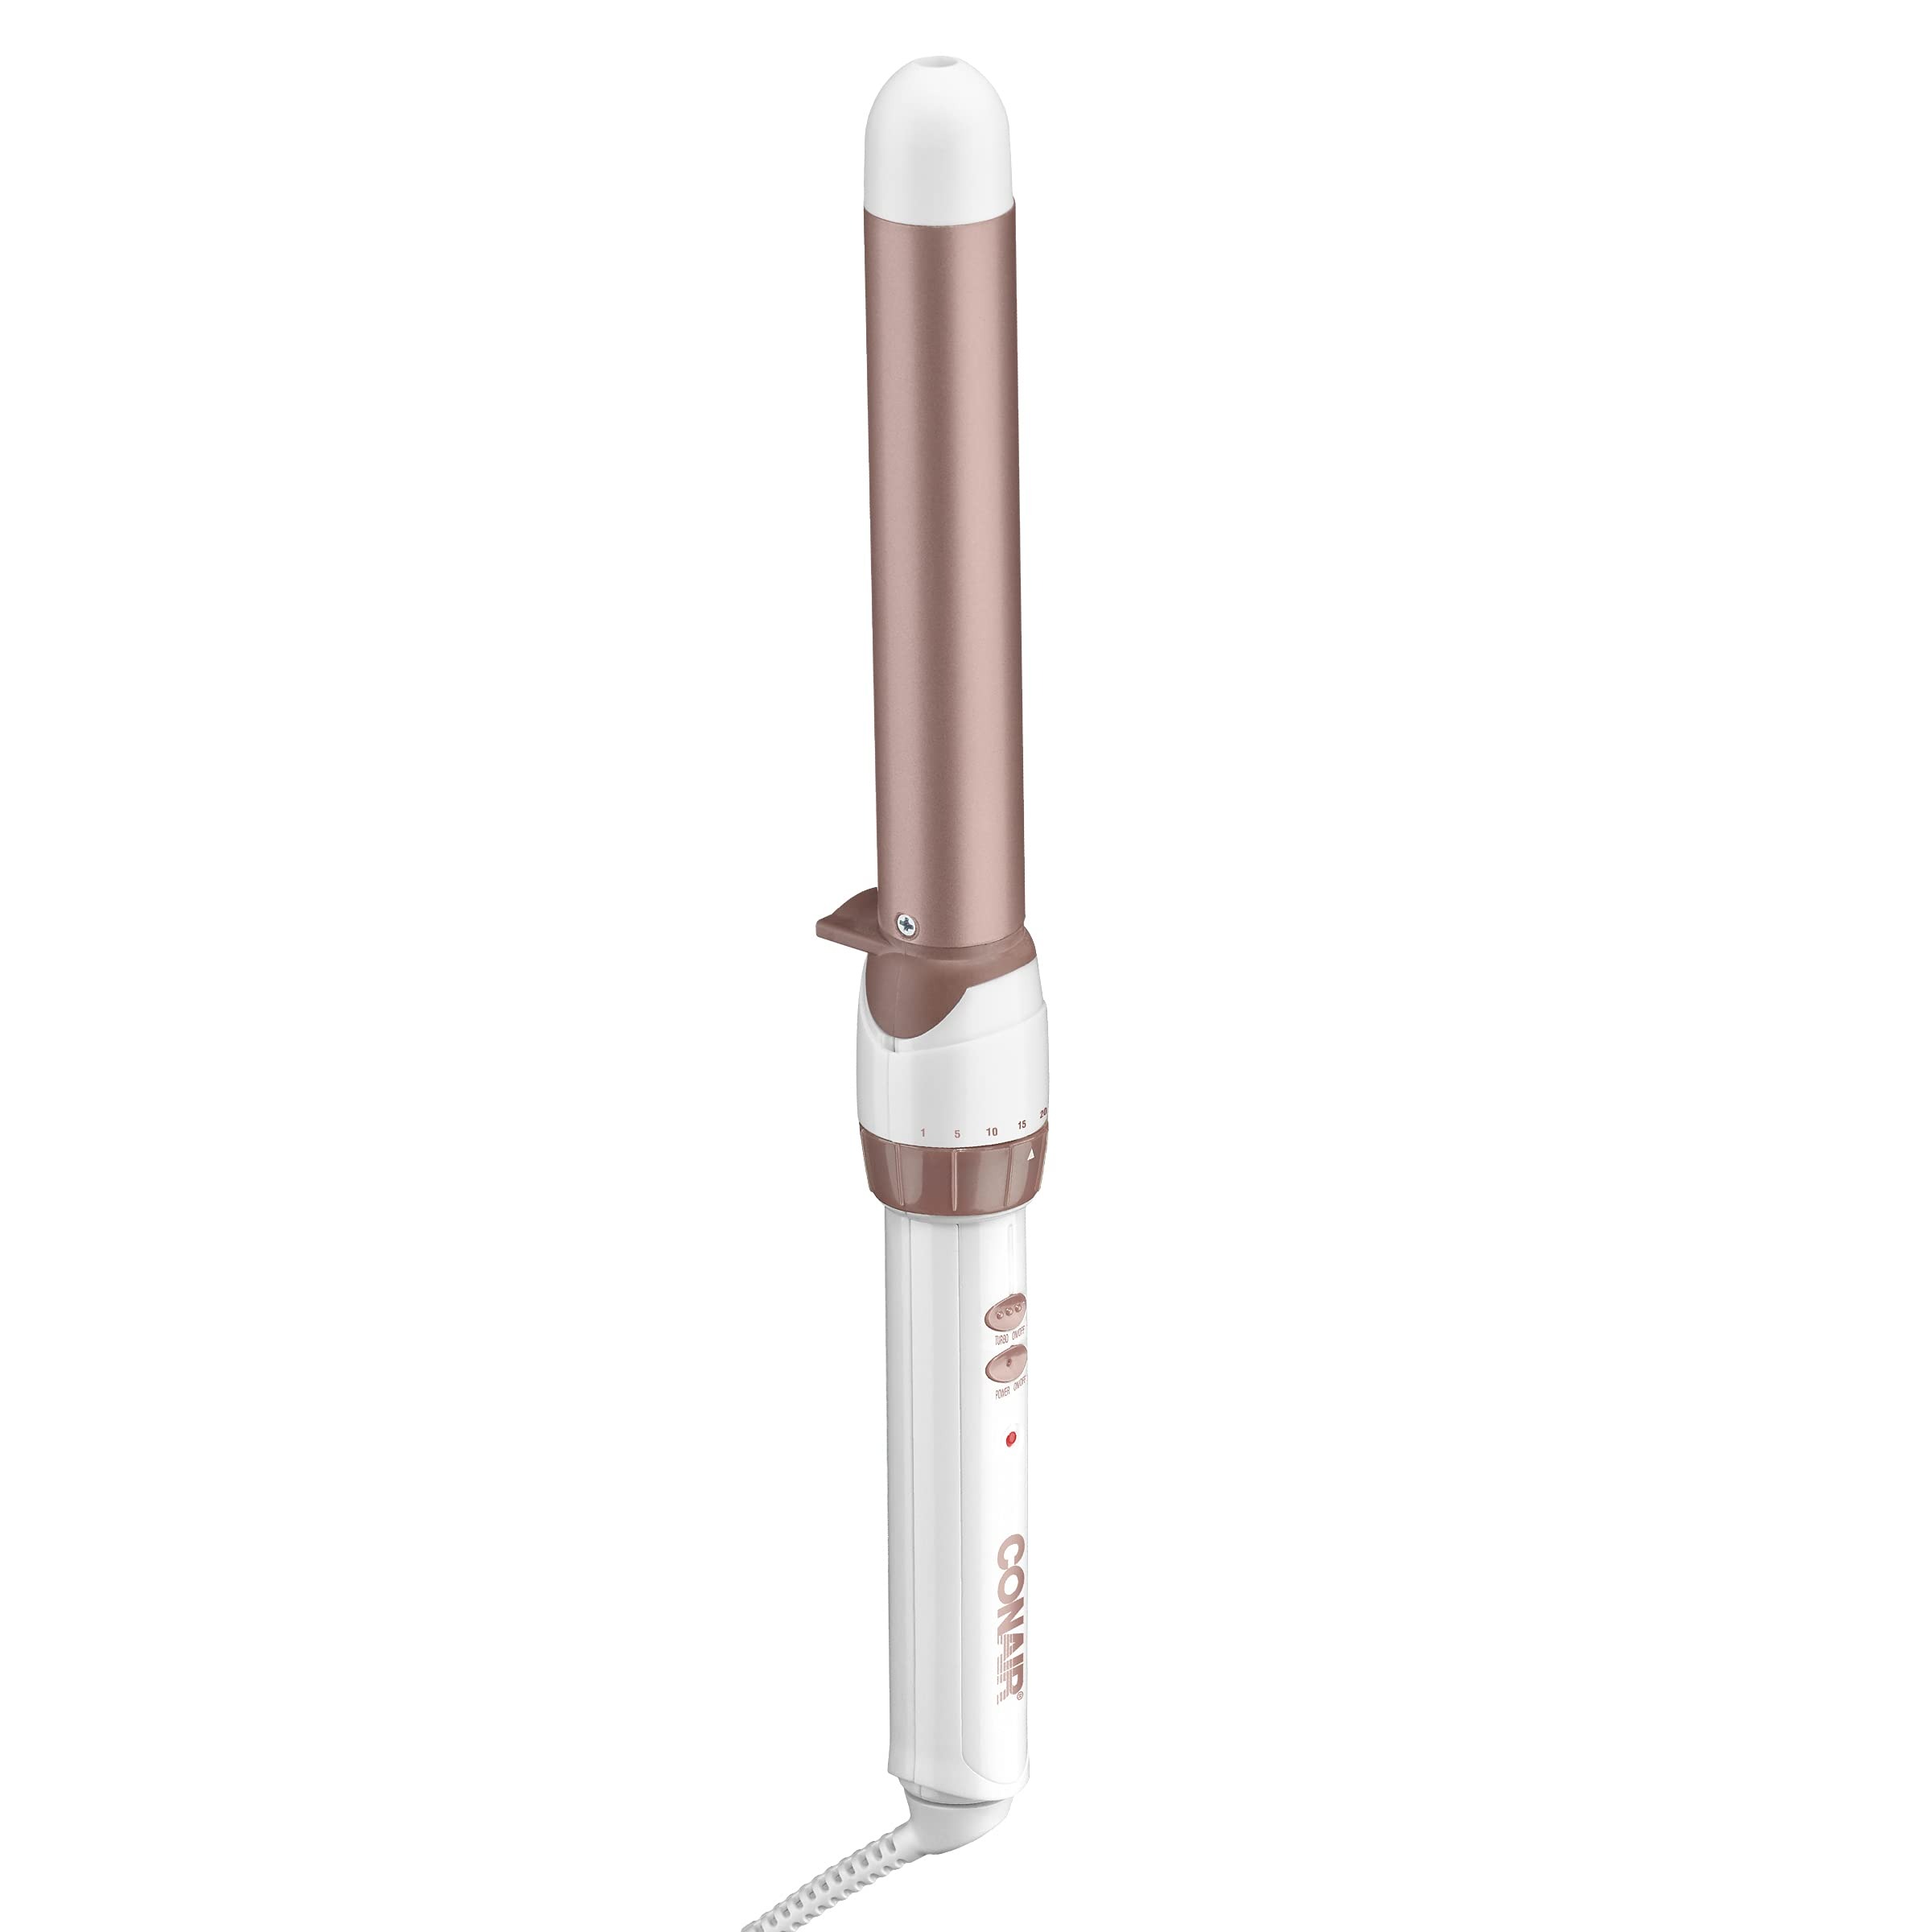
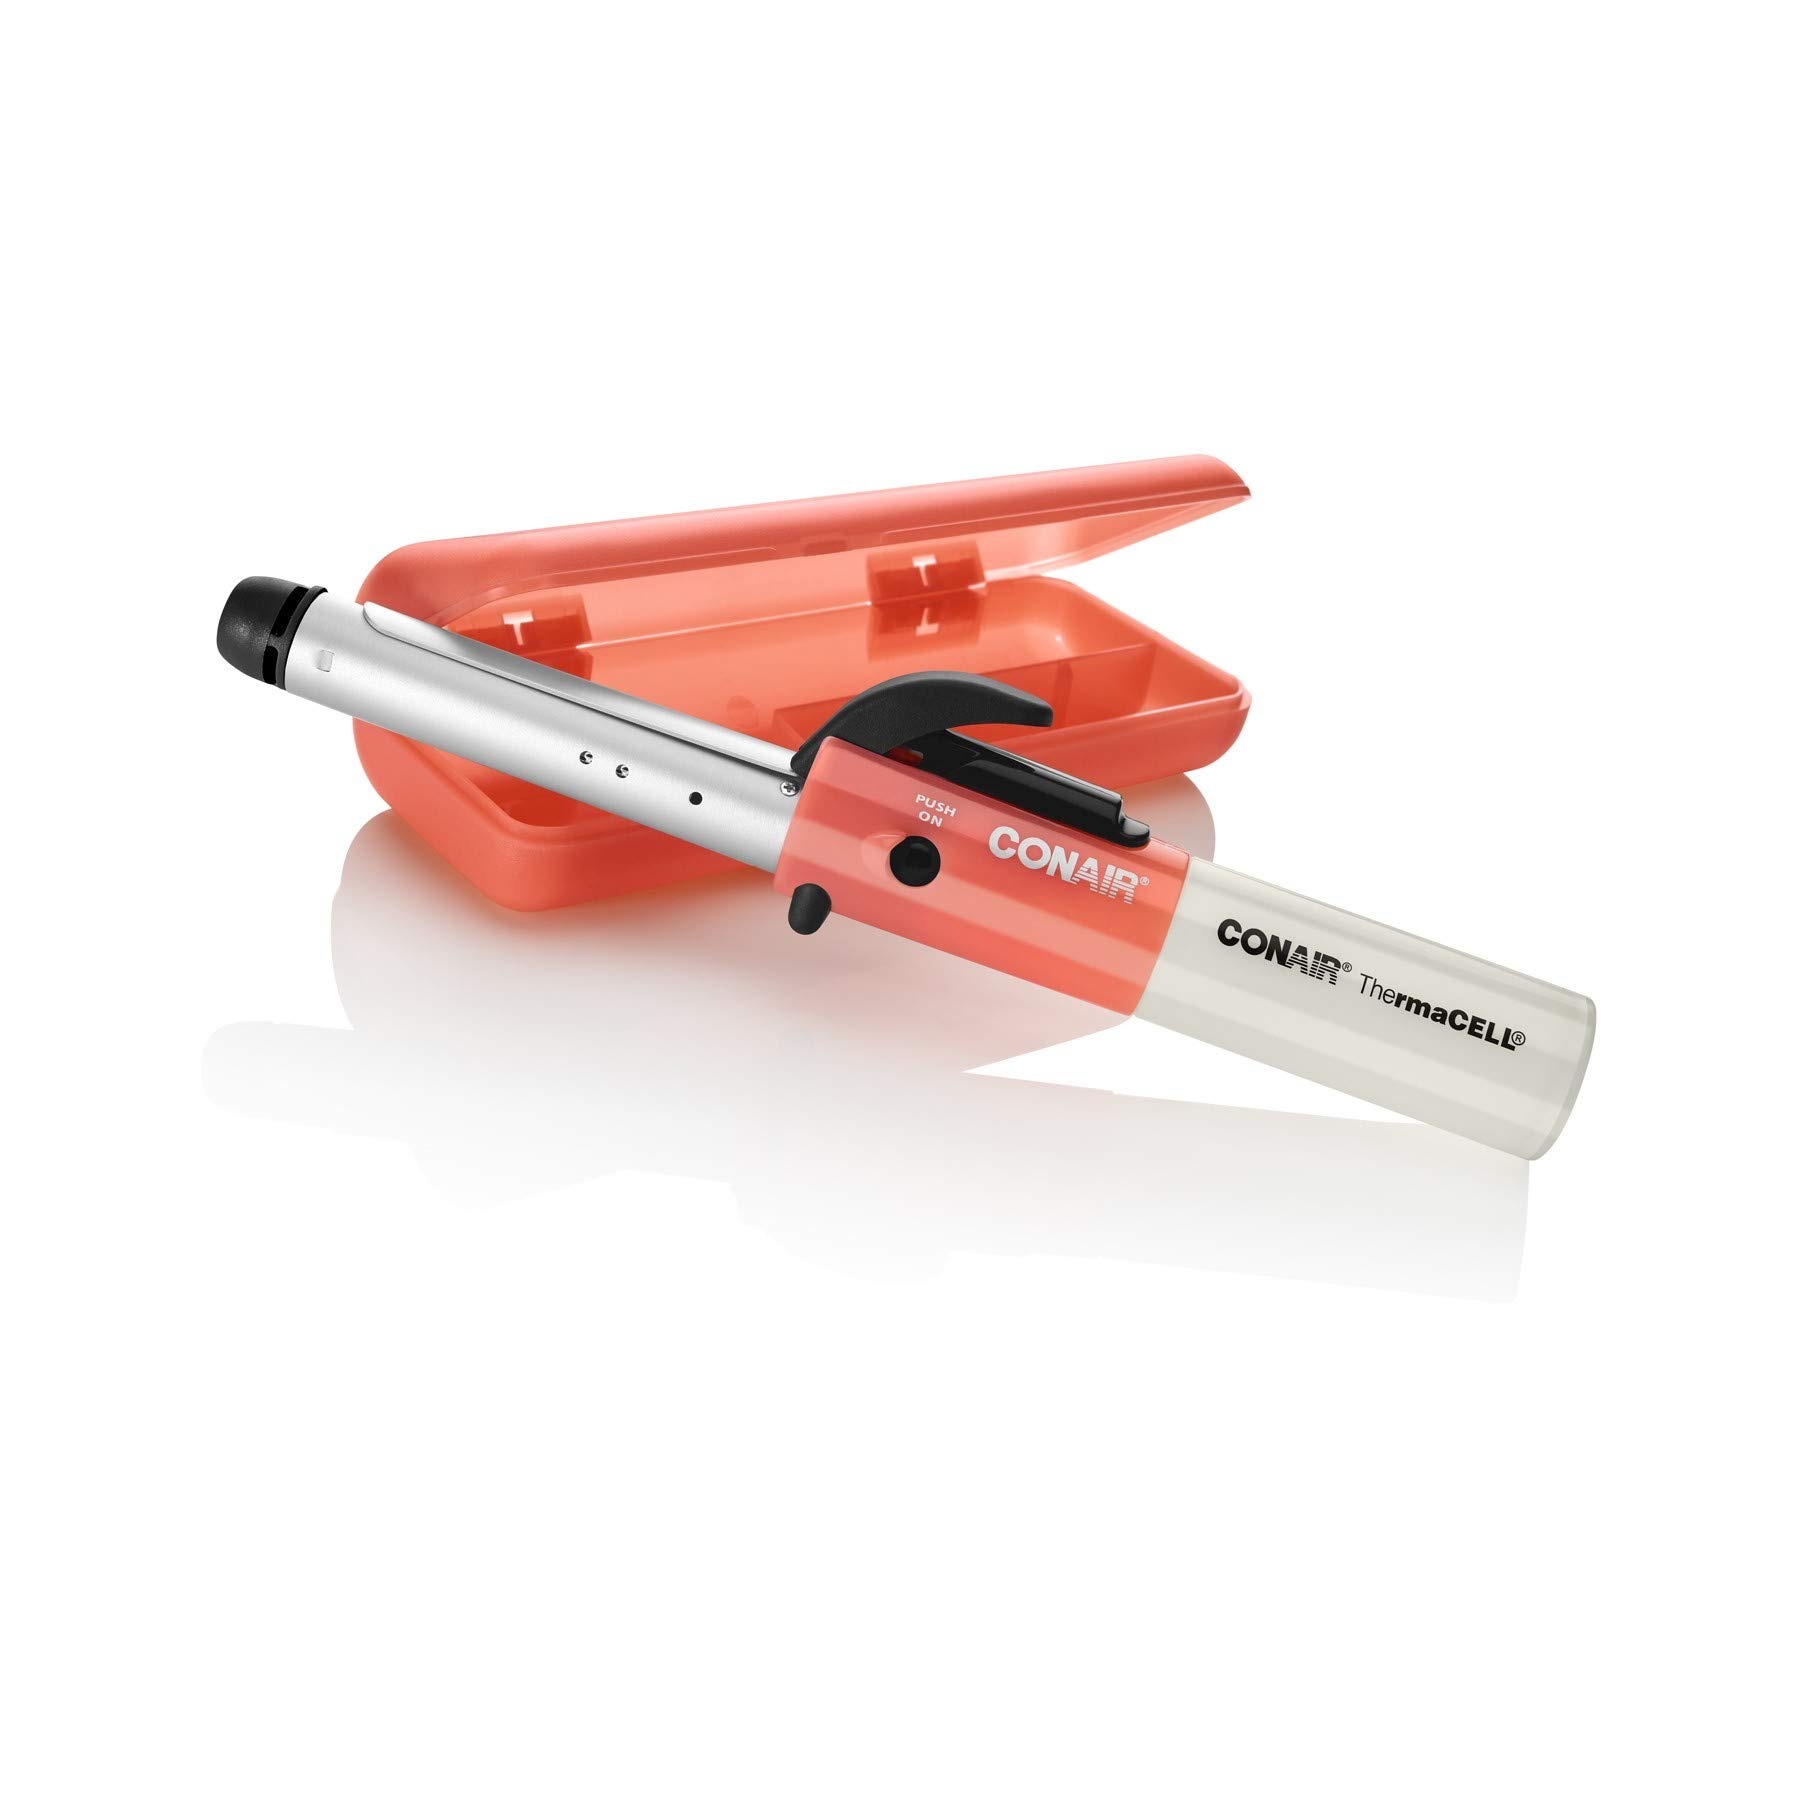
  • Conair: A trusted name in hair care, Conair offers affordable cordless options that are user-friendly and reliable. They’re known for durability and versatility.
  • CHI: CHI excels at providing professional-grade tools. Their cordless irons often feature advanced technology like ceramic plates for even heating.
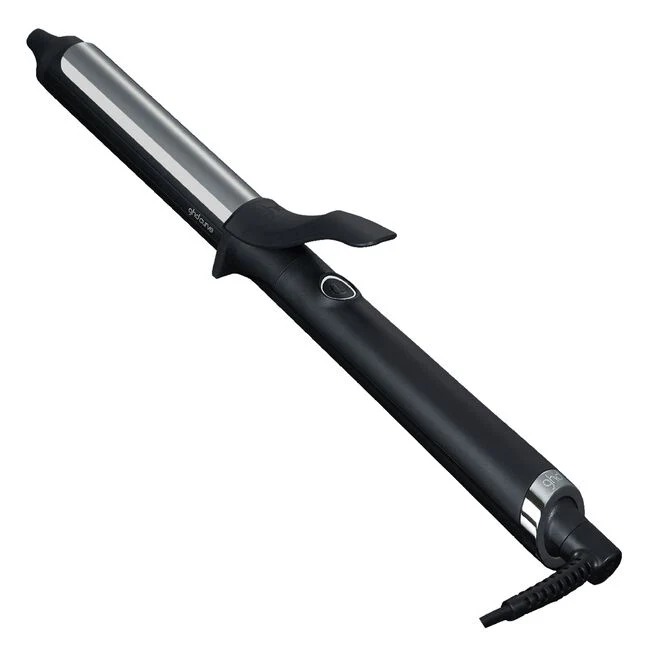
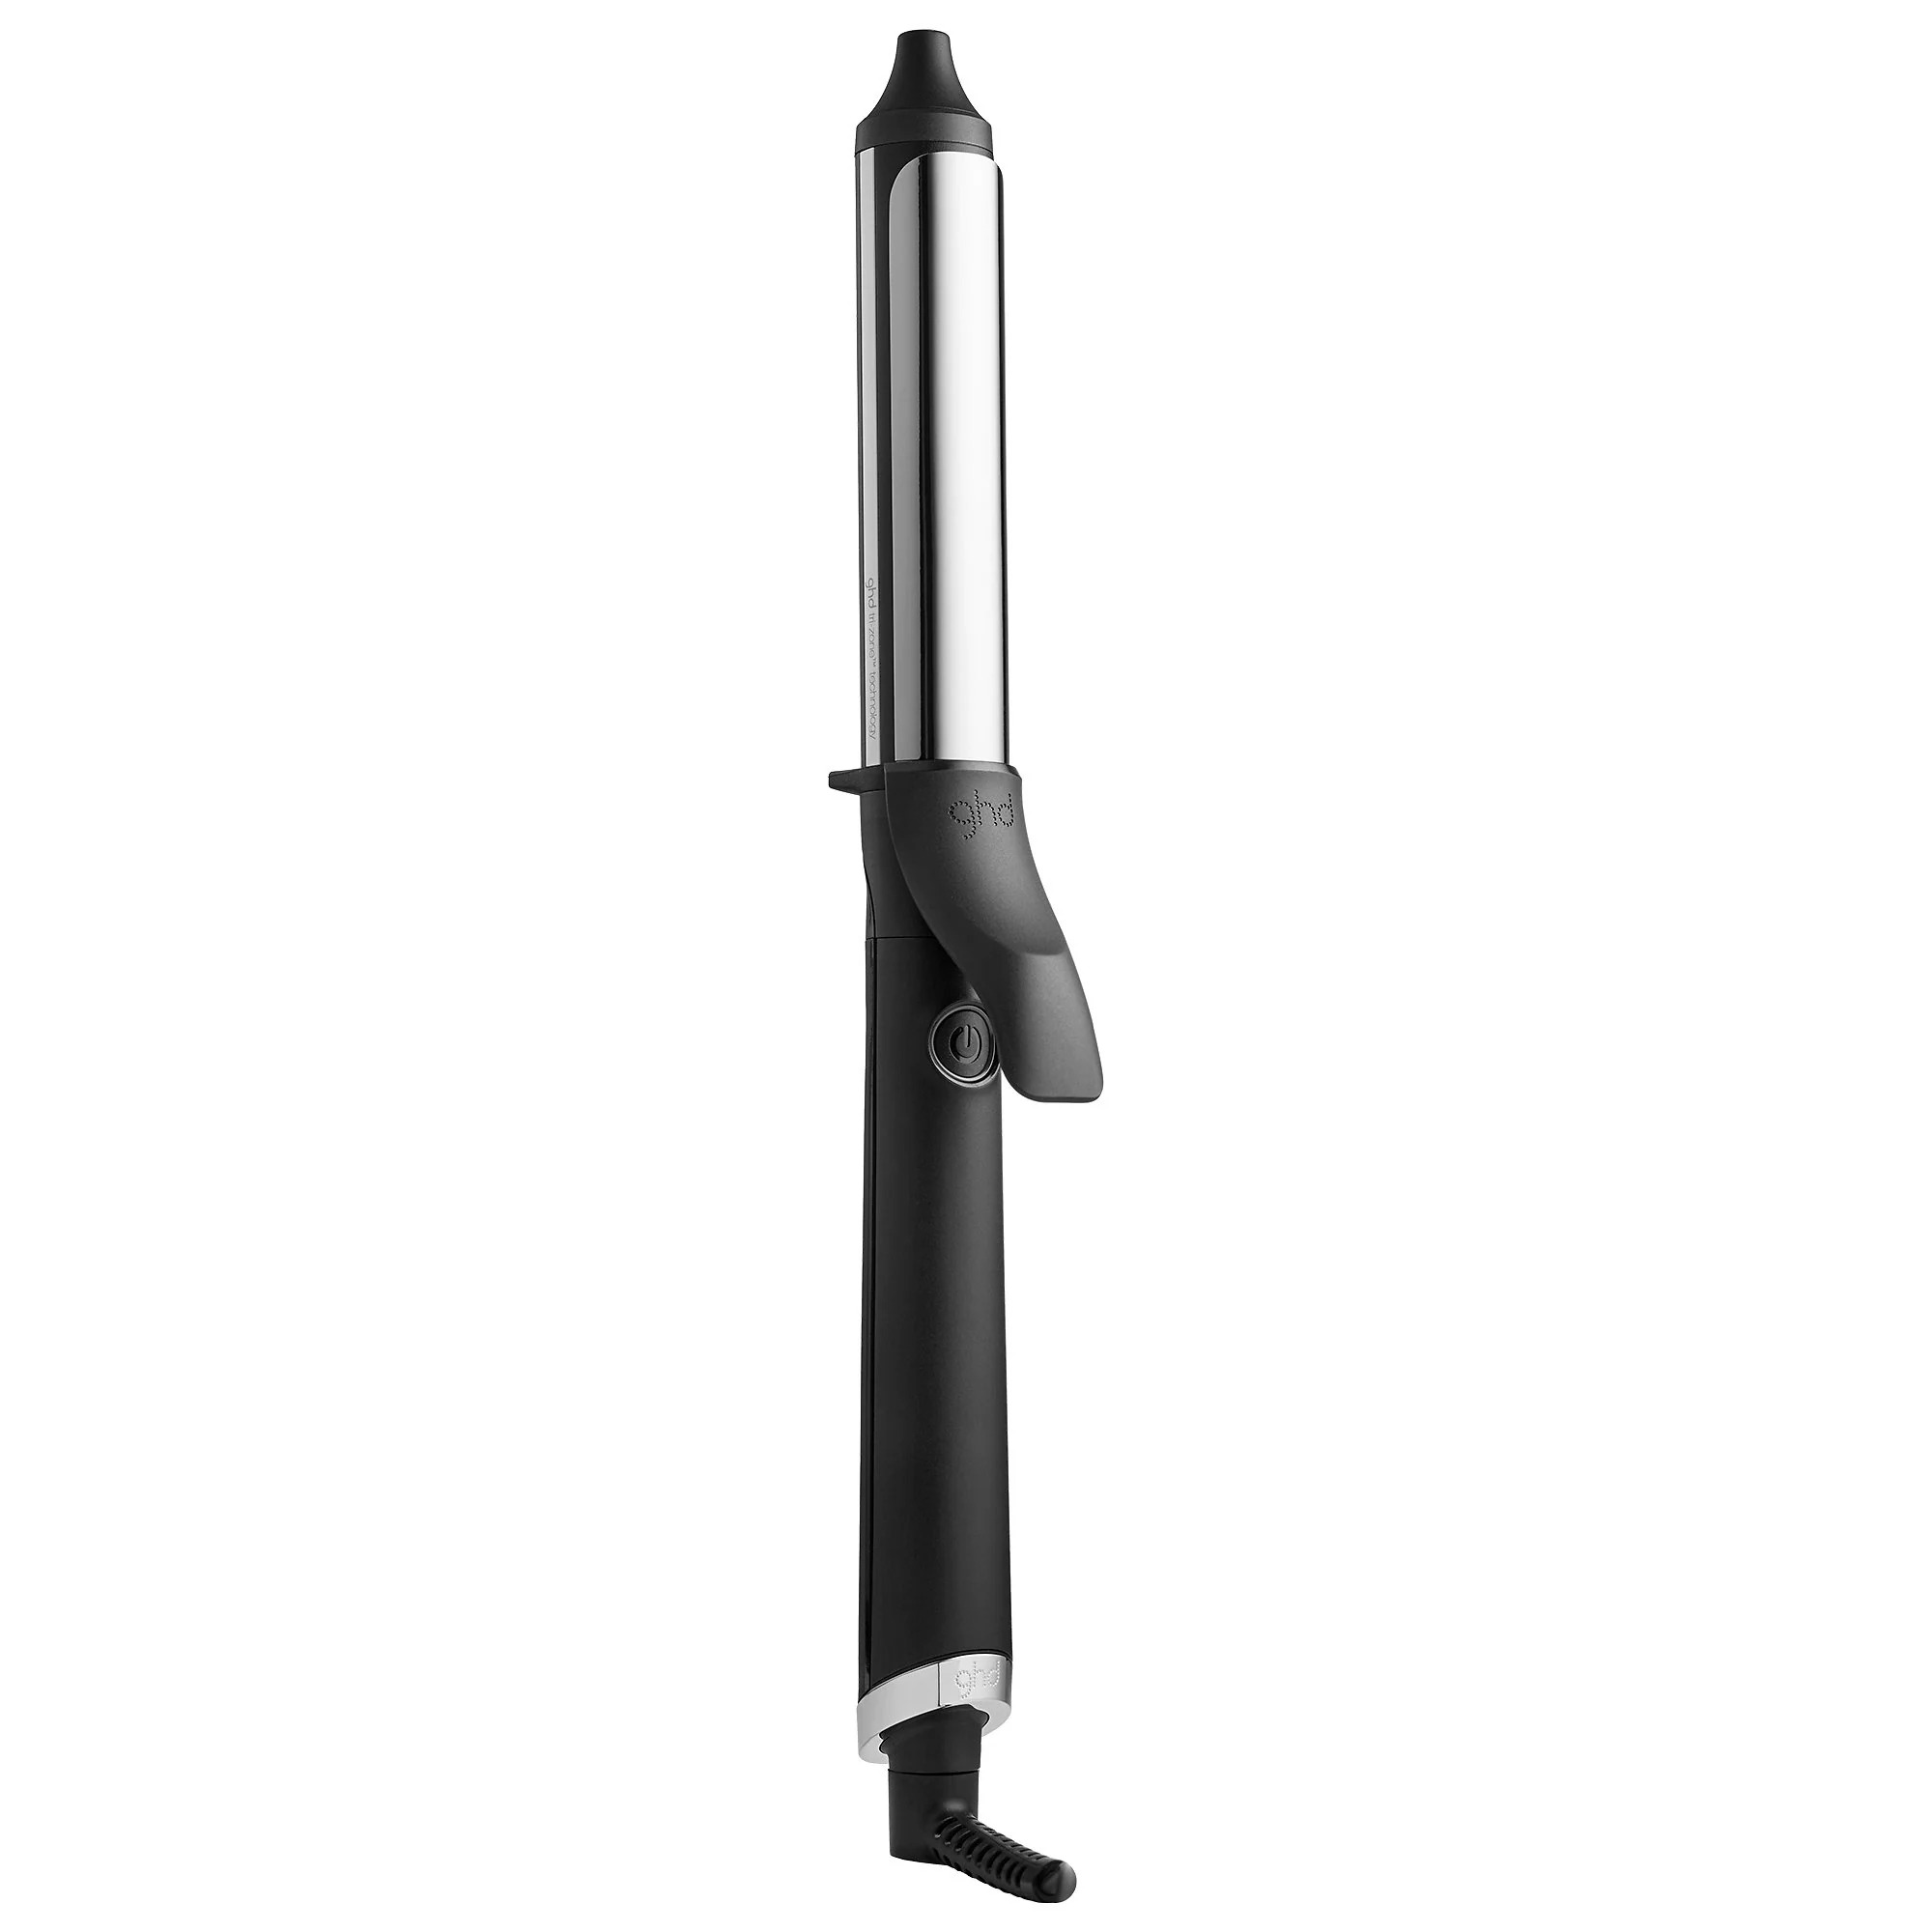
  • GHD: Renowned for premium hair styling tools, GHD’s cordless curling irons promise sleek results with minimal hair damage.

These brands dominate the market because they consistently release cordless curling irons that meet consumer needs. Whether you are looking for something high-end or more budget-friendly, there is a brand that fits your requirements.

Safety Tips for Using Cordless Curling Irons

Safety should always be a top priority when using any heat styling tool, especially cordless curling irons. Here’s how to use these devices safely:

  • Read the Manual: Before you start, read the user guide. Each model is different.
  • Test the Temperature: Don’t apply the hot iron directly to your hair. Test it on a small section first.
  • Avoid Water: Never use a curling iron near water to prevent electric shock.
  • Handle with Care: The barrel gets extremely hot. Hold the iron by the handle only.
  • Do Not Overcharge: Follow the manufacturer’s instructions for charging. Overcharging may lead to battery damage.
  • Use on Dry Hair: Apply the iron only to dry hair to prevent hair damage.

By following these simple safety tips, you can enjoy your cordless curling iron without any mishaps. Remember, taking a moment to focus on safety can prevent accidents and ensure a pleasant styling experience.

How to Achieve Different Curls with Cordless Irons

Achieving various curl types with a cordless curling iron is an art form. To get different looks, consider these tips:

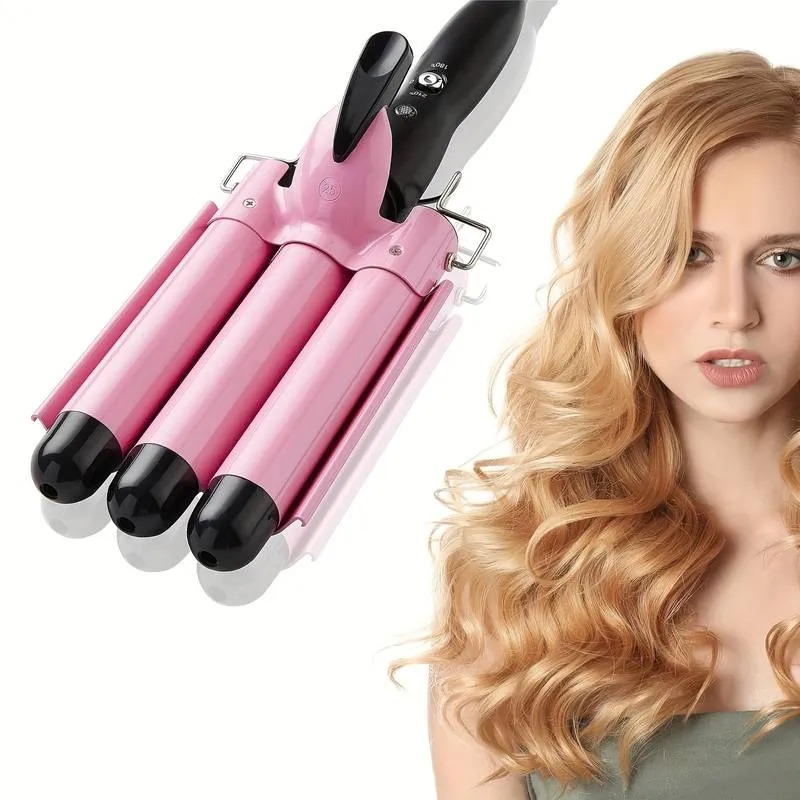
  • For Tight Curls: Choose a small barrel. Wrap small sections of hair tightly around the iron. Hold for a few seconds before releasing.
  • For Loose Waves: Opt for a larger barrel. Wrap larger sections of hair. Hold briefly then let go for a relaxed wave.
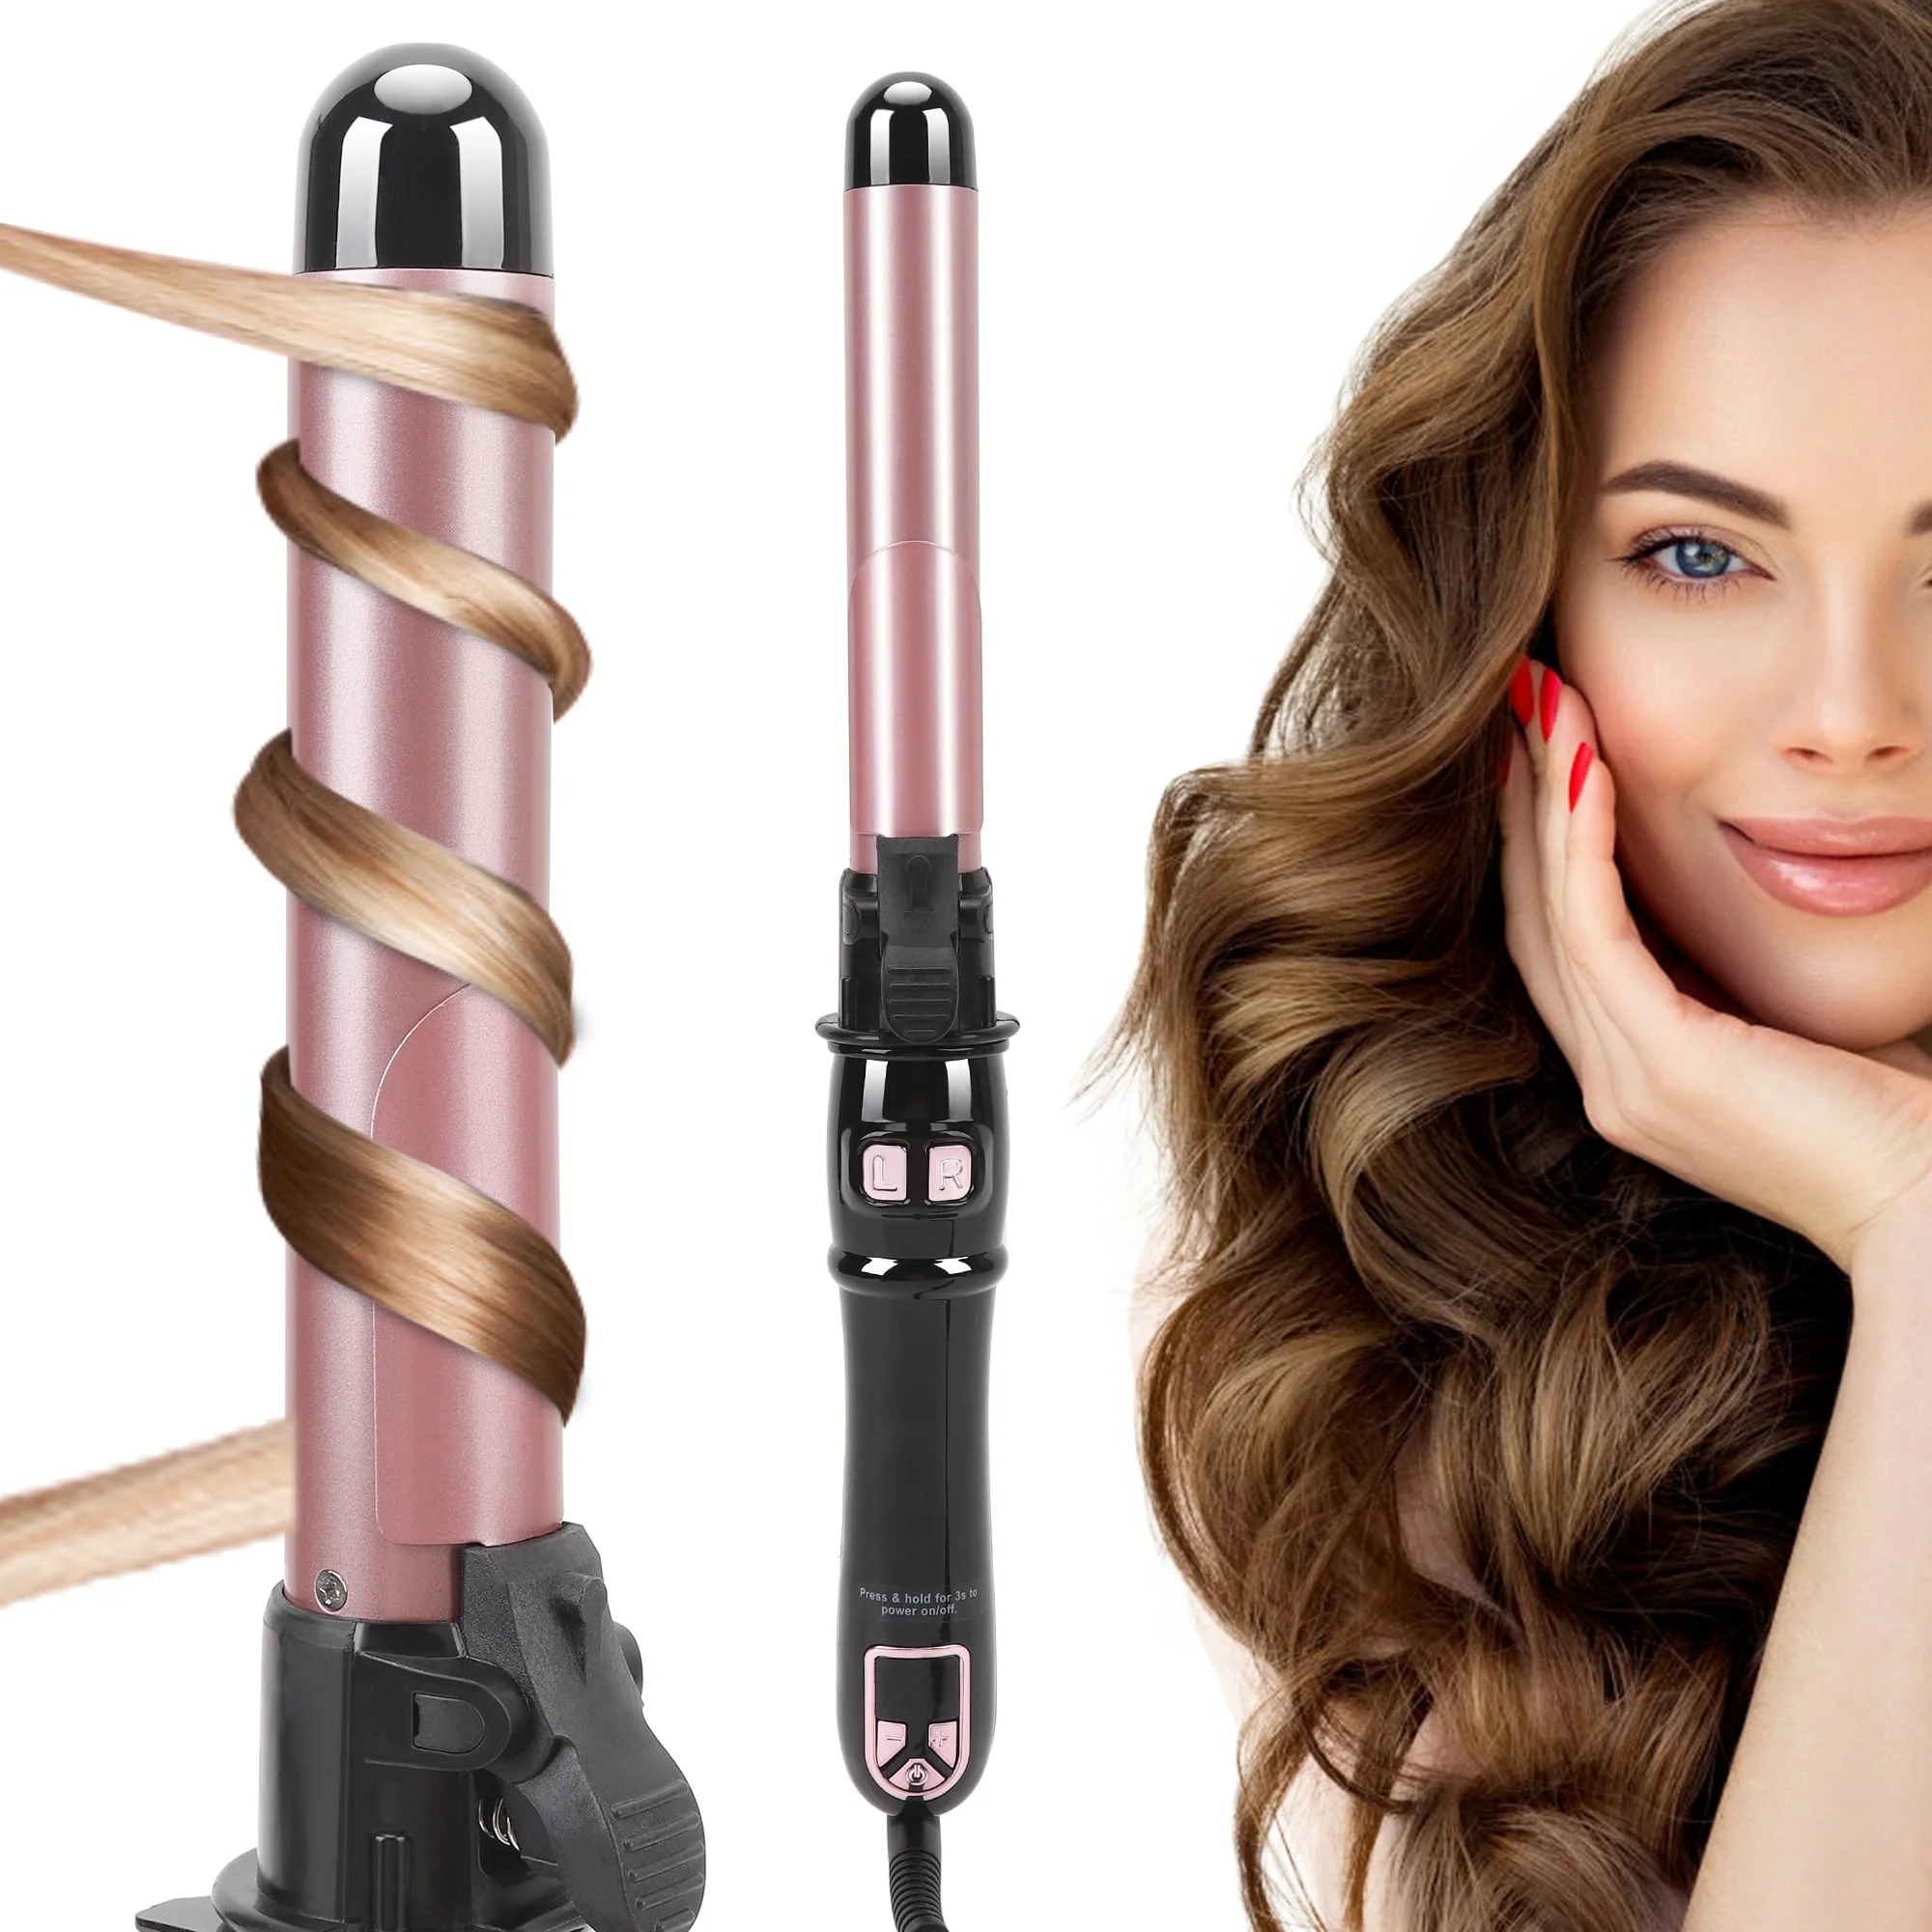
  • For Voluminous Curls: Hold the iron vertically. Wrap hair sections around the barrel, starting near the root. This gives lift and fullness.
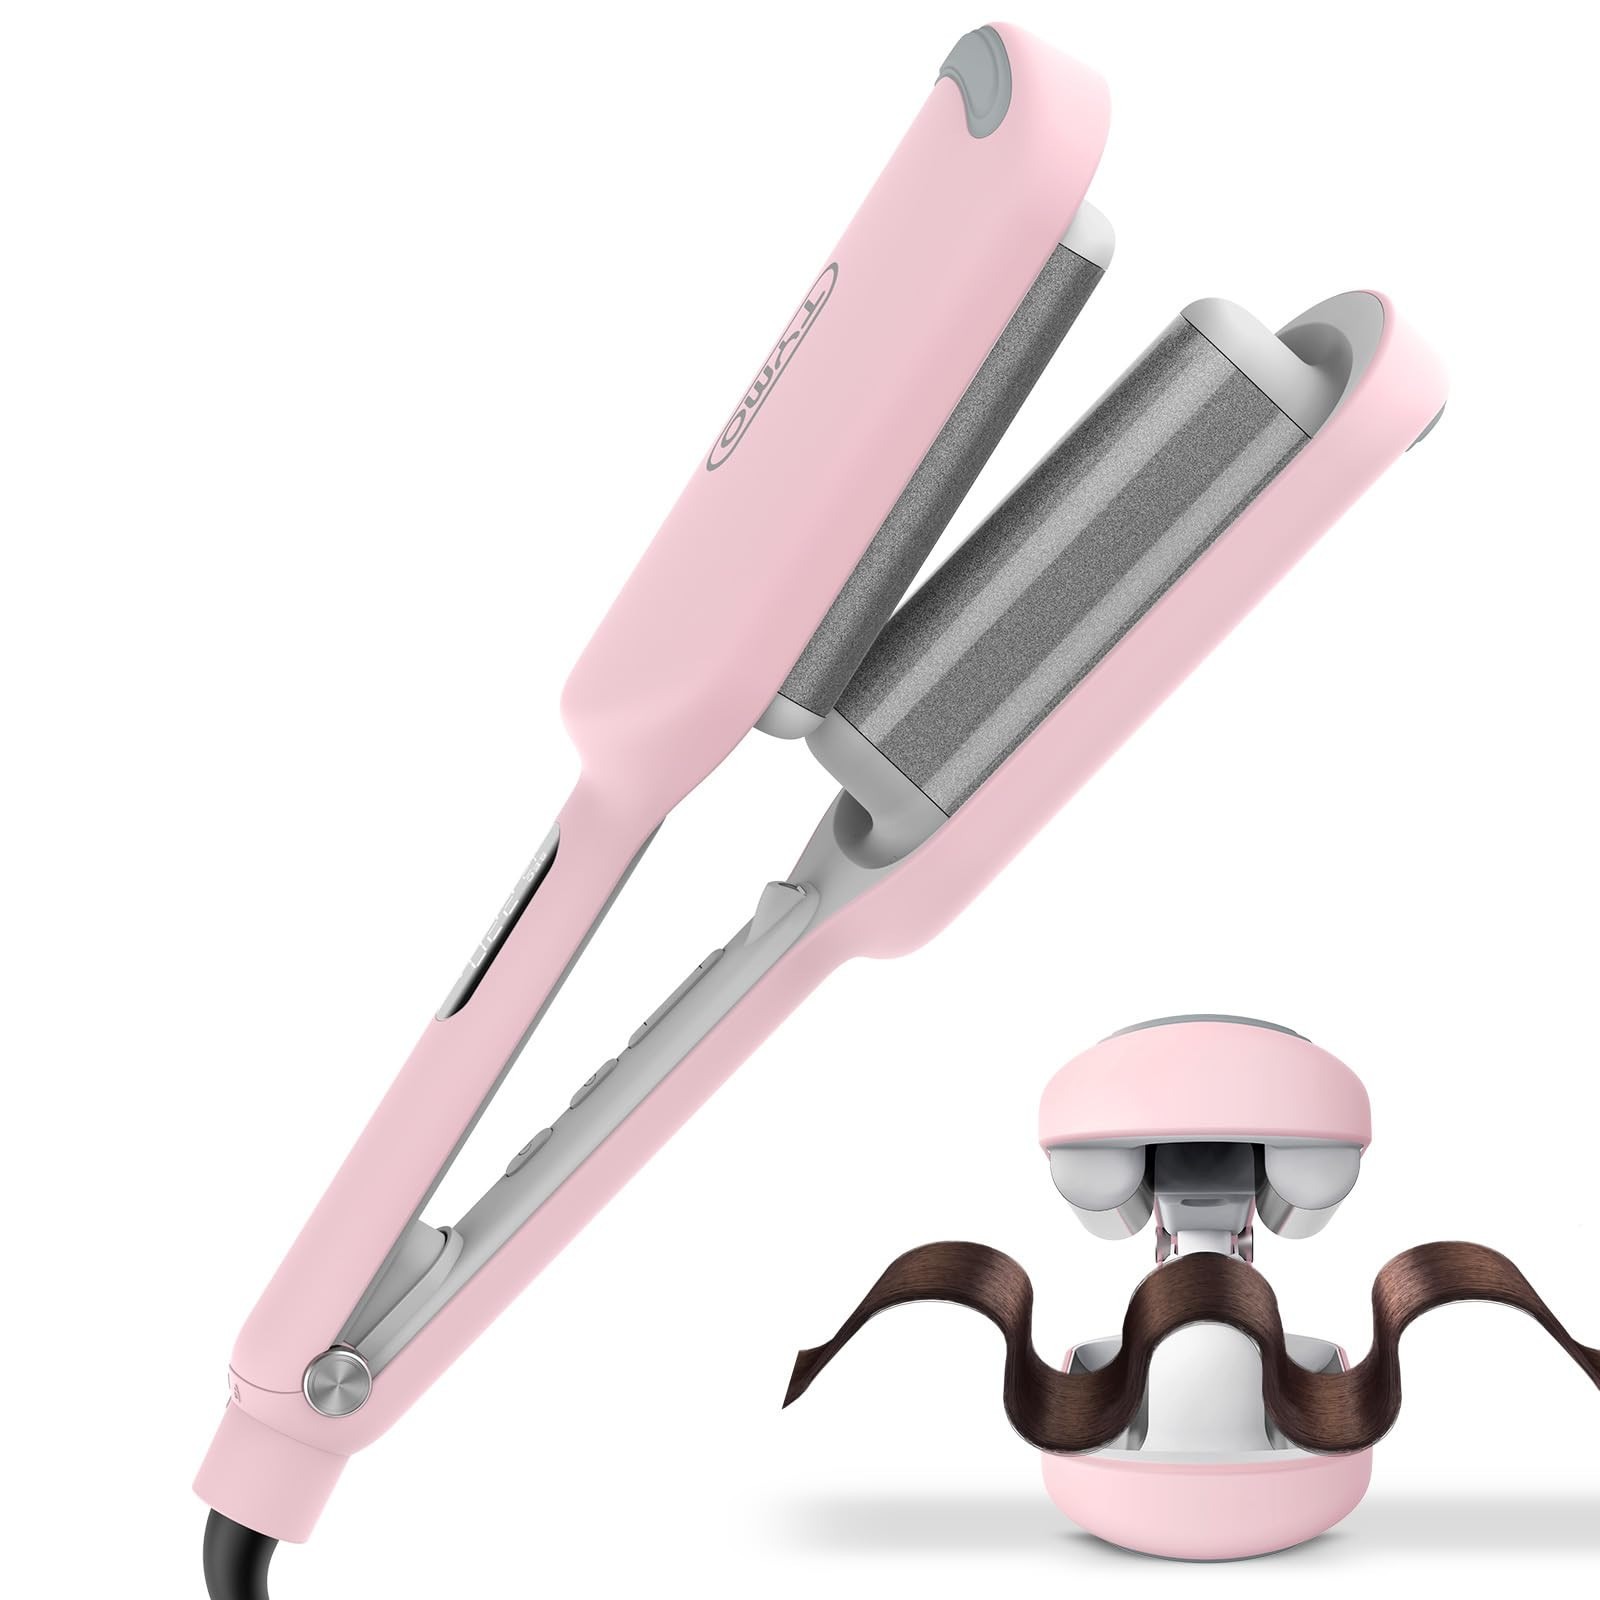
  • For Beachy Waves: Twist hair before wrapping it around the iron. This technique creates a more natural, tousled look.

Each of these methods will help you master the use of your cordless curling iron to achieve just the right style. Be sure to practice and experiment to find the best techniques for your hair type.

cordless curling iron

Maintaining Your Cordless Curling Iron for Longevity

To enjoy your cordless curling iron for years, proper maintenance is key. Follow these steps for optimal care:

  • Regular Cleaning: Wipe the barrel after each use with a soft, damp cloth. Ensure it’s cool and unplugged.
  • Battery Care: Recharge the battery as needed. Don’t wait for it to fully drain before charging.
  • Storage: Store in a cool, dry place. Avoid places with moisture or direct sunlight.
  • Protective Cover: Use the cover provided to shield the barrel from damage when not in use.
  • Avoid Drops: Handle your iron with care. Dropping it can damage the barrel or internal components.
  • Check for Damage: Inspect your iron regularly for signs of wear. Look for loose parts or exposed wires.

By respecting these maintenance guidelines, your cordless curling iron will remain a reliable tool in your beauty arsenal.

Cordless Curling Irons: Price vs Quality

When shopping for a cordless curling iron, the price and quality are two factors to weigh carefully. Here’s what to keep in mind:

  • Assess the Features: A higher price often means more features. Does the model have adjustable heat settings, a long battery life, or dual voltage options? These contribute to the iron’s quality and justify the cost.
  • Materials Matter: Quality cordless curling irons usually have ceramic or tourmaline barrels. These materials protect your hair and ensure even heating. Usually, higher-quality materials will raise the price.
  • Brand Reputation: Established brands might charge more but also often offer better quality and warranties. Investing in a reputable brand can lead to a longer-lasting curling iron.

Look for a cordless curling iron that offers the best combination of price and quality, based on your styling needs and frequency of use. Remember, paying a bit more upfront for a quality product often leads to better performance and durability, saving money in the long run.

cordless curling iron

Home Appliance
Mastering the 1 Inch Curling Iron – Tips for Perfect Curls

Selecting the Right 1 Inch Curling Iron

Selecting the perfect 1 inch curling iron can be a game-changer for your hairstyles. With the right tool, you can create smooth, long-lasting curls that showcase your hair’s beauty. Here’s how to choose the best one for your hair needs.

1 inch curling iron

Types of 1 Inch Curling Irons

When shopping for a 1 inch curling iron, you’ll find various types each with unique benefits:

  • Spring Clamp Irons: These are user-friendly and great for beginners. The clamp holds hair in place as you curl.
  • Marcel Irons: Preferred by professionals, Marcel irons offer greater control but require more skill.
  • Clipless Wands: They create natural-looking waves and eliminate creases caused by clamps.
  • Tapered Wands: Ideal for versatile curls, from tight ringlets to loose waves, based on where you wrap your hair.

Be mindful of your skill level and the styles you desire when choosing among these types.

What to Look for in a Quality Curling Iron

A quality 1 inch curling iron should possess the following features:

  • Adjustable Heat Settings: This ensures you can find the perfect temperature for your hair type.
  • Ceramic or Tourmaline Barrels: They distribute heat evenly, minimizing damage and frizz.
  • Swivel Cord: It allows for easy maneuvering without tangling the cord.
  • Auto Shut-off: For safety, the iron should turn off automatically after a period of non-use.

Selecting the right 1 inch curling iron with the needed features helps you achieve the perfect curls while taking care of your hair. Remember to maintain the tool and always use it properly to keep your hair healthy and stylish.

Prepping Your Hair for Curling

To get the best results with your 1 inch curling iron, prepping your hair is essential. Proper preparation not only protects your hair but also ensures that your curls will hold better and look more defined.

Washing and Conditioning

Start with clean hair. Use a gentle shampoo and conditioner that match your hair type. This step removes any build-up that can weigh your hair down and prevents your curls from taking shape. Keep your hair hydrated, but avoid heavy products that can make your hair too slippery for curling.

1 inch curling iron

Applying Heat Protectant

Before you apply any heat to your hair, it’s crucial to use a heat protectant. This product forms a barrier between your hair and the curling iron, minimizing heat damage. Apply it evenly throughout your hair, concentrating on the ends which are more prone to damage.

The Importance of Completely Dry Hair

Ensure your hair is completely dry before curling. Wet or damp hair won’t curl properly and can be damaged easily when exposed to high heat. You can let it air dry or use a blow dryer, but be sure it’s fully dry to get smooth, long-lasting curls with your 1 inch curling iron.

The Basics of Using a 1 Inch Curling Iron

Getting the hang of using your 1 inch curling iron is the foundation for fabulous curls. Here’s a step-by-step guide to help you master the basics.

Heating Up Your Iron

Before you start curling, your iron needs to be hot enough. Turn on your 1 inch curling iron to the right temperature for your hair. Thin or fine hair requires a lower setting to prevent damage, while thick hair can handle higher heat. Wait until it’s fully heated – most irons have a light that indicates when they’re ready.

Sectioning Your Hair

Dividing your hair into sections is key for even curls. Start by parting your hair in the middle or on one side, depending on your preference. Clip up the top half of your hair, leaving the bottom layer down. Work in small, manageable sections for the best results. This method ensures you don’t miss any strands and your curls look uniform.

Holding the Curling Iron Properly

The right grip on your 1 inch curling iron means you can curl without hassle. Hold the iron with your dominant hand and use the other hand to wrap your hair around the barrel. Keep the iron vertical for longer, looser curls or horizontal for tighter, bouncier curls. Don’t rush; a steady hand leads to better-shaped curls. Make sure you don’t touch the hot barrel to avoid burns.

Techniques for Perfect Curls

Achieving the perfect curls with a 1 inch curling iron takes practice and technique. Below are some of the most effective methods to help you get those enviable curls.

The Classic Wrap Method

The classic wrap method is a go-to for many. Start by taking a small section of hair. Open the clamp of your curling iron. Wrap the section around the barrel from the base to the tip. Close the clamp and hold for a few seconds. Release the clamp and gently pull the iron out. You’ll have a classic, bouncy curl.

Creating Waves with a Curling Iron

For a wavy look, take larger sections of hair. Wrap these loosely around the 1 inch curling iron. Instead of clamping, hold the hair against the barrel with your fingers. Wear a heat glove to prevent burns. Keep the iron in place for less time than with classic curls. This creates soft waves instead of tight curls.

How to Make Your Curls Last Longer

Creating perfect curls with a 1 inch curling iron is just the beginning. Making them last throughout the day or night is key. Here are tips to ensure your curls stay in place longer.

Setting with Hairspray

After curling your hair, set your curls with a light mist of hairspray. Not too much, just enough to hold. Choose a hairspray that offers flexibility without stiffness. Spray from a distance to cover all your curls evenly.

Using the Right Hair Products

The right products can make a difference. Look for mousses or gels that are designed to enhance and hold curls. Apply them before you start curling. This prep step adds texture and grip, making curls last longer.

1 inch curling iron

Caring for Your 1 Inch Curling Iron

Proper care for your 1 inch curling iron ensures it lasts longer and works well.

Cleaning Your Iron

Regular cleaning is key for your curling iron’s performance. After each use, unplug the iron and let it cool. Gently wipe the barrel with a damp cloth to remove residue. Avoid using abrasive materials that can scratch and damage the surface.

Proper Storage

Store your 1 inch curling iron in a cool, dry place. Use a heat-resistant pouch or mat. This keeps it safe and protects other surfaces. Ensure the cord is loosely coiled to prevent damage.

Advanced Styling Tips

Once you’ve mastered the basics of using your 1 inch curling iron, you can explore advanced styling tips. These tips will help you create a variety of curl types and adapt your look for special events.

Creating Different Types of Curls

Achieving different curl types with a 1 inch curling iron is all about technique:

  • Spiral Curls: For dramatic spirals, twist each hair section before wrapping it around the iron.
  • Beachy Waves: Angle the iron away from your face and twist hair sections in alternate directions.
  • Volume Curls: Curl hair away from the scalp, starting close to the roots, to add lift and volume.

Experiment with your curling method to find the types of curls that fit your style best.

Styling Curls for Different Occasions

Curls can match any occasion with the right approach:

  • Casual outings: Looser waves give a laid-back vibe. Don’t fuss too much over perfection.
  • Formal events: Use neat, defined curls or elegant spirals for a polished look.
  • Work settings: Opt for subtle waves or soft curls for a professional appearance.

Adjust your curling techniques to suit the event and convey the desired level of formality.

1 inch curling iron

Home Appliance
Beach Wave Curling Iron – Styling Tips for Perfect Waves

Choosing the Right Curling Iron for Beach Waves

When creating the beach wave curling iron, selecting the appropriate beach wave curling iron is crucial. The barrel size mainly influences the wave’s shape and size. Typically, for loose beach waves, a barrel that is 1 to 1.5 inches in diameter works best. It offers a good balance between defined curls and natural-looking waves.

beach wave curling iron

Prepping Your Hair for Styling

Before creating the perfect beach waves with your beach wave curling iron, hair preparation is key. A solid prep lays the groundwork for a stunning hairstyle and prevents damage.

Start by washing your hair with a nourishing shampoo and conditioner. This step removes any built-up products and oils. Clean hair holds style better and will help your beach waves last longer.

Next, gently towel-dry your hair to remove excess water. Avoid rubbing your hair vigorously as this can cause frizz and breakage. Instead, blot or squeeze your hair with the towel.

Apply a heat protectant evenly through your damp hair. This product is essential to shield your hair from the high temperatures of the curling iron. It helps prevent split ends and keeps your hair healthy.

Step-by-Step Guide to Creating Beach Waves

Now that you’ve chosen your beach wave curling iron and prepped your hair, it’s time to dive into the styling process. Crafting the perfect beach waves can be simple with the right technique. Here’s a step-by-step guide to help you achieve those effortless-looking waves.

1. Section Your Hair

Begin by dividing your hair into sections. Smaller sections ensure even heat distribution. Clip away the top layers and start with the bottom ones.

2. Heat the Curling Iron

Turn on your beach wave curling iron. Set it to the appropriate temperature for your hair type. Wait for it to heat up.

3. Wrap Hair Around the Barrel

Take a section of hair and wrap it around the curling iron’s barrel. Avoid overlapping the hair to prevent uneven waves. Hold for a few seconds.

4. Release and Repeat

Gently release the hair. Let it fall into a wave. Move to the next section and repeat the curling process. Alternate the curl direction for a more natural look.

beach wave curling iron

Temperature Settings for Different Hair Types

Choosing the correct temperature on your beach wave curling iron is crucial for achieving ideal waves without damaging your hair. Different hair types require unique heat settings to effectively curl while maintaining hair health.

  • Fine Hair: Fine hair is sensitive and can easily suffer damage from high temperatures. Set your iron between 250-300 degrees Fahrenheit to create gentle waves without fry.
  • Medium/Normal Hair: This hair type can handle a bit more heat. Position your beach wave curling iron between 300-350 degrees Fahrenheit for effective curling that won’t sap moisture.
  • Thick Hair: Thick hair may resist curling at lower temperatures. Turn up the heat to 350-400 degrees Fahrenheit for firm beach waves. However, consistently avoid exceeding 400 degrees to prevent damage.
  • Treated or Damaged Hair: If your hair is colored or chemically treated, it’s likely more fragile. Use a lower temperature, similar to fine hair settings, and increase gradually if needed.

Always start at the lower end of the temperature range recommended for your hair type and increase gradually if necessary. This approach will help you find the sweet spot for creating perfect waves while preserving hair integrity.

Tips for Long-Lasting Beach Waves

Achieving beach waves that last requires a few expert tips. Stick to these guidelines and your beach waves will stay intact from sunrise to sunset.

Use Quality Hair Products

Start with high-quality hair products. Apply a mousse or sea salt spray before you curl. These provide texture and help hold the waves.

Don’t Overlook Hairspray

After curling, use a lightweight hairspray. It will set your waves without making them stiff. Look for one that’s humidity-resistant.

Avoid Touching Your Hair Too Much

Resist the urge to touch your hair. Oils and moisture from your hands can cause the waves to fall out. Let them set and don’t fiddle with them.

Consider Overnight Styles

For waves that last, try overnight braids or buns. These styles create natural-looking waves without heat. Just brush them out lightly in the morning.

Wrap Hair Loosely

When curling, wrap hair loosely around the beach wave curling iron. Tight curls tend to drop faster. Gentle waves have better longevity.

Common Mistakes to Avoid When Using a Curling Iron

Creating the perfect beach waves with your beach wave curling iron might seem simple, but common mistakes can lead to less-than-ideal results and potential hair damage. Here are some pitfalls to steer clear of during your styling routine.

  • Not Using a Heat Protectant: Skipping this crucial step exposes your hair to potential heat damage. Always apply a heat protectant before styling.
  • Setting the Heat Too High: Excessive heat can harm your hair, especially if it’s fine or treated. Use the right temperature setting for your hair type.
  • Curling Wet Hair: Your hair should be completely dry before curling. Damp hair won’t hold the wave and could be damaged.
  • Clamping Too Tightly: Applying too much pressure with the clamp creates creases. Instead, hold the hair gently around the barrel.
  • Holding the Iron for Too Long: Keep the iron in your hair for just a few seconds. Overdoing it can fry your strands.

By avoiding these common errors, you’ll ensure your beach waves turn out beautifully and your hair stays healthy.

beach wave curling iron

Aftercare and Maintenance for Your Beach Wave Hairstyle

After crafting your perfect beach waves with a beach wave curling iron, proper aftercare is vital. This ensures that your hairstyle continues to look fresh and your hair remains in good health. Below are some aftercare and maintenance tips to keep your beach waves looking their best.

Use a Silk Pillowcase

Swap your cotton pillowcase for a silk one. Silk reduces friction, which helps prevent your waves from getting frizzy or flattened while you sleep.

Apply a Lightweight Oil or Serum

A little bit of lightweight hair oil or serum can go a long way. Use it to add shine and tame any flyaways. Just be sure not to use too much, as it can weigh down your waves.

Refresh with a Curl Reviving Spray

On the days following your initial styling, revive your waves with a curl-enhancing spray. This helps redefine the waves and add bounce back into your hair.

Avoid Over-Washing Your Hair

Frequent washing can loosen your waves faster. Try to extend the time between washes. Use dry shampoo to absorb excess oil at the roots.

The Best Products to Enhance Your Beach Waves

To elevate your beach waves, quality products are key. Here are some top picks for that extra oomph.

Mousse for Volume and Hold

A good volumizing mousse can lift your roots and give your waves body. Apply it to damp hair before drying.

Sea Salt Spray for Texture

Sea salt spray adds the perfect beachy texture. Spray it on dry hair and scrunch for a tousled look.

Heat Protectant for Safety

Never skip the heat protectant. It guards against heat damage. Use it on damp hair before styling with your beach wave curling iron.

Curl Enhancing Spray for Definition

To define your waves, a curl enhancing spray works wonders. Spritz it on before and after curling for more pronounced waves.

beach wave curling iron

Home Appliance
How to Use Curling Iron? – Mastering the Curling Iron Tips

Choosing the Right Curling Iron

How to use curling iron? Selecting an ideal curling iron is crucial for achieving the perfect hairstyle. With a range of options available, understanding the different types can make all the difference.

use curling iron

Types of Curling Irons

Curling irons come in various shapes and sizes, each designed for a specific look. Traditional spring-loaded curling irons offer ease of use, which is perfect for beginners learning how to use curling iron techniques. The marcel iron, preferred by professionals, provides more control but requires a practiced hand. For those seeking modern convenience, the clipless wand creates natural-looking waves and is straightforward to use once you get the hang of it.

Barrel Sizes and Their Effects

The diameter of the curling iron’s barrel plays a significant role in the type of curl it produces. Small barrels, such as those with a diameter of 3/4 inch, are excellent for tight, springy curls. Medium barrels, around 1 to 1 1/2 inches, are versatile for a range of styles from defined curls to relaxed waves. Large barrels, 1 1/2 inches and up, are ideal for creating loose, glamorous waves. Your hair length and desired style should guide your choice.

Materials and Technologies

Curling irons are made with different materials that affect their performance and your hair’s health. Ceramic irons distribute heat evenly and emit negative ions that reduce frizz, making them a popular choice. Tourmaline curling irons are coated with a gemstone that increases ion output, for smooth, shiny curls.

Preparing Your Hair for Curling

Before mastering how to use a curling iron, you need to prepare your hair properly. This ensures you achieve the best possible results and maintain the health of your hair.

Washing and Conditioning

Start with clean, dry hair. Wash your hair with a quality shampoo and follow up with a moisturizing conditioner. This will remove any build-up and ensure your curls will look fresh and vibrant. Remember that well-hydrated hair responds better to styling and is less prone to damage from the heat.

Applying Heat Protectant

Heat protectants are a must when using heated styling tools. They serve as a barrier between your hair and the curling iron, protecting it from heat damage. Spray or apply a heat protectant evenly over your damp hair before you blow dry, focusing on the ends, which are more susceptible to damage.

use curling iron

Sectioning Your Hair

To make curling more manageable, section your hair starting from the bottom and working your way up. Use hair clips to keep the upper layers out of the way. This allows you to focus on one section at a time and ensures that each curl is given enough attention. Dividing your hair into sections also helps to achieve uniform curls and makes it easier to cover every strand efficiently when learning how to use a curling iron.

The Basics of Using a Curling Iron

With the right curling iron in hand and your hair prepped, it’s time to dive into the curling process.

Heating Up Your Iron

Begin by plugging in your curling iron and selecting the appropriate heat setting for your hair type. Fine or damaged hair requires lower temperatures, usually around 200°F, while thick or coarse hair can withstand higher temperatures up to 400°F. Give your curling iron a few minutes to reach the target temperature. It’s key to let it heat fully to ensure consistent curls.

Mastering the Grip and Angle

Once your curling iron is ready, hold it in your dominant hand with the clamp facing forward. Start near the base of your hair, ensuring not to touch the scalp to avoid burns. Position the iron at a slight angle; this technique helps to create a smooth transition from the roots to the curls. A steady hand is essential to avoid creases.

Curl Direction and Variety

For a more natural look, alternate the direction of curls between sections — curl one towards your face and the next away. This variation in curl direction adds volume and a touch of whimsy to your style. Remember, the way you wrap your hair around the barrel also impacts the curl result. Wrapping tightly will give you more defined curls, while loosely wrapping will create softer waves.

Techniques for Different Curl Styles

Mastering the use of a curling iron means you can create a variety of styles. Different techniques can lead to entirely different looks, from sophisticated tight curls to relaxed beachy waves. Here’s how to achieve these styles using your curling iron.

Creating Tight Curls

To get tight curls, opt for a smaller barrel curling iron. Begin close to the scalp, but be careful to avoid burns. Wrap small sections of hair tightly around the barrel and hold for a few seconds. Ensure the heat setting is not too high to prevent damage. Slowly release the clamp and let the curl bounce back. Use hairspray for extra hold if needed.

Achieving Loose Waves

For loose waves, choose a medium-sized barrel. Start midway down the hair shaft to avoid overly tight curls near the roots. Wrap larger sections loosely around the barrel. Hold for a shorter time than for tight curls. After releasing, gently tug on the end of the curl to relax it further. This will give you that effortless, wavy look.

Making Beachy Waves

Beachy waves need a carefree and tousled appearance. Use a large barrel or a wand. Wrap irregular sections of hair around the iron, leaving the ends out for a more natural look. Alternate the curl direction to add to the casual vibe. Once done, run your fingers through your hair to break up the curls. A texturizing spray will add the final touch to your beach-ready hair.

use curling iron

Styling Tips and Tricks

To create stunning hair styles with a curling iron, employ smart tips and tricks.

Using Hairspray Effectively

Hairspray is crucial for holding curls in place. To use it well, start with a light mist. Hold the can about 6 inches away from your hair. Spray evenly across the curls. Do not use too much. It can weigh down hair and make it stiff. Aim for a flexible hold hairspray. It allows movement and keeps curls soft. Reapply if needed, but always in moderation to maintain bounce and avoid buildup.

Curling Short, Medium, and Long Hair

Short hair benefits from a smaller barrel iron. Use a ? inch size for better control. Curl away from the face for a flattering look. Medium hair works well with a 1-inch barrel. It’s ideal for versatile styles. For long hair, a larger barrel is best. Try 1 ? inches for loose waves. Start from the mid-shaft to avoid flat roots. Remember, the right technique makes all the difference, regardless of hair length.

Aftercare and Maintenance

Once you’ve styled your hair to perfection with a curling iron, it’s important to know how to maintain those beautiful curls and take care of your styling tool. With proper aftercare and maintenance, you can extend the lifespan of your curls and your curling iron. Here are some tips to keep in mind.

Preserving Your Curls Overnight

To keep your curls intact overnight, consider ‘pineappling’ your hair. This means gathering your hair at the very top of your head and loosely tying it with a scrunchie. This position prevents crushing the curls while you sleep. You might also use a silk or satin pillowcase. These materials reduce friction and help prevent frizz and flattened curls. In the morning, gently shake out your curls and touch up any that have loosened.

Cleaning Your Curling Iron

After each use, ensure your curling iron is free from hairspray and other styling products. Wait for the iron to cool down completely, then wipe the barrel with a damp cloth. For built-up residue, use a non-abrasive cleaner. Do not submerge your curling iron in water. Regular cleaning maintains the iron’s performance and protects your hair from old product residue.

use curling iron

Home Appliance
Mini Curling Iron for Perfect Curls – Convenient and Practical

Why Mini Curling Irons are a Must-Have in Your Beauty Arsenal

Mini curling iron are transforming the way we style hair on-the-go. Compact and versatile, they easily fit into busy lifestyles. Are you always traveling? A mini curling iron won’t take up much space in your luggage. Need a quick touch-up before an event? This tool heats up fast for instant style refreshes. Even at home, a mini curling iron saves time. It’s perfect for short hair or fine-tuning specific sections of longer tresses. Don’t let the size fool you; these irons pack a punch. They deliver the same heating power as full-sized models. With a mini curling iron, you have a trusty companion for fabulous curls anytime, anywhere.

mini curling iron

Top Features to Consider When Choosing a Mini Curling Iron

When selecting a mini curling iron, the variety of options can be overwhelming. To help you make an informed decision, there are key features you should look into. These features ensure that you not only achieve the perfect curls but also get the most out of your mini curling iron. Let’s delve into the essential characteristics to consider.

Material and Barrel Coatings

The barrel of a mini curling iron often determines the heat distribution and the smoothness of the curl. Look for materials like ceramic, tourmaline, or titanium. Ceramic barrels provide even heat, reducing the chance of hot spots that could damage your hair. Tourmaline-coated barrels emit negative ions that calm frizz and add shine. Titanium barrels heat up quickly and can handle high temperatures, suitable for tough, thick hair. When considering barrel coatings, it’s not just about achieving gorgeous curls; it’s also about hair health.

Heat Settings and Temperature Control

Good temperature control can make or break your styling experience. A mini curling iron should have adjustable heat settings. This allows you to select the right temperature for your specific hair type. Fine hair benefits from lower temperatures, while coarse or thick hair may require higher heat. Check if the mini curling iron has a clear temperature display. This feature helps ensure you’re using the iron safely and effectively.

Step-by-Step Guide to Using a Mini Curling Iron for Perfect Curls

Achieving perfect curls with a mini curling iron can be simple if you follow a few key steps. Whether you are prepping for an everyday look or a special occasion, flawless curls are within reach. Here’s a straightforward guide to help you get started.

Preparing Your Hair for Styling

Before you start curling, you need to prep your hair. Here’s how:

  • Wash and dry: Clean hair curls best. Make sure your hair is dry, as curling wet hair can cause damage.
  • Apply heat protectant: This is a must. It shields your hair from potential heat damage.
  • Detangle: Use a brush to remove any knots. Smooth hair ensures even curls.
  • Section hair: Divide your hair into sections. Smaller sections are easier to curl and result in better-defined curls.

Each of these steps is crucial for protecting your hair and achieving the best possible result with your mini curling iron.

mini curling iron

Mastering the Curling Technique

Now for the fun part – curling! Here’s how you can master the technique:

  • Choose the right temperature: Use a lower heat setting for fine hair and a higher one for thick hair.
  • Hold the iron correctly: Grip the handle firmly and clamp the hair close to the roots (but not too close to the scalp).
  • Wrap the hair: Twist the hair around the barrel, hold for a few seconds, then release.
  • Alternate directions: For a more natural look, curl some sections towards your face and some away from it.

By following these steps, you’ll be able to create beautiful curls with your mini curling iron every time. Remember to practice. With each use, you’ll get quicker and more confident in your curling abilities.

Tips to Maintain and Prolong the Life of Your Mini Curling Iron

A mini curling iron is an investment in your beauty routine. Looking after it will ensure it keeps delivering perfect curls. Here are some easy tips to keep your mini curling iron working well for longer.

Regular Cleaning Routine

Keep your curling iron clean to prevent product build-up. Wipe the cool barrel after each use with a damp cloth. Once a week, use a cotton pad with rubbing alcohol to deep-clean. Never immerse your mini curling iron in water. Always wait for it to cool down before you clean it.

Proper Storage Practices

Store your mini curling iron safely to avoid damage. Wait for it to cool before storing it. Use a heat-resistant pouch if you have one. This helps protect it from scratches and other damage. Wrap its cord loosely to prevent wearing out the wires. Avoid hanging it by the cord, as this can cause strain. Keep it away from water and out of reach of children.

Hairstyle Ideas with a Mini Curling Iron

Finding the right curling technique can transform your hair. A mini curling iron is ideal for creating a variety of hairstyles. We cover two trendy ideas that are perfect for different lengths.

Cute Curls for Short Hair

Short hair can look stunning with curls. Here’s a quick method:

  • Heat up your iron: Give your mini curling iron a few minutes to reach the desired temperature.
  • Curl in sections: Work in small sections starting from the back to the front.
  • Twirl and release: Clamp the end of a section, twirl the iron, hold for a second, and then release. Short bursts of heat prevent damage.
  • Tousle with fingers: Once done, lightly tousle your hair. This gives a natural, bouncy effect.

These simple curls will add volume and flair to your short hair, making it playful and chic.

Defined Spirals for Medium Lengths

Medium hair length provides versatility. To create defined spirals, follow these steps:

  • Section your hair: Keep sections even for uniform spirals.
  • Wrap tightly: Curl each section tightly around the barrel.
  • Hold the curl: Keep the hair wrapped for 10 seconds before releasing it gently.
  • Set with hairspray: Apply a fine mist to hold the spirals.
  • Don’t brush out: Let the spirals cool without touching much.

Using a mini curling iron, you can get tight, polished spirals that last all day.

Both styles can give you a salon-like finish at home or on-the-go. Remember to use the mini curling iron properly to achieve these looks.

mini curling iron

Safety Precautions When Using Heating Tools

Using a mini curling iron involves heat, and safety must always come first. Stay safe and prevent accidents with these simple yet crucial precautions:

  • Read the manual: Each mini curling iron comes with specific instructions. Read them before use.
  • Check for damage: Before plugging in, inspect your iron for any damage to the cord or barrel.
  • Use a heat-resistant mat: Place your iron on a heatproof surface to protect your countertops.
  • Avoid water: Never use a mini curling iron near water to prevent electric shocks.
  • Unplug after use: Always disconnect the iron right after you finish using it.

By following these tips, you will minimize the risks while enjoying the benefits of your mini curling iron.

The Best Mini Curling Irons on the Market

Finding the ideal mini curling iron can be a game-changer for your styling routine. Here, we highlight top-rated options that cater to both budget-conscious consumers and professionals seeking high-grade tools.

Budget-Friendly Options

For those not looking to spend a lot, there are quality mini curling irons that won’t break the bank. These budget-friendly options offer basic functions that still create great curls. Look for irons with ceramic coatings, as they are gentle on hair and distribute heat evenly. Adjustable heat settings are a plus for styling different hair types. Compact designs make them travel-friendly. Such features ensure you get value for your money.

Professional-Grade Models

If you’re a styling enthusiast or a professional, investing in a professional-grade mini curling iron can be worthwhile. These models often feature advanced technologies like tourmaline-infused barrels. They produce negative ions to reduce frizz. Many have precise temperature controls and heat quickly to peak temperatures, saving time during styling sessions.

mini curling iron

Home Appliance
Travel Curling Iron – The Fashion Compact Curler for Women

Key Features to Look for in a Travel Curling Iron

When selecting a travel curling iron, it’s important to look for features that enhance convenience and safety. Here are some key attributes you should consider before making your purchase.

travel curling iron

Dual Voltage Options

A dual voltage travel curling iron is essential for international travel. This feature allows the iron to adapt to different voltages around the world without the need for a converter. Look for models that offer a range from 110 to 240 volts to ensure compatibility wherever you go.

Lightweight and Portable Design

The best travel curling iron should be light and compact. Aim for one that fits easily in your luggage or handbag. A model with a sleek design can save space and reduce the burden on your shoulders during long trips.

Quick Heating Technology

Time is precious when you’re on the move. A travel curling iron with quick heating technology can reach the desired temperature in seconds. This allows for quick touch-ups before meetings or tours. Make sure the iron also has a reliable temperature control feature to prevent hair damage.

Top Rated Travel Curling Irons on the Market

Finding the right travel curling iron means balancing quality with convenience. As a savvy traveler and style enthusiast, you want tools that deliver great results without weighing down your luggage. After examining the key features, let’s dive into some of the top-rated travel curling irons that are popular in the market.

Mini Curling Irons for On-the-Go Styling

Mini curling irons have become a mainstay for on-the-go styling. Their compact size makes them perfect for slipping into a purse or carry-on. Despite their size, many mini irons pack a powerful punch with high heat settings and even heat distribution. Ideal for quick hair fixes, these small wonders are favorites among travelers who need space-saving solutions.

Cordless Curling Irons for Hassle-Free Use

For those seeking ultimate freedom, cordless curling irons are the answer. They eliminate the search for power outlets and remove the hassle of untangling wires. These battery-operated or rechargeable irons provide the flexibility to style your hair anywhere, from hotel rooms to car backseats. With a cordless travel curling iron, you’re ready to achieve beautiful curls at a moment’s notice, no strings attached.

travel curling iron

The Pros and Cons of Travel-Sized Curling Irons

Navigating through the myriad of styling tools, travel curling irons stand out for their design tailored to the jet-setter’s needs. However, like any device, they have their sets of advantages and drawbacks. Let’s break down the pros and cons to help you make an informed decision.

Advantages of Compact Curlers

Travel curling irons are a blessing for style-conscious travelers. Below are key benefits:

  • Space-saving: Their small size means they fit anywhere, from suitcase to backpack.
  • Lightweight: Carrying a travel curling iron won’t add much weight to your luggage.
  • Convenient: Quick styling is at your fingertips, even when you’re on tight schedules.
  • Dual voltage compatibility: Most options work worldwide, making international trips smoother.
  • Functionality: They often pack the same punch as full-sized irons, so no compromise on style.

Potential Downsides to Consider

While the advantages are numerous, it’s essential to be aware of the potential cons:

  • Limited features: Some models may not offer all the features of their full-sized counterparts.
  • Less durable: Compact irons might not withstand the wear and tear of regular travel.
  • Battery life: For cordless models, battery life can be a constraint, requiring frequent charging.
  • Performance: Smaller irons may not achieve the same results as larger ones on certain hair types.

Whether a travel curling iron is right for you depends on your specific needs and lifestyle. Balancing the pros and cons, while considering your styling requirements, will guide you to the perfect choice.

How to Pack and Carry Your Curling Iron Safely While Traveling

Packing your travel curling iron correctly ensures both safety and convenience. Here are a few handy tips for storing your curling iron, especially when you’re on the move.

Tips for Storing Your Curling Iron

  • Cool Down Before Packing: Always allow your travel curling iron to cool completely before stowing it away.
  • Use a Heat-Resistant Pouch: Invest in a heat-resistant case or pouch to store the iron. This protects other items in your luggage from heat damage.
  • Wrap the Cord Properly: Neatly wrap the cord around the iron or use a Velcro strap. This prevents tangles and damage to the cord.
  • Avoid Contact with Liquids: Keep your travel curling iron away from any liquids. Store it in a waterproof bag if necessary to avoid accidental spills.
  • Separate from Delicates: Pack the curling iron away from delicate fabrics and items that could easily snag or be damaged.

TSA Guidelines for Traveling with Electronics

The Transportation Security Administration (TSA) has specific guidelines for carrying electronics like curling irons:

  • Carry-On or Checked Bags: You can take a travel curling iron in carry-on or checked luggage.
  • Battery-Powered Irons: If your curling iron is battery operated, ensure it is turned off and properly secured to prevent accidental activation.
  • Inspection Ready: Have your travel curling iron easily accessible for inspection at security checkpoints, if needed.

By following these tips and the TSA guidelines, you can travel with your travel curling iron hassle-free, keeping it in good condition for anytime you need to style on the go.

travel curling iron

Travel Hairstyling Tips with a Travel Curling Iron

Traveling doesn’t mean compromising on your looks. A travel curling iron can keep you styled and confident. Here’s how:

Easy On-The-Go Hairstyles

  • Sleek Tight Curls: Wrap small sections around the iron for polished curls. Perfect for evening events.
  • Beach Waves: Loosely curl larger sections, then finger-comb for a relaxed vibe.
  • Half-Up, Half-Down: Curl the lower layers, tie up the top half for a cute day look.
  • Ponytail with a Twist: Curl the ends of your ponytail to add flair to a simple style.

Each style suits different occasions, ensuring you’re ready no matter the event.

Maintaining Your Hairstyle While Traveling

  • Use Hairspray: A light spritz helps hold curls without stiffness.
  • Touch-Ups: Use your travel curling iron for quick fixes before stepping out.
  • Headbands and Pins: These accessories help keep hair in place and mix up your look.
  • Dry Shampoo: Keeps hair fresh and volumized, making restyling easier.

With these tips and a handy travel curling iron, your hair will stay as adventurous as your travels.

Accessorizing Your Travel Curling Iron

Accessorizing your travel curling iron can enhance its functionality. It also adds an extra layer of convenience and protection. Let’s explore some compatible accessories.

Compatible Heat-Resistant Cases

For keeping your travel curling iron safe, a heat-resistant case is indispensable. It allows you to pack the iron immediately after use. Look for cases that not only protect from heat, but also have compartments for cords and attachments. A good case helps prevent other items in your bag from heat damage or scratches.

Recommended Accessories and Attachments

Make the most of your travel curling iron with the right attachments:

  • Clips and Clamps: They help divide hair into sections for precise styling.
  • Gloves: A heat-resistant glove protects your hands from high temperatures.
  • Travel Adapters: Essential if your iron isn’t dual voltage, for different outlets abroad.
  • Brush Attachments: Some irons come with attachments to brush and curl simultaneously.

These add-ons are not just practical, but help you achieve diverse looks while saving luggage space. They are crucial to getting the best out of your travel curling iron.

Maintenance and Care for Your Travel Curling Iron

Taking care of your travel curling iron will extend its lifespan and ensure its performance. Regular maintenance and proper cleaning are essential. Here’s how you can maintain your trusty styling companion.

Cleaning Your Curling Iron

Ensure your travel curling iron stays in top condition by keeping it clean:

  • Unplug and Cool: Always unplug and let it cool fully before cleaning.
  • Wipe the Barrel: Use a soft, damp cloth to wipe the barrel. Avoid getting water in the electrical components.
  • Remove Residue: Clean any styling product residue with a cotton swab dipped in alcohol.
  • Dry Thoroughly: After cleaning, dry the iron completely before the next use.

These steps help prevent buildup and protect the iron’s surface, ensuring smooth curls every time.

travel curling iron

Home Appliance
Ceramic Curling Iron – Styling Fashion Tips for Healthy Curls

The Basics of Ceramic Curling Irons

Ceramic curling iron are a popular choice for many looking to create beautiful curls with less damage. These tools use ceramic technology to distribute heat evenly, which helps to prevent hot spots that can scorch your hair. Understanding the key benefits and different types available can guide you to make the best choice for your styling needs.

ceramic curling iron

Different Types of Ceramic Curling Irons

When you’re in the market for a ceramic curling iron, you’ll encounter a variety of types. Classic spring-loaded curling irons are user-friendly and suitable for beginners. Meanwhile, clipless wands offer more freedom to style but require a bit more skill. Marcel irons, favored by professionals, give you control over the tension and rotation, which is great for creating precise curls.

Benefits of Ceramic Coating

A significant advantage of using a ceramic curling iron is the ceramic coating itself. This coating is crucial for even heat distribution, which results in less damage to your hair over time. Ceramic also produces negative ions that neutralize the positive ions in dry or damaged hair, reducing frizz and improving hair health.

Another vital benefit is the reduced time it takes to curl your hair since ceramic tools heat up quickly and retain heat well. This not only saves you time but lessens the exposure to heat, further protecting your hair.

How to Choose the Right Ceramic Curling Iron

Choosing the right ceramic curling iron is essential for achieving perfect curls. There are a couple of factors to consider before making your purchase. With the right information, you’ll be able to select the best ceramic curling iron for your hair type and styling needs.

Barrel Size and Shape

The size and shape of the barrel can affect the type of curls you achieve. Here’s a simple guide:

  • Small Barrels (0.5 to 1 inch): They create tight, spiral curls, ideal for short to medium hair.
  • Medium Barrels (1 to 1.5 inches): These are versatile and suitable for various curl types, from classic to loose waves.
  • Large Barrels (1.5 inches and up): They give you big, voluminous waves, perfect for long hair.

Barrel shape also plays a role. For example, a conical wand can create both tight and loose curls, depending on where you wrap your hair.

ceramic curling iron

Temperature Settings

Different hair types require different heat settings:

  • Thin or Fine Hair: Lower temperatures (below 300°F) prevent damage.
  • Normal Hair: A medium range (300-380°F) is typically safe.
  • Thick or Coarse Hair: Higher temperatures (380-450°F) can handle more heat.

Look for a ceramic curling iron with adjustable temperature settings. This allows for precise control and minimizes the risk of heat damage. Remember to start with a lower temperature and increase as needed.

Preparing Your Hair for Curling

Proper preparation is key to achieving flawless curls with a ceramic curling iron. Let’s explore how to prep your hair correctly.

Importance of Clean and Dry Hair

Start with clean, completely dry hair. This ensures even heat distribution and optimal curl formation. Oil and dirt can create a barrier, leading to uneven curls and potential damage. Wash your hair with a gentle shampoo and condition the ends for the best base for curling.

Applying Heat Protectant

Prior to using the ceramic curling iron, apply a quality heat protectant. This forms a protective barrier over your hair strands, reducing the risk of heat damage. It helps to maintain hair health and enhance the appearance of your curls. Spray or smooth the protectant evenly throughout your hair, focusing on mid-lengths to ends.

Step-by-Step Guide to Curling Hair with a Ceramic Iron

Preparing to curl your hair with a ceramic curling iron involves a step-by-step process. This guide will walk you through the proper techniques, from sectioning the hair to executing the curls, ensuring a smooth and efficient styling session.

Sectioning the Hair

Before you start curling, it is crucial to section your hair. This helps manage the strands and provides even results. Begin by dividing your hair into manageable sections. Secure each section with clips, leaving out the one you want to curl first. Work from the bottom layers up to the top for better access and control.

Curling Techniques

Using the right curling technique is key for perfect, healthy curls. For tight curls, wrap small sections of hair tightly around the barrel. Hold for a few seconds, then release. For looser waves, choose larger sections and wrap them less tightly. To add volume, curl your hair away from the face. When using a ceramic curling iron, keep the hair on the iron for the shortest time possible. This will help reduce heat damage.

Maintaining Healthy Curls

Once you have curled your hair with a ceramic curling iron, maintaining the health and beauty of those curls is key. Here are steps to keep your curls looking fresh and vibrant, without causing damage to your hair.

Tips for Long-Lasting Curls

  • Let curls cool: After you’ve curled a section, pin it up to cool. This sets the curl and helps it last longer.
  • Avoid touching: Keep your hands off your hair. The more you touch, the faster curls will fall.
  • Use light hold spray: A flexible hairspray can help hold the curl without weighing it down.
  • Silk pillowcases help: At night, sleep on a silk pillowcase to reduce friction and frizz.

After-Care for Your Curls

  • Don’t wash daily: Washing your hair too often can strip curls of their natural shape and bounce.
  • Deep condition weekly: A moisturizing treatment can keep hair healthy and curls well-defined.
  • Trim regularly: Snip ends every 6-8 weeks to prevent split ends from ruining your curl pattern.
  • Use curl-enhancing products: Products designed for curly hair can enhance and protect your curls.

These recommendations will not only help maintain your curls but will also contribute to the overall health of your hair when using a ceramic curling iron.

ceramic curling iron

Safety Tips While Using Ceramic Curling Irons

Ensuring safety while using a ceramic curling iron is as important as achieving the perfect curl. Respect the tool to avoid accidents and protect your hair from potential harm. Follow these tips for safe handling and effective use.

Handling and Storage

Handle your ceramic curling iron with care when it’s hot. Always grip the handle, not the barrel. Use a heat-resistant glove if available for extra protection. After use, turn off the iron and unplug it immediately.

Avoiding Heat Damage

To prevent heat damage, never use the curling iron on wet hair; this can cause sizzle and severe damage. Begin with the lowest temperature setting and only increase if necessary. Avoid clamping the iron on your hair for too long. Use a timer if needed to ensure consistent curling times. Remember to use a quality heat protectant before you start to shield your strands from high temperatures.

Advanced Styling Tips

Mastering the use of a ceramic curling iron opens up a world of styling options. Here are some tips to create various curl patterns and finishes for that salon-quality look.

Creating Different Curl Patterns

To achieve different curl patterns, understanding how to manipulate your ceramic curling iron is key. Here’s how to vary your technique:

  • For beachy waves, wrap hair loosely around the barrel. Leave ends out for a more relaxed look.
  • For spiral curls, twist each hair section before wrapping it around the iron.
  • For old Hollywood waves, curl all sections in the same direction. Then, brush out gently.

Experiment with alternating the direction of the curls, curling towards and away from your face, for a more natural, textured effect. By changing how you wrap hair around the barrel, you can add variety to your styles.

Finishing Products for Enhanced Shine and Hold

Once you have your desired curls, finishing products can add shine and hold. Opt for:

  • A shine serum or spray for a glossy finish without greasiness.
  • A flexible-hold hairspray lets curls move naturally while maintaining shape.

By utilizing these advanced styling tips and the right finishing products, your curls will not only look stunning but also stay healthy and vibrant.

ceramic curling iron

Home Appliance
Mastering the 2 Inch Curling Iron – Fashion Styling Secrets

Choosing the Right 2 Inch Curling Iron

To find the best 2 inch curling iron, you must consider several factors. The choice of the iron will impact not only the quality of your curls but also the health of your hair. Here are key elements to look out for:

2 inch curling iron

Factors to Consider When Buying

When buying a 2 inch curling iron, keep in mind the following:

  • Material: Choose ceramic or tourmaline for even heat and less damage.
  • Temperature control: Look for irons with adjustable settings to suit different hair types.
  • Barrel size: Ensure the barrel is a true 2 inch for the desired curl size.
  • Brand reputation: Research brands to find ones known for quality and durability.
  • Heat-up time: A good curling iron should reach the desired temperature quickly.
  • Safety features: Auto shut-off and a heat-resistant tip are important for safe use.

Best 2 Inch Curling Iron Brands

There are several well-known brands that produce quality 2 inch curling irons. These brands stand out with their advanced technology and user-friendly designs:

  • Hot Tools: Known for their durable, salon-grade curling irons.
  • BaBylissPRO: Offers a variety of high-performance curling irons.
  • Conair: Provides affordable options without compromising on quality.
  • T3: Features cutting-edge styling tools with sleek designs.
  • CHI: Renowned for their ceramic and tourmaline curling irons with even heating

Proper hair preparation is vital before using a 2 inch curling iron. It ensures your hair is in the best condition for styling and helps protect it from damage. Below are crucial tips on washing, conditioning, and protecting your hair.

Washing and Conditioning Tips

Start with clean, dry hair to get the best results from your 2 inch curling iron. Oily or dirty hair can lead to uneven curls and may not hold style as well. Use a gentle shampoo and a hydrating conditioner to help your hair handle the heat better. Moisturized locks are less prone to damage.

  • Choose a shampoo and conditioner suitable for your hair type.
  • Avoid washing your hair right before curling; let it dry completely.
  • You may apply a leave-in conditioner for added moisture and protection.

Protecting Your Hair from Heat Damage

Heat styling can harm your hair if you don’t take precautions. Here’s how to safeguard your locks before using your 2 inch curling iron:

  • Always use a heat protectant spray or serum, applying it evenly throughout your hair.
  • Invest in products that specifically protect against high temperatures.
  • Give your hair a few heat-free days every week to recover.
  • Consider using a deep conditioning treatment regularly to maintain hair health.

2 inch curling iron

Step-by-Step Guide to Using a 2 Inch Curling Iron

Achieving flawless curls with a 2 inch curling iron is not as daunting as it seems. Follow this step-by-step guide to unlock the full potential of your curling tool and create stunning hairstyles with ease.

Sectioning Your Hair for Even Curls

Begin by dividing your hair into manageable sections. This helps ensure that each curl is uniform and makes the process smoother. Use clips to separate your hair into sections no wider than the curling iron barrel. Work from the bottom layers to the top for better access and control.

The Curling Technique

Turn on your 2 inch curling iron and set it to the correct temperature for your hair type. Take a section of hair, open the clamp of the iron, and wrap the hair around the barrel from the base to the tip. Hold the ends lightly but don’t clamp them. This creates a more natural curl. Keep the hair wound for about 10 seconds, then gently release it. Repeat this process until all sections are curled.

Curling Iron Temperature Guide

Proper temperature settings are crucial for getting the best results from your 2 inch curling iron. They help prevent hair damage and ensure your curls come out just right. Let’s explore how to adjust your curling iron’s heat for optimal styling.

Adjusting for Different Hair Types

Different hair types require different temperature settings to achieve the perfect curl.

  • Fine or damaged hair: Use a lower temperature, usually between 250°F to 300°F, to avoid further damage.
  • Normal hair: Can typically withstand temperatures from 300°F to 380°F.
  • Thick or coarse hair: Needs higher temperatures, around 350°F to 450°F, to ensure curls hold.

Creating Different Looks with a 2 Inch Curling Iron

The versatility of a 2 inch curling iron allows for an array of hairstyles. From beachy waves to elegant spirals, mastering various looks can add excitement to your styling routine. Ensure your iron is ready and let’s dive into how you can create distinct curls.

Voluminous Waves

To achieve full-bodied waves, start with dry, tangle-free hair. Heat your 2 inch curling iron to the right temperature for your hair type. Hold the iron horizontally and wrap large sections of hair around the barrel. Avoid clamping the ends for a more natural wave. Release after 10 seconds and gently tug on the ends to relax the curl into a wave. Finish with a touch of hairspray for volume that lasts.

Soft, Loose Curls

Soft, loose curls add a romantic touch to any look. After heating your curling iron, hold it vertically for this style. Catch each section of hair at the tip and twist it around the barrel. Keep the iron in place for less time than voluminous waves to create a gentler bend. Let each curl cool in your hand before releasing it, giving you soft, flowing curls. Set with a light hold hairspray to maintain their shape.

2 inch curling iron

Tips for Curling Iron Care and Maintenance

Maintaining your 2 inch curling iron is essential for its longevity and performance. Proper care prevents product build-up and ensures consistent heat distribution. Here’s how to keep your iron in top shape for lasting use.

Cleaning Your Curling Iron

Keep your curling iron clean to preserve its quality. Wait until the iron cools down, then gently wipe the barrel with a damp cloth. Use a cotton swab for hard-to-reach areas. For stubborn residue, apply a small amount of rubbing alcohol to the cloth. Remember, clean regularly for best results.

Storing Your Curling Iron Properly

Proper storage extends the life of your curling iron. Always unplug after use and allow it to cool completely. Secure the cord neatly without bending it tightly, to avoid damage. Store the iron in a dry place, away from direct sunlight. This helps prevent wear and keeps it ready for your next use.

Common Mistakes to Avoid While Using a 2 Inch Curling Iron

Ensuring beautiful curls with a 2 inch curling iron means avoiding common mistakes. By acknowledging these errors, you can perfect your technique and protect your hair.

Overheating Your Hair

Be cautious with the heat settings of your 2 inch curling iron. Overheating can lead to damaged, brittle hair. Begin with a lower temperature and increase it only if necessary. Remember that fine hair needs less heat, while thicker hair may require more. Always refer to the temperature guide to prevent overheating.

Skipping Heat Protectant

Never skip the heat protectant. It shields your hair from high temperatures. Apply a heat protectant spray or serum to your hair before using the curling iron. Make sure to coat every strand evenly. This step is crucial for maintaining healthy hair.

Advanced Techniques and Styles

Utilizing a 2 inch curling iron opens a world of styling possibilities. Let’s explore how you can hone your skills to craft sophisticated and trendy looks with this versatile tool.

Creating Beachy Waves

Beachy waves are the epitome of effortless cool. To create this look, begin by applying a light mousse to your hair for hold. Set your 2 inch curling iron to a medium heat. Take medium-sized sections of hair and wrap them around the barrel, leaving the ends out. Hold for a few seconds and release. Alternate the direction of the curls for a more natural effect.

2 inch curling iron

Achieving Old Hollywood Glamour

Glamorous curls are all about smoothness and shine. Start with a heat protectant and a glossy serum. Separate your hair into deep side sections. Heat your curling iron and curl your hair towards your face, starting from the tips to the roots. After each curl, roll it back up and pin it to your head. Once cool, gently brush out the curls with a soft bristle brush for a polished wave pattern.

Home Appliance
3 Barrel Curling Iron – Tips for Achieving Perfect Waves

Introduction to 3 Barrel Curling Irons

When it comes to creating luscious waves, a 3 barrel curling iron is a game-changer. This unique tool, often referred to as a wave iron, consists of three parallel barrels that work together to sculpt perfect waves with each clamp. Unlike traditional curling irons, which create spirals or tight curls, the 3 barrel version produces more of a natural, undulating S-wave pattern.

3 barrel curling iron

Types of 3 Barrel Curling Irons

When delving into the world of 3 barrel curling irons, it’s important to understand the different types available. Each type caters to specific needs and preferences, ensuring that whether you have fine, thick, or treated hair, there’s an iron for you. Here are the main types you’ll find on the market:

  • Ceramic: Ceramic irons are popular for their even heat distribution, which helps minimize hair damage. They work well for most hair types and are excellent for achieving smooth waves.
  • Tourmaline: These irons are infused with a crystal boron silicate mineral that aids in producing negative ions. This reduces frizz and leaves hair looking shiny and healthy.
  • Titanium: Known for their high heat conductivity, titanium curling irons heat up quickly and maintain a stable temperature. They’re ideal for those with thick, coarse hair that usually takes longer to style.

Selecting the right type of 3 barrel curling iron involves considering your hair type, the desired wave style, and how often you plan to use it. By choosing the iron that aligns with your needs, you can ensure that you’ll get beautiful waves while keeping your hair healthy and vibrant.

How to Choose the Right 3 Barrel Curling Iron

Choosing the right 3 barrel curling iron is key to achieving the perfect wave. Before purchasing, consider several factors. Firstly, think about your hair type. Thick and coarse hair may require a titanium iron for its high heat capacity. For finer hair, a ceramic iron could be better, as it distributes heat evenly and gently.

Secondly, consider the wave style you desire. Want casual beachy waves? Look for an iron with larger barrels. Seeking defined waves? Choose an iron with smaller barrels. The size of the barrels can greatly influence the style of waves you’ll achieve.

Thirdly, assess the temperature settings. It’s vital to select an iron with adjustable heat settings. This will allow you to control the heat level, preventing hair damage. Always start at the lowest setting and increase if necessary.

Preparing Your Hair for Styling

Before you start waving with a 3 barrel curling iron, proper hair preparation is essential. Good prep helps protect your hair, enhances the final look, and can extend the life of your waves. Here are the key steps to prepare your hair for styling:

  • Wash and Condition: Start with clean, dry hair. Use a mild shampoo and a nourishing conditioner for a smooth base.
  • Detangle Gently: After washing, carefully comb through your hair with a wide-tooth comb to remove tangles.
  • Apply Heat Protectant: Never skip this step. Spritz a quality heat protectant all over your hair to guard against heat damage.
  • Dry Hair Thoroughly: Ensure your hair is completely dry. Wet hair and heat styling don’t mix and can cause serious damage.
  • Primer or Mousse: For extra hold and texture, consider applying a light hair primer or styling mousse before you begin.

By meticulously preparing your hair, you set the stage for safe styling and optimize your 3 barrel curling iron’s ability to create those perfect waves.

3 barrel curling iron

Step-by-Step Guide to Using a 3 Barrel Curling Iron

Creating beautiful waves with a 3 barrel curling iron is easy if you follow these steps:

  • Heat It Up: Turn on your curling iron and select the correct temperature setting for your hair type.
  • Section Your Hair: Divide your hair into manageable sections using hair clips. This will help you curl evenly.
  • Start Curling: Take a small section of hair, clasp the iron around it and hold for a few seconds. The time depends on how defined you want the waves.
  • Move Down the Hair: Release the clamp, move down the hair, and repeat the process. Ensure the waves flow together by slightly overlapping the previous curl.
  • Continue Throughout: Keep going until you’ve waved all the sections of your hair.
  • Cool Down: Let your hair cool. This sets the waves and helps them stay longer.
  • Touch Up and Style: Use your fingers or a wide-tooth comb to soften the waves if desired. You can add hair spray for extra hold.

By carefully applying these steps, your 3 barrel curling iron will give you flawless waves every time you style your hair.

Tips for Long-Lasting Waves

To ensure your waves stay bouncy and beautiful all day, follow these tips. First, always let waves cool down after curling. This helps set the wave pattern. Use hair clips if needed to hold the waves in place while they cool. Next, consider using a light hairspray. Go for a flexible hold formula to keep waves soft yet durable. Avoid touching your hair too often. The oils from your hands can weigh down waves, causing them to lose shape. Additionally, sleeping on a satin or silk pillowcase at night can reduce frizz and help waves last. If you need to revive your waves the next day, use a little dry shampoo at the roots. This lifts the hair and brings back volume.

Safety Precautions When Using Heat Tools

Using a 3 barrel curling iron involves heat, which can be risky if not handled with care. To ensure you stay safe while achieving those perfect waves, adhere to the following precautions:

  • Read The Manual: Begin by reading the iron’s manual. Understand its features and recommended usage.
  • Check The Voltage: Ensure the curling iron matches your home’s voltage to avoid electrical problems.
  • Test The Iron: Before using it on your hair, test the iron on a small piece of fabric or paper towel. This can help you get a feel for its heat output and avoid overheating.
  • Use On Dry Hair Only: Always use the iron on thoroughly dry hair. Wet hair can burn easily and cause damage.
  • Protect Your Skin: Be cautious when handling the iron to prevent burns. Keep it away from your face and neck.
  • Avoid Overheating: Use the lowest heat setting that effectively styles your hair to minimize damage.

Safety should be your top priority when using heat tools like a 3 barrel curling iron. By following these simple but crucial tips, you can ensure a secure styling experience every time.

3 barrel curling iron

Maintenance and Care for Your Curling Iron

Proper maintenance ensures the longevity and performance of your 3 barrel curling iron. Follow these practical care tips:

  • Clean Regularly: Unplug the iron and let it cool down. Wipe the barrels with a soft, damp cloth to remove any product build-up.
  • Inspect the Cord: Check for any wear or damage. A frayed cord can be a safety hazard.
  • Store Properly: Once cooled, store your curling iron in a dry place. Avoid wrapping the cord tightly around it, as this can damage the cord.
  • Avoid Drops: Handle your iron with care. Dropping it can damage the barrels and affect performance.
  • Keep Vents Clear: Ensure any airflow vents on the curling iron are clear of dust and hair.
  • Follow Usage Guidelines: Stick to the manufacturer’s instructions for both heat settings and hair types. This will prevent overheating and potential damage to your hair and iron.

By taking care of your 3 barrel curling iron, you can enjoy beautiful, wavy hairstyles for years to come. Keep it clean, inspect it regularly, and store it correctly to keep it in top shape.

3 barrel curling iron

Home Appliance Personal Care
How to Use a Curling Iron: A Comprehensive Guide

Using a curling iron is an art that can elevate your hairstyle from ordinary to extraordinary. Whether you’re looking to create soft waves, glamorous curls, or tight ringlets, mastering this essential styling tool can enhance your overall look. In this guide, we will navigate through the steps, tips, and tricks for using a curling iron effectively, ensuring that you can achieve professional-looking results right at home. So, let’s dive into the world of curling irons.

a curling iron

Understanding Different Types of Curling Irons

Before diving into the actual process of curling, it’s crucial to understand the different types of curling irons available on the market. This knowledge will help you choose the right tool based on your hair type and the style you wish to achieve.

Traditional Curling Irons

Traditional curling irons feature a clamp and a barrel. They are versatile and can create various curl styles. However, the clamp can sometimes leave a dent in the hair, which may be undesired if you’re after a more natural look.

Curling Wands

Curling wands do not have a clamp, which allows for a more free-flowing curl. To use a wand, you wrap the hair around the barrel manually. This method tends to produce softer, more relaxed curls.

Conical Curling Irons

Conical curling irons have a tapered design, meaning they are wider at one end and narrower at the other. This shape allows for different-sized curls in one go, providing a natural, tousled appearance.

By recognizing these different types, you’ll be better equipped to choose the right curling iron for your hair and desired outcome.

Preparing Your Hair

Before you even think about turning on your curling iron, it’s essential to prepare your hair adequately. Proper preparation not only protects your hair from damage but also ensures that your curls last longer throughout the day.

Clean and Dry Your Hair

Always start with clean, completely dry hair. If your hair is dirty or damp, the curling iron won’t hold the curl as well, and you risk damaging your hair. If you’ve just washed your hair, allow it to air dry or use a blow dryer until it is 100% dry.

Use a Heat Protectant

Applying a heat protectant spray is crucial when using a curling iron. This special product forms a barrier between your hair and the high temperatures of the iron, significantly minimizing the risk of heat damage. Look for a heat protectant that suits your hair type and apply it evenly throughout your hair.

Section Your Hair

Sectioning your hair makes the curling process more organized and manageable. Start by dividing your hair into at least four sections using clips or hair ties. This method allows you to focus on smaller, more manageable parts, leading to more defined and even curls.

a curling iron

The Curling Process: Step-by-Step

Now that your hair is prepped and sectioned, it’s time to learn how to use the curling iron properly. By following these step-by-step instructions, you’ll achieve beautiful curls in no time.

Step 1: Choose the Right Temperature

The temperature you set your curling iron to depends on your hair type. For fine or thin hair, a lower temperature (around 300°F) is recommended to prevent damage. Medium to thick hair can usually handle higher temperatures, around 350°F to 400°F. Always start at the lowest temperature to see how your hair responds, and never exceed 450°F as it can cause severe damage.

Step 2: Take a Small Section of Hair

Working with smaller sections of hair is essential for uniform curls. Aim for sections that are about one inch wide. Taking smaller sections allows the heat to penetrate more thoroughly, leading to better curl retention.

Step 3: Wrap Your Hair Around the Barrel

Hold the curling iron vertically, with the clamp facing downwards. Place the end of the sectioned hair into the clamp, and slowly wrap the hair around the barrel, moving away from your face. If you’re using a curling wand, simply wrap the hair around the barrel using your fingers. For a more relaxed curl, hold the hair on the iron for just a few seconds. In contrast, tighter curls need a longer duration—up to 10 seconds, depending on your hair type.

Step 4: Release the Curl

Once you’ve held the hair in place for the appropriate time, gently release the curl. Instead of pulling the hair directly out of the iron, gently slide it out. This caution ensures you don’t accidentally pull your hair or damage the curl you just formed.

Step 5: Allow the Curl to Cool

After releasing each curl, allow it to cool in your hand for a few seconds before letting it drop. This step is vital because cooling the curl in a spiral shape helps it maintain its form. Alternatively, you could use a clip to pin the curl in place until it cools completely.

Step 6: Repeat the Process

Continue this process for all sections of your hair, following the same wrapping and releasing steps. Be sure to alternate the direction in which you curl the hair for varied results. For instance, curl one section towards your face and the next away from your face. This will create a natural, tousled look rather than uniform curls.

Finishing Touches: Making Your Curls Last

Once you’ve curled all of your hair, it’s time to finish up. Follow these final steps to give your curls the longevity they deserve.

Use a Light Hairspray

After you’ve completed curling your hair, it’s essential to set the look using a light-hold hairspray. This step helps keep your curls intact without making them stiff or crunchy. Hold the hairspray about 12 inches away from your hair and spray in a light, even mist.

Avoid Touching Your Curls Immediately

While it may be tempting to touch or run your fingers through your freshly curled hair, avoid doing so right away. Allow the curls to set for at least a few minutes to maintain their structure. If you want a more relaxed look, you can gently tousle the curls with your fingers after they have cooled and set.

Add Hair Accessories for Style

If you’re looking to amp up your look, consider adding hair accessories like barrettes, clips, or decorative pins. Not only do these add interest to your style, but they can also keep your curls in place throughout the day.

Troubleshooting Common Curling Iron Issues

Even with the best curling iron techniques, you may still encounter issues. Here are some common problems and how to resolve them.

Curls Not Holding

If your curls fall flat shortly after styling, it might be due to insufficient heat or the use of a product that makes your hair too slippery. To combat this, ensure your hair is completely dry before curling. Consider using a texturizing spray or mousse before applying heat to add grip.

Hair Gets Tangled in the Iron

Sometimes, hair can get caught in the clamp of a traditional curling iron. To prevent this, make sure you’re not using too much hair at once and always wrap the hair gently around the barrel. If your hair is particularly long or thick, consider investing in a curling iron with a wider barrel for easier styling.

Uneven Curls

If you’re getting an unequal look from your curls, you may be taking inconsistent section sizes. Remain diligent about taking the same-sized sections, and remember to alternate the curling direction to create a more natural appearance.

a curling ironEmbracing Your Beautiful Curls

Once you’ve successfully mastered how to use a curling iron, take a moment to appreciate your gorgeous results. Styled hair can significantly boost your confidence and enhance your overall look. Don’t be afraid to experiment with different curling techniques, products, and styles to find what works best for you.

In conclusion, learning how to use a curling iron effectively requires practice and patience. By following the steps outlined in this comprehensive guide, you will not only protect your hair but also achieve stunning curls that can turn heads. Embrace the versatility of your curling iron, and over time, you’ll find yourself becoming more adept at styling, allowing your creativity to flourish. So go ahead, fire up that curling iron, and unleash your inner hairstylist!