DIY Comfort: Homemade Heating Pad for Soothing Relief
Introduction to Homemade Heating Pads
Homemade heating pads are a practical and comforting solution for various aches and pains. They can offer relief from muscle soreness, menstrual cramps, and even joint stiffness without the need for expensive, store-bought alternatives. Crafting a homemade heating pad is not only cost-effective but also allows you to customize the size, shape, and scent to your liking.
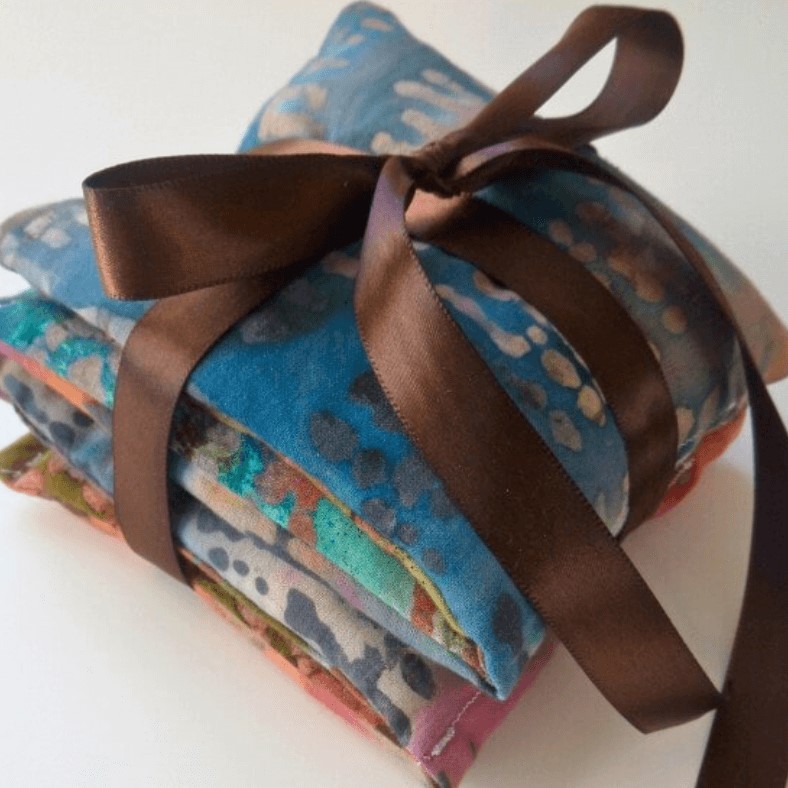
Using materials you may already have at home, you can create a heating pad tailored to your needs. The beauty of a DIY approach lies in its simplicity and the personal touch you can add. In this guide, we will explore the types of materials required, the best fabrics to use, various filling options, and provide you with detailed instructions to make your own heating pad. Additionally, we will cover important safety considerations and tips for maintaining your heating pad, ensuring it lasts for many soothing uses.
Creating a homemade heating pad doesn’t require specialized skills or tools, making it an accessible project for beginners. It’s a quick and enjoyable activity with rewarding results—a source of natural heat therapy at your fingertips whenever you need it. Let’s dive into what it takes to construct your very own comforting companion.
Materials Needed for a DIY Heating Pad
To make your own homemade heating pad, gather these simple materials:
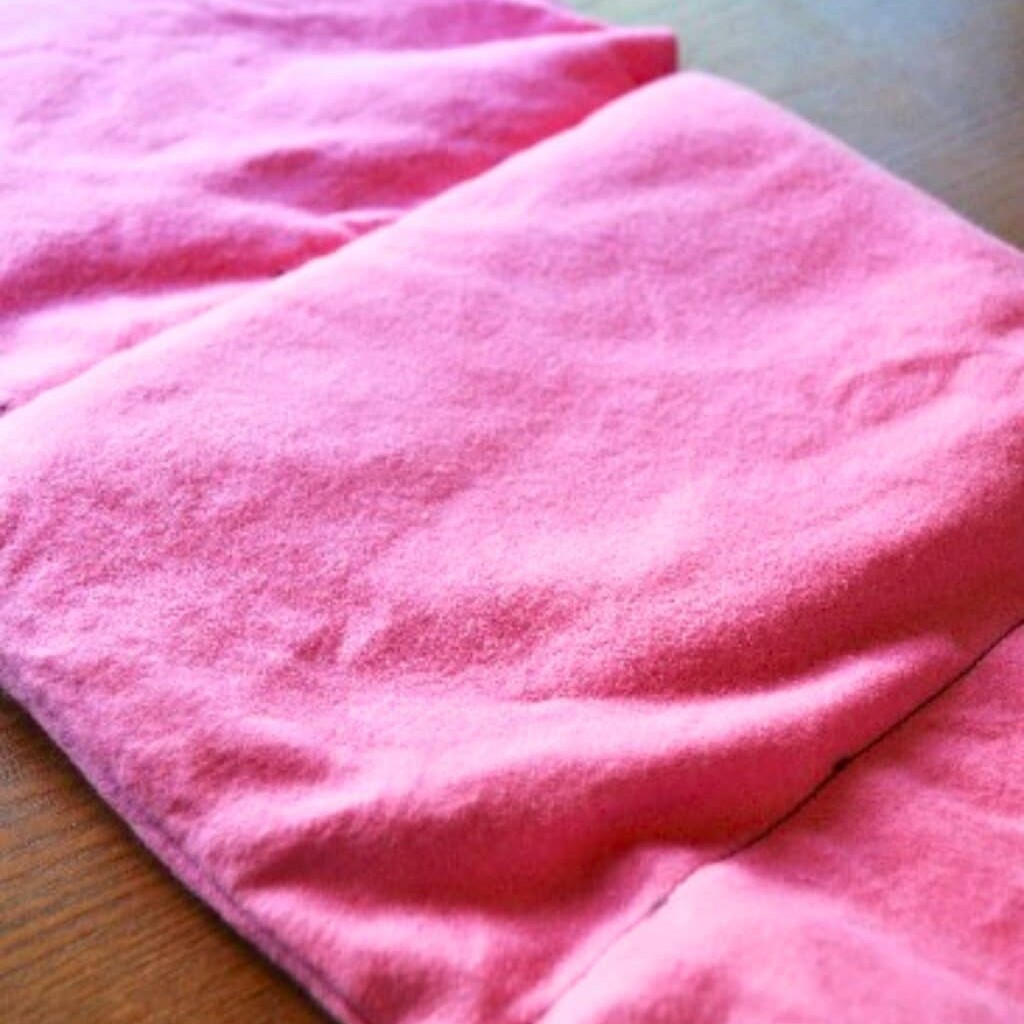
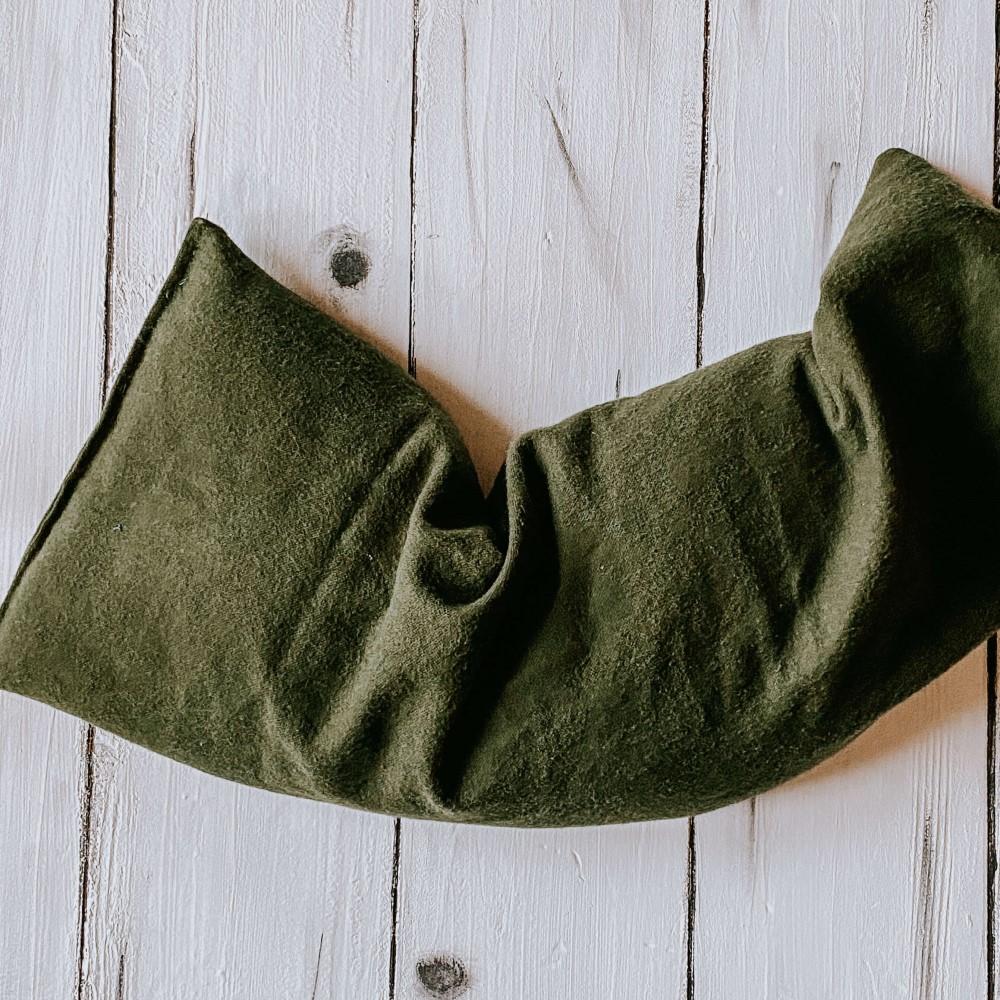
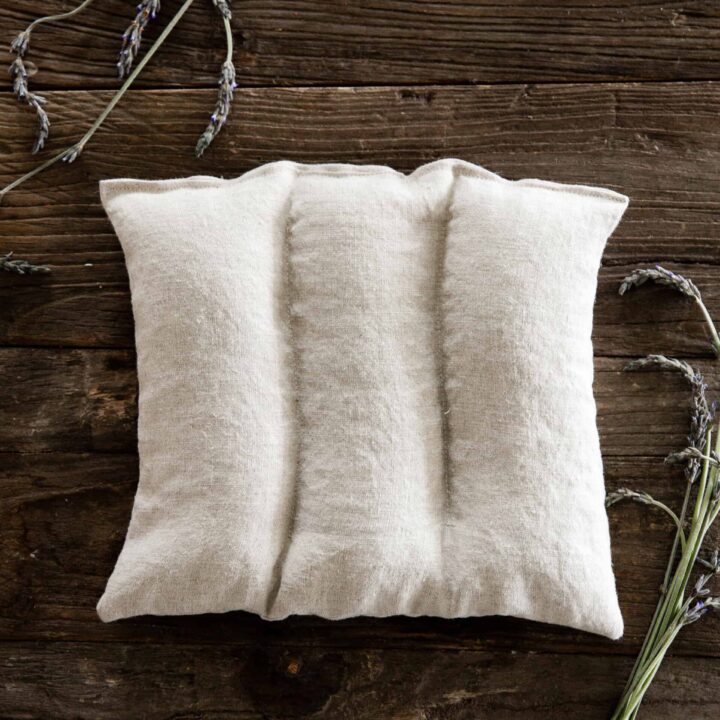
- Fabric: Choose a fabric that feels comfortable against your skin and can withstand heat. Cotton flannel or a soft fleece work well for this purpose.
- Sewing supplies: You’ll need a sewing machine or needle and thread to stitch your pad together.
- Filling: Rice, flaxseed, or buckwheat hulls are excellent fillers that retain heat.
- Funnel: A funnel will make it easier to fill your heating pad with the chosen material.
- Scissors: Sharp scissors are necessary to cut the fabric to your desired size.
- Ruler or measuring tape: Measuring your fabric accurately ensures a nicely proportioned heating pad.
- Straight pins: Pins will help hold your fabric in place while you sew.
These items are probably already in your home, which makes creating a homemade heating pad convenient and cost-effective. Preparing your workspace with these items before you begin will make the process seamless and enjoyable.
Choosing the Right Fabric for Your Heating Pad
Selecting the appropriate fabric for your homemade heating pad is crucial for comfort and safety. The ideal fabric should be able to endure regular heating and cooling cycles without degrading. It’s also important that it feels soft and pleasant against the skin since it will be in direct contact with it. Here is what to consider when choosing the fabric:
- Durability: Opt for tightly woven fabrics. They resist frequent use and high temperatures better.
- Comfort: Soft fabrics like cotton flannel or fleece provide a cozy feel.
- Heat Resistance: Avoid synthetic materials that can melt. Natural fibers like cotton are a safer choice.
- Non-irritating: Ensure the fabric does not irritate your skin. If unsure, choose hypoallergenic materials.
Keep in mind that your homemade heating pad should offer both practicality and a touch of personal care. The right fabric contributes significantly to these aspects, so take the time to choose wisely. Fabric shops or your own linen closet could hold the perfect material for your project. Take the leap and craft a heating pad that suits your needs while ensuring safety and comfort.
Filling Options for Homemade Heating Pads
When selecting a filler for your homemade heating pad, consider materials that retain heat well and are natural. Here are three popular options, each with its unique benefits:
- Rice: An accessible and cost-effective choice, rice holds heat efficiently and is easy to find. Ensure it’s uncooked!
- Flaxseed: Flaxseed offers a longer heat retention compared to rice and gives your pad a pleasant, pliable texture.
- Buckwheat hulls: These provide a firm feel and retain heat well. Plus, buckwheat hulls make the pad more breathable.
Each option has specific characteristics that can cater to your needs, so it’s important to choose a filler that works best for you. Additionally, you can mix essential oils with the filler to add a therapeutic scent.
Remember to check that the filler you select is not prone to catching fire or melting. Natural fillers are typically safer options as they don’t carry such risks when used correctly.
 Step-by-Step Instructions on Making a Heating Pad
Making a homemade heating pad is simple and rewarding. Follow these steps to create one:
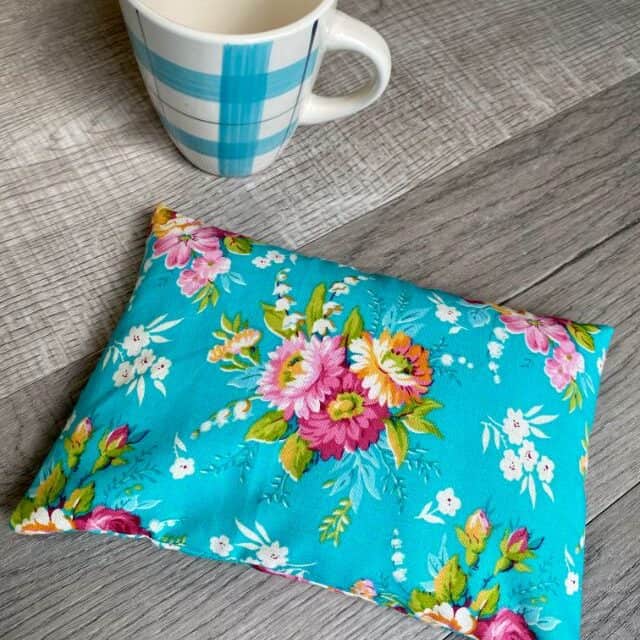
- Cut the fabric: Measure and cut two pieces of fabric to your desired size. Usually, 12×6 inches is a good starting point.
- Pin and sew: Place the two fabric pieces together with the right sides facing each other. Pin them around the edges and sew, leaving a 2-inch gap for the filler.
- Turn it right-side out: Carefully turn the fabric right-side out through the gap. Use a pencil or chopstick to push out the corners.
- Fill with material: Using a funnel, pour your chosen filling into the fabric pouch. Fill it enough so that it’s pliable but not overstuffed.
- Close the opening: Pin the open gap and sew it shut. Ensure it’s secure to prevent any spillage.
- Section if desired: To keep the filling evenly distributed, you may want to sew channels or sections by quilting through both layers of fabric.
Your homemade heating pad is now ready to use. Heat it in the microwave for 1-2 minutes and apply to sore areas. Remember, the time may vary depending on the microwave and the size of the heating pad.
Safety Tips for Using Homemade Heating Pads
Ensuring safety is key when using homemade heating pads. Here are some critical tips to follow:
- Test Heat Level: Always check the temperature before applying it to your body to prevent burns.
- Heating Time: Be cautious not to overheat the pad in the microwave. Start with one minute, then increase heat time as needed.
- No Metal: If adding essential oils, ensure there are no metal elements in your pad; they can spark in the microwave.
- Monitor Usage: Never use a heating pad for an extended time. Short intervals prevent skin irritation and injury.
- Check for Damage: Before each use, inspect your pad for any tears or loose threads that could lead to leaks or burns.
- Even Distribution: When heating, ensure the filling is evenly distributed to avoid hot spots that could cause burns.
- Supervision: Never leave a heating pad unattended while heating, especially around children or pets.
- Cool Down: Allow the pad to cool completely before reheating to maintain the integrity of the fabric and filling.
- Skin Protection: Always place a cloth between your skin and the heating pad for additional safety.
By following these simple but essential safety tips, you can comfortably enjoy the warmth and relief provided by your homemade heating pad.
Maintenance and Care for Your DIY Heating Pad
To ensure your homemade heating pad remains in excellent shape, follow these maintenance and care tips:
- Keep it Dry: Avoid getting your heating pad wet. Moisture can cause mold or mildew in natural fillers.
- Store Properly: After cooling, store your pad in a dry, cool place. A breathable container helps prevent moisture buildup.
- Clean Regularly: Although you can’t wash the inside filler, you can spot clean the fabric with a damp cloth.
- Freshen Up: Over time, your heating pad might lose its fresh scent. Sprinkle a few drops of essential oil onto the fabric to rejuvenate it.
- Check for Wear and Tear: Regular checks for holes or thinning fabric can prevent filling leaks and extend your pad’s life.
- Microwave Wisely: Heat evenly by placing your pad on a rotating microwave plate and adjust time according to its size and your microwave’s power.
Proper care and timely maintenance can significantly extend the life of your homemade heating pad. It ensures that you have a reliable source of comfort that’s safe to use whenever you need it.
 Alternatives to Traditional Heating Pads
While a homemade heating pad is a cost-effective and easy way to provide heat therapy, you might be interested in alternative options. Let’s explore some of these choices:
- Warm Water Bottles: Simple and classic, a water bottle filled with hot water can soothe aches.
- Gel Packs: Purchase these from a store. Freeze or heat them as required for cold or warm compress.
- Electric Heating Pads: These offer adjustable heat settings but need to be plugged in.
- Microwavable Soft Toys: Soft toys filled with grains can be heated and are great for kids.
Each alternative has its merits and can be chosen based on personal preference and availability. For example, a warm water bottle is handy during power outages. Gel packs are reusable and provide both cold and warm relief. Electric heating pads allow for consistent temperature control. Microwavable soft toys serve as a comforting heat source for children.
Remember that no matter the type of heating pad you use, safety comes first. Always follow the manufacturer’s instructions or recommended safety guidelines to prevent injury. Also, consider the environmental impact and long-term costs of each type of pad before making a choice. Now that you know about these alternatives, you can pick the best type of heat therapy for your needs.
 Safety Tips for Using DIY Heating Pads